Hiya folks!
I've made a tutorial on how I paint my dwarves, using a Thunderer as an example model. I've been abit busy preparing an entry for a local painting competition but I finally found some time to throw this together!

Lets hop to it!
I started by buying a box of Thunderers/Quarrelers
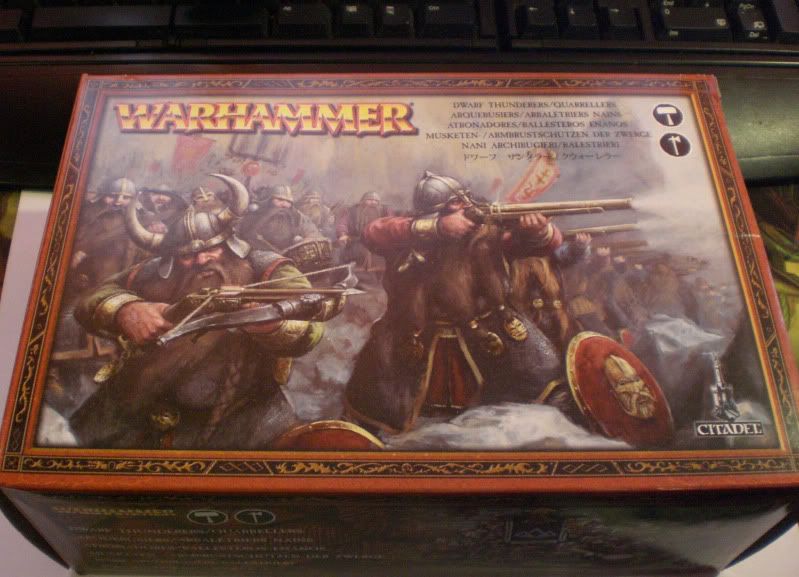
An obvious first step, but one that bares mentioning!

Upon opening the box you'll find two types of sprues.

A frightening amount of banners for just a total of 16 models. Something to note is that the main part of the dwarf is in two pieces. The back part, which also has some hair at the top and the front that has a part of the left arm attached. This will limit your positioning drastically, but thats fine for the the most part.
Remove your desired pieces.
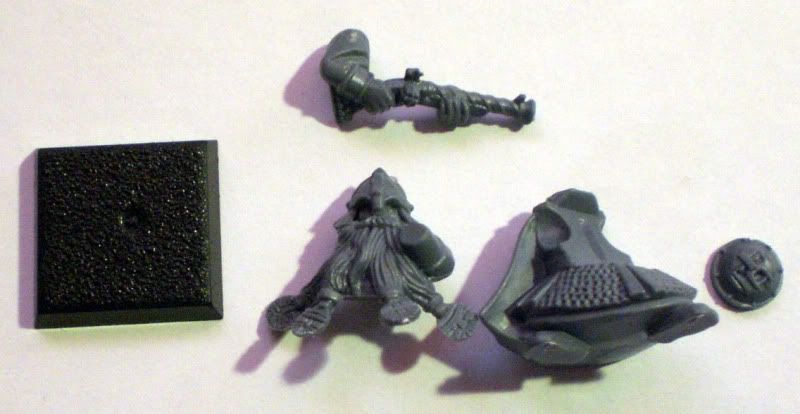
I've chosen a back that has a cloak. I find there's too many to be handy as unit champion identifiers,and too few to make it look uniform in a squad. Really
GW, don't make the cloaks attached, let us decide =p.
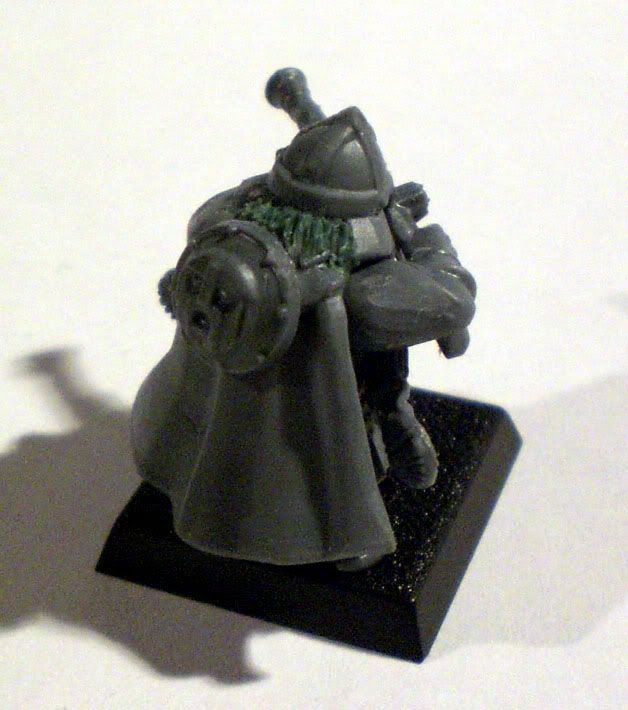
Anyways, trim all moldlines and such and assemble
(I prefer using super glue for all models since I HATE plastic cement spills. *shivers*)
Tip: place the model as far back on the base as you can. This makes it easier to rank them up. Yes, they stick further back compounding the problem abit but you'll need all the space you can since their weapons stick so far out. I'd recommend assembling the command models first and then checking your models against them before finalizing its position on the base. Check how it aligns to the side of the standard bearer, the musician, and against the back of the command models.
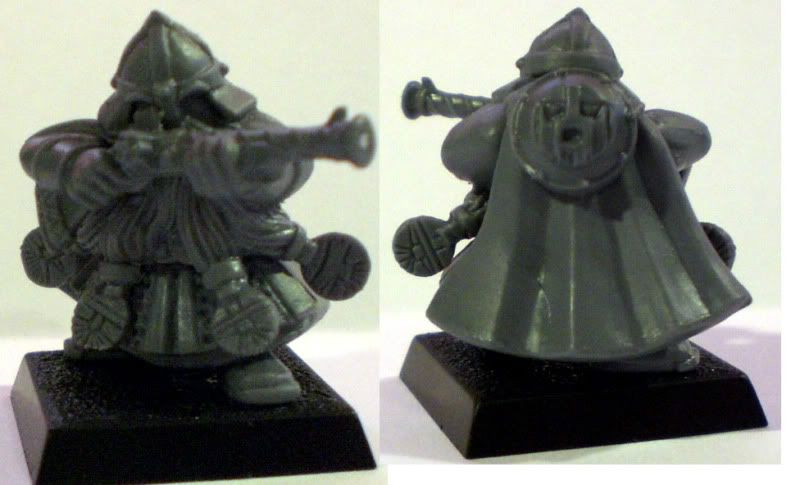
Gapfill- Sculpt
Once I'd assembled the model I notice a nasty gap between the helmet and the hair on the back of the model. This ofcourse makes no sense and will look rather horrid once we start painting. I took some greenstuff and joined the helmet and hair together, ending up just sculpting new hair on the model ^^.
There shouldn't be much gap filling if any, but places to look out for are at the back of the helmet, shoulders and armpits.
At this point I'll also drill out the barrel of the Dwarven Handgun. Make a guide point using the tip of an exacto knife, this way your hole won't be off-center.
Your model is now assembled!
Basing
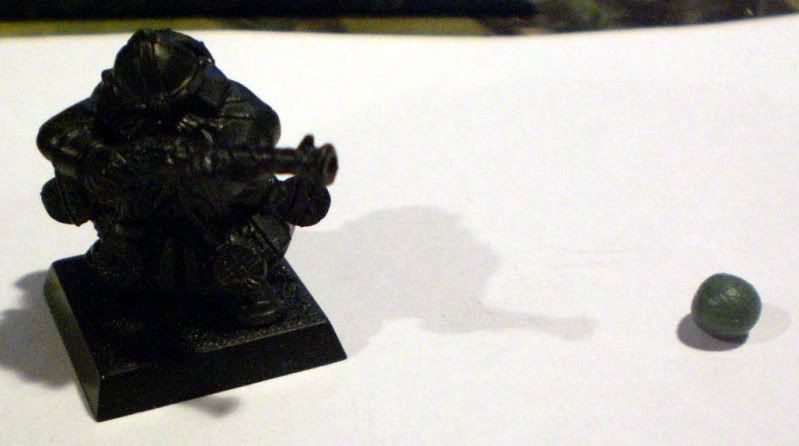
Now don't let the picture fool you, you didn't miss a step. I'd originally not intended on including the way I base the models, but then figured why not?! Bulleted for conveniance!
[*]To make flagstone take a wad of greenstuff and flatten out a piece of appropriate size. Place it on the base and using a wet sculpting tool spread it out to cover the desired area. I like corners and places infront of the model since it'll make your flagstone nice and visible.
[*]Once flat, take an exacto knife or any thin blade and make a rough stone pattern. I find its good to make a dot pattern first and then smooth it out with the back edge of a knife. This way you don't pull the greenstuff and make it look odd.
[*]Once you've finished with your flagstone take some super glue and brush across the greenstuff. You just need a little bit of glue over the greenstuff to achieve the desired effect. This does two things. 1.) It lets you work with the model alot sooner since it'll accelerate the curing proccess on the top layer of greenstuff (essentially making a shell of glue ontop of it, no more fingerprints in your half cured greenstuff!) it also has the effect of "eating" abit of the top layer of greenstuff. That, coupled with the glue texture makes your stones look nice and rough!
[*]Once the greenstuff is "glue shielded" and the super glue is dry, edge PVA along the flagstones and over the rest of the base and texture with sand. While I have plenty of regular "domestic" sand I'm using GW sand since it comes in a handy tin ^^
Your model should now look abit like this
(though unprimed)
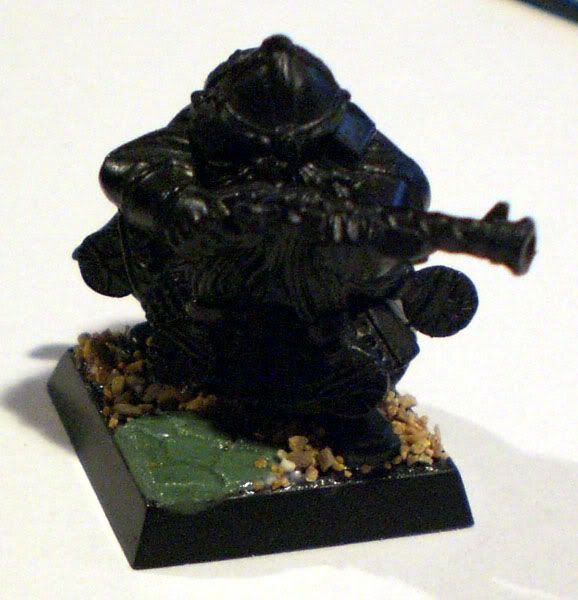
Once the PVA dries prime your model black!
(I use Chaos Black spray).
To the painting!
A general note about the paint. I thin all my paints with water, just make sure its not too thick but not so runny that it doesn't hold any pigment.
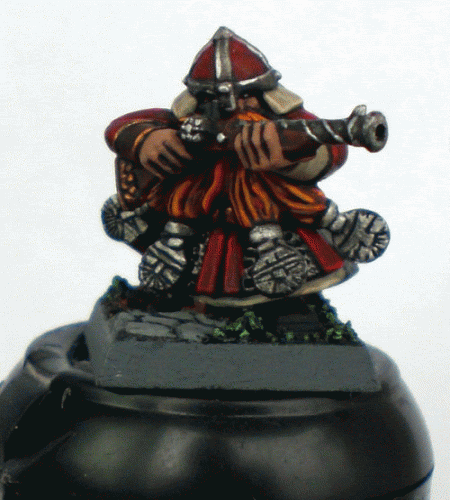
We're painting a red headed Dwarf Thunderer in the colors of my Clan; Karak'Odro Karaz. There's very little gold in my rank and file dwarf color scheme since I use it to bring attention to command models and heroes.
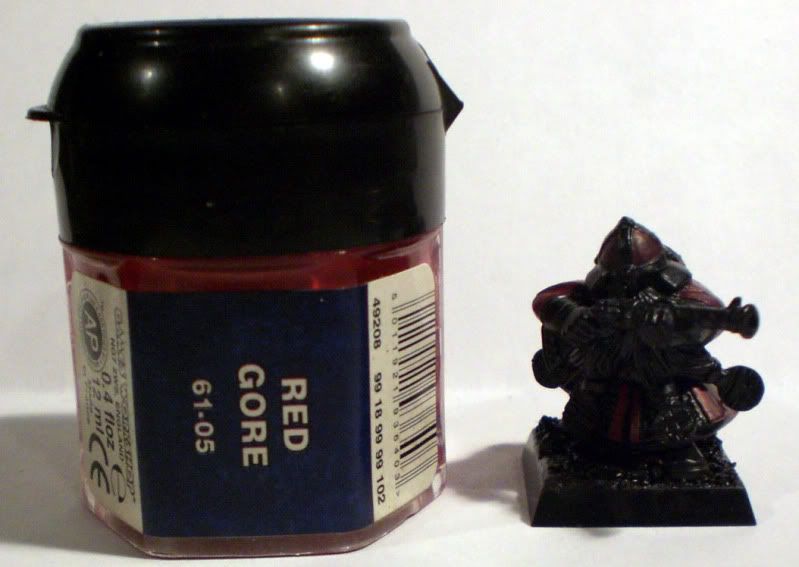
Start with painting the armor borders, inset helmet areas and shirt with Red Gore. Leave the inner sleeves and the lower "skirt" black for now.
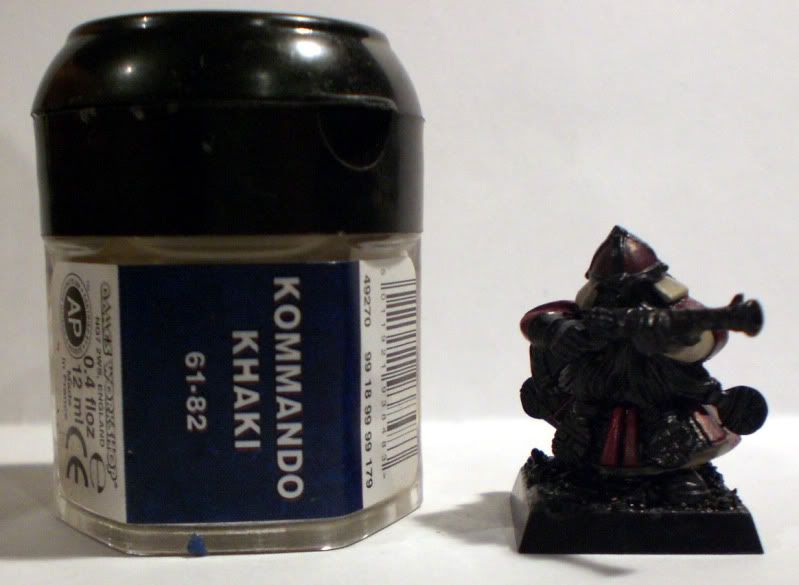
Paint the inner sleeves, shirt cuffs, helmet flaps and lower skirt with Kommando Khaki. Leave the segmented cuff on the right arm black, we've got something special in mind for it later =D
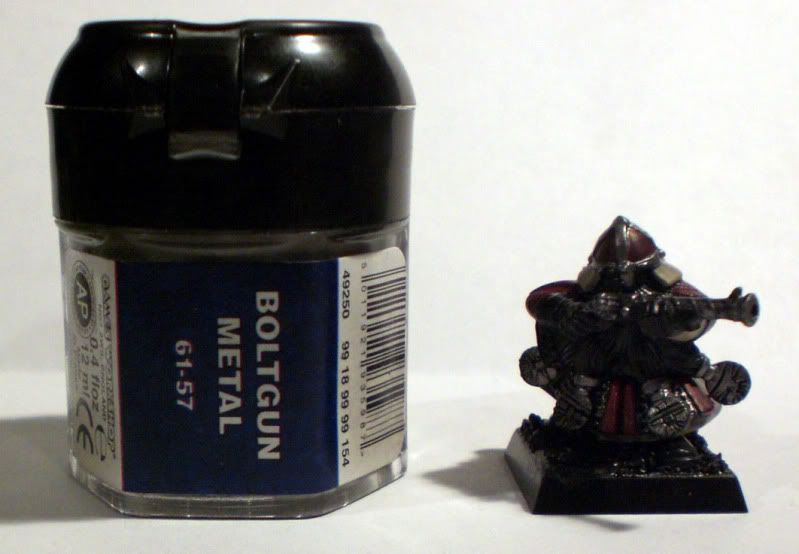
Paint the Handgun barrel, trigger work, raised helmet areas, shield and medallions with Boltgun medal. Lightly drybrush the chainmail with Boltgun metal too! Its ok if you're abit sloppy on the drybrush, be as precise as you can.
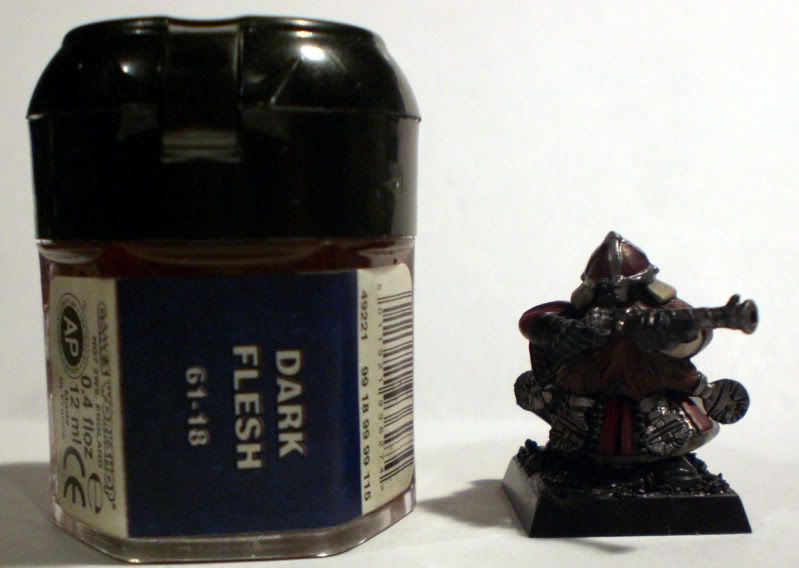
Paint the beard and hair with Dark Flesh, get it into all the nooks and crannies, this'll be the base color for your beard and hair.
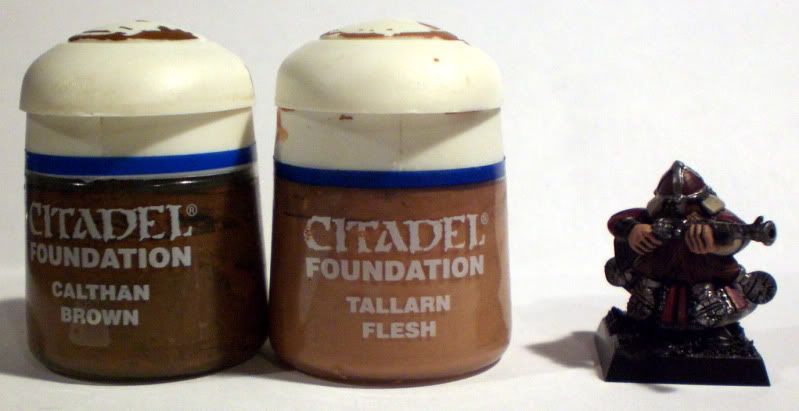
Paint the flesh with Calthan Brown, leaving black lines between the fingers. Then paint over that a coat of Tallarn Flesh. Basing it with Calthan Brown allows the brown to shine through the Tallarn Flesh as opposed to the black, which makes the flesh alot "warmer".
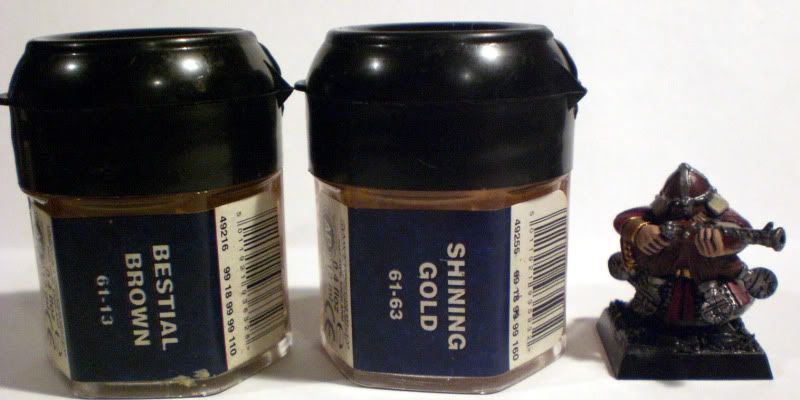
Paint the gunstock, right bracelet and any ammo pouches the model might have with Bestial brown. Paint the outer ridges of the bracelet, belt buckle and stock embellishment with Shining Gold.
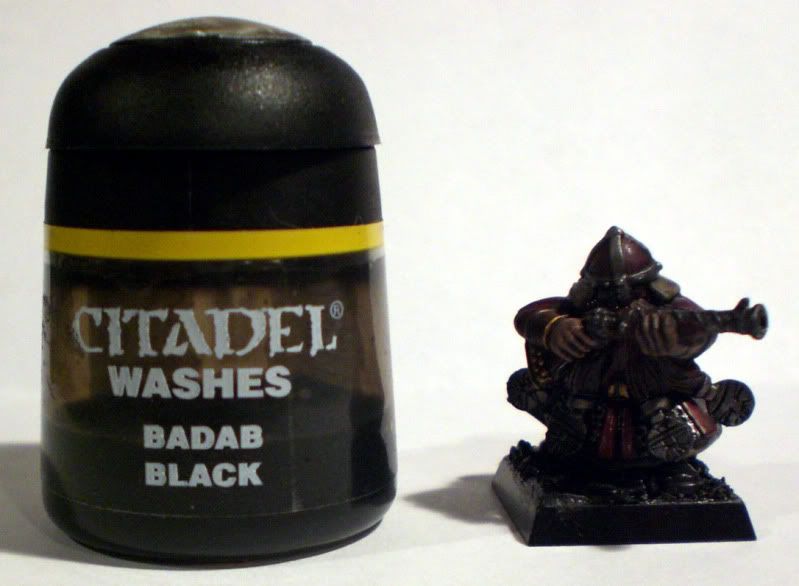
Wash the entire model with Badab Black wash
Feels gooood doesn't it? =D
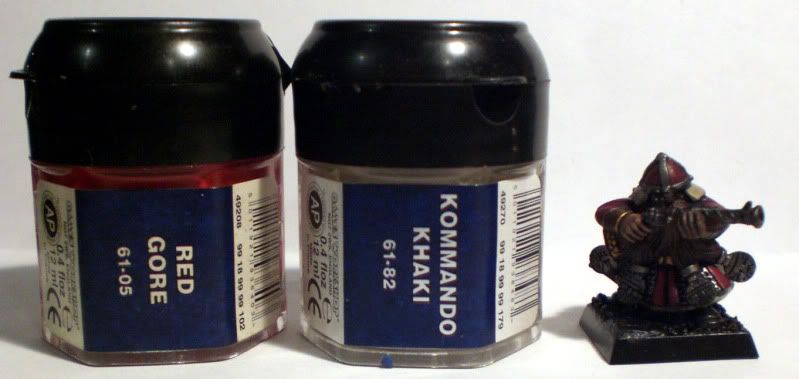
Retouch the red areas with a thin layer of Red gore and retouch khaki areas with Kommando Khaki =D

Edge highlight the metal areas with Mithril silver. What I mean by edge highlighting is that you take abit of the color and paint just the edges and raised areas. Concentrate on "upper" edges, giving the illusion of light coming down onto the model. Edge shield edges and paint the shield rivets with Mithril Silver. The shield symbol is all Mithril silver.
Take Tallarn flesh and highlight your flesh areas, leaving abit of the dark skin showing near where the hands meet the cuffs and such.
Beard/hair
This is inspired by Mousekiller's awesome dwarf hero painting guide. Its simplified so it can be quickly done on rank and file troopers =D:
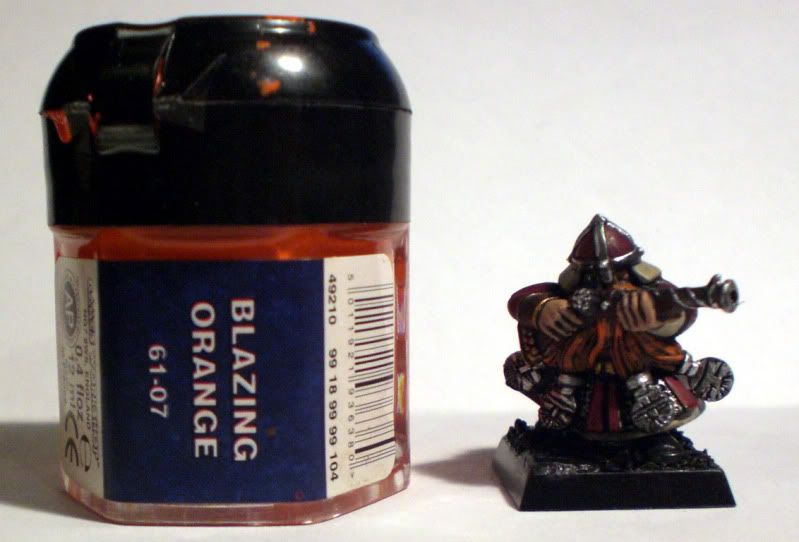
Drybrush Blazing Orange over the beard and hair.
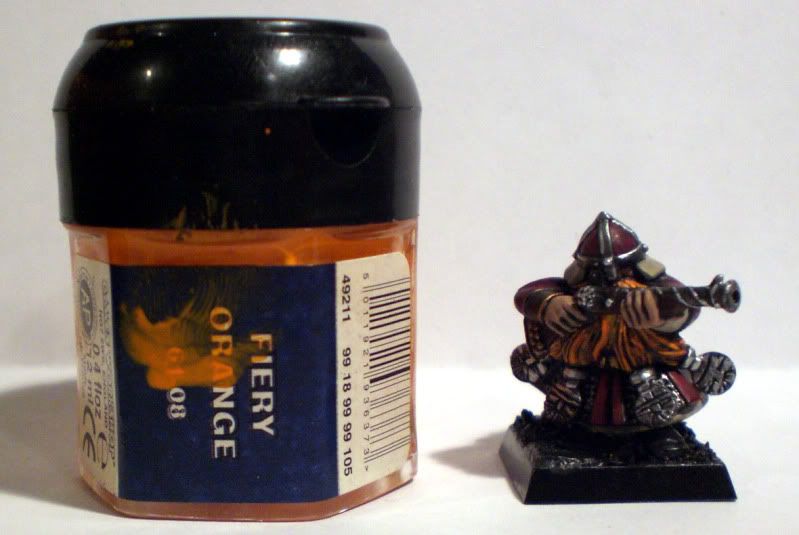
Pick out strands of hair with Fiery Orange if the beard has large locks. If its beard with no large locks, feel free to just lightly drybrush this stage.
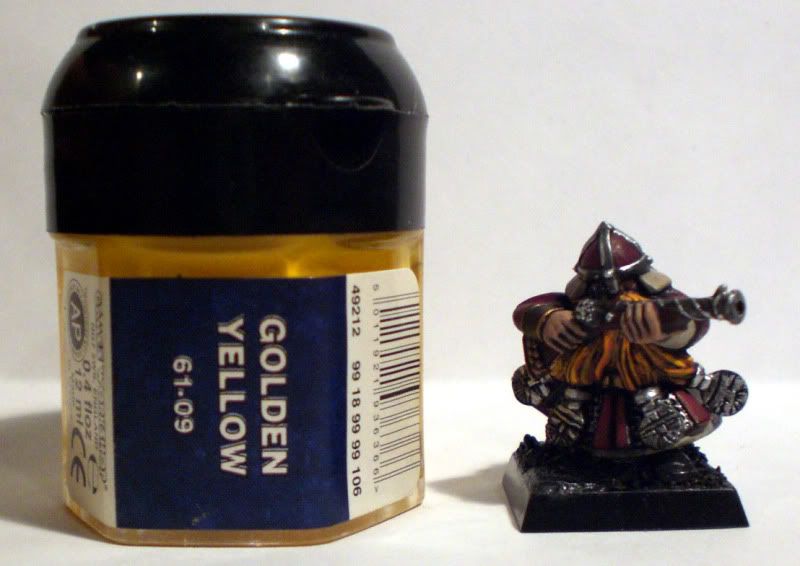
Further highlight locks with Golden Yellow. Focus on hair/beard tips and upper locks, giving the illusion of light hitting the model.
Beard and hair is done, rejoice!
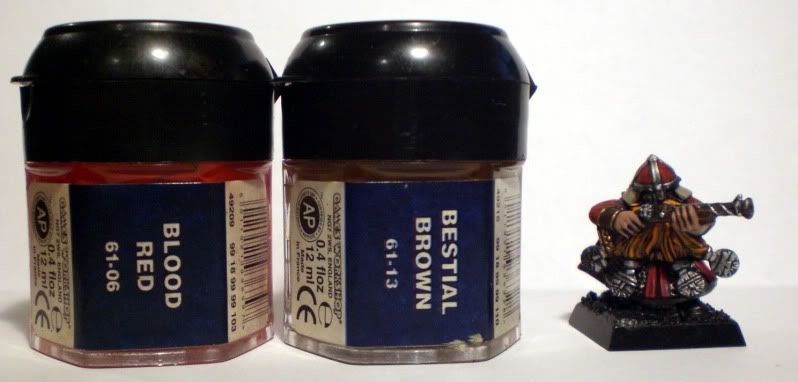
Edge highlight the red areas with Blood red. For enclosed red areas, like the helmet, lightly drybrush Blood Red, leaving dark areas near the edges. Also drybrush Blood Red over the larger red areas like the shirt and cloak. Make sure to edge highlight the ridges in the cloak
(I atleast think that looks awesome ^^).
Edge highlight the gunstock with Bestial Brown.
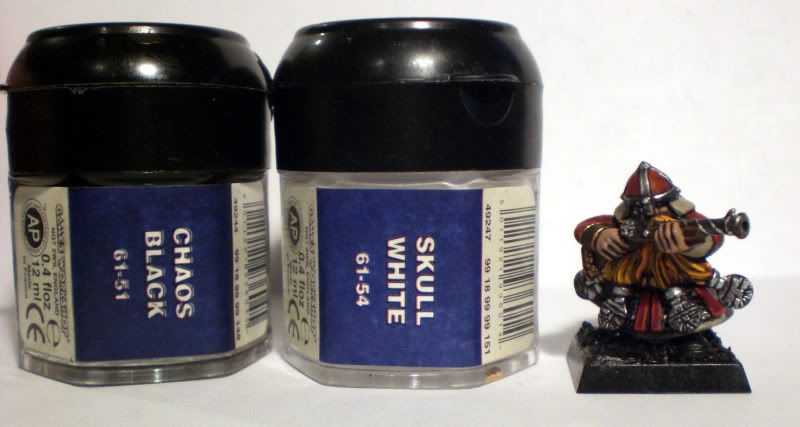
Paint the orb of the eye with Chaos Black and paint a dot of Skull white in there. We're not going to paint an pupil, we're leaving it white. This inverted eye is quite striking and is visible even on the tabletop. You also get rid of the googly-eyed look that sometimes happens if you're not use to painting eyes! If any chaos black gets spread outside of the eyeball just touch it up with some Tallarn Flesh!
Model is aaaalmost done!
Base painting:
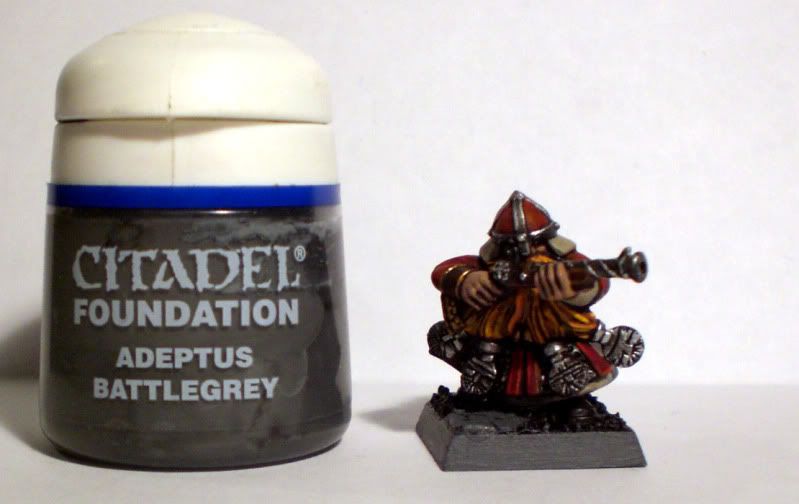
Paint the flagstones and base edges with Adeptus Battlegrey.
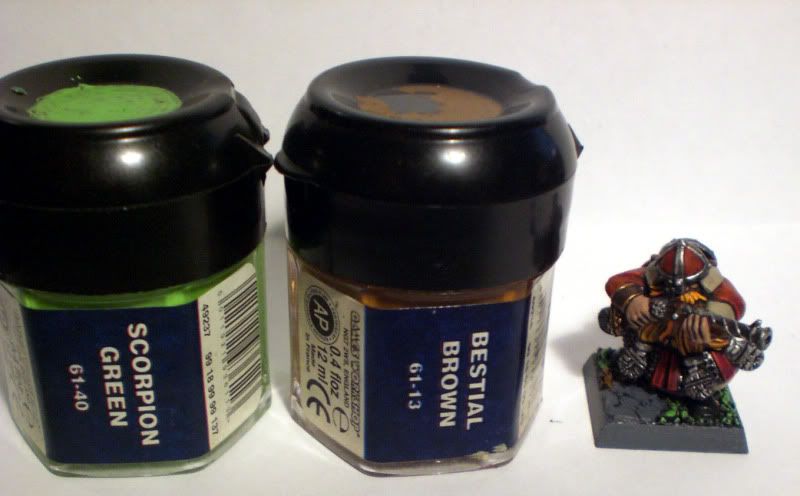
Paint the sand with Scorpion Green and Bestial Brown. I try to vary the colors, I usually have Scorpion green near the flagsotnes and then splashes of brown here and there.
This is also a good time to touch up the boots with Chaos Black!
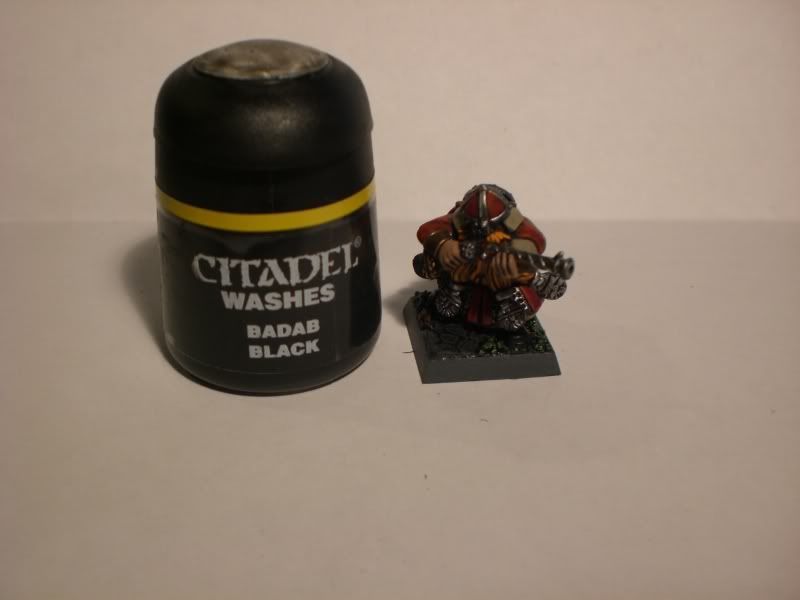
Wash the base with Badab Black.
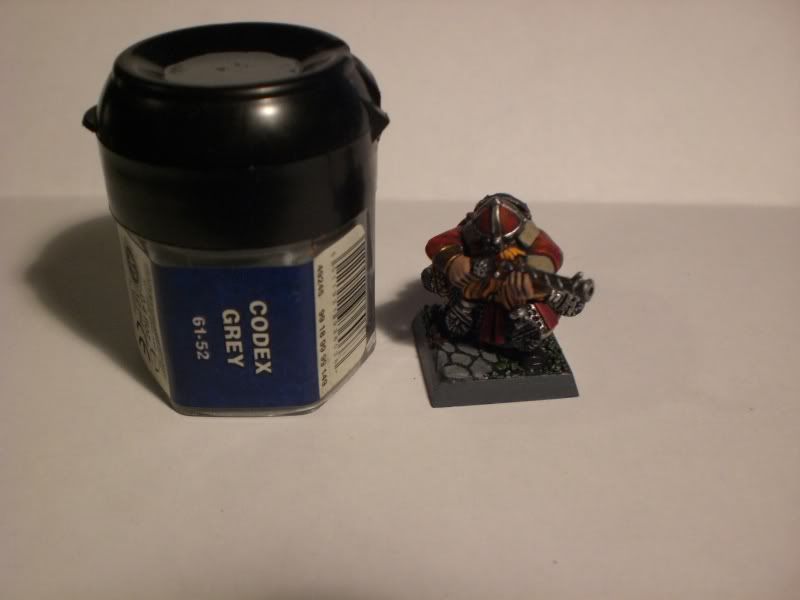
Retouch the flagstones with some Codex Grey.
Check to see if everything is done...AHA!
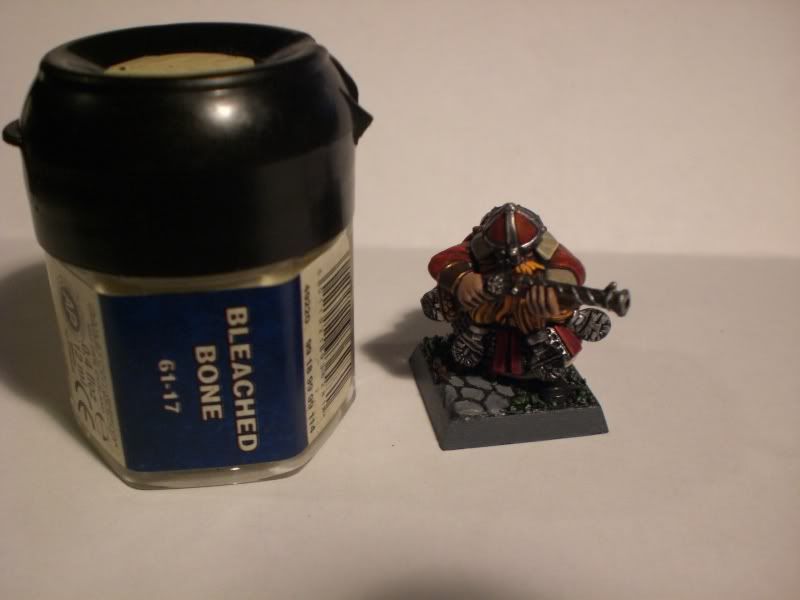
Edge highlight the khaki parts with Bleached Bone.
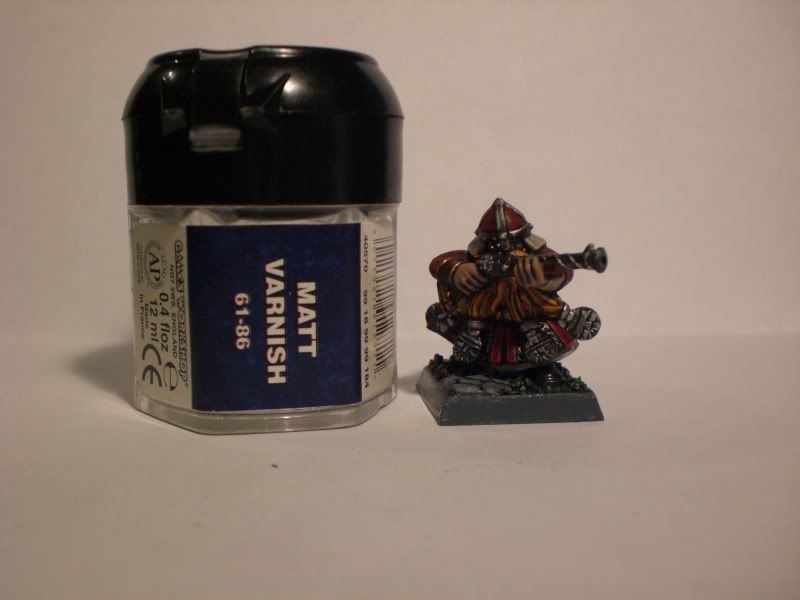
Matt varnish and you are DONE!
So, thats how I paint my dwarves! Lets end with a 360° view!
Hope the tutorial helps!
Questions, comments and such welcome and encouraged!

Additional notes about the model.
The sculpt is quite bulky and as you may notice from the 360° view is how I've just left the right side black. I find that this looks alot more natural than continuing the cloak to there. If so it just looks weird, I have no clue why they don't make the cloak look less chunky on that side since it looks so good on the other side =p


 4250 points of Blood Angels goodness, sweet and silky
  1000 points of Teil-Shan (my own scheme) Eldar Craftworld in progress
  800 points of unassembled Urban themed Imperial Guard
  650 points of my do-it-yourself Tempest Guard
  675 points of Commoraghs finest!