So, I've been doing some painting recently and I felt like posting a guide on how to paint corroded bronze metals, since mine have turned out fairly well. It's a really simple process, and takes only a short amount of time.
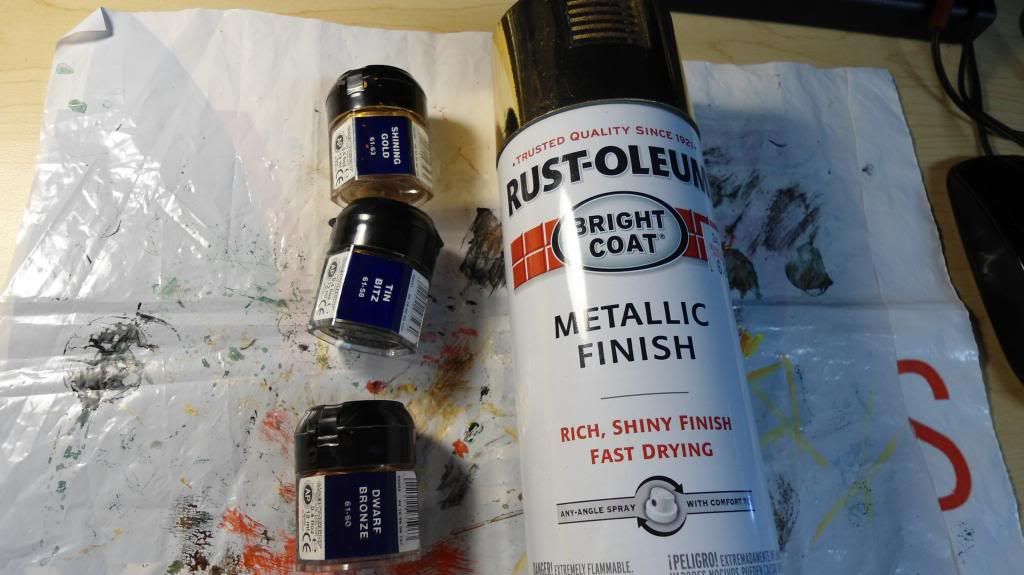
The paints you'll need for this are:
-Rustoleum gold spray paint
-Tin Bitz or equivalent
-Shining Gold or equivalent
-Dwarf Bronze or equivalent
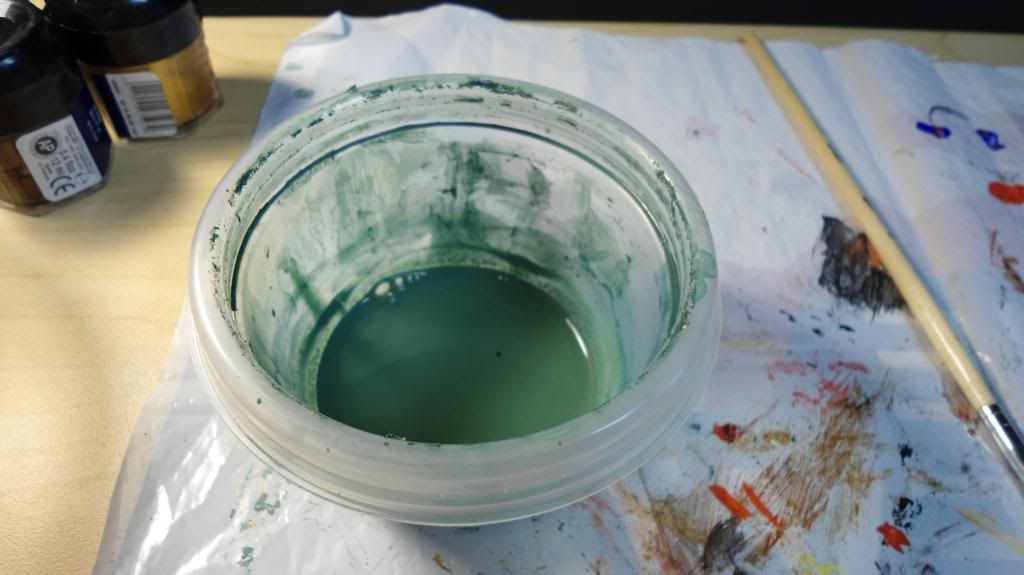
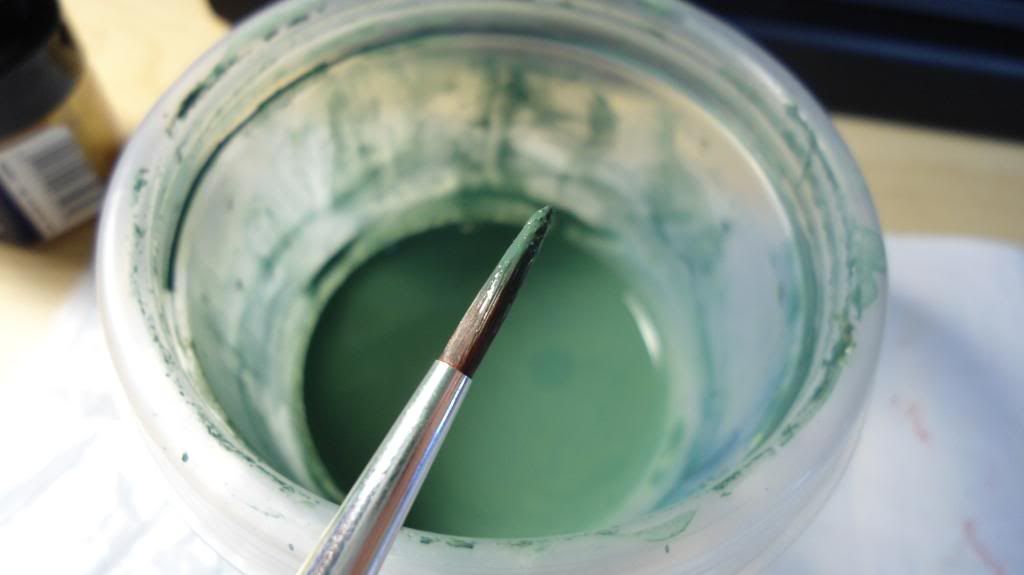
-A green wash made using
this guide. I'm not sure if normal washes would work, but this one is a bit thicker than most.
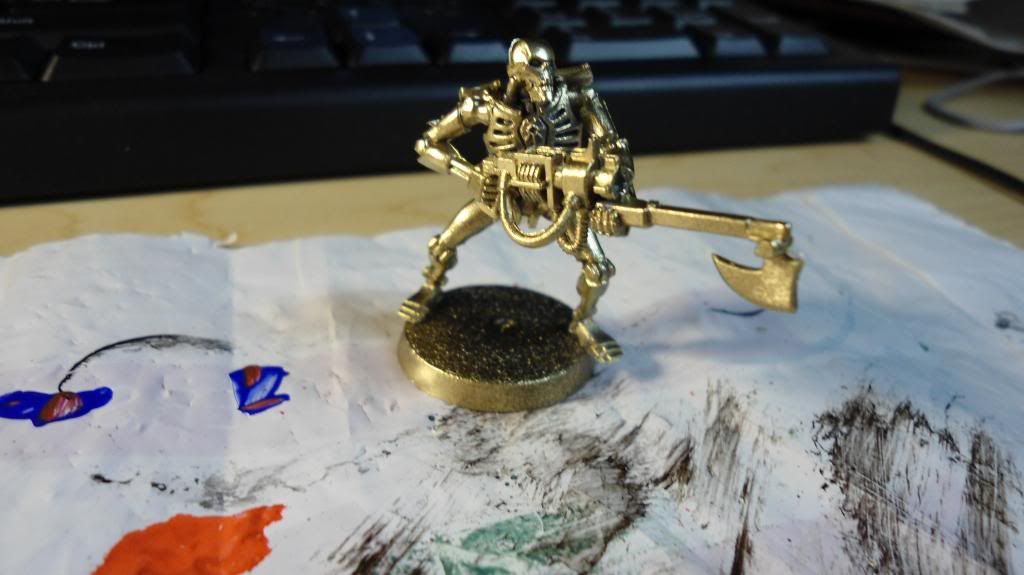
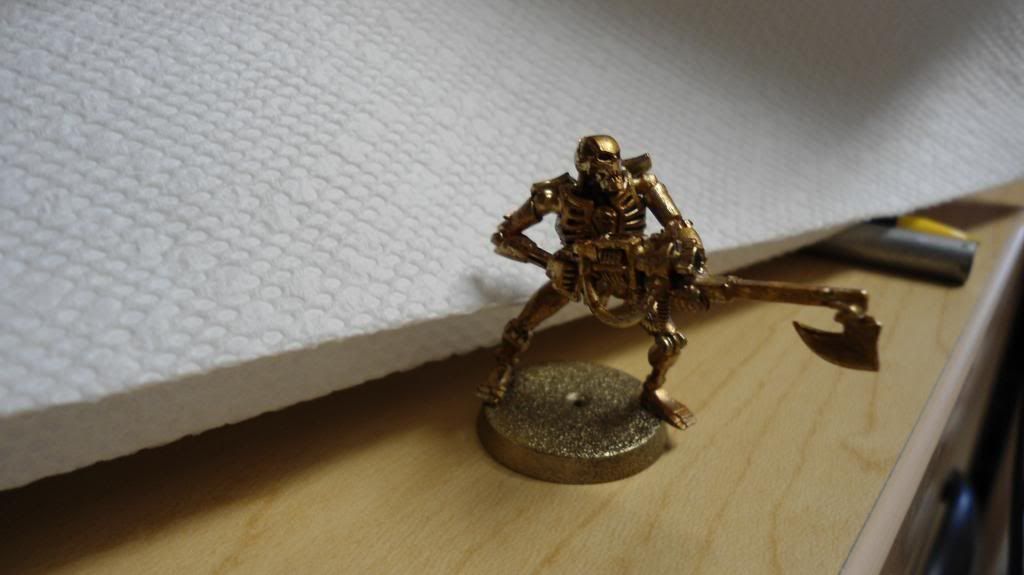
The first step is to spray the model. I'm not sure if using a primer first would screw up the process I use later, so I'd suggest against it. The finished coats of paint work fine for sticking paint to. I'm using a Necron Warrior for this guide, since I had one lying around:
After priming, you should take a damp paint brush (not too wet, but not dry either) and brush on some Tin Bitz. The way to do it is somewhere between drybrushing and normal painting, enough to get a good coat on, but not so much that you drown out the gold spray.
Now, the spray paint has an interesting property that other paints
really don't like it. A few seconds after you brush on some paint, it will start to move together, leaving holes in the coat.
This is intentional, and the reason you probably don't want to prime beforehand.
After you paint the first metal on, let it dry.
The next step is to do the same thing you just did, except with Dwarf Bronze:
And after that, let it dry then do the same with Shining Gold:
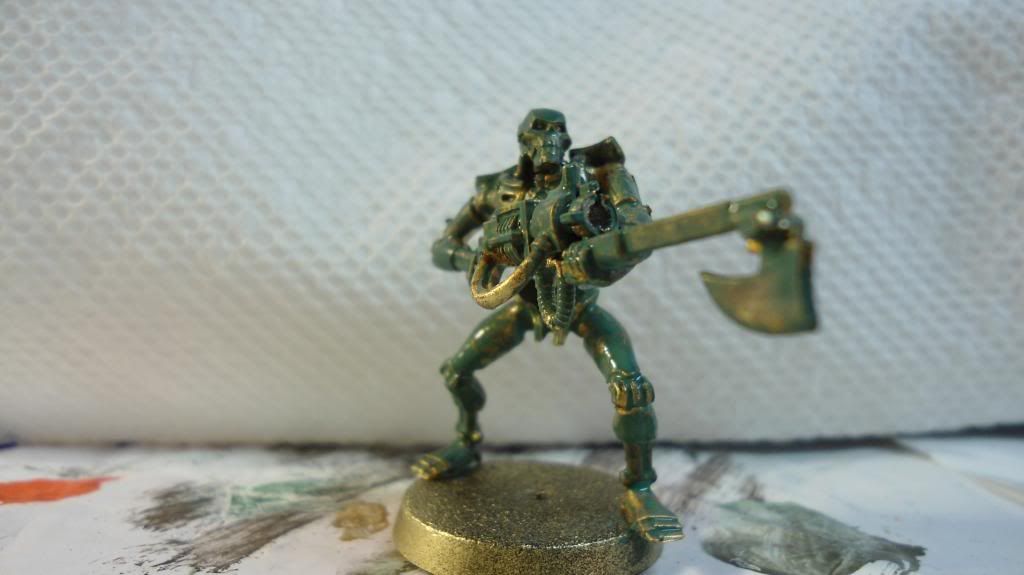
At this point, your mini should look sufficiently splotchy, with some of all the colors represented. The next step is to use the wash.
Again with a damp brush, dip it into the wash and get a good amount in the brush:
... and liberally apply the wash to the model. No need to be careful--anything with too much on it will be taken care of by the next step.
While the wash is still wet, clean your brush and, keeping it damp, "drybrush" the model with the clean brush. Make sure to clean the brush every so often, so you're doing more than just moving around the wash.
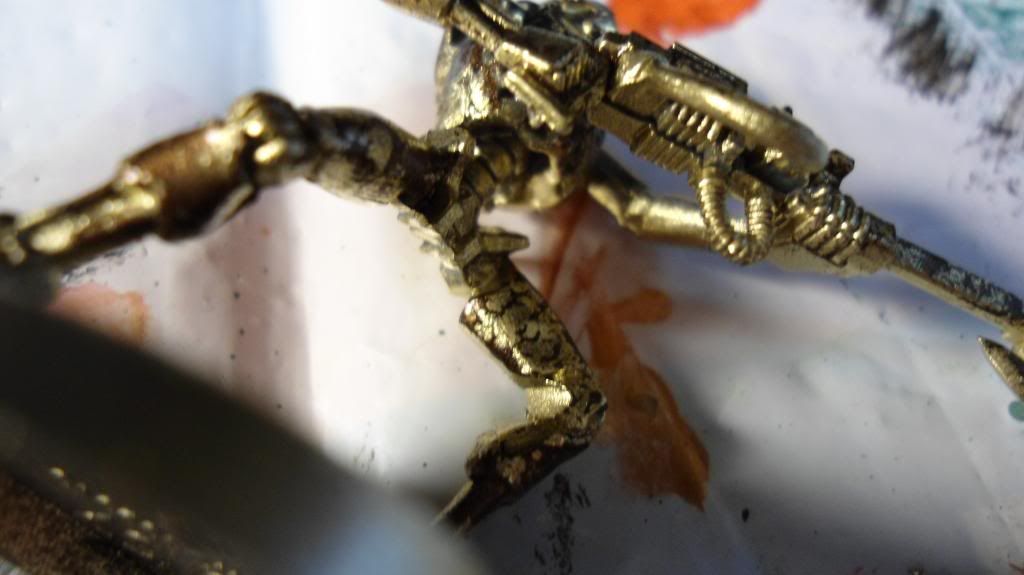
It should end up looking something like this:

After the wash dries, take some watered-down Tin Bitz and dab it into the recesses. I generally water it down by putting a bit on my brush then dunking it into my paint water.
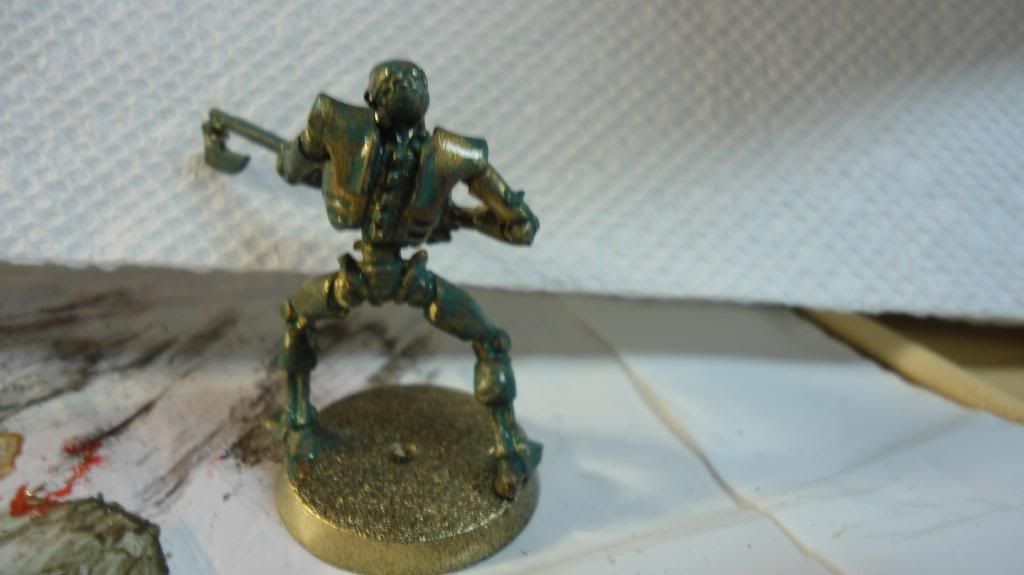
Once the model is dry, the final step is real drybrushing, this time with shining gold.
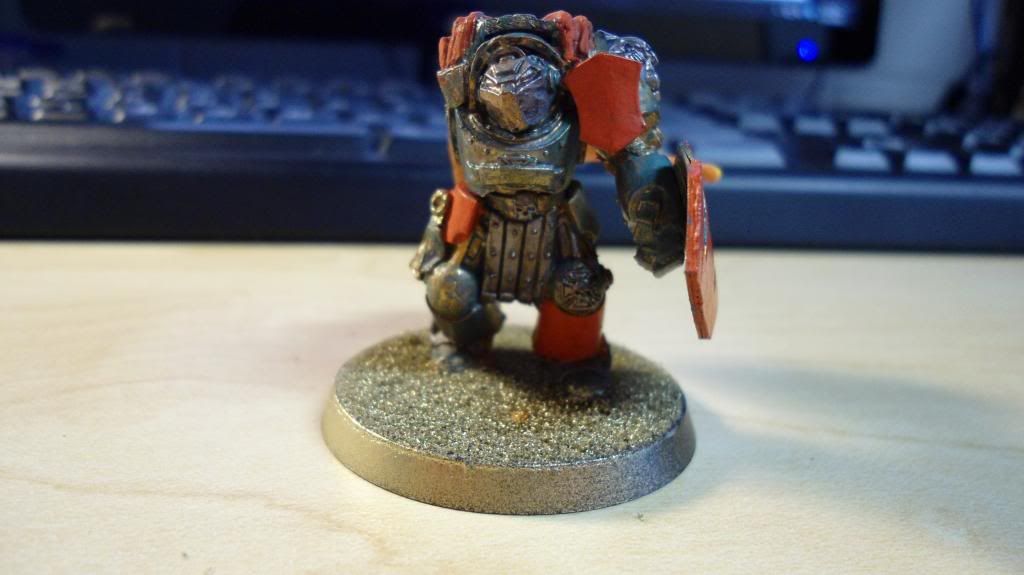
... and you're done

The finished process takes paint extremely well, and if you screw up on painting other colors, the way to fix it is to just go over the spill with Shining Gold, then a bit of your wash.
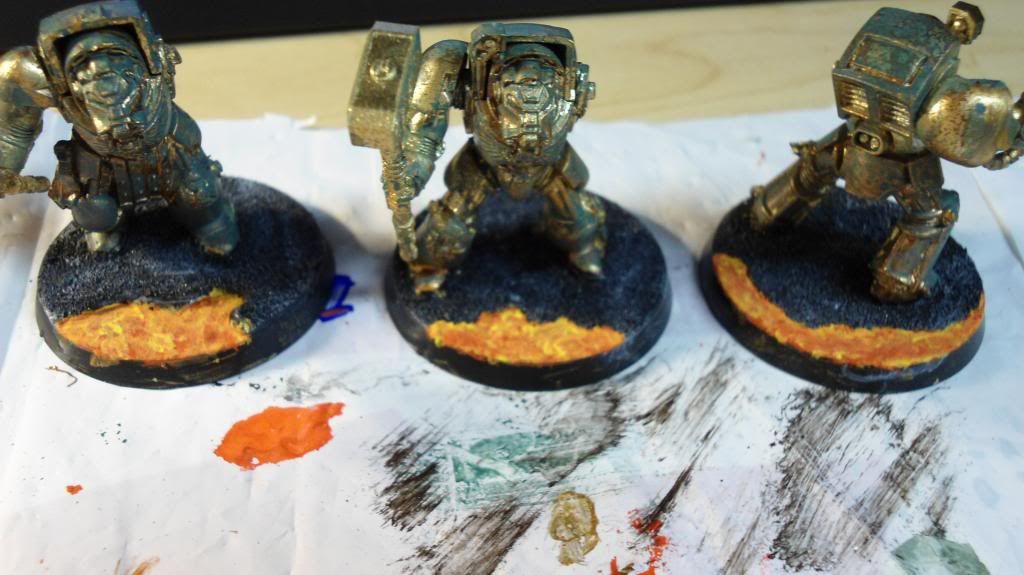
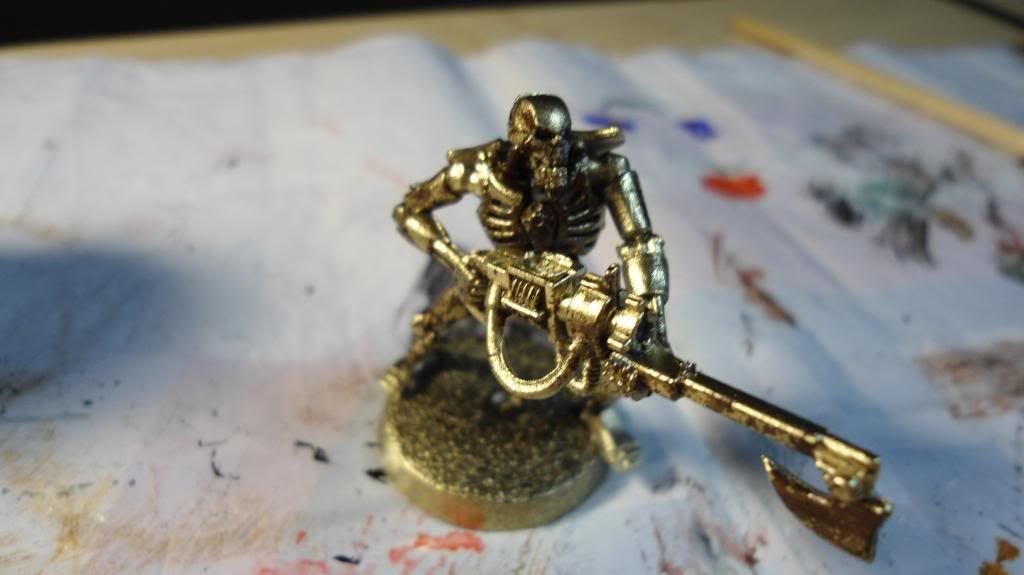
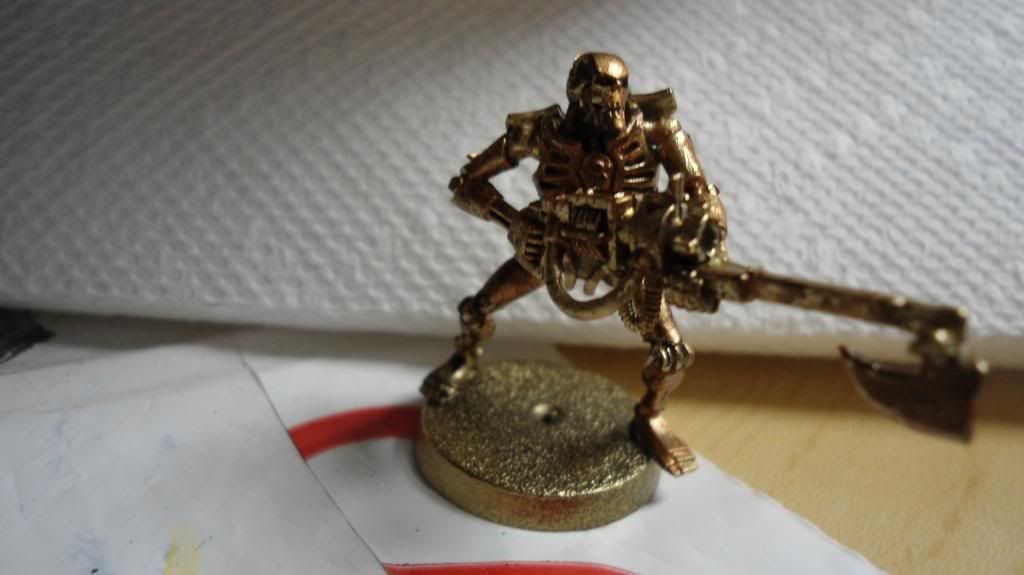
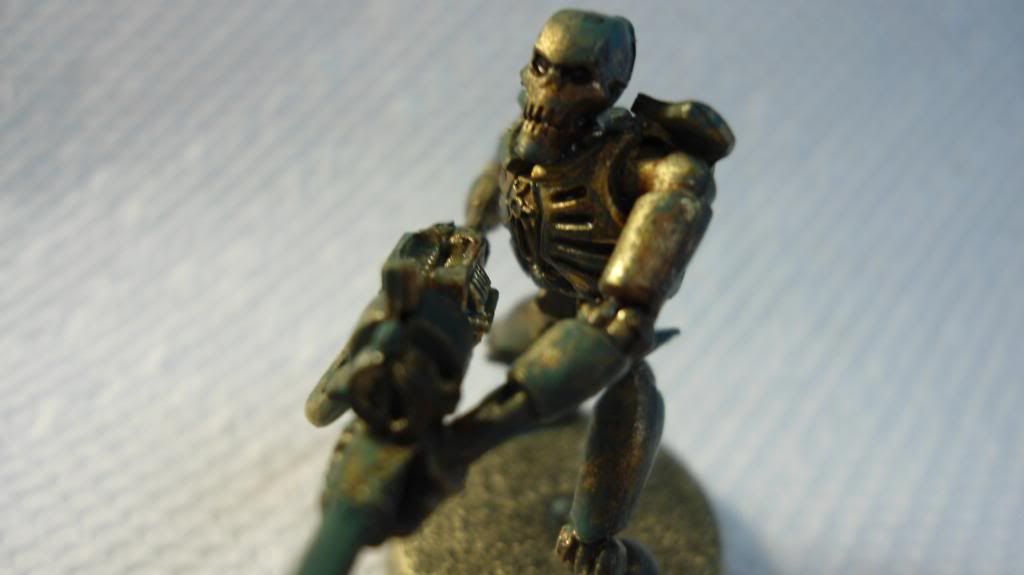
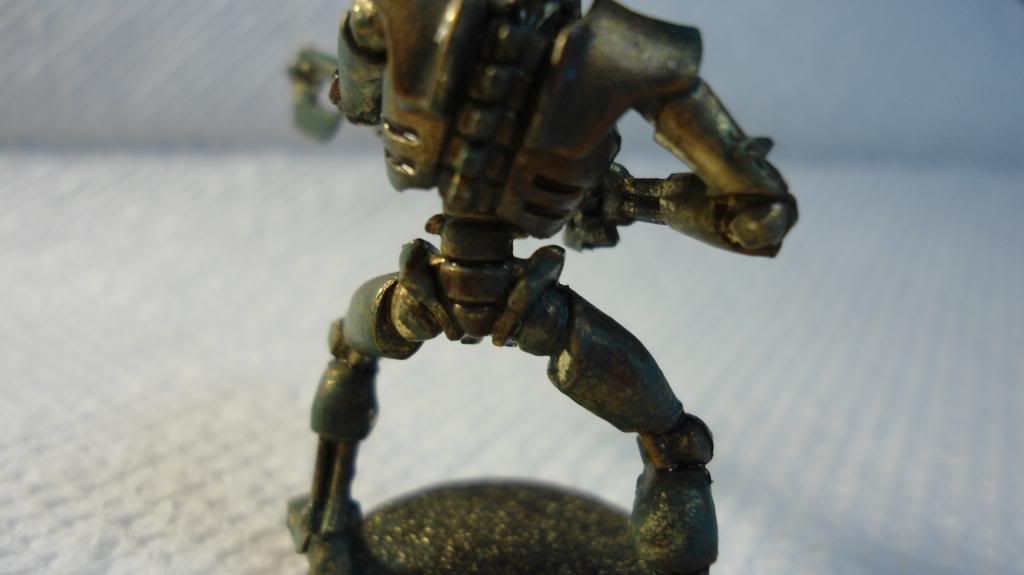
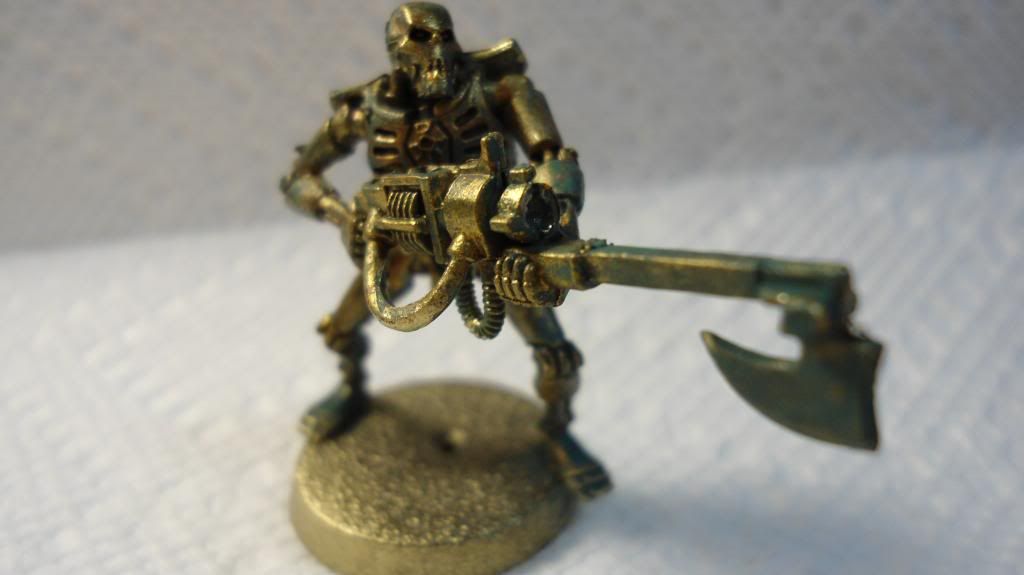
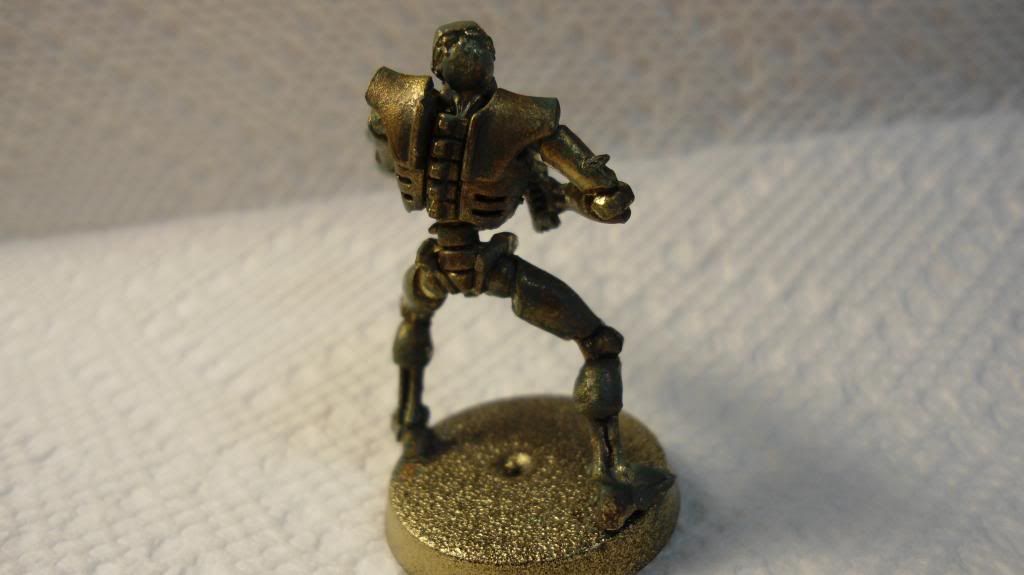
Here are some other examples of the process used: