Good morning (or evening, whatever the case may be) fellow Dakkanauts. I have recently embarked on a modeling project that is relatively new for me and I thought it would be fun, not to mention informative, to post it up here as I work so I can utilize the amazing collective mojo that this place is home to. First a little about me. I've been in the hobby for just over fifteen years, having started during my middle school education when I went over to a new friend's house to find a table full of Space Marines and Eldar in various stages of painting. I was immediately entranced. I went with him the very next day to our local hobby store and used up the entirety of my month's allowance on Space Marines and couldn't have been happier. From that day on, I've been living (at least partially) in the grim darkness we have all come to know and love. Most of my work has been with the Imperial Guard, who are still my true favorite to design and paint, but thanks to a friend who decided to downsize his collection I have recently come into possession of a number of Space Marines that thus far have been a blast to play.
Since then I dug through some of my older models to discover a very old school Predator (or perhaps Razorback, I'm unsure) tank just like the one below:
http://www.peteandkellie.com/wh40k/images/blood_angels/deimos_razorback.jpg
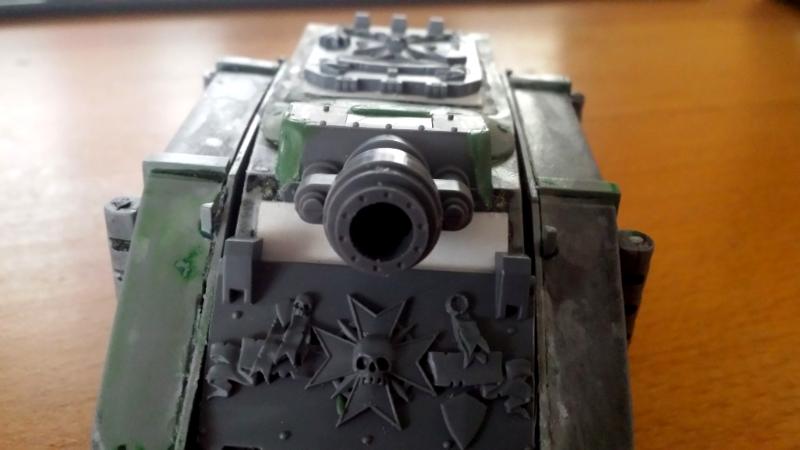
However, I find that I never want to use the Predator as its modeled. The metal turret is heavy, and the idea of a 100 point tank with only a single twin linked lascannon shot doesn't particularly appeal to me as a player. However, something that I have always wanted to own (and field) is a Vindicator. I love the design, I love the fluff, and most of all my time with the Imperial Guard has made me fall in love with that Demolisher cannon. And so, a new project was born: turn my venerable old Predator into the Vindicator I've always wanted.
Now unfortunately I began work on the project long before I started documenting it with pictures, so I'll have to catch you guys up on the work I already did to get to this point. First thing was to strip the layers (and I mean
layers) that the younger me had slathered all over the poor tank. Thankfully a good friend, coincidentally the same one who helped me begin my Space Marine collection, suggested a product called "LA's Totally Awesome" which worked like a charm. It took two or three soaks and some vigorous scrubbing with an old toothbrush but I finally managed to clear out the (majority) of the terrible paint job[s] that I had, in my youthful naivete, considered awesome. The next two stages were simple: remove the metal turret and housing on top and pry the two "shields" from the front of the model. Once that was complete I set about finding replacement parts for those two segments of the hull.
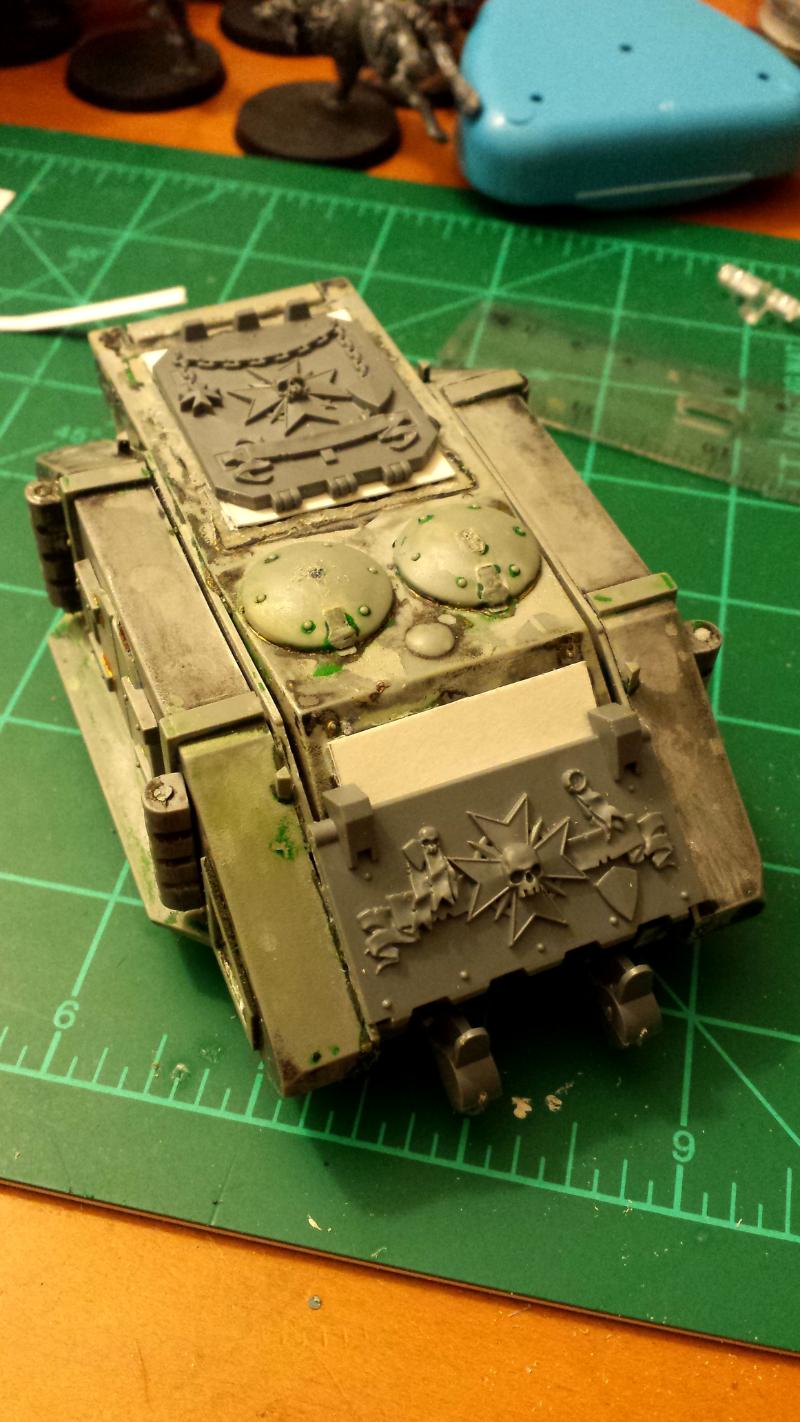
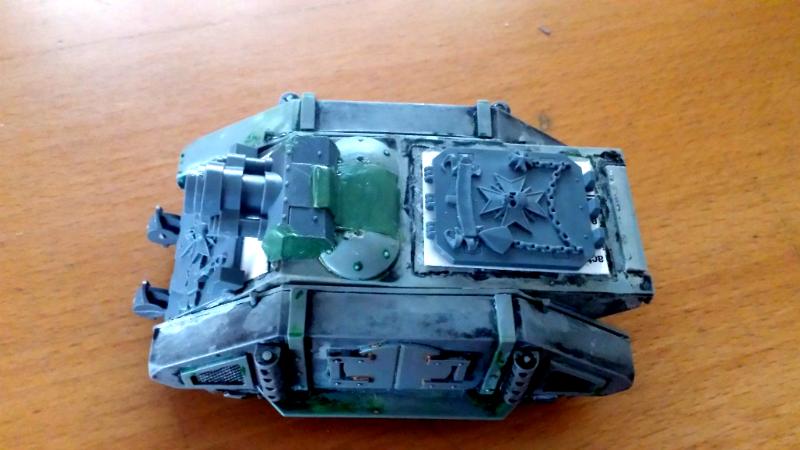
I discovered in the large pile of sprues that my wonderful friend had given to me a few leftover pieces from the Black Templar upgrades kit, including a side Land Raider door and the main door that goes to the front of that tank. Given that my plan was to model my paint scheme as a Successor chapter to the Black Templars (because I love their fluff and model design. Not to mention the Chapter Tactics are fun, though far from optimized) called the Azure Wardens I figured this would be perfect. It took a little bit of work with my modeling saw to get the main door to fit where I wanted it, but eventually both pieces fit where I wanted them. However this highlighted another issue: there were large, open gaps into the chassis of the model that I couldn't cover up with the doors. However, lucky for me, that very day in the mail I had received a piece of junkmail that would fit the bill; a faux credit card made of sturdy cardboard. Using some of my tools and a ruler, I fashioned "patches" for those holes and glued them in place. You can see the result below.
Sorry for the large photo. I'm posting this just before leaving for work and I don't have time to resize the images I already uploaded. I will be more circumspect in future posts. Once the patches were in place, I affixed the doors, and voila! It really started to take shape.
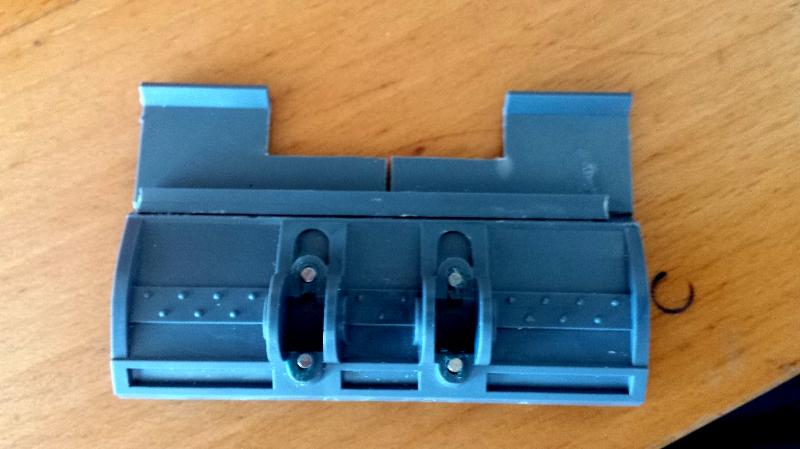
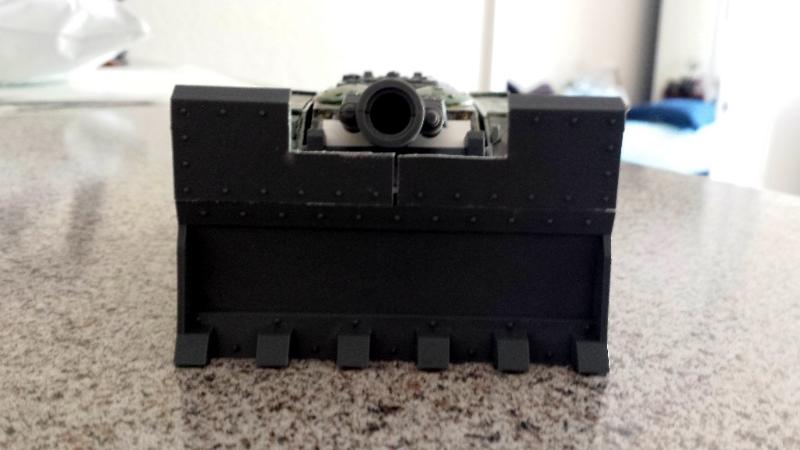
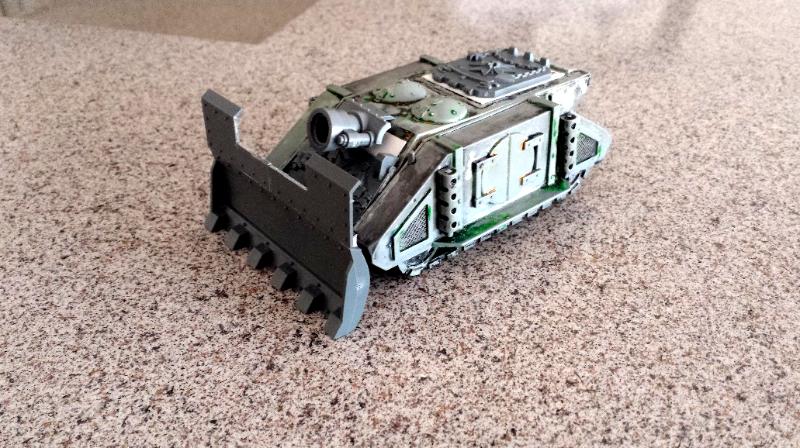
The next step for my project is to start putting together the Siege Shield, which I plan to use a Chimera dozer blade and some spare armor plates from one of my various Imperial Guard vehicle kits. You can see in the bottom of the (overly) large picture above the place where my Siege Shield will attach when its complete, though I do plan on magnetizing it so I can always field it as
WYSIWYG if I choose to
not purchase that upgrade in a game for some reason. And for storage reasons.
Well there you have it! All comments, feedback, and input is appreciate and encouraged!
Thanks Dakka!