Forum adverts like this one are shown to any user who is not logged in. Join us by filling out a tiny 3 field form and you will get your own, free, dakka user account which gives a good range of benefits to you:
No adverts like this in the forums anymore.
Times and dates in your local timezone.
Full tracking of what you have read so you can skip to your first unread post, easily see what has changed since you last logged in, and easily see what is new at a glance.
Email notifications for threads you want to watch closely.
Being a part of the oldest wargaming community on the net.
If you are already a member then feel free to login now.
Having recently gotten into Team Yankee with the American starter set, I was a little surprised to see that Battlefront had not included instructions to build the M1A1 variant of the Abrams Tank, despite giving you all the parts to do so. Even their tutorial on their website does not fully enclose the parts you need to use to make one. So I decided to fill the gap for anyone looking to build it!
First, follow the official tutorial on the M1 Abrams up to step 3 (you should also keep this open for reference to later stages). Then the first alternate part comes in:
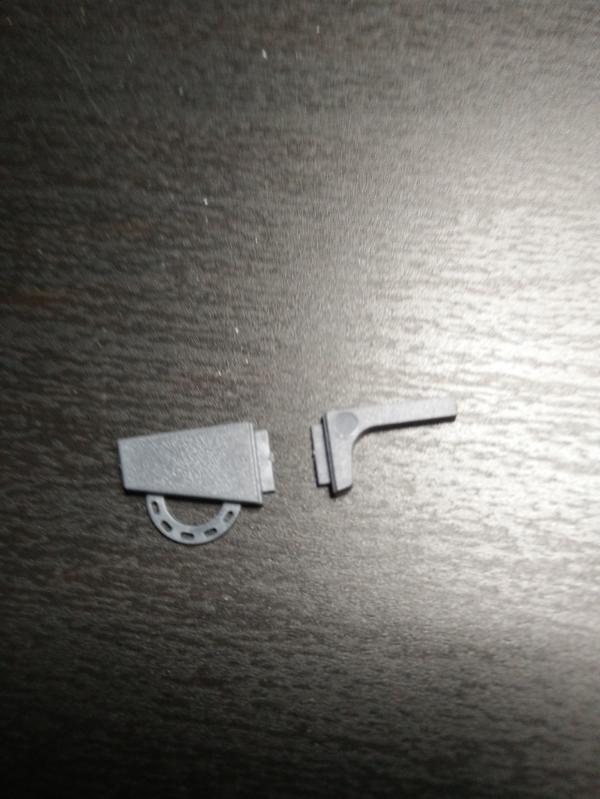
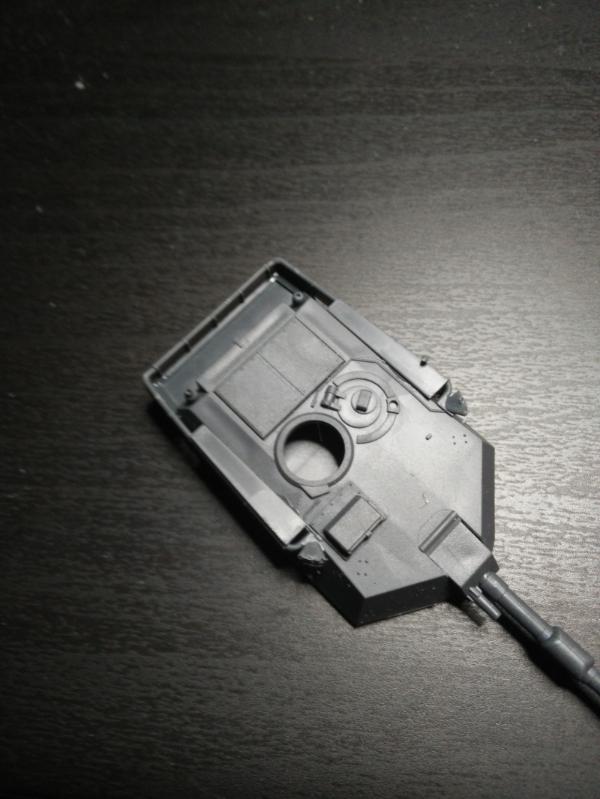
The Rear Skirt Plate
Spoiler:
The M1A1 featured a rear plate (pictured right) that discarded the O Ring that the M1 used to prevent dirt buildup.
It goes on the same way as the regular rear plate shown in the official tutorial. Rest the glued part on a surface upside down to ensure that the plate is lined up correctly, before attaching the skirt to the tank once its dried. I advise that you put some glue on the rear plate itself so it will stick to the hull properly.
Now you should glue together both halves of the Turret as usual before the next parts go in.
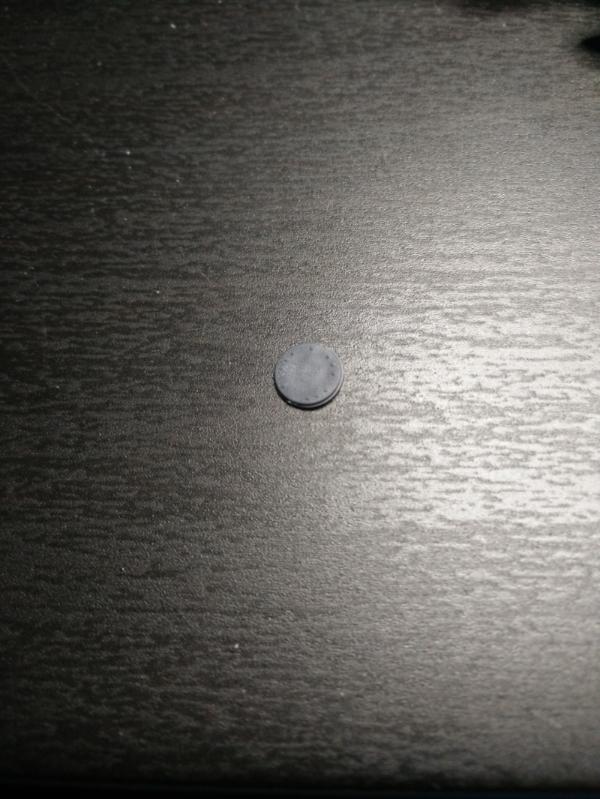
The Blow-Off Panel
Spoiler:
A notable upgrade that the M1A1 received was a newly designed blow-off panel, aimed to be more reliable than the version before it in protecting the crew from an ammo explosion. The new design can be found by flipping over the part that has the original version with 3 separate panels on the sprue.
The new blow-off panel glued in on the turret. Easy peasy!
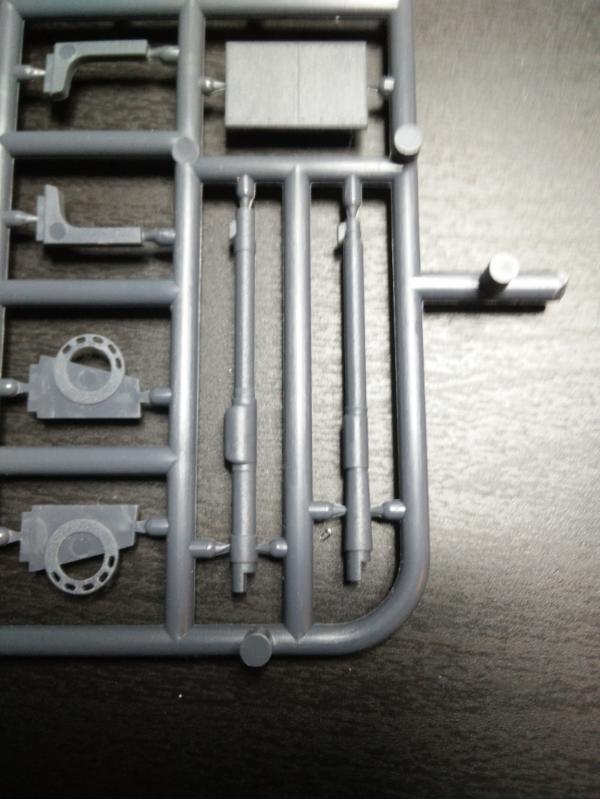
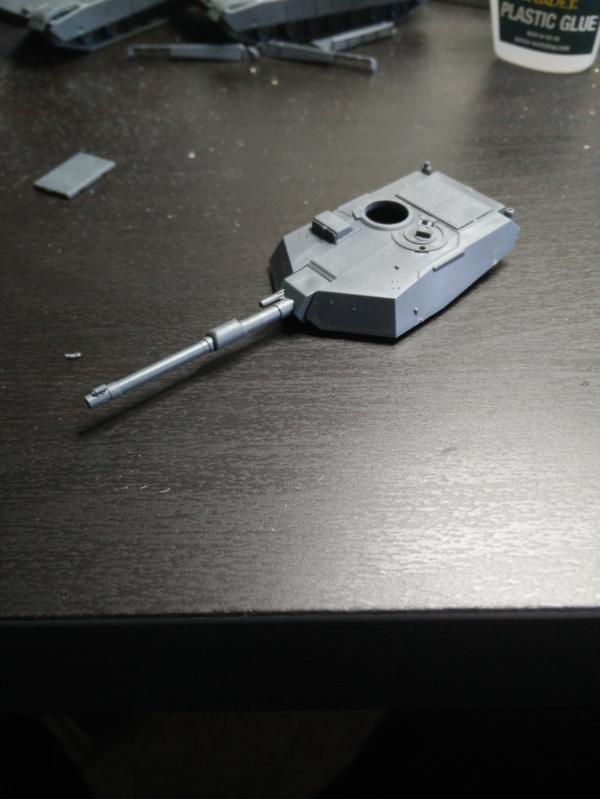
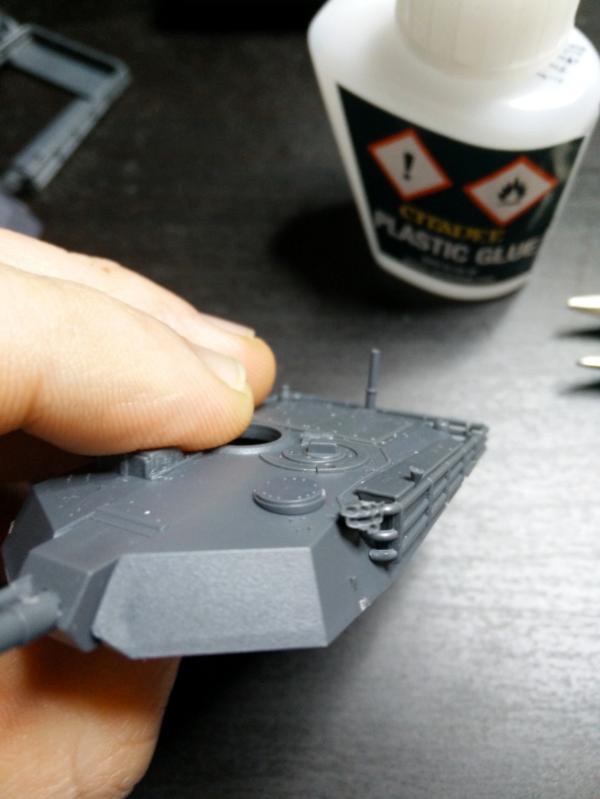
The Gun
Spoiler:
The M1A1 also had an upgraded gun - a 120mm smoothbore over a 105mm rifled gun. You want the one on the left.
Attach the gun to the gun mount in the same way as in the M1 tutorial. Now your turret should look like this:
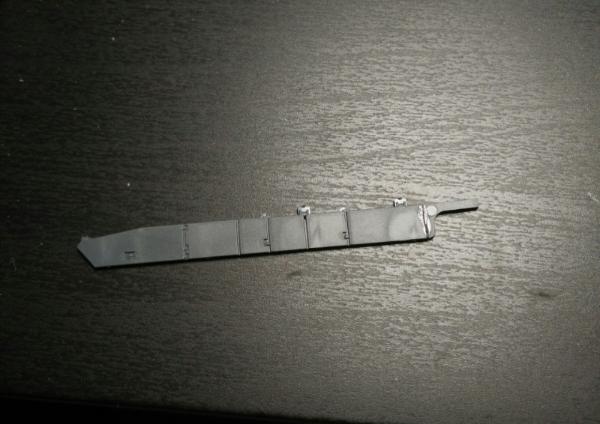
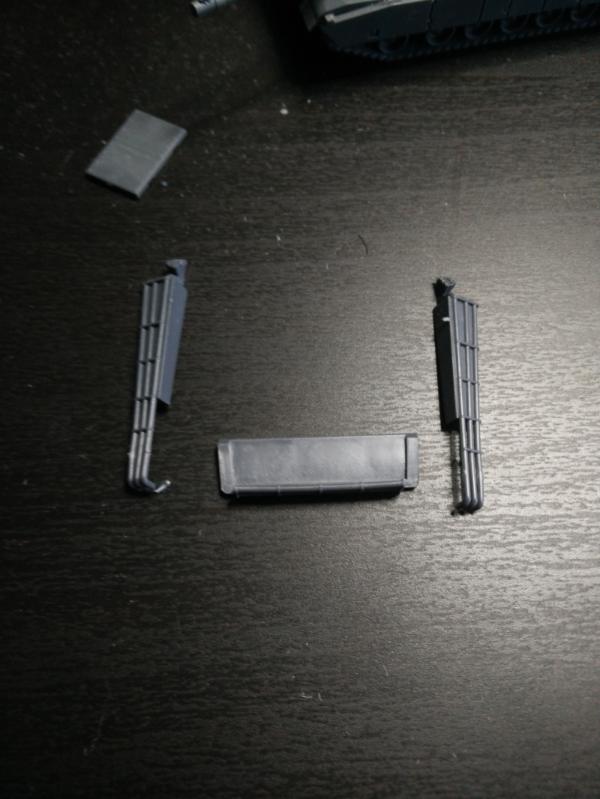
The Stowage Racks
Spoiler:
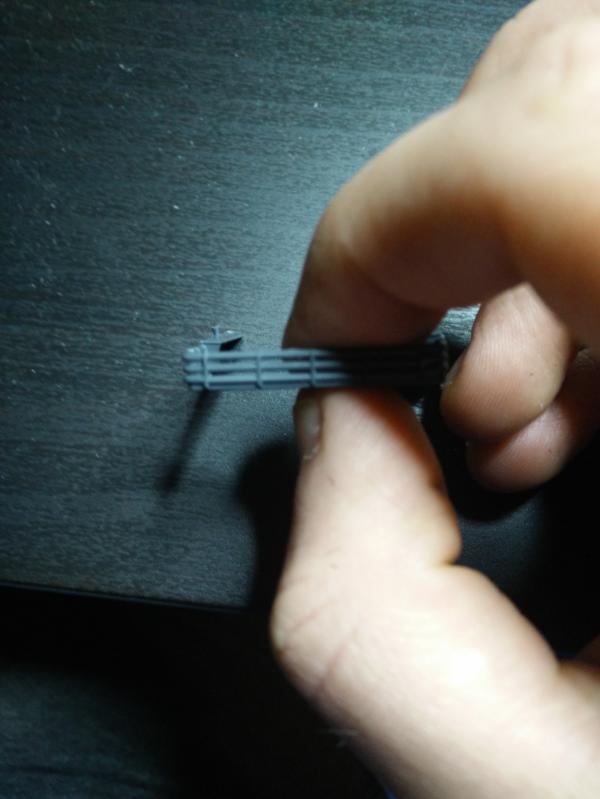
Perhaps the most noticeable difference between the M1 and the M1A1 is found here; the later variant used longer panels as well as a rear mounted basket. These can easily be found on the sprue next to the normal ones. Be sure these parts are properly cleaned and filed down before assembly, or else they will not fit correctly to the basket
Build the entire stowage rack separate to the turret. The rails of the rack should meet the basket perfectly as shown; dry fit these parts to make sure you don't need to file away any more nibs on them before gluing them.
From another angle.
Now glue the whole part to the turret. Pop some glue on top of the tabs you see on either side of the turret, as well as some along the join where the basket and the back of the turret will meet. Place the sides of the racks on top of the tabs, and slide them forward till the basket can go no further. Now make sure the basket is lined up correctly and let it all dry. Now it should look like this:
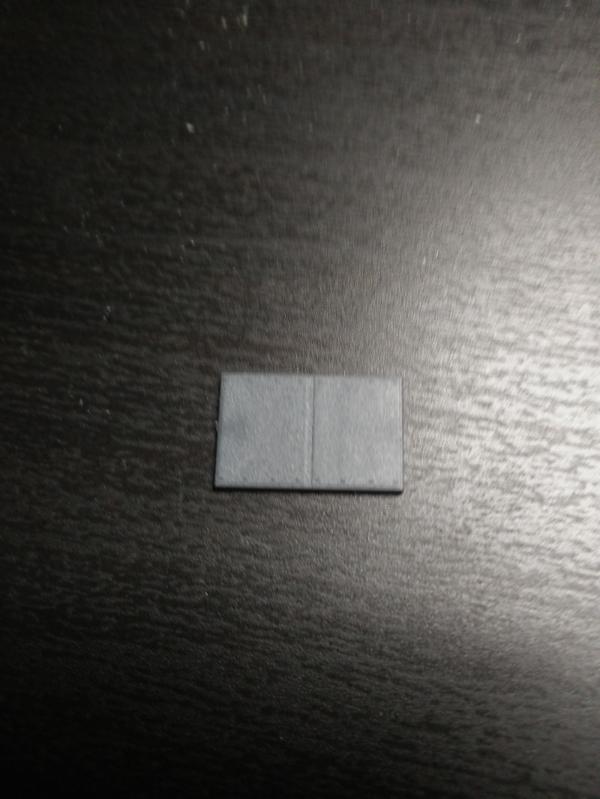
Cover Plate
Spoiler:
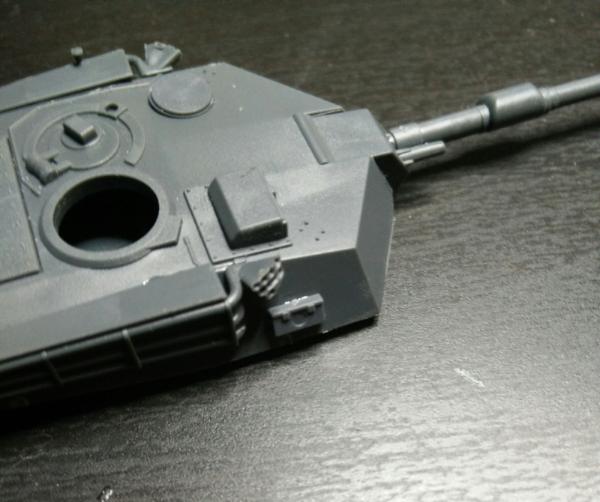
The M1A1 has a very discrete bolted cover plate just in front of the loader's hatch. You'll notice that the part is not level at both ends underneath when you clip it out - this is deliberate, so don't file it straight.
You'll find a tiny notch where the plate fits onto the turret. Orient the plate so that the uneven end is to your right when you look at the turret from the front. You'll want to dry fit the part before gluing; when complete, it should look like this:
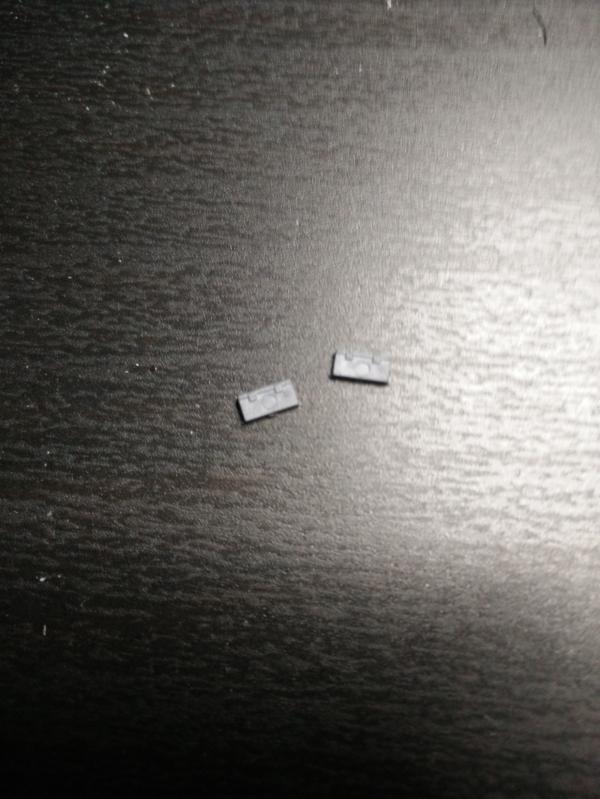
Tool Boxes
Spoiler:
The final stage of assembling an M1A1, these tiny parts actually fit to some equally tiny notches on each side of the turret. I hope you didn't file those off
Slide the tool boxes into the notches on each side, and make sure they line up parallel to the turret. If you accidentally filed down these notches while cleaning the turret, don't panic! Just align the boxes so the top part is close to the bottom rail of the stowage racks and you're in the right ball park. At this scale, precision won't matter too much provided they look parallel to the turret.
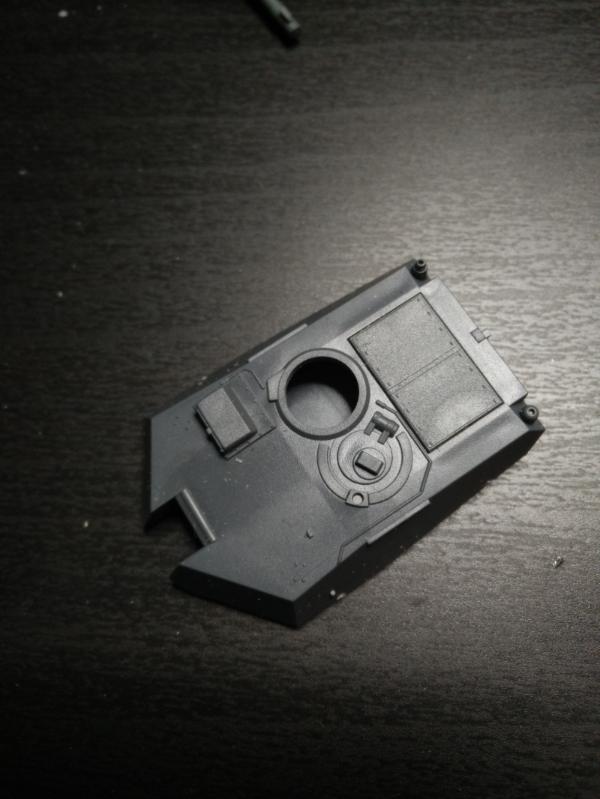
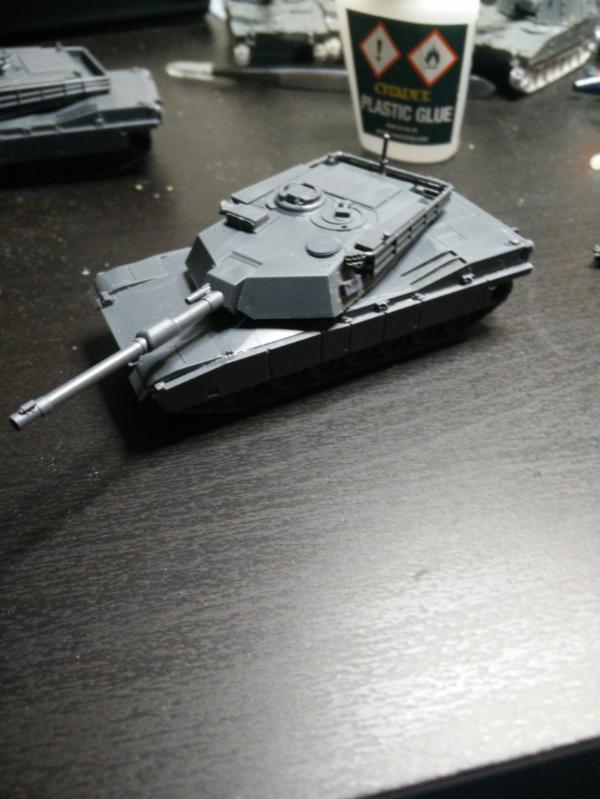
The result! Once I did the stages above, I glued on all the other bits and pieces, such as the turret cupola and crosswind sensor. I have left the machine guns off for easy painting by airbrush, which I recommend you do if you plan to apply MERDC camo to your squads.
And that's a wrap. Hope anyone thinking about jumping into WW3 head first will have an easier time assembling these now there's a tutorial out there!
... Or you could just collect Pact. You commie lover
G.A
This message was edited 2 times. Last update was at 2017/01/19 17:20:14