Long post incoming (but its chock full of neat information and links and stuff

)
1) Exposure Settings.
https://atlas3dss.com/learn
Head to the Atlas site, scroll down a little and download the Amerlabs Town print. Open it up, leave it as is and slice it then print it. When printed, get it off the build plate (it tends to stick quite well) and then wash it and then let it dry. Do NOT cure it. Keep your gloves on when handling anything in an uncured state.
Take a photo of all 4 sides and the top. The link above has a video that can help you start reading it and posting the photos in any good 3D printer forum/facebook/discord should have people able to give further advice. Remember to post your settings, printer and resin alongside the photos of course.
2) Base/bottom exposure settings. These are typically 10X your regular exposure time and the number of layers you need depends on your layer height and the thickness of the raft for your supports. Essentially you need at least 0.2mm in depth of base/bottom/burn layers and then make up the rest of the depth of your raft, plus a little bit more, in transitional layers. That's the rough theory for getting decent bottom layers setup.
As you can see a thicker raft or thinner layer height would result in more layers. The transitional layers help ease the resin from the long bottom time to the regular short exposure time and save your screen a bit of lifespan over just using all one base layer exposure.
As you can see this is setup for the idea of a raft (rafts typically being between around 0.3 and 0.5mm thick). I've less experience setting up for printing directly on the build plate.
2) Elephants Foot Calibration.
https://www.youtube.com/watch?v=-rEUyR9yoBI&t=586s
That video details how you can calibrate your printer to deal with the elephants foot issue and it can get to very accurate compensation values. Of course I would recommend getting yourself setup for regular printing first and getting your core settings calibrated (step 1) before moving on.
3) MDSW mentions scraping the bottom of the
FEP every time you print to make sure nothing is on there. Personally I'd only do that if I've had a failure on the print and even then I'd not bother with that today as it doesn't generally do the
fep any good. Instead watch this
https://www.youtube.com/watch?v=fKzkQZOczVI
If you get a fail basically use that method to clean the VAT and
FEP in one quick and easy go. It's a LOT less hassle and faff than having to drain out the resin and peel stuff off the
fep manually. You will hardly use any resin with this method and its so quick and easy and just makes things ever so much easier. Esp when you are getting started and might well have more failures than normal.
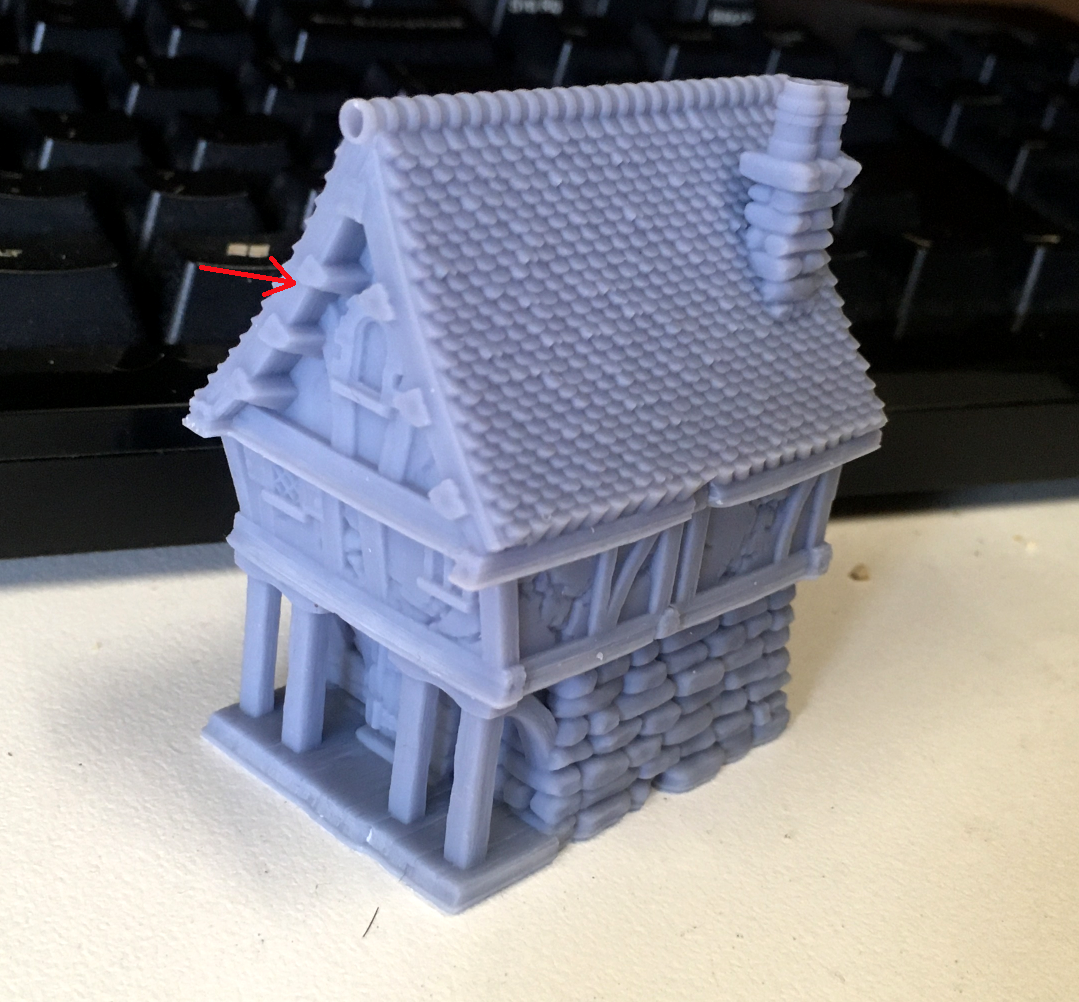
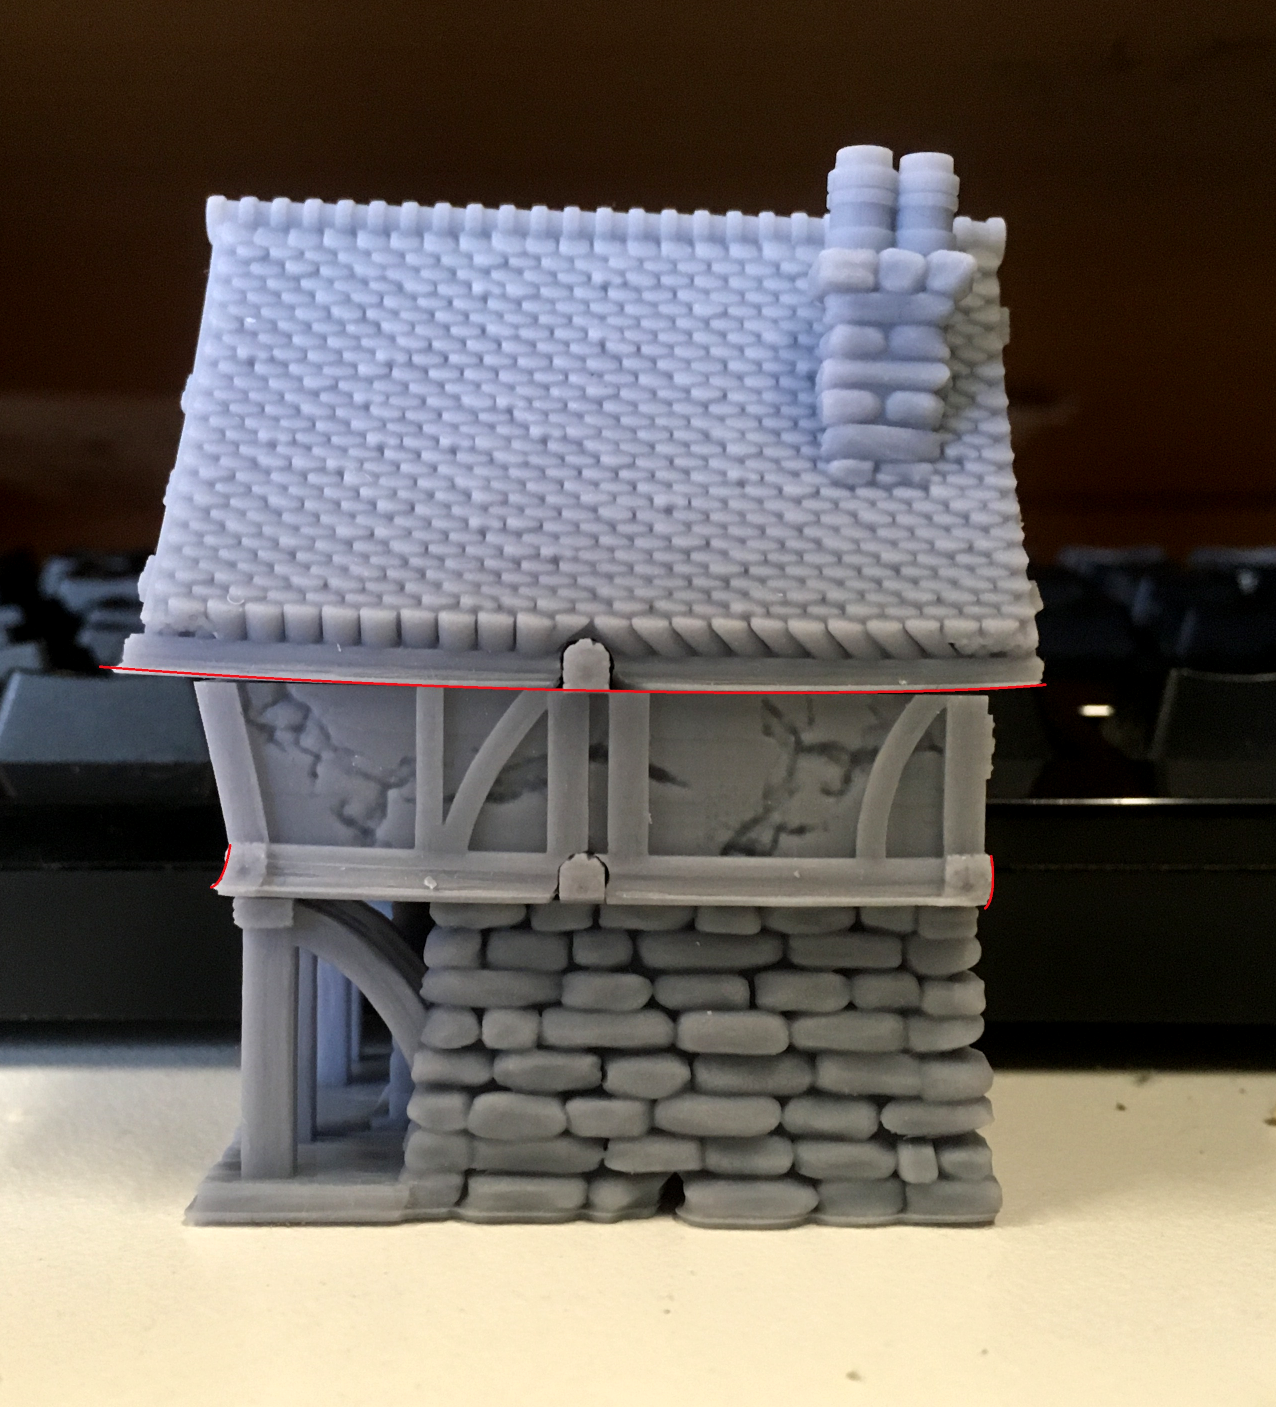
3) The sagging you identify is something that I'd resolve with some light/medium supports under the structure, if you keep to the orientation you're showing. The issue you've got there is a big flat surface in parallel with the build plate and
FEP. That generally is where you'll get the most pulling forces and thus the greatest chance of things being pulled out of shape or pulled off the build plate entirely. That's why many people will angle prints to avoid a big flat surface.
4) With regard to cooling I agree - blast it with UV until it is cured. In general it will lose its tacky feeling and own't scratch to a knife edge easily and then its cured. There is a "
de gasing" phase though which is often overlooked. I know that my own prints I'm certainly looking at similar curing times to what you've experienced and then I tend to leave them on the windowsill for a day or so.
Note that you cannot over-cure resin*. What happens is that resin cures to its final stable solid state; its just that its also brittle in that state and some people try to under-cure a bit to reduce that effect. Technically this isn't good because they are then handling uncured resin
5) I'll put this in as you've started with buildings - if you want too hollow any model do NOT hollow unless you can put at least a 5mm hole into it. You need two holes minimum for draining and one hole has to be early in the print to counter the suction forces generated by a hollow area on the
FEP. However if you can't get at least 5mm holes its not worth it. Smaller holes won't drain out well if at all; they won't flush out resin and IPA during washing and they won't let you get any light up inside. That means you'll have uncured resin inside which will eventually react with the cured resin and crack the model open. If you can't get big enough holes in chances are whatever you are saving in resin by hollowing is just such a tiny amount its not worth it (and asides if the tiny drain holes fail that means you've got a wasted print so that's the entire print wasted for trying to save a tiny bit of resin).
6) For fumes an enclosure does fantastic work at containing them. Resin fumes are nasty things and you want at least a half face mask (covers mouth and nose) rated to filter organic particles. If you feel worse then a full face mask.
7) For enclosures you can make or buy one - I'd recommend whatever you do make an insulated enclosure to lock in both fumes and heat. If you enclose the printer you can then also put air filters into it (Elegoo make a pair of air filters that work pretty well) and you can also put a duct pipe on to duct the air out of the printer and enclosure and into the outside world. So that can really help cut down on dangerous fumes from the printer.
8) Get yourself at least one, if not two, digital thermometers that record both current temp and log the min and max temps over time. They aren't too expensive and they mean that you can monitor your printing environment over long periods of time. One thing people have issues with is temperature, resins need at least 20C to work well (some need more but they often state it on the package/site). Any lower and things start to fail. So monitoring temps is important, esp overnight or if you duct the printer to an outside environment (esp if you put a little fan in the duct to help blow the air from the printer to the outside).
Have a read here if you have issues with things getting too cold.
https://printhunter.org/2021/12/20/resin-3d-printing-and-temperature/
If things get too hot (I see you are in Australia) then things can also start failing, so if you've got a normal resin (ergo min 20C) chances are things will start failing/having issues once you push past 30C or so (again varies a bit resin to resin)
*ok technically you can because eventually UV degradation would set in, but you are going into vast extremes there.
Automatically Appended Next Post:
Oh and just a point on eco resins and such - because the marketing does not make mention of it and its often glossed over.
ANY kind of resin is bad for you/the environment when in its uncured state. If its liquid or part cured its bad. That means wearing your ppe (nitrile gloves; facemask; eye protection) when working with liquid and uncured models. It means any materials (towels, surfaces, etc....) that come into contact with resin in that state requires curing before disposal (leave it in the sun).
IT also means any liquids also need proper disposal. Even Water Washable resins require the contaminated water to be processed before disposal. Typically just leaving the water in the sunlight to evaporate off and then the residue can be left to be cured before disposing.
Regular resins washed with IPA are the same, with the bonus that IPA evaporates much faster.
Many eco resins make a lot of boasting about being low odour but that doesn't mean they aren't giving off dangerous fumes just because you can't smell them