The Curse of Ragnar
(AKA Viking psychological warfare)
A Viking coalition (my 21 year-old son) v. Kingdom of the Isles Scots (me)
War and Conquest - 2500 Points (we like the splendor of the big battles)
Terrain: several hills and a couple pieces of broken ground
Set up: Winter campaign (in Scotland? Are ya nuts?)
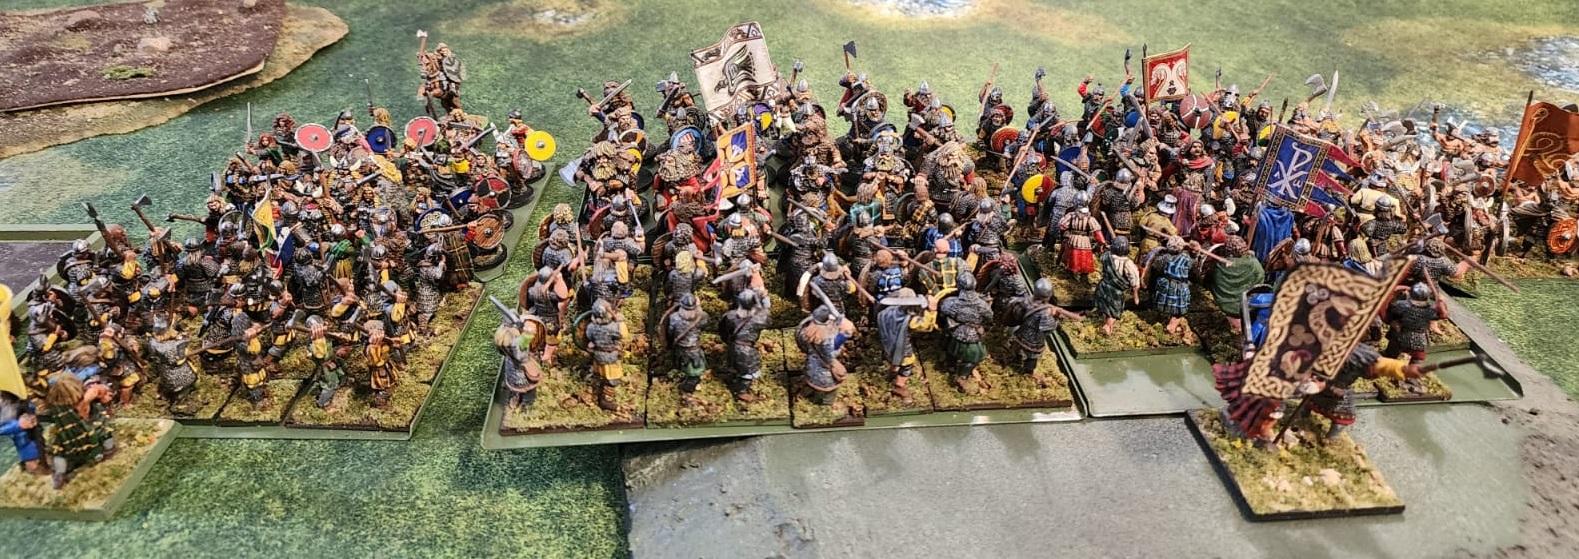
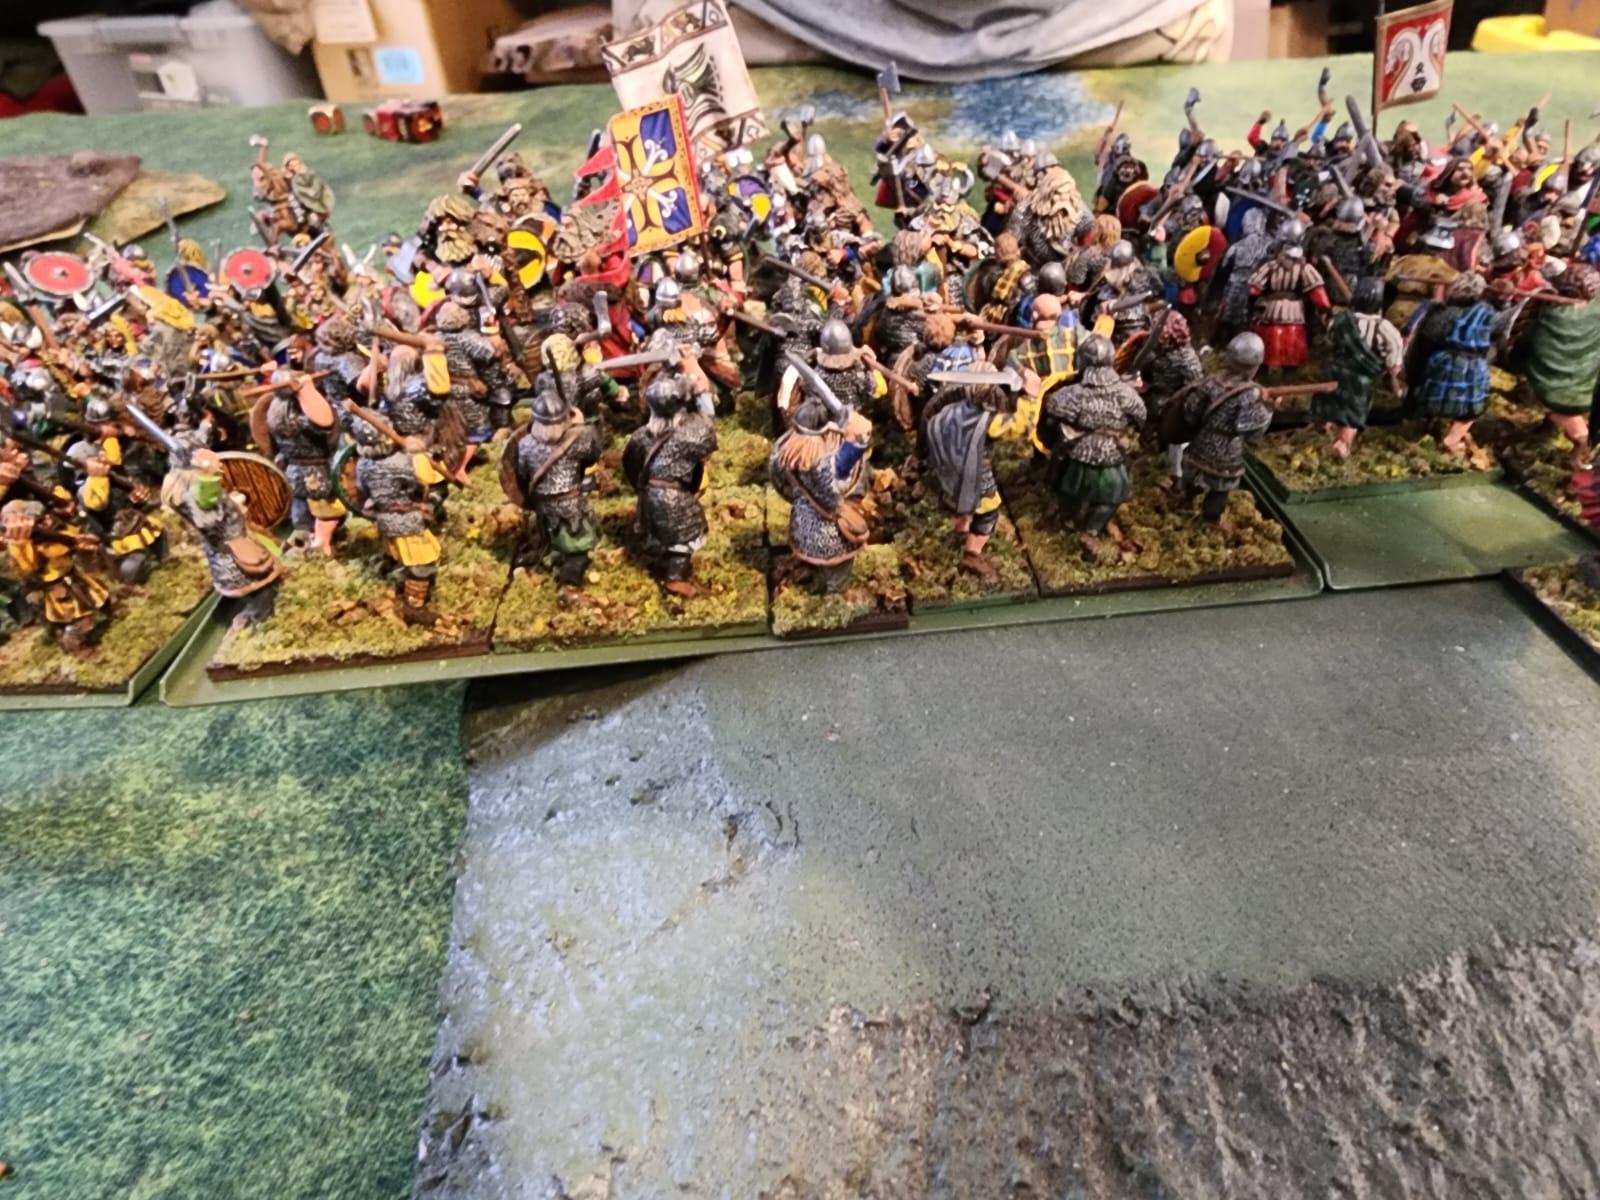
Vikings
Note: Unit nicknames are based on their Flag
Ragnar the Unlucky (commander)
Lagertha the Hot (wing commander)
12 x mounted raiders w/ javelins
24 x Huscarls w/ throwing spears
24 x Hird w/ throwing spears (AKA shield Maidens)
24 x Bondi from Orkney Islands (AKA Mermaids)
36 x Fred’s Bondi (so named because I got them from my brother Fred)
16 x Bondi Archers
24 x Dublin Vikings (AKA the Bulls)
24 x Viking Raiders (AKA the Dragons)
21 x Beserkers
Kingdom of the Isles
Somerled the Mighty (commander)
Darrah Stout Heart (wing commander)
10 x light horse
28 x Irish retainers (Huscarls)
32 x Gilliebride’s company (better islemen)
24 x Dubghall’s company (lesser Islemen – the “Greens”)
24 x Ragnall’s company (lesser Islemen – the “Blues”)
40 x Gallowegians
16 x Highland warriors with bows
24 x scouts with javelins
Turn 1: Islemen win initiative, but give Vikings first move
Nothing much happens as both armies advance
Turn 2: Islemen again win initiative and have Vikings move first
The Viking berserkers attempt to charge the Gallowegians, but fail.
Viking archers cause a pair of casualties to Ranald’s company
Islemen turn
Having lured the Vikings close, the Islemen unleash a massive charge on their left center and refuse the right. The far left flank is covered by the light horse and Dugald’s company.
• The men of Galloway charge the Berserkers and sent them packing, but in one of the worse pursuits in the annals or war, the Berserkers flee 3 inches but the men of Galloway only pursue two.
• Somerled and his Irish retainers defeat the shieldmaidens, but another lackluster pursuit (2” again) allows them to escape.
• Gilliebride and his better Islemen charge uphill to come to grips with the Ragnar;s Huscarl’s. Ragnar is defeated, but his men fight on.
• Ragnall’s company of lesser Islemen charge the “Dragons” but are beaten off.
Lagertha the Hot rallies her shield maidens. Ragnall’s company rallies as well
Turn 3: Somerled and his Islemen maintain the initiative
Somerled charges the rear of the shieldmaidens, they flee and escape.
Gilliebride’s better islemen defeat Ragnar and his Huscarles, but they escape (thanks to yet another 2” pursuit – we were laughing our heads off at this point)
Viking phase:
The Dragons charge Ragnald’s company of lesser Islemen; the Islemen are defeated but stand.
Fred’s Vikings charge and defeat the Highland warriors, but the later stand as well.
On the far left, the Viking horse charge Dubghall’s lesser Islemen. They fight to a standstill.
End phase:
Ragnar & Lagertha rally their troops yet again.
Turn 4: The Vikings finally win an initiative (after three rerolls)
Ragnar & Lagertha both form shieldwalls.
The Dublin Vikings charge and easily drive off the Highland scouts.
The Dragons easily defeat Ragnall’s Islemen. They route and are overrun.
Fred’s Vikings again defeat the Highland warriors, but they miraculously hold on.
Dugald’s Islemen defeat the Norse Horse, who escape thanks to yet another 2” pursuit.
Islemen phase:
The Scot’s light horse charge and overtake the fleeing Norse Horse.
The men of Galloway maneuver to threaten Ragnar’s flank.
Somerled and his retainers again defeat the shieldmaidens, but the grimly hang on (thanks to a SIP)
Gilliebride also defeats Ragnar’s Huscarls, but they also fight on (thanks to SIP)
Fred’s Vikings decisively defeat the Highland Warriors, but they are fleet afoot and escape.
Turn 5: Vikings keep initiative
The Vikings have completely crushed the Islemen right. But the again then Islemen have crushed the Viking right.
Somerled and his Irish continue to push the shieldmaidens back, but they refuse to break. Likewise with Gilliebride and his struggle with Ragnar.
Islemen:
The highland light horse gallop to threaten the flank of Lagertha.
The men of Galloway charge Ragnar in his flank with predicable results; Ragnar is finally defeated and overrun. The men of Galloway have captured the Raven standard.
Lagertha continues to fight hard v. Somerled and his Irish (thanks to a ridiculously lucky armor save of 8/10 on a 4+)
Turn 6: Initiative returns to the Islemen
The highland light horse attack Lagertha and her shieldmaidens in the rear. Engaged on two sides, Lagertha finally routes and is overrun.
Vikings:
The Dragons form a shield wall. Viking archers kill a couple of Gallowegians.
Turn 7: Scots initiative
Light horse charge Viking archers lose a couple to “fire & flee” and overrun them.
Men of Galloway try to charge the Dublin Bulls, but fail to reach.
Vikings:
The Bulls fire a devastating volley of javelins (5 casualties) into the Gallowegians.
Turn 8: Scots initiative
The men of Galloway charge and defeat the Bulls, even though the Bulls escape, the Orkney Mermaids flee in panic,
The remaining Scots are unwilling to charge. So they just kind of watch each other.
Turn 9: Viking psychological warfare
And here is where objective cards came into play.
The Islemen drew “Pitched Battle” meaning I had to destroy seven of the nine Viking units. So far I had only destroyed four, with a 5th about to route off the table. The surviving Vikings were relatively unscathed, whereas most of the Islemen had suffered significant casualties, so any further combat was unlikely to have a favorable outcome for the Islemen. Also, Somerled couldn’t be put as risk as he only had one wound left. I did want to make sure the Bulls were chased off the board in case I needed the points.
And it was right here that the Vikings used a sneaky psych trick. The Vikings drew “Test of Strength” meaning they would score an automatic victory if they had a unit in good order in my deployment area while not having any enemy in his. So as I was trying to decide which unit should chase the Bulls off the board, my son suggested, “Why don’t you use your cavalry.” So I did. Because that is what cavalry is for.
And so, on the last turn of the game, I moved my last unit out of his deployment area, thereby handing him victory. Thanks to my son’s dirty pysch trick.
Couldn’t be more proud of the boy!
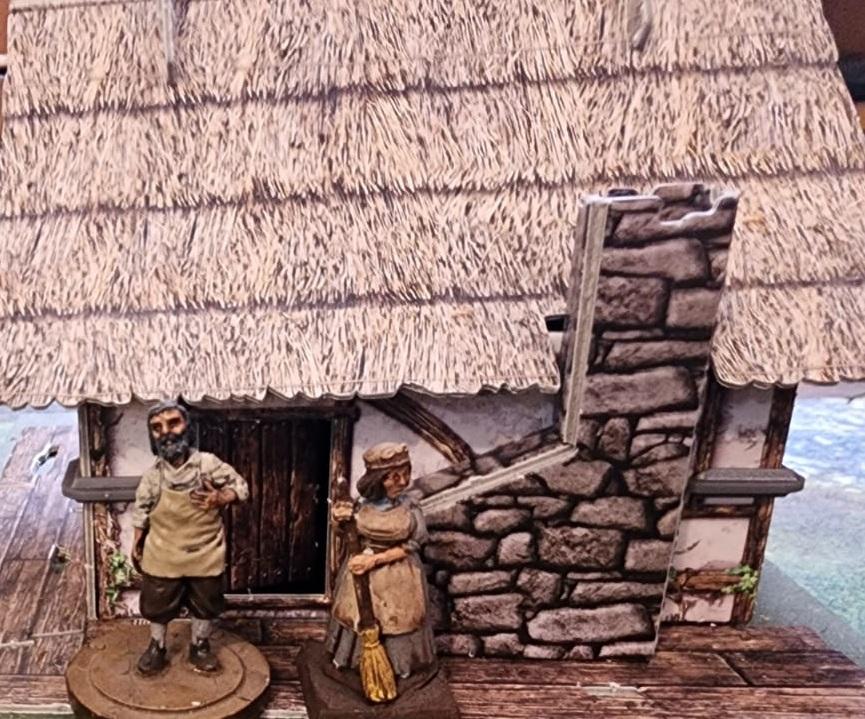
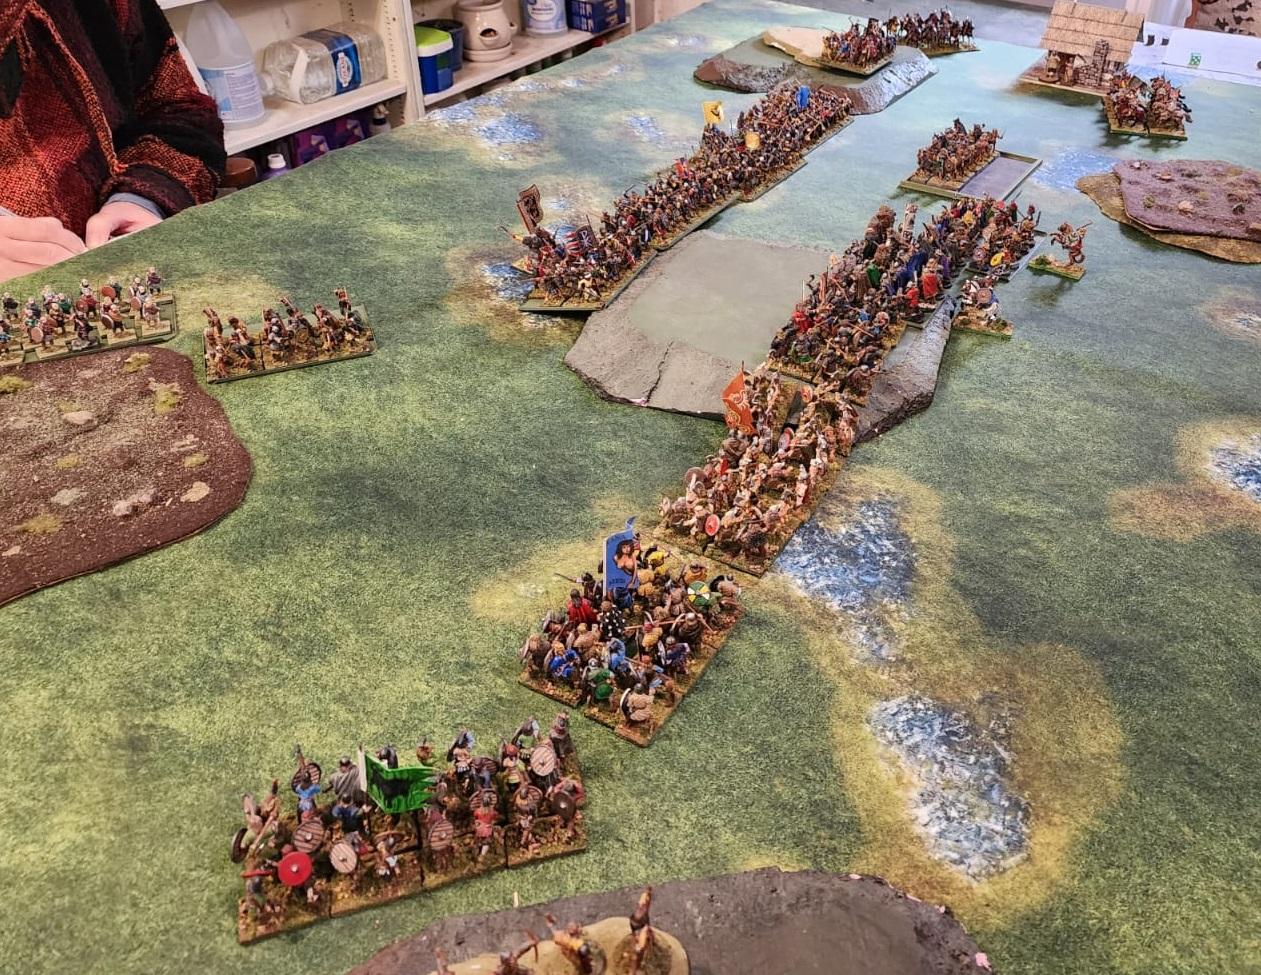
The Battle of Old MacDougall's farm
The set up. Islemen on left, Vikings on right
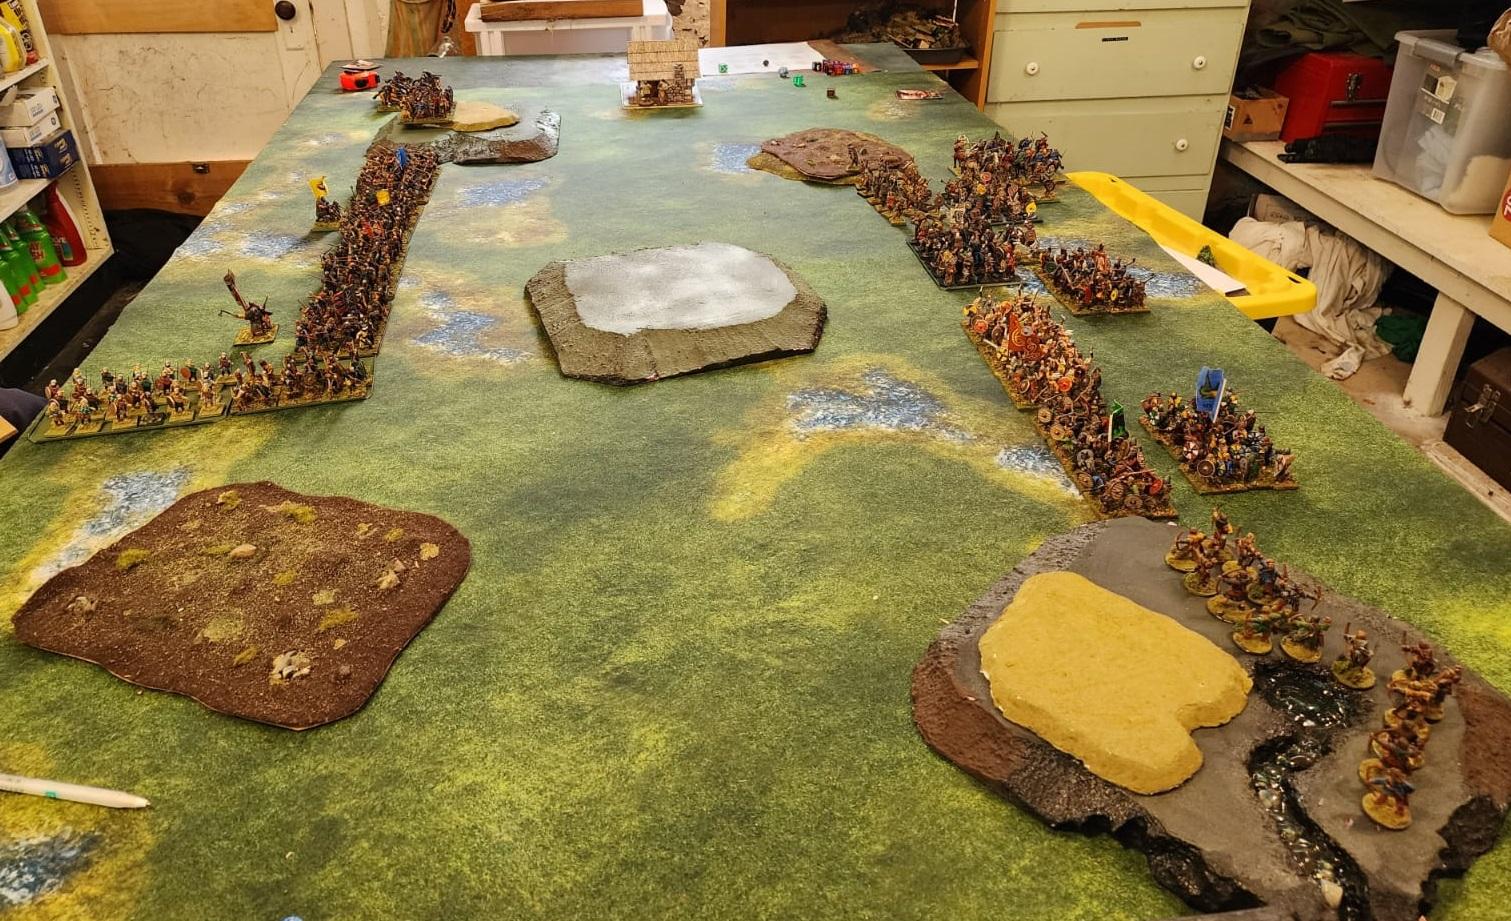
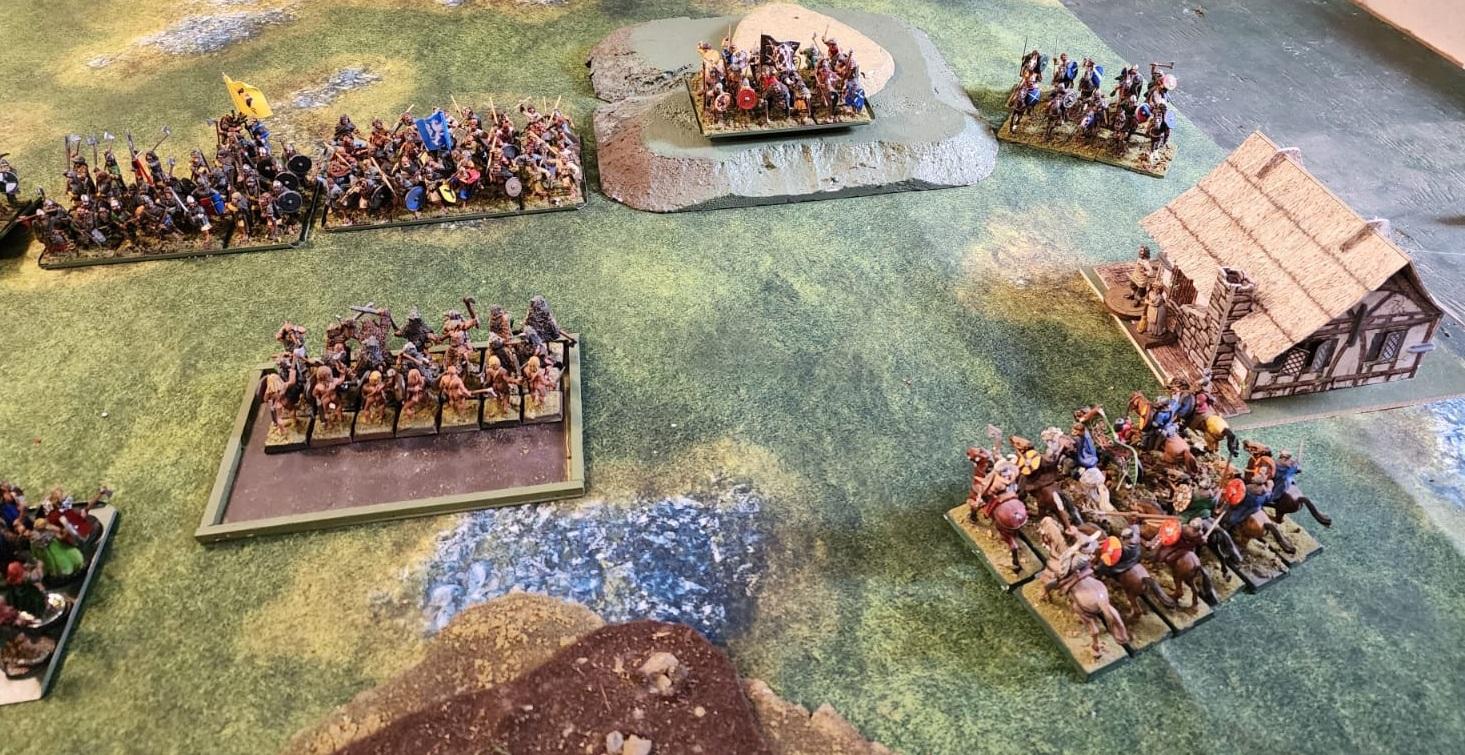
The armies approach
The Viking right
The scrum in the middle
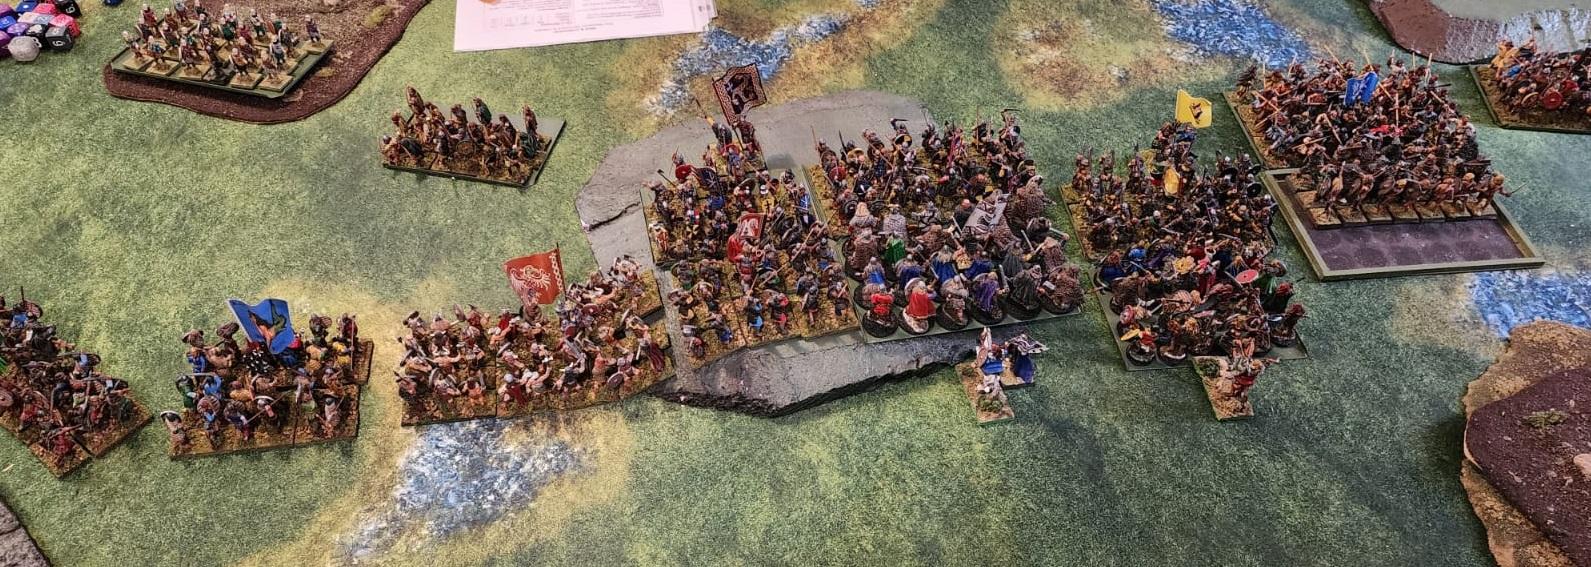
The Islemen POV