Played my first combat patrol this past weekend, having my IG face off against my roommate's Nids. We took some photos so here it is, lists and all!
Army Lists
IG
HQ: JO w/ ID, bolter, 3 flamers
Demolition Squad
Elites: 5 vets w/ 3 plasma
Troops: Platoon. JO w/ ID, 3 flamers, 2 squads w/ heavybolters/flamers
Nids:
3 Warriors w/ deathspitter and devourer
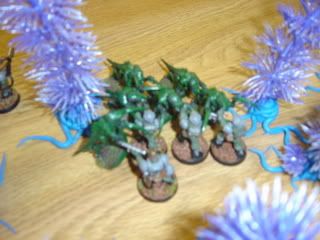
4 Raveners
15 Hormagaunts
Set Up:
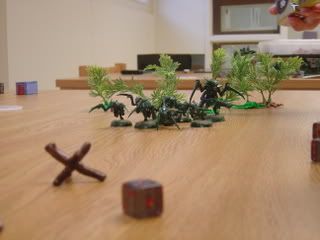
The Nids deployed hiding behind a large forest in the middle of their deployment zone.
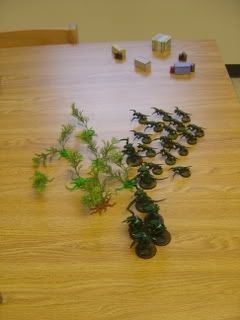
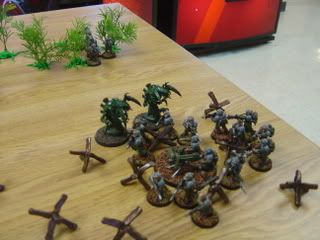
The guard split up, with the vets and PHQ on the left flank, the HQ and a Inf Squad(A) in the middle, and the other Inf Squad(B) and the demo squad on the right flank.
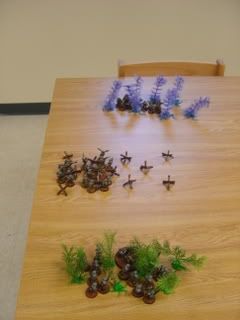
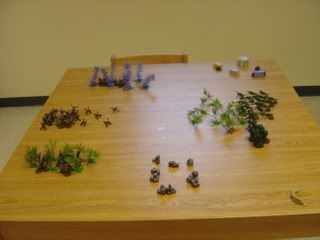
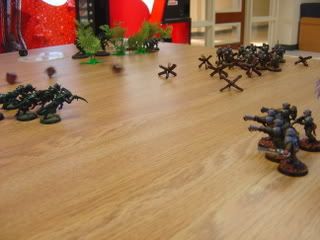
And here is the table:
Turn 1:
Nids go first; the Warriors and the Hormagaunts move forward into the forest, and the Ravenvers moved towards the cover at the bottom of the table. Nice shooting from the Warriors leaves half of Squad B dead. Raveners and Hormagaunts fleeted, getting closer to the IG gun line.
On the left flank, the Platoon Command Squad moved up ahead of the vets, readying their flamers for the on coming hormagaunts. The veteran squad fired three plasma shots, resulting in one hit and 2 over heats. Luckily for the Guard, both overheats made their save, and the hit wounded a warrior. In the middle, Squad A was able to finish off the warrior with heavy bolter fire. On the right flank, Squad B wounded a Ravener, and the demo squad's lasguns downed a hormagaunt.
Turn 2: The main Nid force jumped through cover, ending up in the middle of the table with nothing to hide behind. The Raveners were able to advance, fleet and eventually assault the remaining members of Squad B.
Shooting from the Warriors downed a single vet. The Raveners annihilated the members of Squad B, losing a Ravener in the process. They were unable to consolidate into the Demo Squad.
On the left flank, the Platoon HQ broke from cover, heading right for the hormagaunts, toasting 4 with flamers.
The vets killed another warrior, and fire from Squad A killed another four hormagaunts.
The Demo Squad forced a moral check for the Raveners, who broke, fleeing towards the Warrior.
Turn 3
The Hormagaunt squad broke forwards, assaulting the vets in cover, each side lost 3 combatants, resulting in a draw.
The Raveners assaulted Squad A, which lost but passed their moral check.
The Warrior shot at the Demo Squad, killing 3.
Every guard unit not in combat moved to assault and assaulted. Eventually, two turns later, the Guard were able to overwhelm the Tyranids in close combat. The Warrior fell to plasma and lasgun fire, giving the guard a close and costly victory!


 ).
).