In this installment I go about making a endurance class light cruiser, altho, it could quite easly be altered to be a endeavour or a defiant class, read on to see how
Parts:
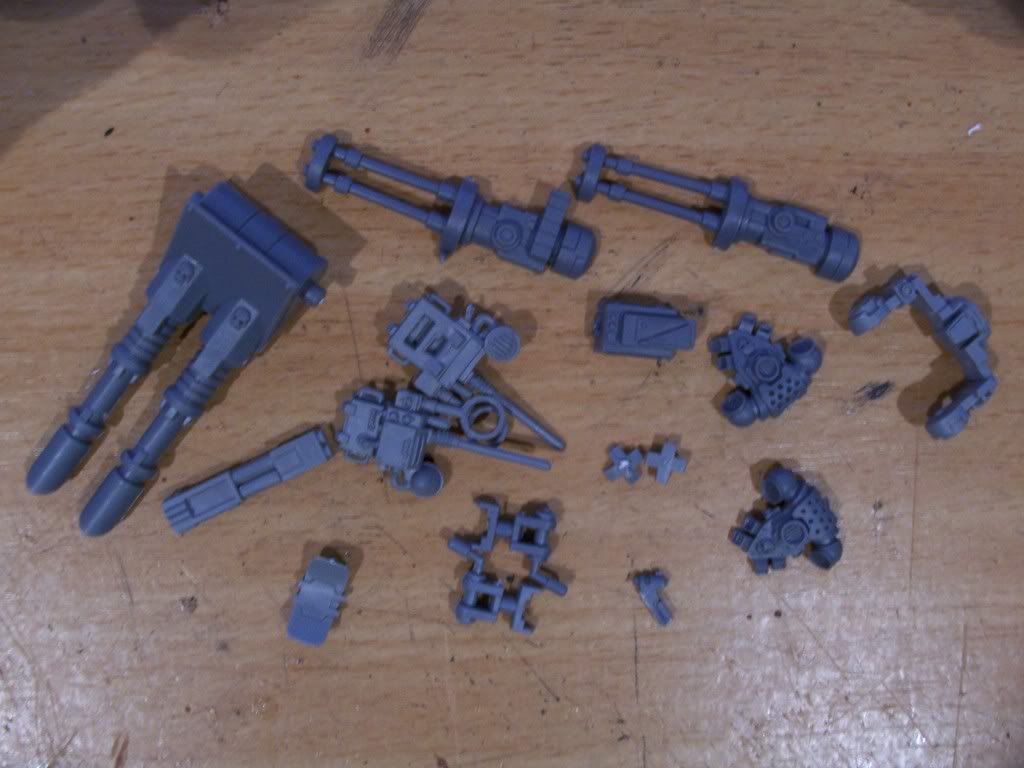
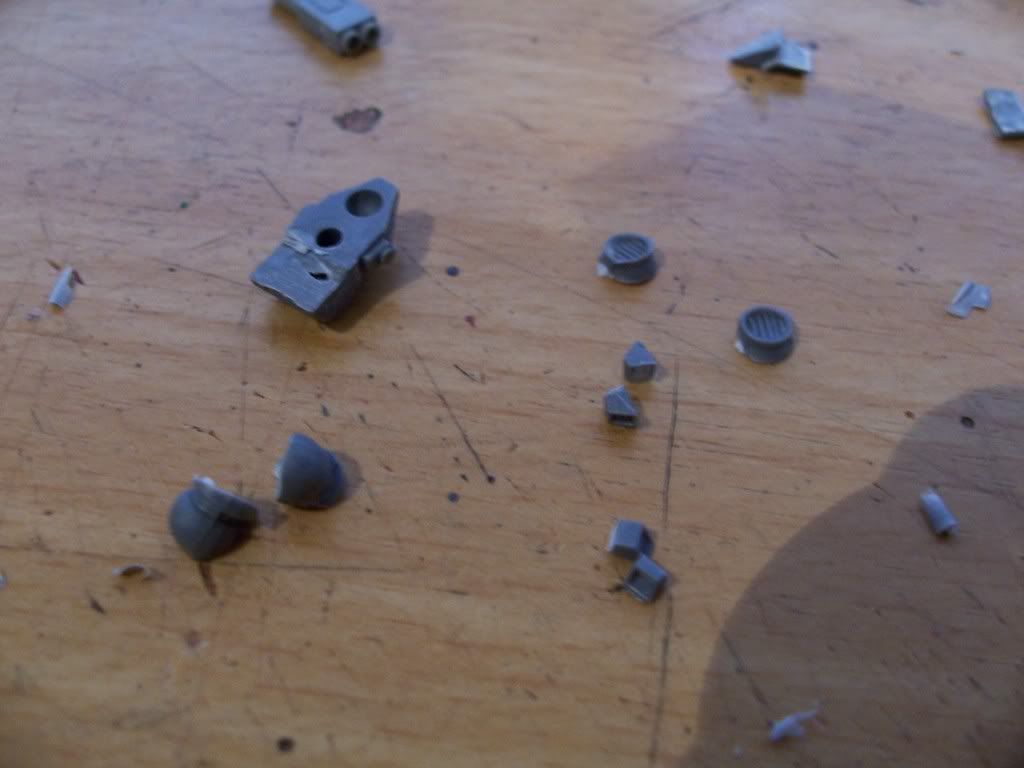
I chose to use a pred las turret maily because its possible to cut it in half and make 2 ships, thus making it cheaper if your buying the bits off BWB. (the havoc launcher holder isnt really nessasary, youll see why) 2 offcuts from other projects are used here, 2 are SM vehicle dish stands/mounts and a tau flamer tip, both from the cobra project.
Step 1: carefully cut the pred lascannons in half and remove the coloured in bits as shown:
Next: For a change, the fron bulkhead is going to be made from one pivot point from the havoc launcher holder, as shown:
You might need to enlarge the hole in the lascannon barrel for the pivot nipple to fit in.
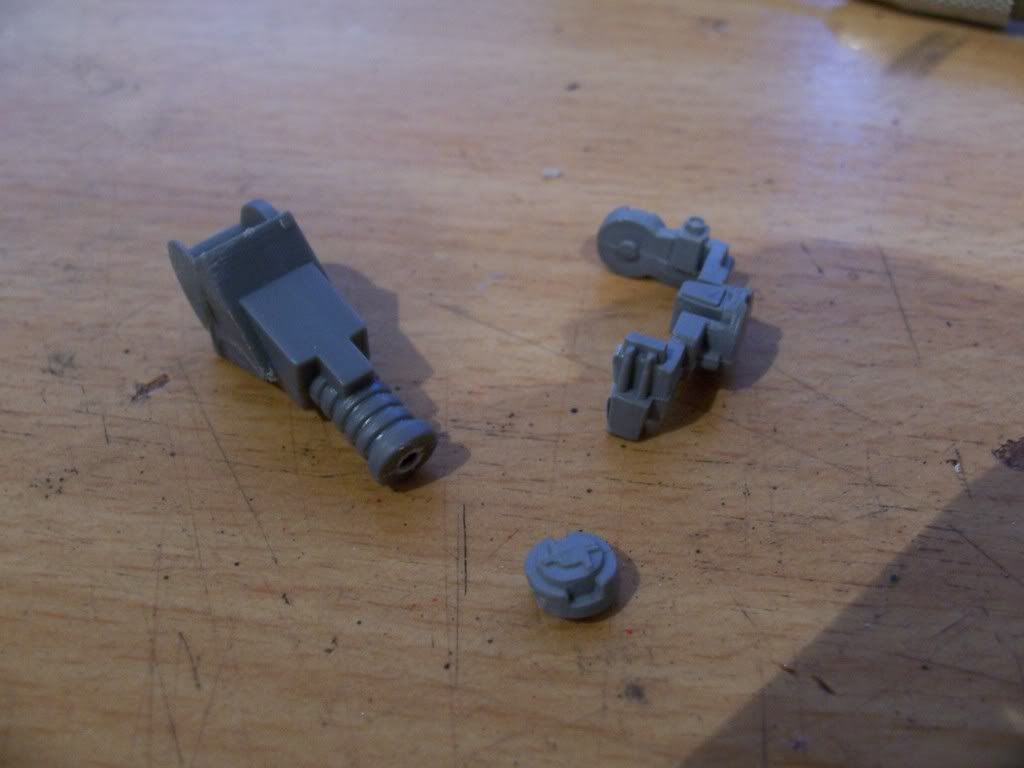
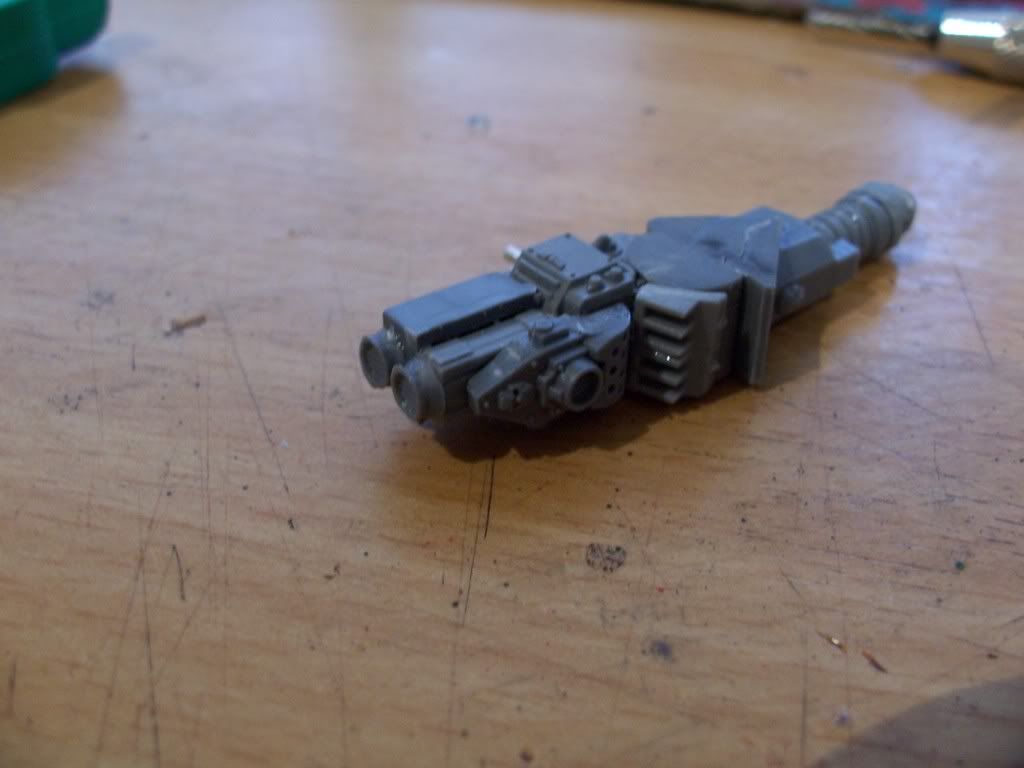
Step 2: Bulking the ship out, to start off, cut off any extremities from the 2 vox casters, including the raised area on the back:
Next: Glue the vox casters back-to-back then into the gap in the underside of the lascannon, and one of the speakers onto the front of the ship, like so:
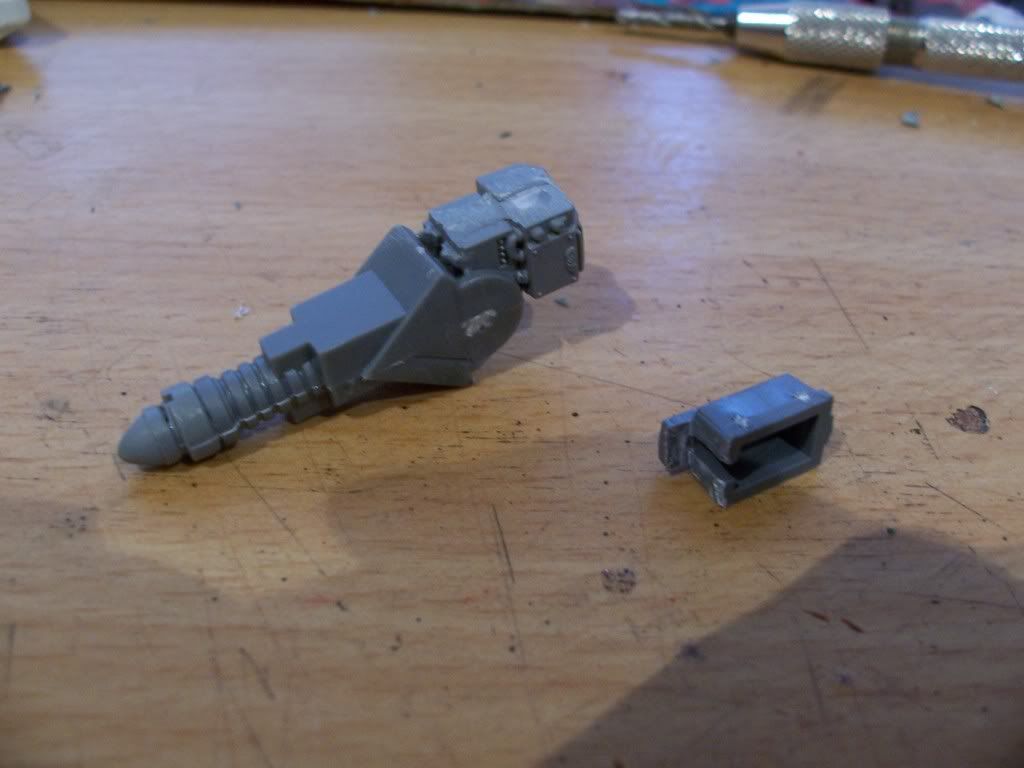
Also shown, is the prepared IG lascannon battery which is to be attached to the back of the vox casters.
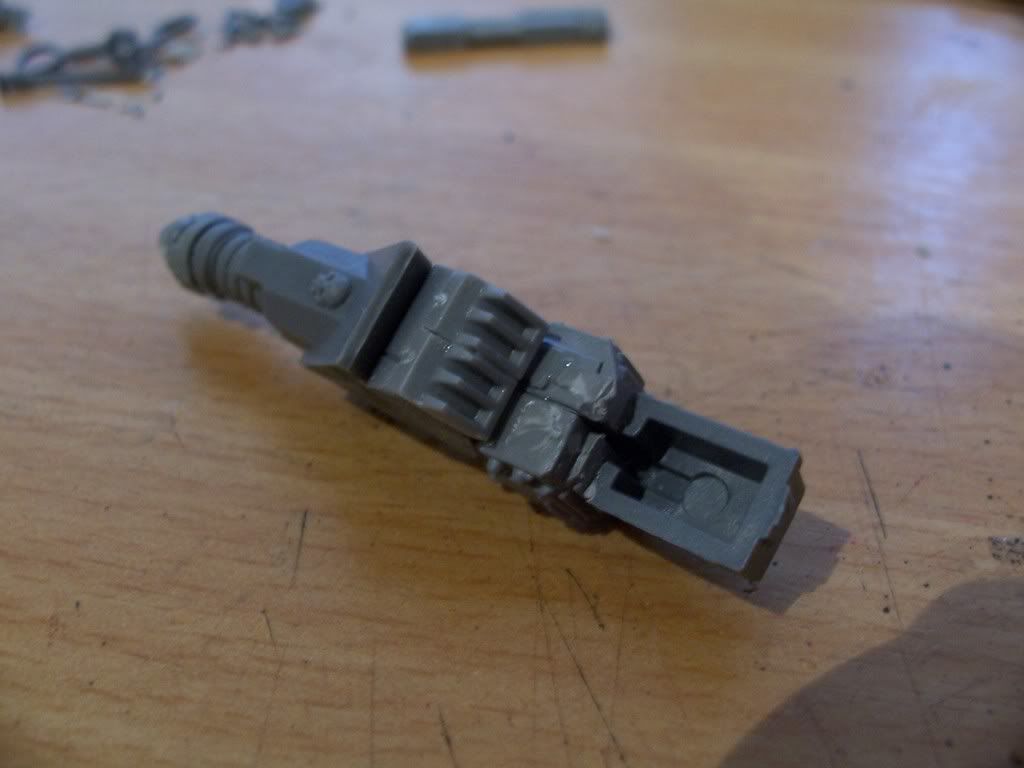
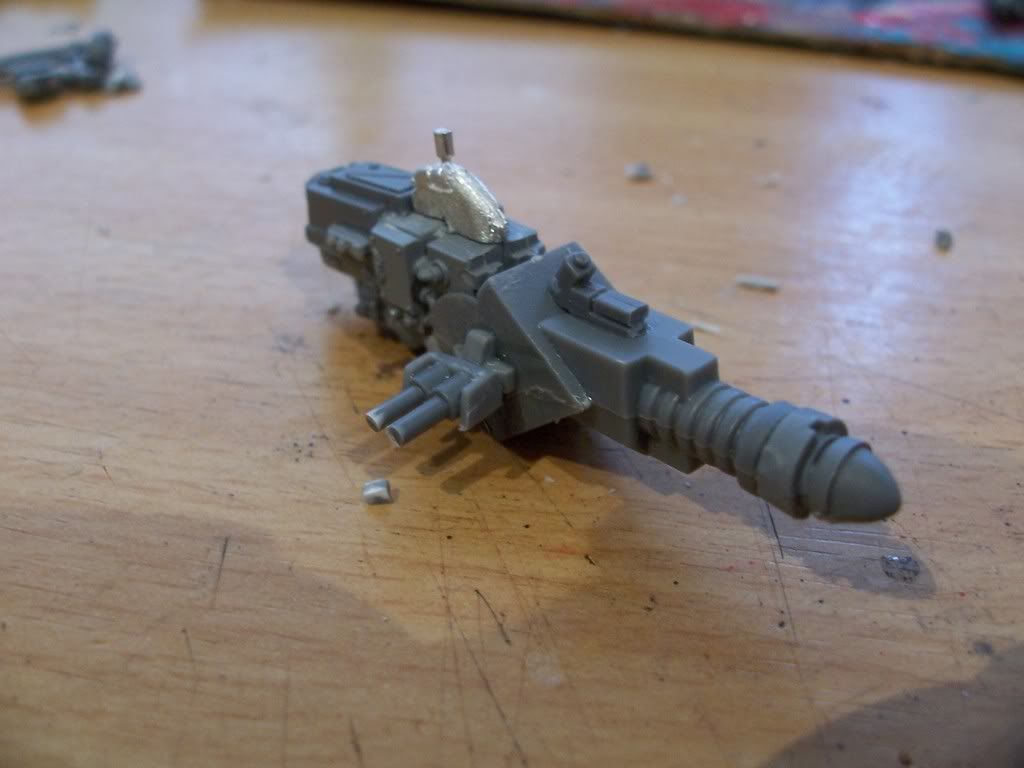
Next step: Cut a SM radar dish in half and cut off the top, bottom, and now inner sides of the dish which are beyond the supports, and glue to the top of the pred lascannon circlely part. Dont get it? I dont, see next pic (the las battery is also attached):
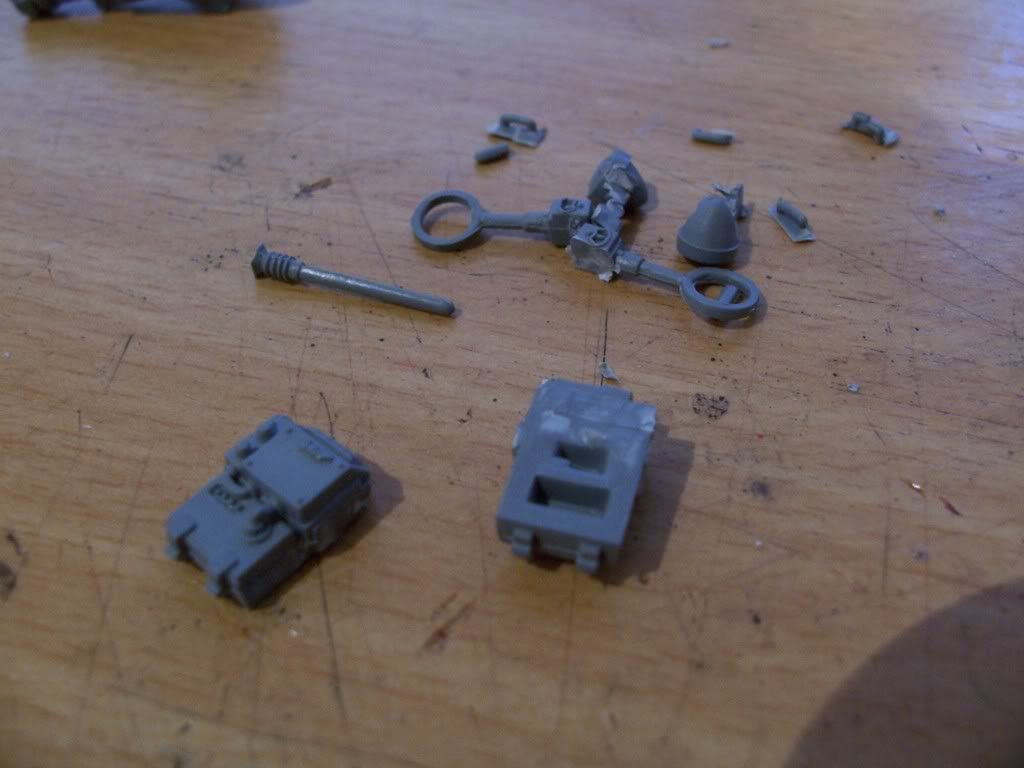
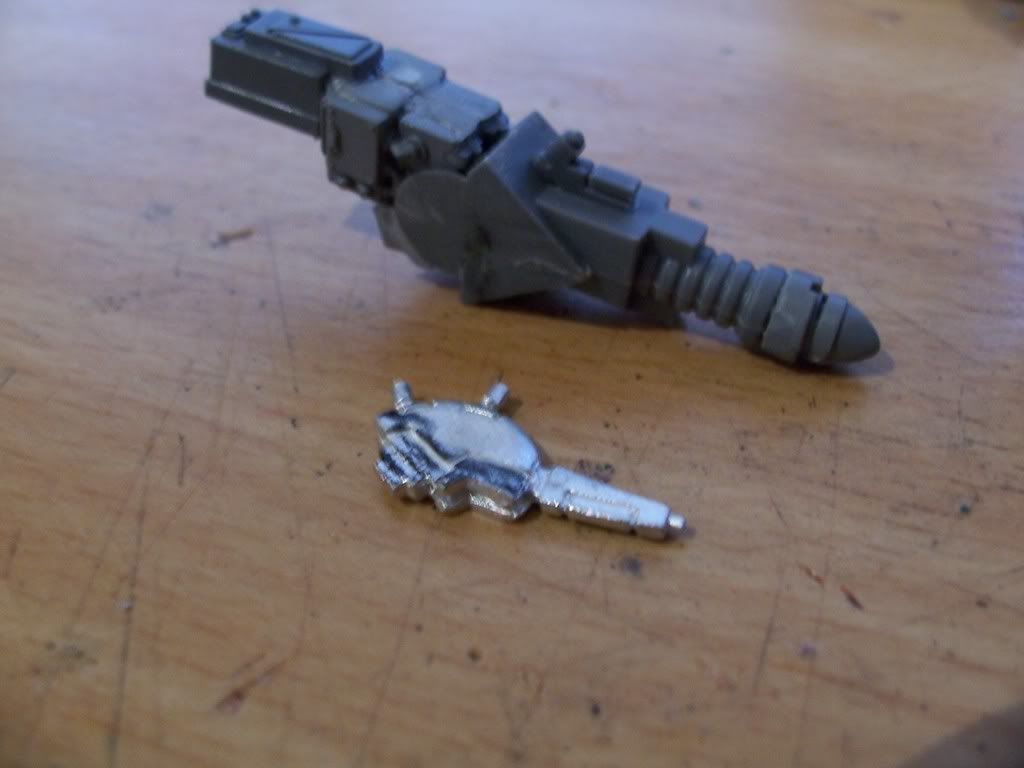
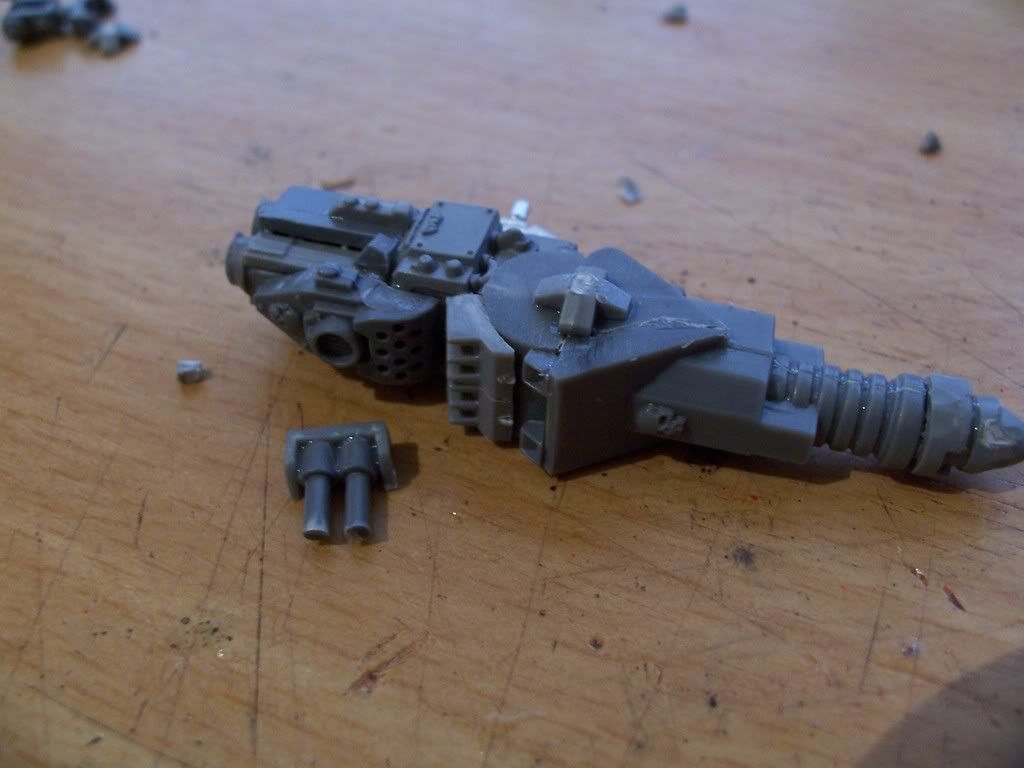
Step4: the bridge. Which is made out of a Tau command and control node. All the coloured in bits are to be cut off (Kinda hard to see), the flamer tip was also attached:
Next: some more bulking out, this time with a bit of the tau skyray marker drone (see pic, Im no good at describing things, the offcut on the left), which is attached to the underside of the las battery, and the bridge is also in place:
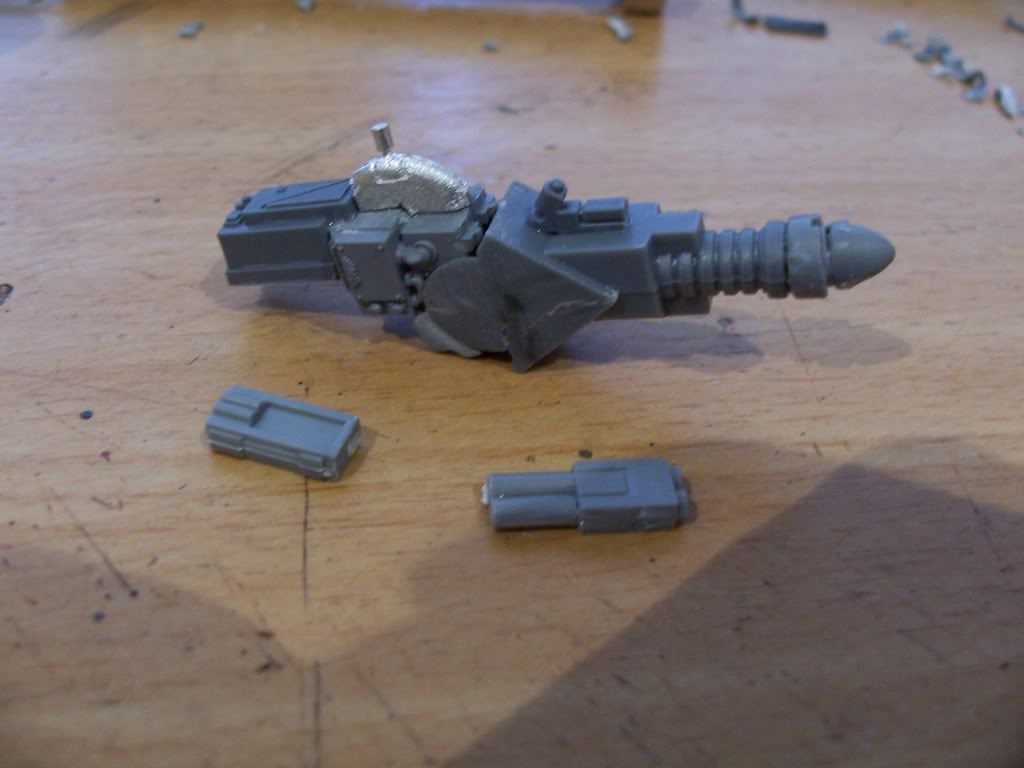

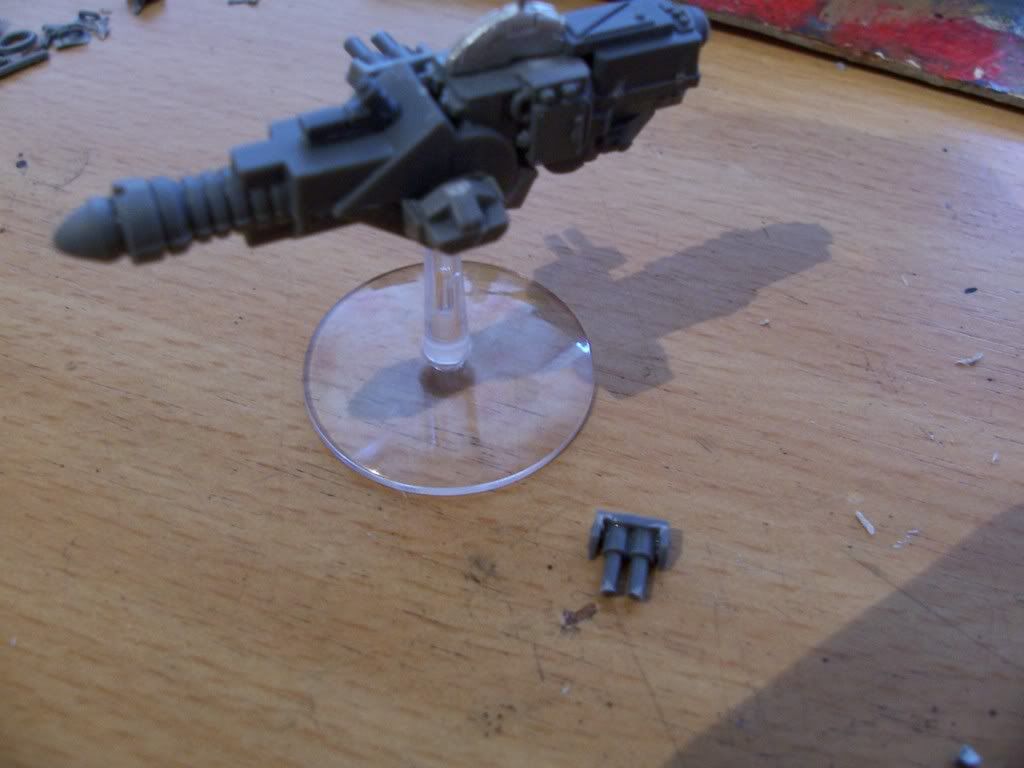
Step 7: Engine time! Only 1 backpack is needed, plans changed since the prats pic was taken, all the vents are cut off as before but the backpack itself also gets trimmed - has the bulgy bit on the back cut off and a bit more removed:
And attached beneath the tau drone markerlight bit, the mail vets alos get glued in place at the rear of the ship, the rest of the vets you can glue wherever you like:
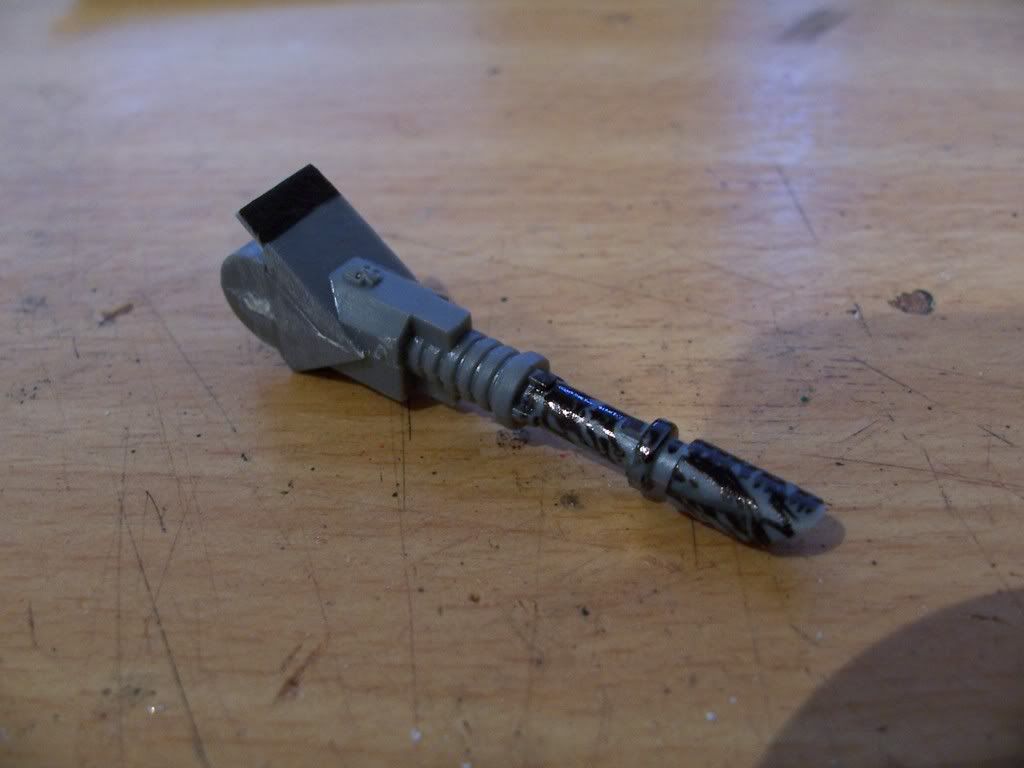
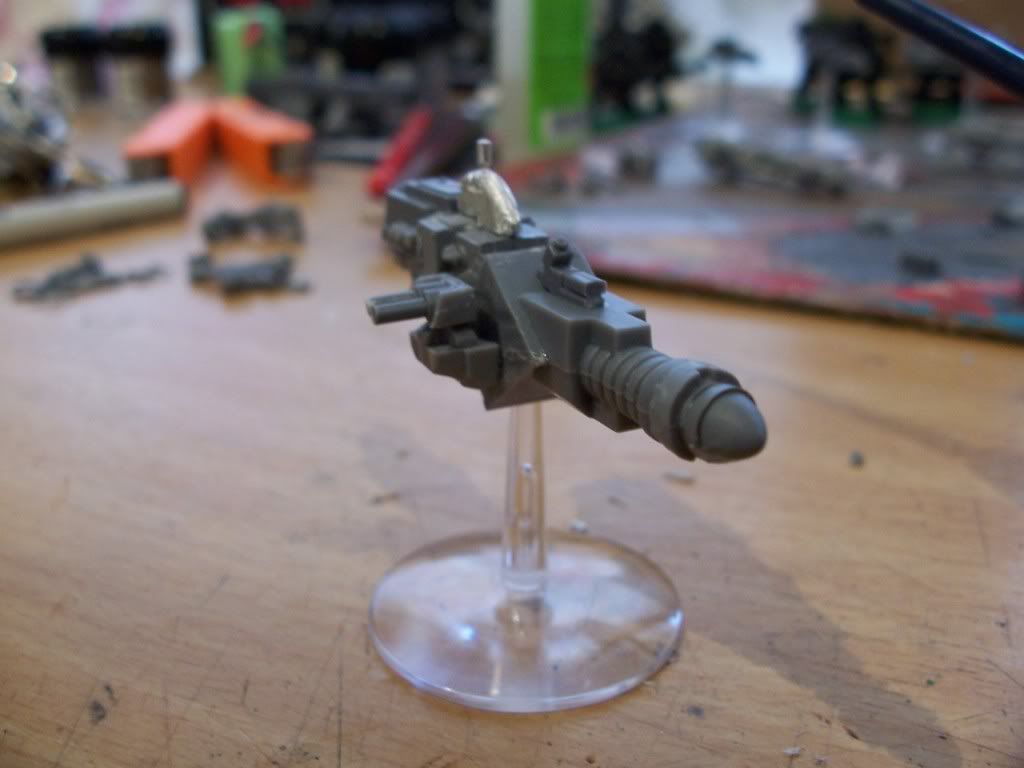
Step 8: the lance batteries. Which are made out of a SM radar dish stand/mount, IG searchlight stand/mount and half of a tau vehicle burst cannon (which has had ist body cut off):
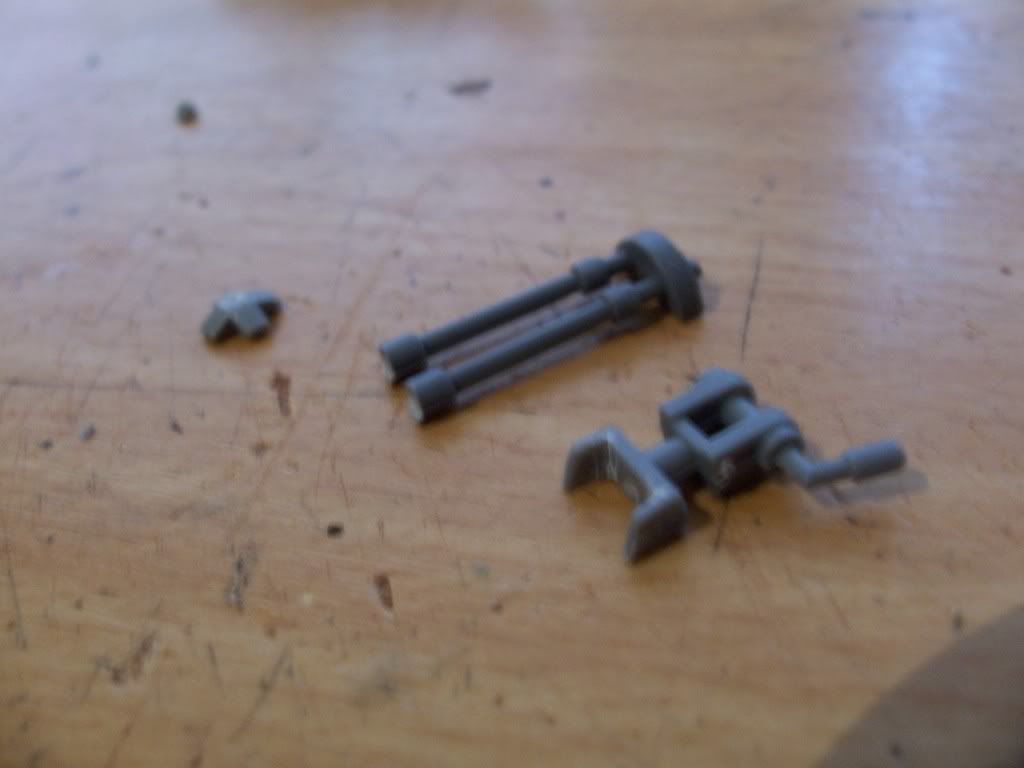
The first step is to remove the bulges inside (the bottom part, according to the above pic) the searchlight mount, next step is to cut about 1/3rd of the way up the burst cannon barrels from the cut off side, then glue then inside the searchlight mount and cut that off too. Also attach the radar mount to the side of the pred lascannon, like so:
Then glue the lance gun onto the radar mount:
You know what, thats not working for me at all, looks like ill have to use thoes dreadnaught feet I was reluctant to use.
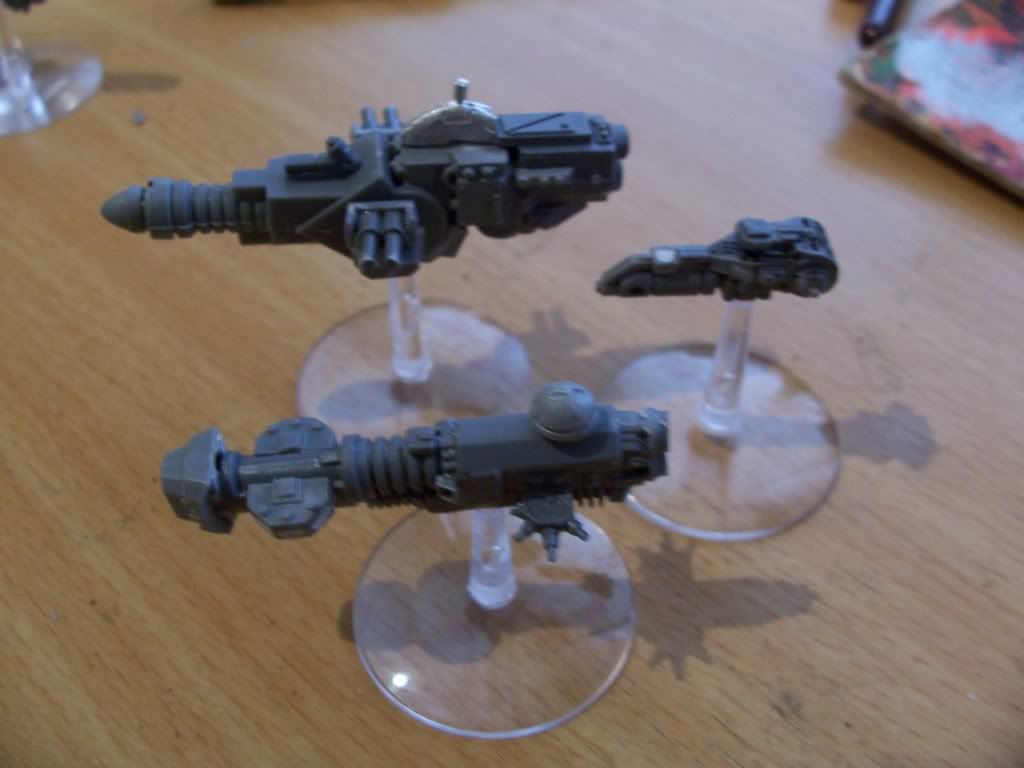
Time to cut all that off and start from scratch, this time, cut one dred toe off and glue it onto the side upside-down, the glue the radar mount onto that (cutting one of the 'legs' of it too), then mount the gun onto it:
Oh yea, that a whole lot better, and damn, thoes dread feet are quite usefull, I think oredering 3 sets was too little. now a size comparison with the other 2 ships:
Next time: Cruisers


