This is a tutorial to convert a marine into mk3 complete with textured legs.
You need to be a little comfortable with g/s to do this and a dremel shaves hours off the prep time,you can use a knife but it will take longer.
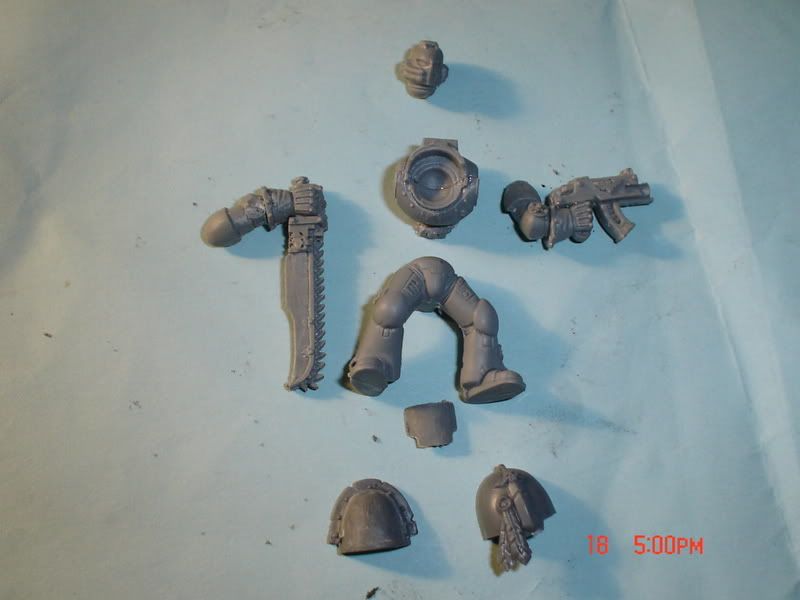
These are the bits I used,the main work will be done to the legs and torso.
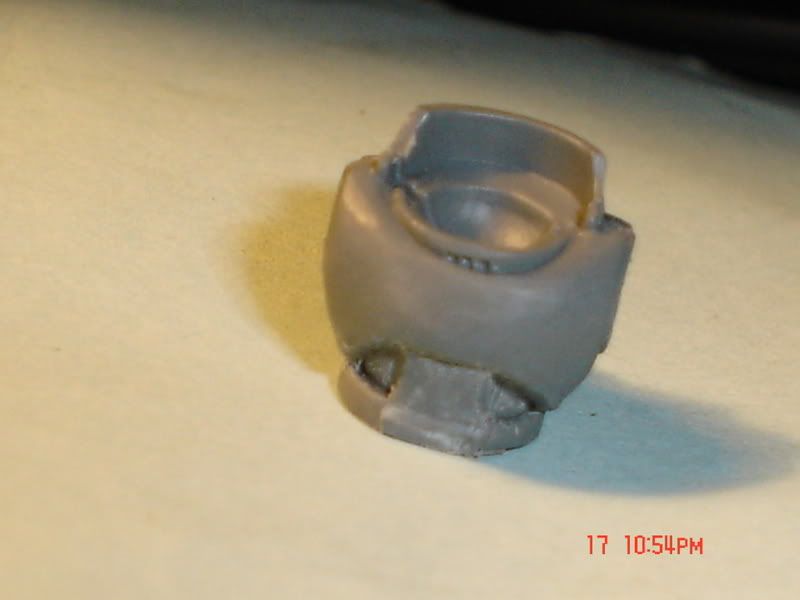
The chaos chest with the single large cable with the skull on the front can be carved down to make a mk3 chest .
Remove all icons and scrape the ribs off the cable.
it should look something like this
You can also use the Space Marine chest that has nothing but a skull on it and remove the cables,as seen in the center with 2 prepped chaos chests
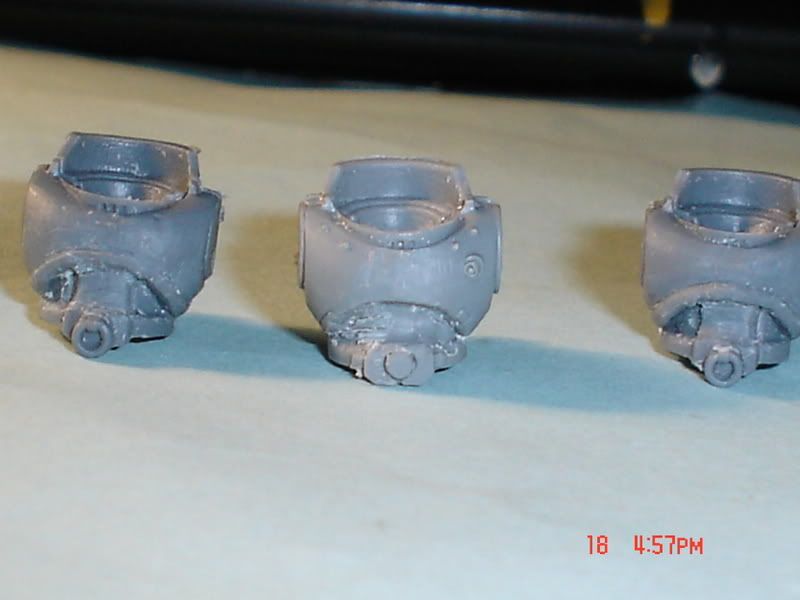
you will have to g/s the center plate on the space marine one
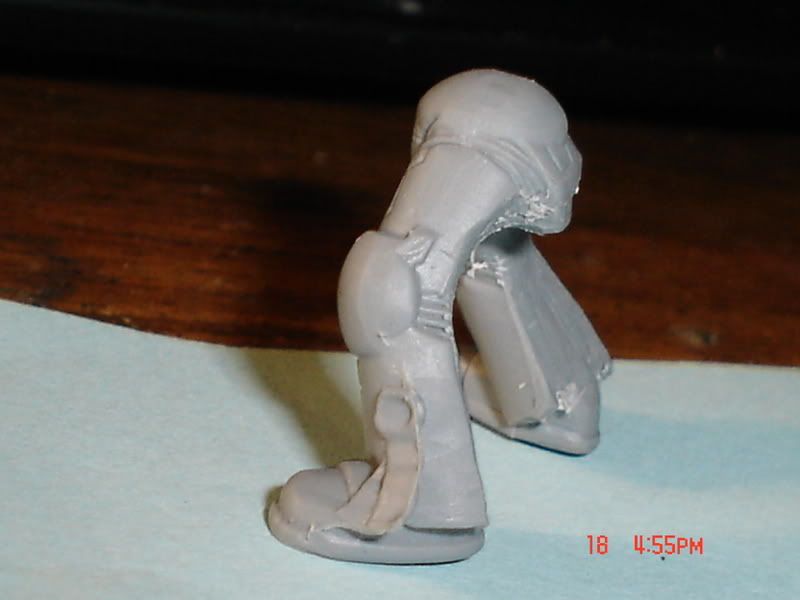
For the legs you want to use the Space Marine kneepad legs,either standing or running.
You want to start by carving(or dremmel) the upper legs in half from behind l
You also want to mark a line from the flare in the lower greave up to the kneecap
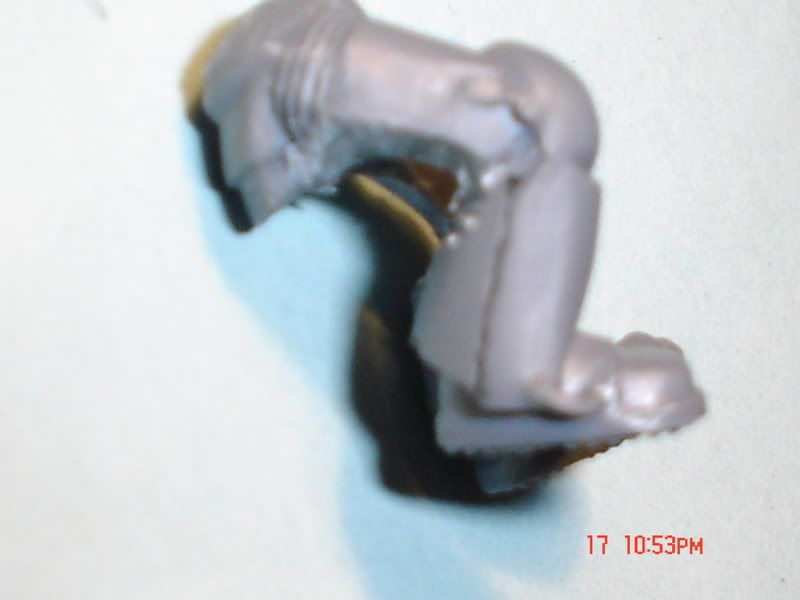
Then carve(or dremmel) the lower legs in half up to the line you've drawn as seen below
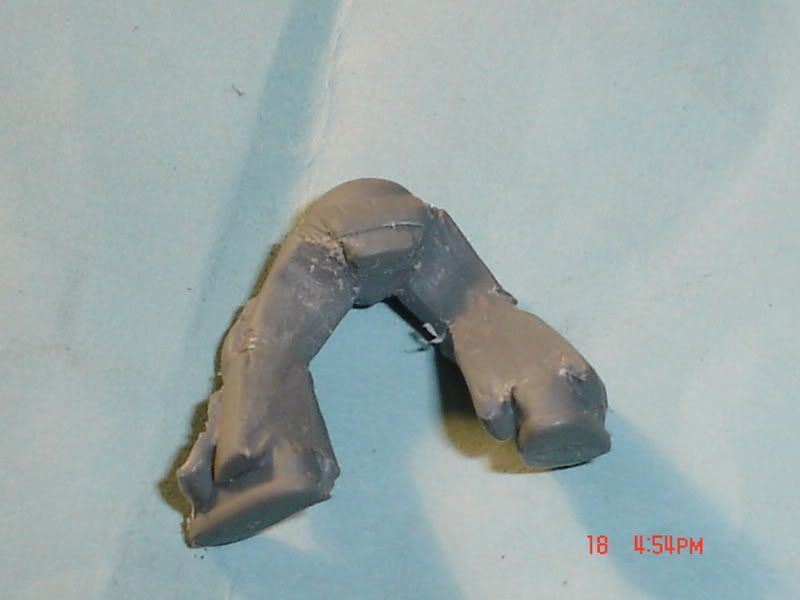
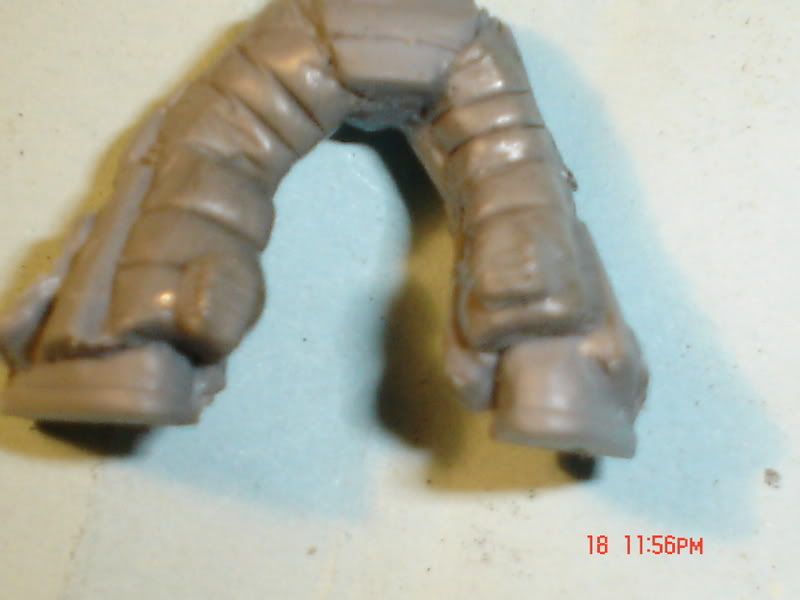
............Next I will show step by step how to g/s the back legs...............


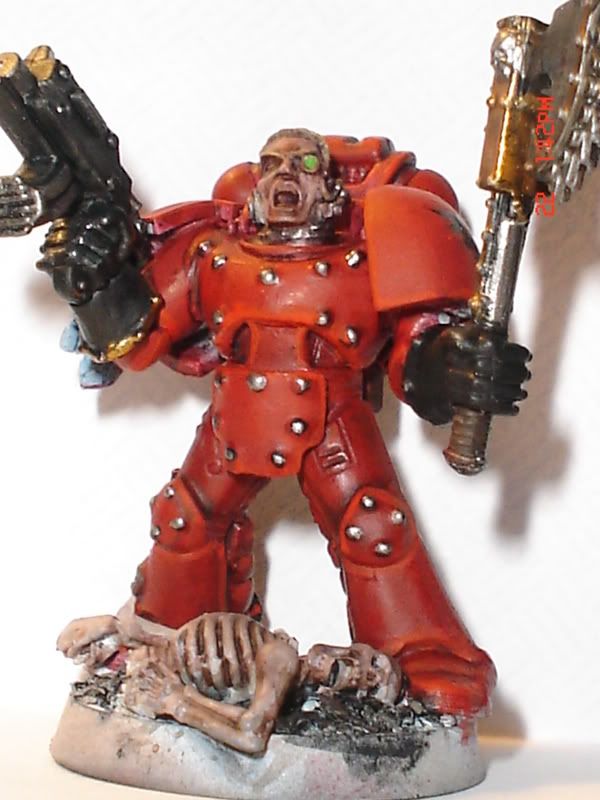
 I'm coming to get you