____________________________
My Tau List:
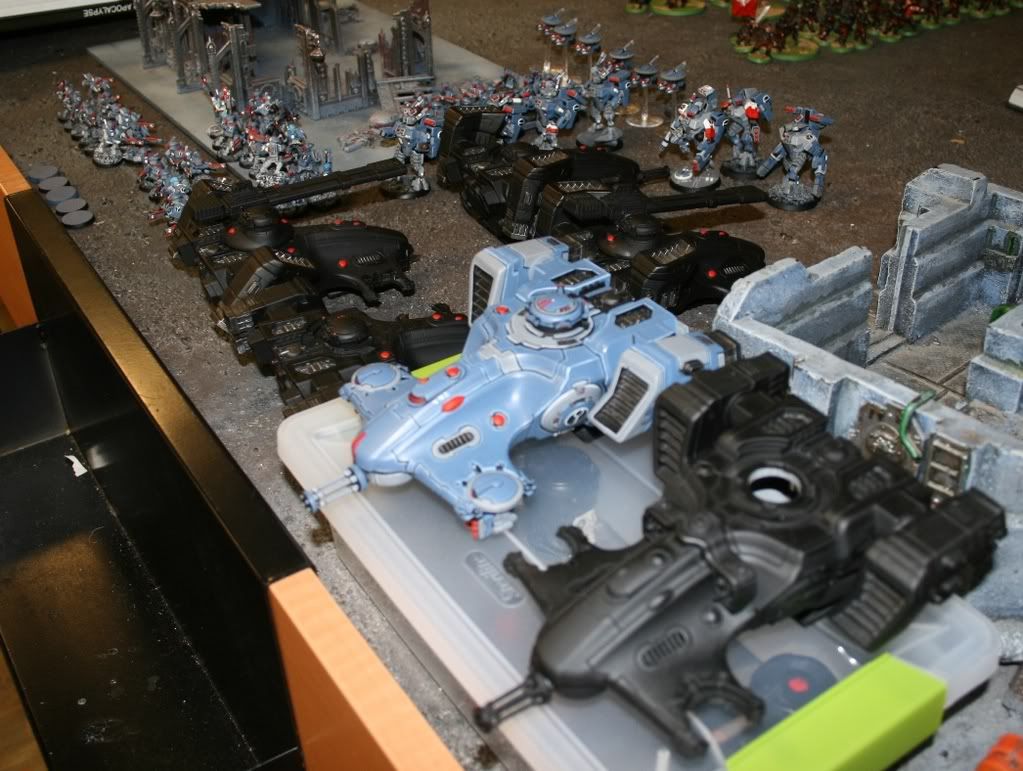
HQ:
Shas'O ------ 112 points
Multi-tracker
Plasma Rifle
Missile Pods
Shas'O ------ 112 points
Multi-Tracker
Plasma Rifle
Missile pods
Troops:
12 Fire Warriors
Devil Fish transport with targeting array, multi-tracker, decoy launchers, disruption pods, target lock, targeting array, smart missles ---- 250 points
12 Fire Warriors
Devil Fish transport with targeting array, multi-tracker, decoy launchers, disruption pods, target lock, targeting array, smart missles ---- 250 points
12 Fire Warriors
Devil Fish transport with targeting array, multi-tracker, decoy launchers, disruption pods, target lock, targeting array, smart missles ---- 250 points
12 Fire Warriors
Devil Fish transport with targeting array, multi-tracker, decoy launchers, disruption pods, target lock, targeting array, smart missles ---- 250 points
Elites:
1 Crisis Suit with Multi-tracker, flamer, burst cannon ----------------42 points
2 Crisis suit with Multi-tracker, flamer, burst cannon ---------------- 84 points
2 Crisis suits with multi-tracker, plasma cannon, missile pods ------124 points
Heavy:
Hammerhead with multi-tracker, decoy launchers, disruption pods -----170 points
Hammerhead with multi-tracker, decoy launchers, disruption pods -----170 points
2 Sniper Teams ---------------------------------------------------------------160 points
total: 1974 points
_______________________________________
Imperial Guard List:
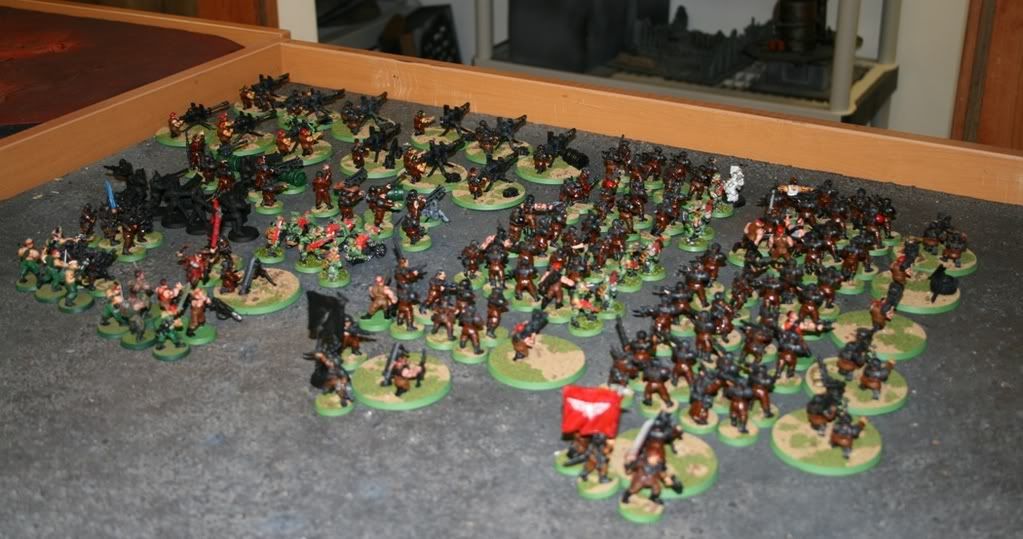
HQ: TBA
[b]Troops: TBA
Elites:[/b] TBA
Fast: TBA
Heavy: TBA
Total:
________________________________________________________
Battlefield:
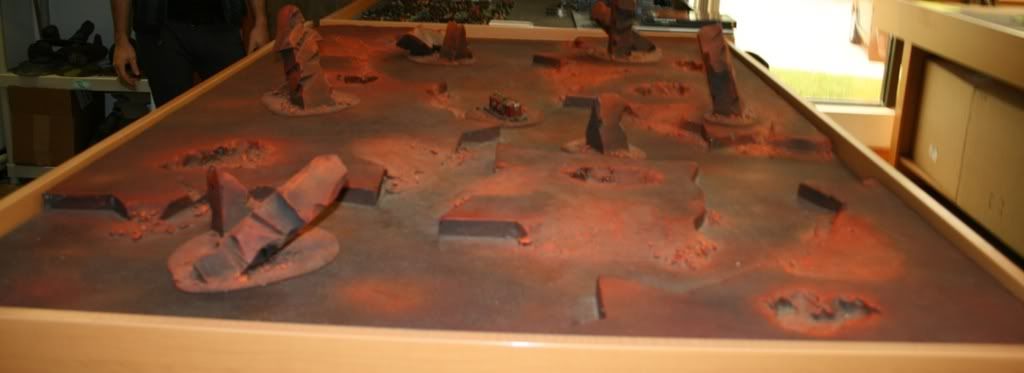
With alot of area terrain on deployment zones and very little in the middle, this was going to be a shooting alley for the guard starting in cover and a mad dash/rush for the tau getting across the board. Start your engines, load your guns! This was going to be a fast and furious game
________________________________________________________
Mission: With the new mission rules we rolled off and got "Command and Control". Each side gets 1 objective that they can place in their deployment zone. Each side is trying to take the other opponents objective while controlling their own. For mission type we rolled off again and got "Pitched Battle". Deployment states we setup on the long edges with 12" inward.
________________________________________________________
Deployment:
We rolled off to see who would go first and
IG gets the first turn/deployment. Tau deploy last and are able to react based off of his entire deployment. (A pretty cool change from 4th edition). Players who go last also get to "Seize the objective" by rolling a 6 before the game starts. If they are successful, they end up taking first turn! (Didn't happen for me this game, but still very dynamic)
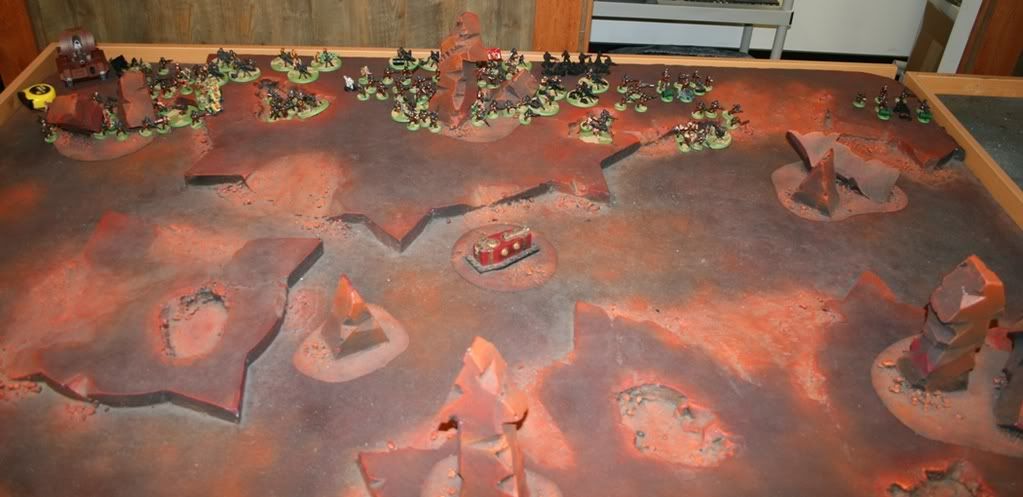 IG
IG sets up a basilisk in the corner of his objective surrounded by heavy bolter teams, lascannon teams, and
tac squads with missle launchers/grenade launchers in the rear. He has a few deepstriking units with melta guns and demo packs. The rest of his army fans out on his long table edge as to provide cover/shooting lanes.
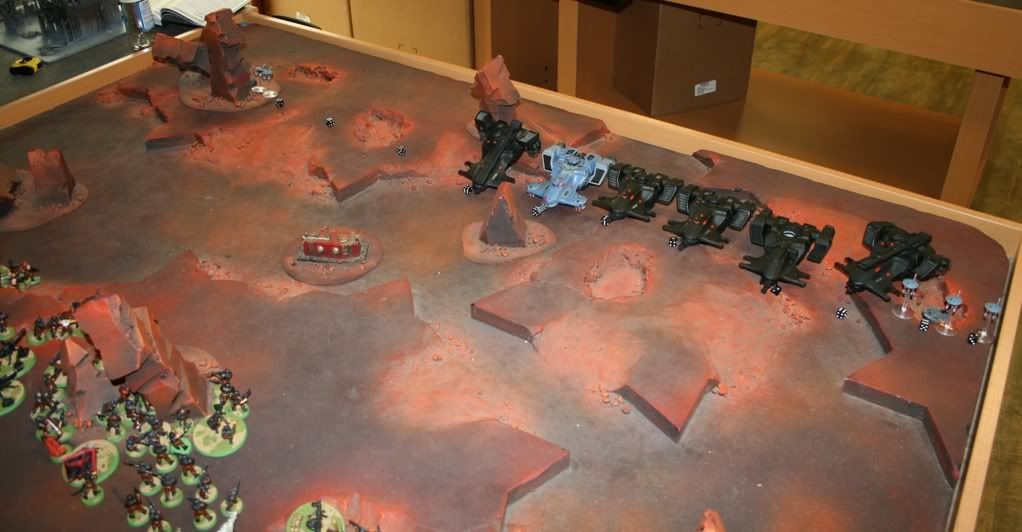
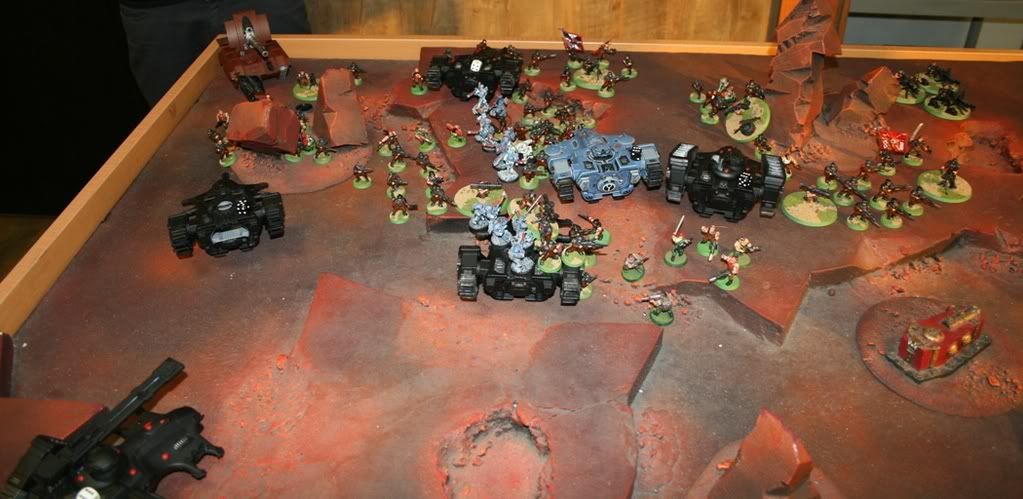
I setup all my forward moving vehicles on his table side with his objective straight ahead. My plan is to move forward as fast as possible and when in range, cut his army in half and divide them from his objective. I deploy my suits in reserve. My 2 sniper teams are opposing flanks of the long table edge. My objective is deployed on my far right flank in the corner out in the open and unguarded. My plan was to have my suits deepstrike in later to defend/claim the objective, but we later found out this wasn't possible with the new 5th edition rules. Only troops can claim objectives! Any other unit choice can only contest!!!!! (DOH)
______________________________________________
Top of turn 1 (Imperial Guard):
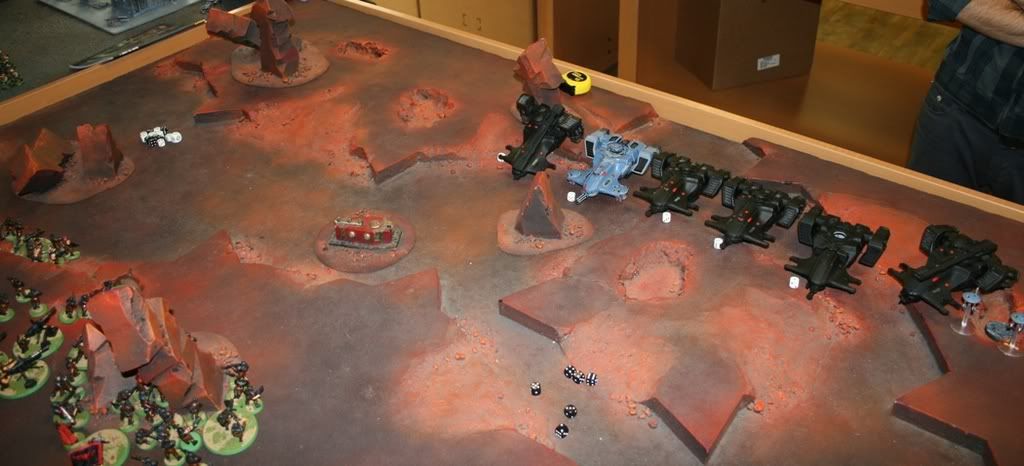
Lock and Load. This was the guard turn to fire all its guns. They manage to see past my stealth fielded sniper teams on my right flank and completely wiped out the 4 model squad. All 4 devilfish and 1 hammerhead are glanced and are shaken. Thank goodness for disruption pods providing concealment! (4+ cover save to ignore the shot)
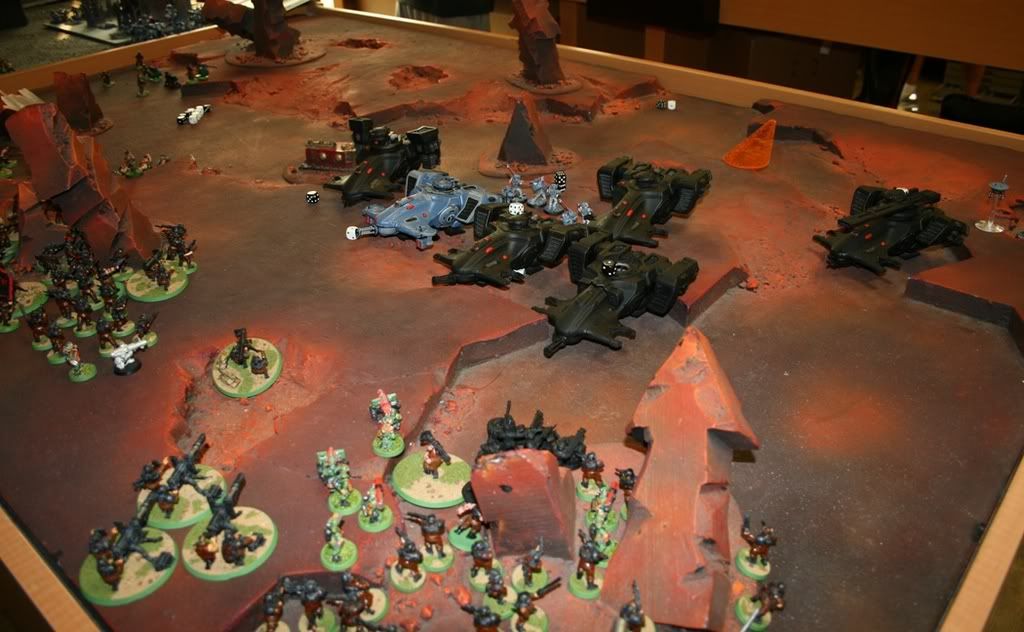
Bottom of turn 1 (Tau):

During the Tau turn I had moved all my skimmers up 12" straight forward and shot a submunition shot and got a direct hit at 3 of his squads clustered together. A few guardsmen go down and that's the end of my turn.
___________________________________________________
Top of turn 2 (imperial guard):
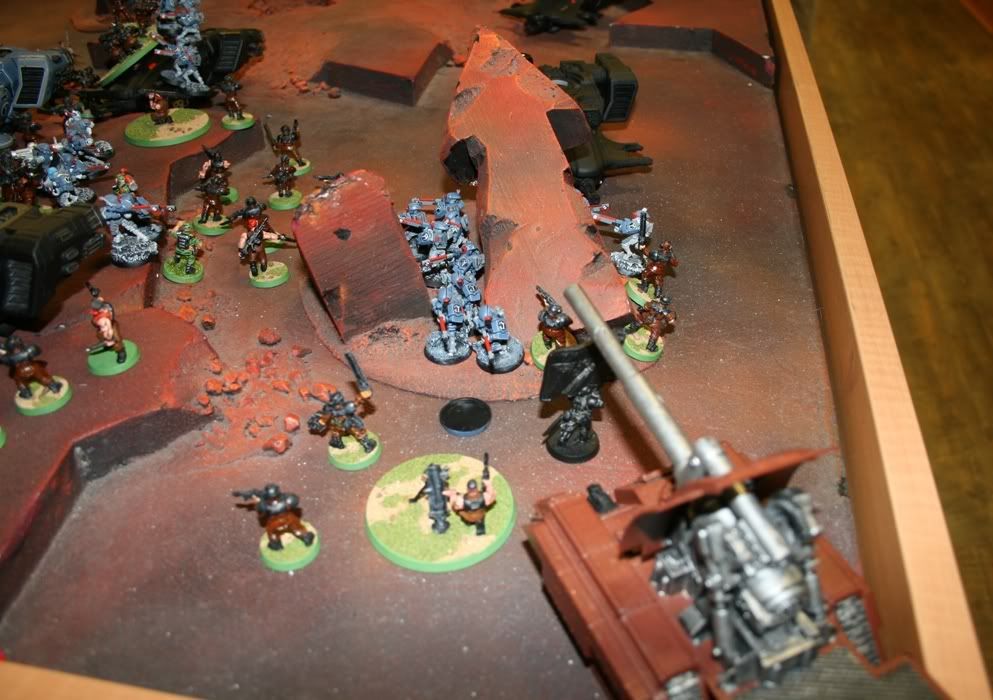
missing photo
Guard make their reserve rolls and a meltagun/demo squad comes in, but goes within 1" of one of the tau vehicles. Deepstrike mishap is rolled and the guards roll a 5. They go back into reserves for another day. Guard try to run 2 squads on their far left flank going straight after the Tau objective. Lascannons pen both hammerheads, destroying the railgun on one and blowing up the other.
bottom of turn 2(Tau):
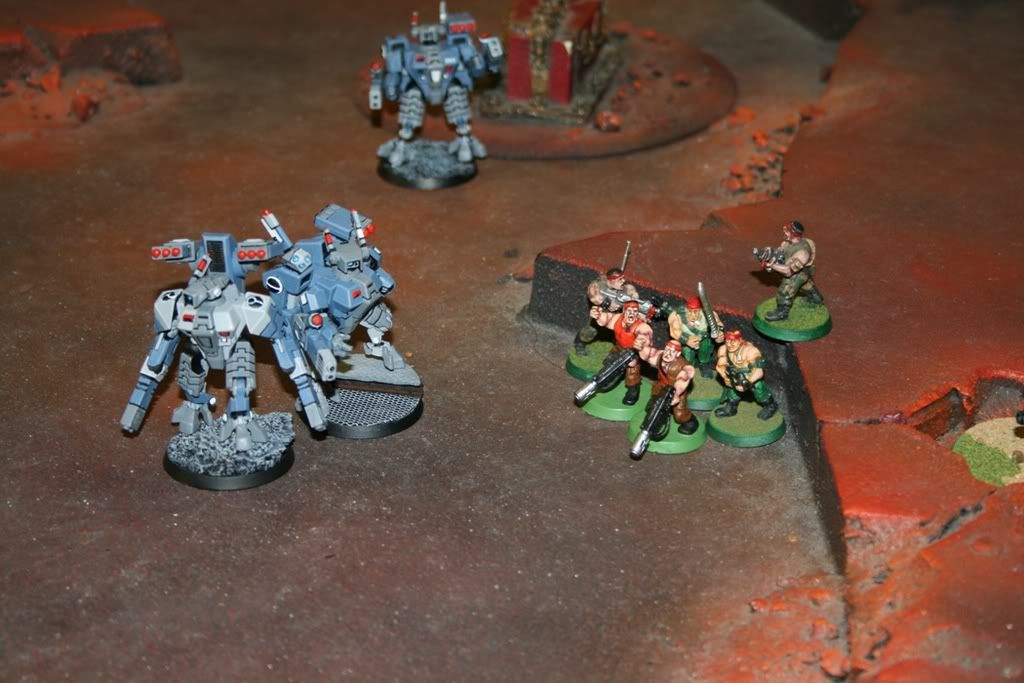
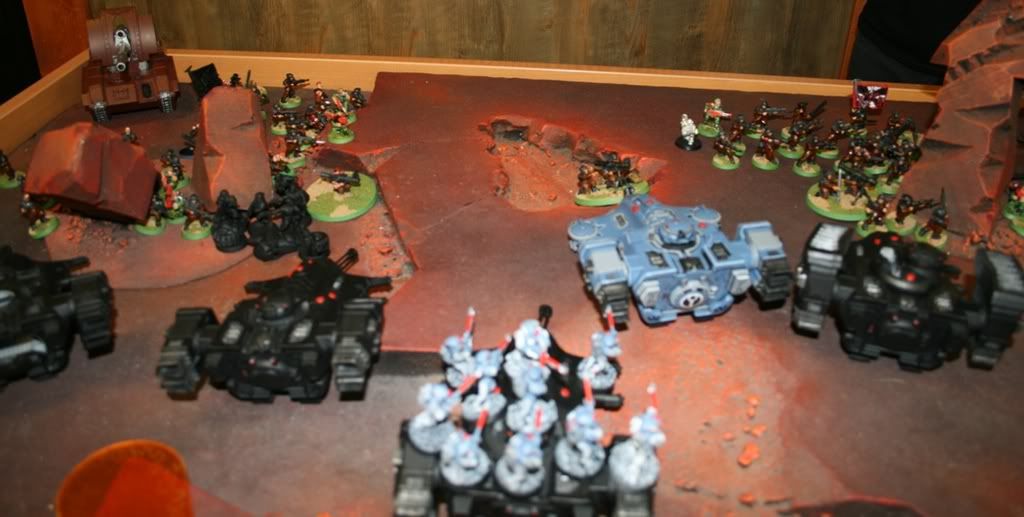
3 Suits with flamer/burstcannons come in on reserve and deploy on the right flank to defend the tau objective from the foot slogging guardsmen. 2 flamers are in range and take down a few guardsmen.
The rest of the mechanized skimmer fleet move forward shielding the stunned devilfish from all angles and fire their smart/missles/burstcannons into the now in range guardsmen. A few more guardsmen go down and the turn is over.
___________________________________________________
Top of turn 3 (imperial guard):
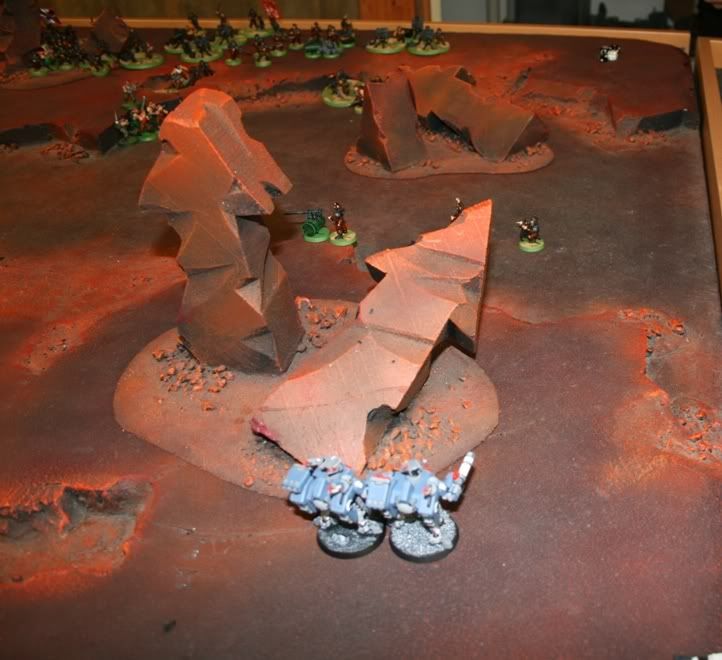
Guard rolls reserves and 1 melta squad + 1 demo pack squad come down and deploy near the 3 crisis suits on the left flank. melta guns fire and demo pack lands dead on, 3 suits go down. Guard shooting knocks out 1 devilfish and the passengers have to disembark. Basilisk does direct fire on them and they suffer 2 casualties. 1 hammerhead and 2 devilfish are glanced and shaken. On the guard left flank, the surviving forward running guardsmen keep moving forward and take cover behind rocks approaching the tau objective.
bottom of turn 3 (Tau):
Tau rolls reserves and the commander comes in as well as the 2-man plasma/missile pod suits. The commander deepstrikes by the basilisk but goes off the table and rolls a 1 on mishap. bye bye shas' o. the out-in-the-open fire warriors make a difficult terrain check and huddle ontop of their wrecked devilfish transport and rapidfire into the guardsmen guarding their objective. sniper drones land 1 glancing hit on the baslisk and preventing it from shooting. the damaged hammerhead and devilfishes move forward as close as possible and start focus firing on squads guarding the objective.
the other 2-man suit team deploys on their deployment marker and starts shooting down the approaching guardsmen, breaking 1 squad and bringing the other to at exactly half.
____________________________________________________________
Top of turn 4 (imperial guard):

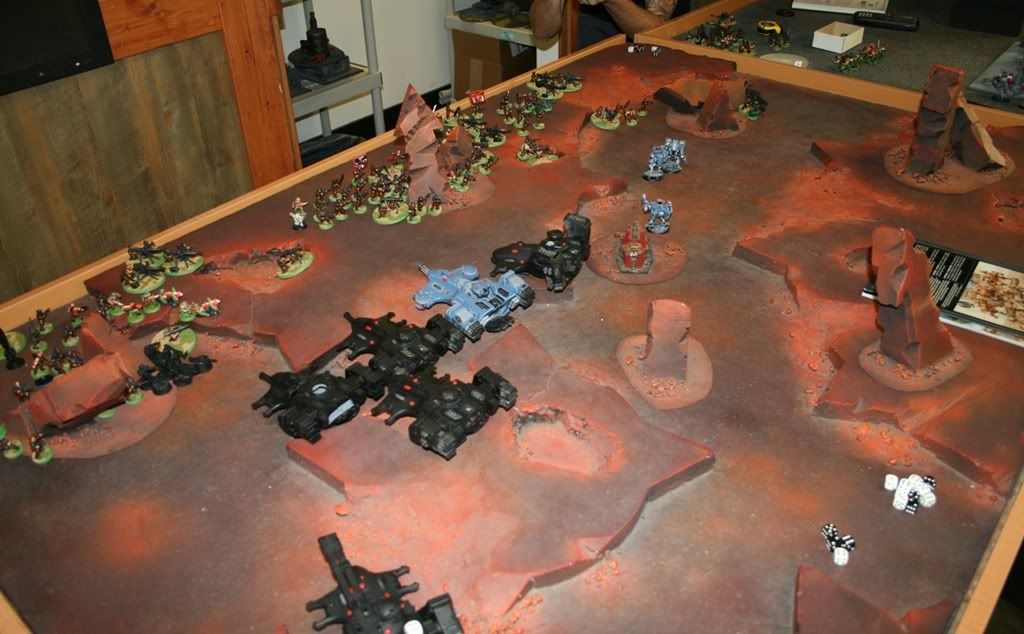
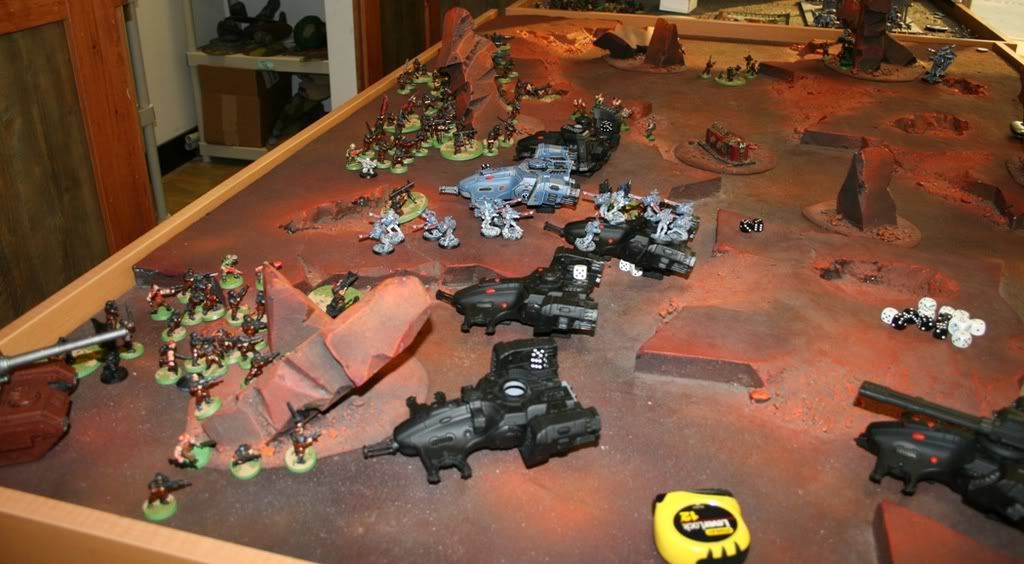
The guardsmen roll for reserves and their last melta squad comes in, rolling within 1" of my tanks and rolling a 4 on the mishap table. I choose to put them on their far corner in dangerous terrain and 2 die from failing their roll. They run forward and the rest of the guard shooting commences. meltaweapons blow up the last hammerhead and lascannons destroy the painted devilfish, forcing the crew to disembark. another lascannon immobilizes another devilfish on the far right hand of the photo, but it doesnt crash since it didn't move flat out that turn(an interesting new rule!)
bottom of turn 4 (Tau):
tau roll for reserves and the last shas'o comes on deploying right next to the other 2 crisis suits on the tau deployment marker. those 3 battle suits whither away the scoring unit at half. thus having no more units on that flank that can seize the objective. the 2nd out-in-the-open firewarrior squad tiptoe around the wrecked painted devilfish and rapidfire into the guardsmen guarding the objective somemore... the other out-in-the-open firewarrior squad decide to stay ontop of their devilfish and does the same thing, but with single tap. the last mobile devilfish makes a 12" move (not shown in the pic) into the open space infront of all of the other wrecked skimmers.
____________________________________________________________
Top of turn 5 (imperial guard):
Guardsmen realize this might be potentially the last turn and run forward to block the advance and also surround the last mobile devifish (still with troops inside) and try to get within 1" of all its hatches (hoping to prevent them from disembarking). lascannons blow up the surrounded devilfish and the whole squad is nearly wiped out due to no room. only 2 models can be placed. aside from that very little shooting takes place, as the guard get ready to start the first assaults of the game. the firewarriors ontop of the devilfish get charged, but combat is a draw. (watching guardsmen and firewarriors duke it out in hand to hand is like watching turtles mate!) the guardsmen charge the other firewarrior squad closest to them and lose combat, but pass their LD on a reroll with the IG banner.
bottom of turn 5 (tau):
The immobilized devilfish that had been sitting untouched for 1 turn disembarks its crew and they make their way into difficult terrain infront of the Guard deployment marker. the sniper drones kill a guardsmen. the immobilized devilfish fires its guns and takes down some guardsmen as well. Not much else shooting takes place. then to assault... the 12 man firewarror squad charges the guardsmen squad in area terrain and kill 4 guardsmen whole losing 1. the guardsmen pass their
LD check and tau pile in within 3" of the guard deployment marker... the objective is now contested.
____________________________________________________________
Result:
Draw
We had to roll random game length at the end of turn 5 and it was a 2. meaning the game ends at the end of turn 5. With neither side seizing an objective (The Imperial Guard had their base objective contested, while the Tau player did not have any troops to seize their own base objective... although the tau had 2 crisis suits sitting on it, they were elites and didn't count, good lesson to learn and overall a great first 5th edition game.)


 - Ultramarines
 - Tau
- Tau
 - Tyranids
 - Dark Eldar
 - High Elves
 - Warriors of Chaos
 - Khador


