Switch Theme:

Riveting Tutorial (No pun intended)  [RSS] Share on facebook Share on Twitter Submit to Reddit
»
Author Message
Advert


Forum adverts like this one are shown to any user who is not logged in. Join us by filling out a tiny 3 field form and you will get your own, free, dakka user account which gives a good range of benefits to you:
  • No adverts like this in the forums anymore.
  • Times and dates in your local timezone.
  • Full tracking of what you have read so you can skip to your first unread post, easily see what has changed since you last logged in, and easily see what is new at a glance.
  • Email notifications for threads you want to watch closely.
  • Being a part of the oldest wargaming community on the net.
If you are already a member then feel free to login now.


Made in gb
Adolescent Youth with Potential


I've noticed a lot of scratch built titans with amazing rivet detailing on dakkadakka.com and I've not actually seen any rivet detailing tutorials, so since I'm attempting to make my own titan, I thought this might come in handy as it has come in handy for me... you'll need the following 3 items


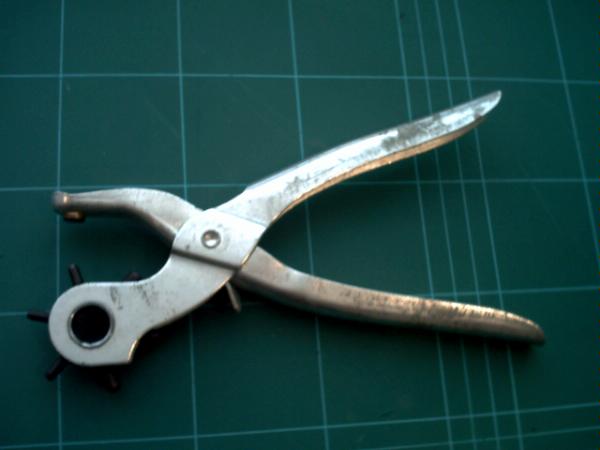
An adjustable leather hole punch (I picked mine up from a poundshop, but you can get them from any clothes making stores)


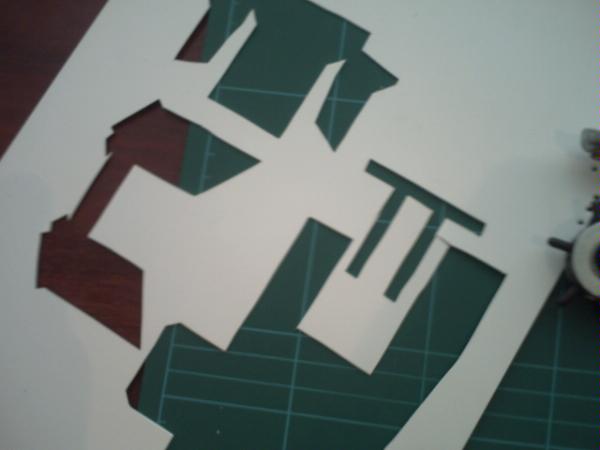
Some scrap plasticard (I used the plasticard from my cockpit section) and not pictured some wire to poke the rivets out of the hole punch

Step 1:
Pick up the leather hole punch and select the smallest hole punch, for me the internal diameter is 2mm, which I think is perfect for titan rivets.

Step 2:
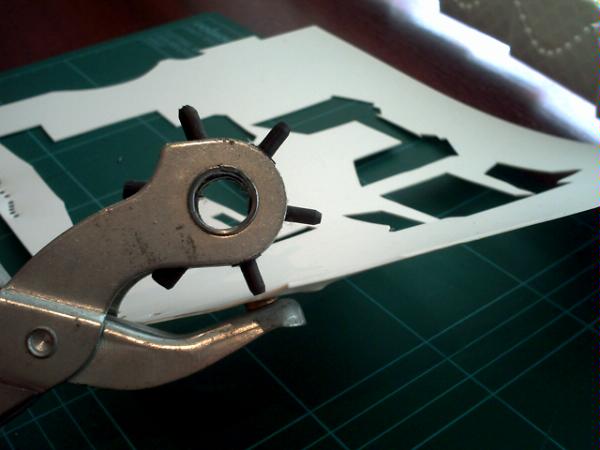
Go nuts on the plasticard, punching as many holes as you like, a method I found that really works is if you rotate the plasticard side to side for a perfect cut (I would suggest making the rivets in batches of 5 a time though)


Step 3:
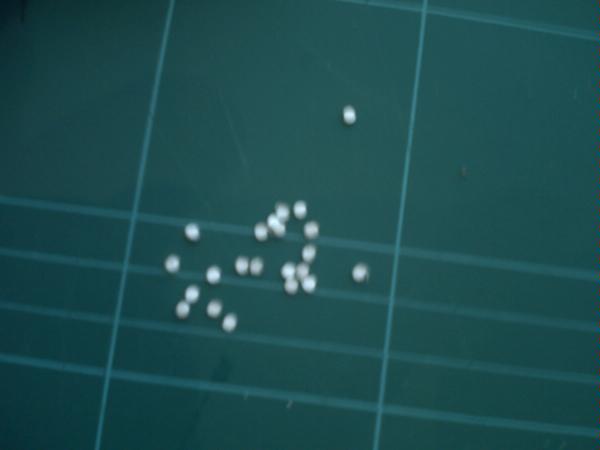
Use the wire to poke out the rivets out of the hole punch and enjoy your new set of 2mm rivets.


Short, sweet, and straight to the point, feedback welcome
   
Made in us
[ARTICLE MOD]
Huge Hierodule


North Bay, CA

A good source of rivet material is all of your expired gift and credit cards.

   
Made in za
Junior Officer with Laspistol


South Africa

Nice short tutorial.Easy and quick,good job.

"I refuse to join any club that would have me as a member."-Groucho Marx
 
   
Made in gb
Adolescent Youth with Potential


Aye, that will work as well ^_^
   
Made in us
Fresh-Faced New User


It seems like the leather hole punch is good for large scale, and orky rivets, I've found a better one for smaller, and/or Imperial rivets.

The Button hole punch is even smaller and it pops two rivets per punch. the one I have is made by McGill, I don't know if there is another manufacturer.

http://www.bonanzle.com/booths/glendagdwtch/items/McGill_Hand_Punch_Button_Hole_with_2_inch_reach___New_in_Pac


man, sorry, I don't know how to make that image smaller. heheh

This message was edited 3 times. Last update was at 2009/06/03 02:37:14


Made in us
Gargantuan Gargant


New Bedford, MA USA

I use the McGill Single hole punch. It works wonders.

   
Made in gb
Adolescent Youth with Potential


Da_Todfatha wrote:It seems like the leather hole punch is good for large scale, and orky rivets, I've found a better one for smaller, and/or Imperial rivets.

The Button hole punch is even smaller and it pops two rivets per punch. the one I have is made by McGill, I don't know if there is another manufacturer.

man, sorry, I don't know how to make that image smaller. heheh


I'll keep an eye out for those, I've been looking for one that can do smaller rivets
   
 
Forum Index » Painting & Modeling Tutorials
Go to: