Last night, I managed to beat myself with a Wraith Eldar list I found on the internet. It was a close game, (not really sure if that's a good thing or not

), but I felt that it shouldn't have been. Please feel free to make any comments about either side. I would be happy to
PM someone the game file, if they would like to show a different approach.
1500 pts
Spearhead
Seize Ground-3 objectives
Eldar List
Eldrad Ulthran @ 210 Pts
w/10 Wraithguard @ 396 Pts
1 Spiritseer; Witchblade; Conceal
5 Dire Avengers @ 60 Pts
Falcon @ 180 Pts
Holo-Field; Spirit Stone; Missile Launcher;
TL Shuriken Catapult; Pulse Laser
Yriel, Prince @ 155 Pts
w/ 10 G Storm Squad, Flamers(x2) @ 237 Pts
1 Warlock; Witchblade; Destructor
Wave Serpent; Spirit Stone; Shuriken Catapults;
TL Shuriken Cannons
1 Wraithlord; Flamer (x2); Wraithsword); Scatter Laser @ 120 Pts
1 Wraithlord; Flamer (x2); Wraithsword; Bright Lance @ 140 Pts
Tau List
HQ
Shas'
el
TL FB,
CIB, HWMT, HWDC, HWTL, Stims, BK, 1 Shield Drone, 1 Gun Drone
Shas'vre
TL PR, Flamer, HWMT, HWDC, 2 Gun Drones
Shas'vre
TL PR, Flamer, HWMT, HWDC, 2 Shield Drones
Shas'
el
MP, AFP, PosRel, HWMT
Elite
Shas'vre
TL Flamer,
BC, HWMT, HWTL
Shas'ui
MP,
FB
Fast Attack
7 Pathfinders
1 Shas'ui w/ BK
Pathfinder Devilfish
DP
Troops
6
FW
6
FW
11FW
1 Shas'ui w/BK
Heavy Support
Broadside Team
Shas'vre
BASS, BK, HWDC, HWTL, 2 Shield Drones
Shas'ui
BASS
Shas'ui
BASS
Hammerhead
RG,
BC,
MT,
DP
Sniper Drone Team
Eldar won the roll-off and elected to go second
Tau attempted to steal the bacon and failed
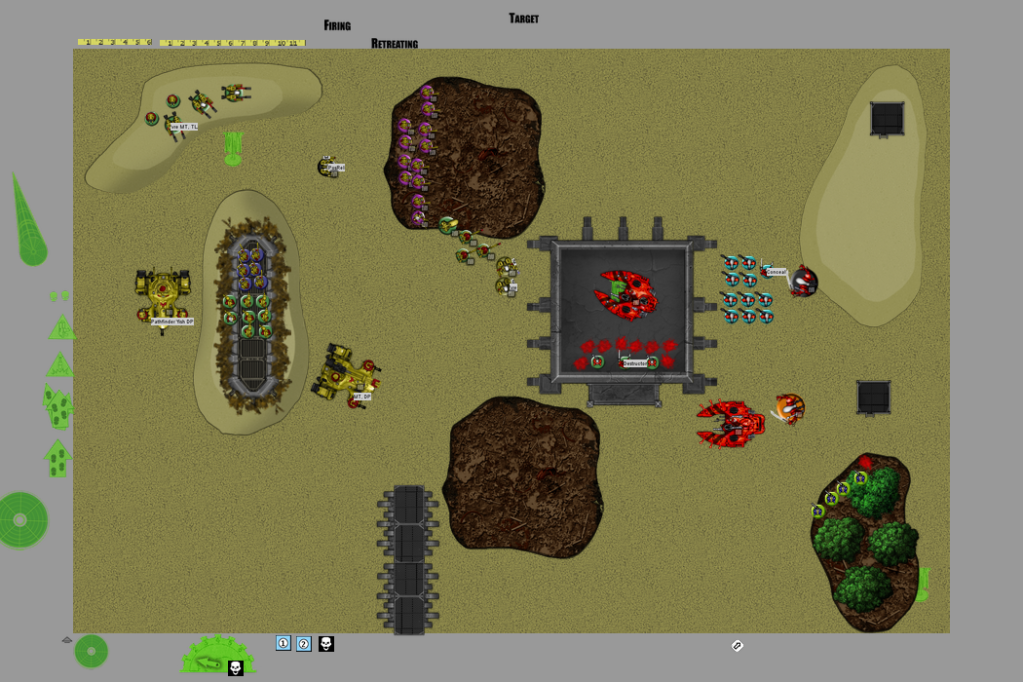
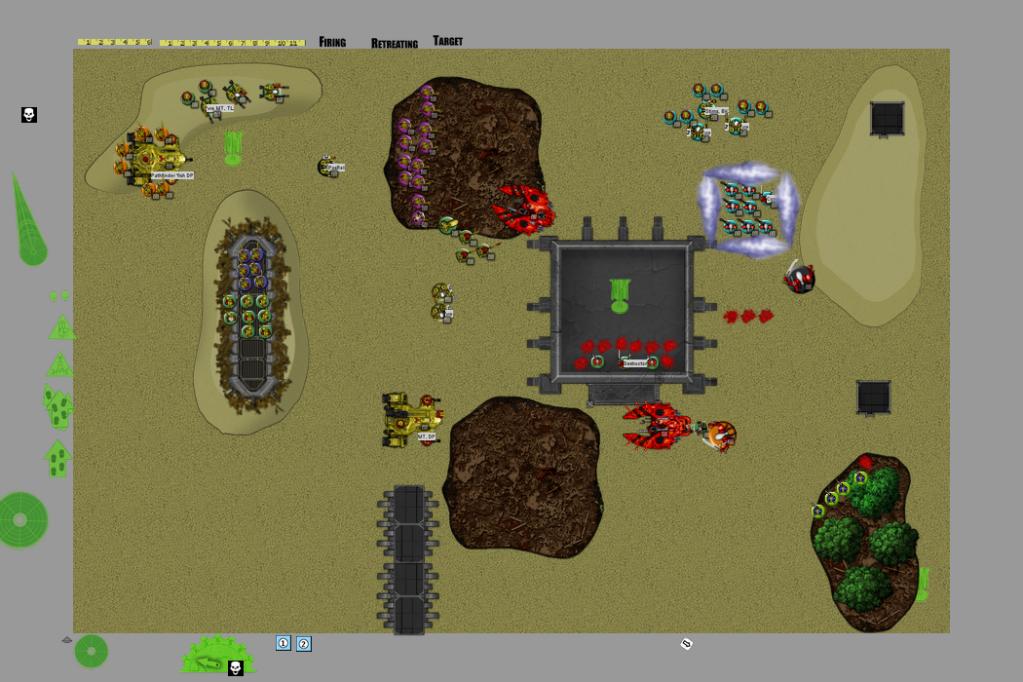
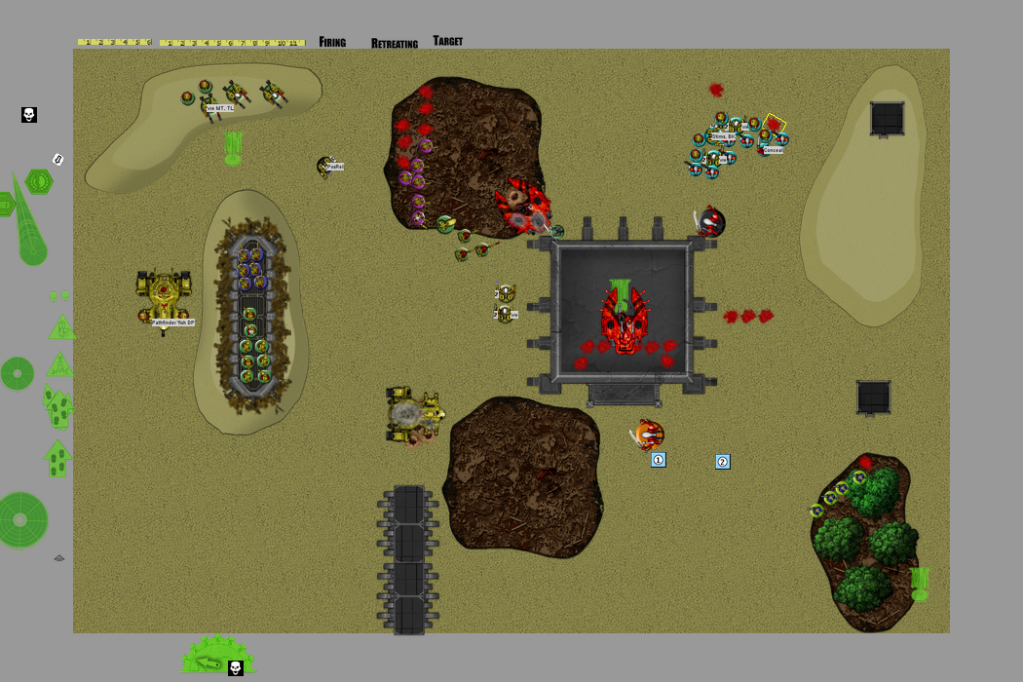
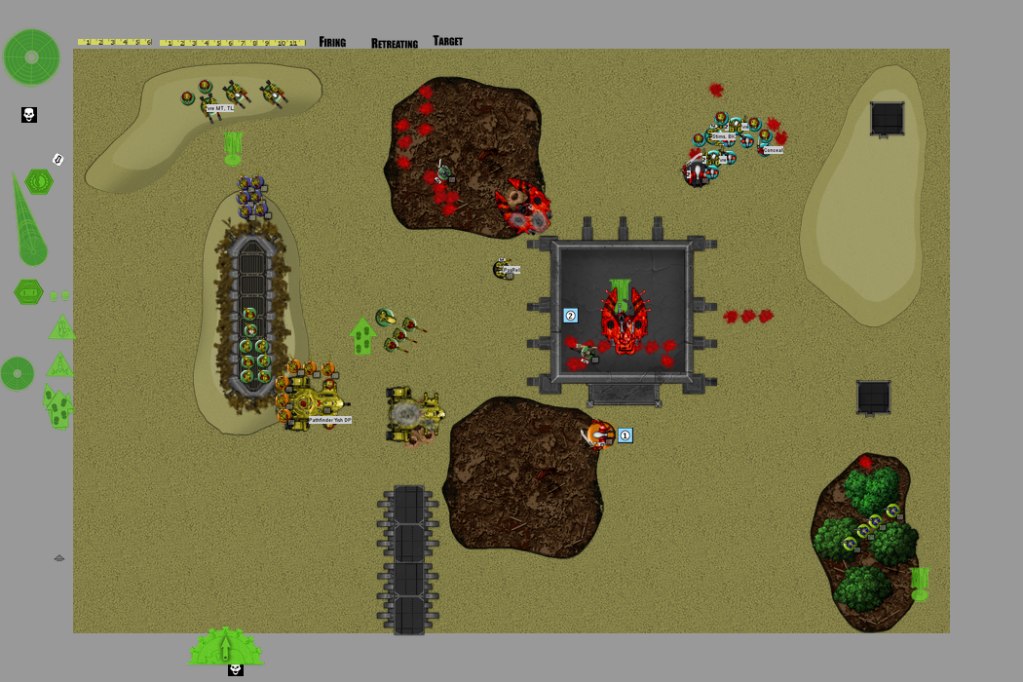
Deployment
Got a little trigger happy. Look at the movement lines in the movement phase. The orange fire warriors are in the Pathfinder Devilfish, the blue
HQ crisis team is waited for deep-strike coordinates. Eldrad is in the wave serpent and Yriel is in the Falcon. I felt like I deployed both sides pretty well, but I felt like I was a little conservative with the Eldar.
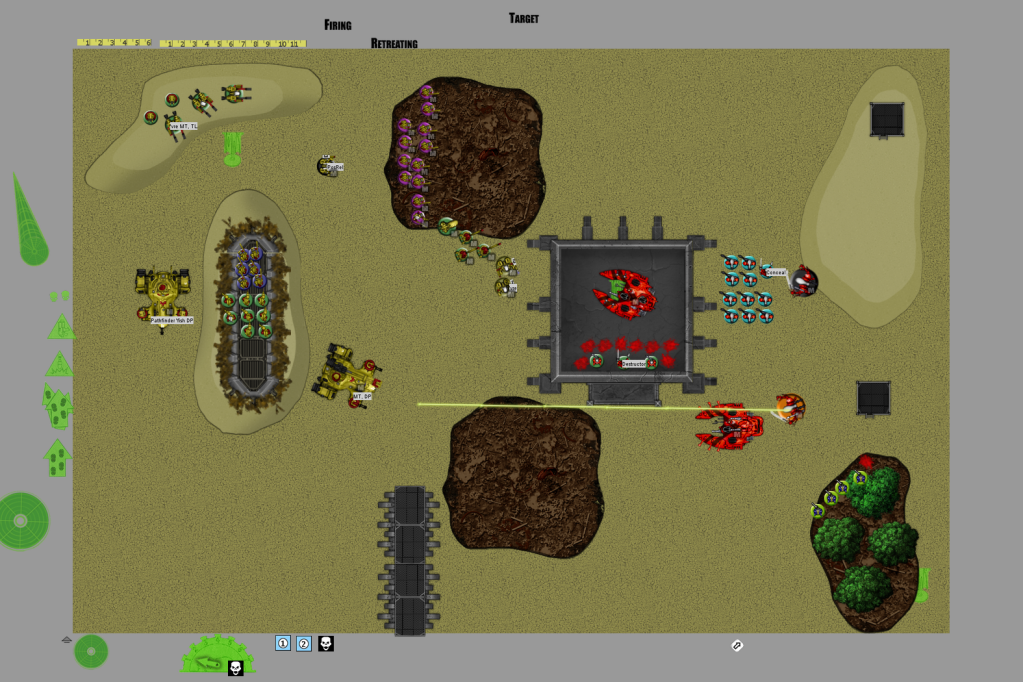
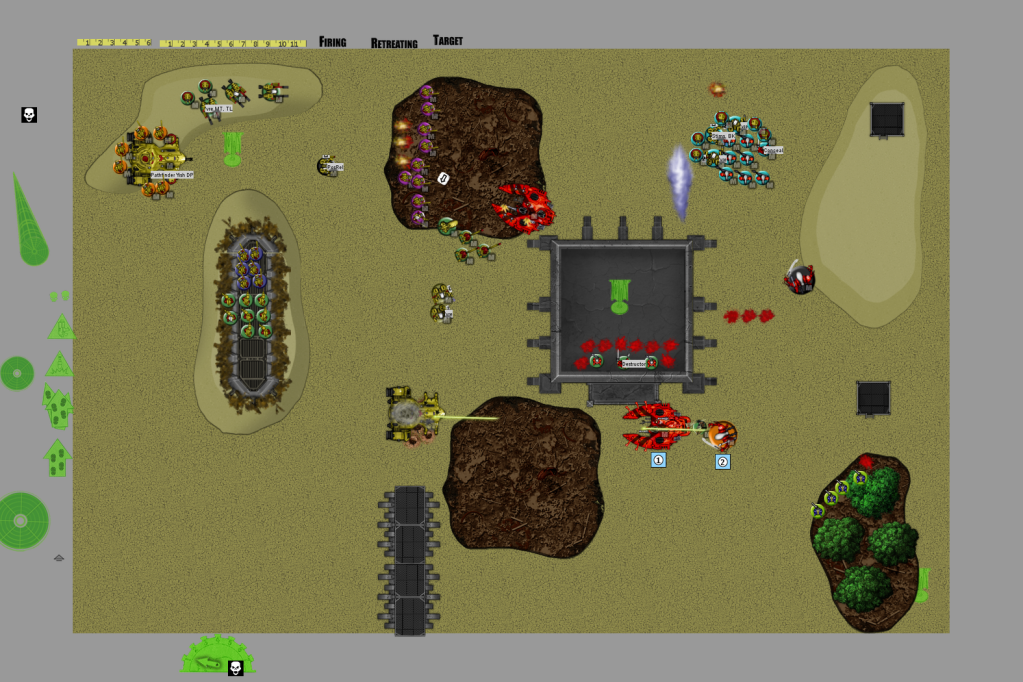
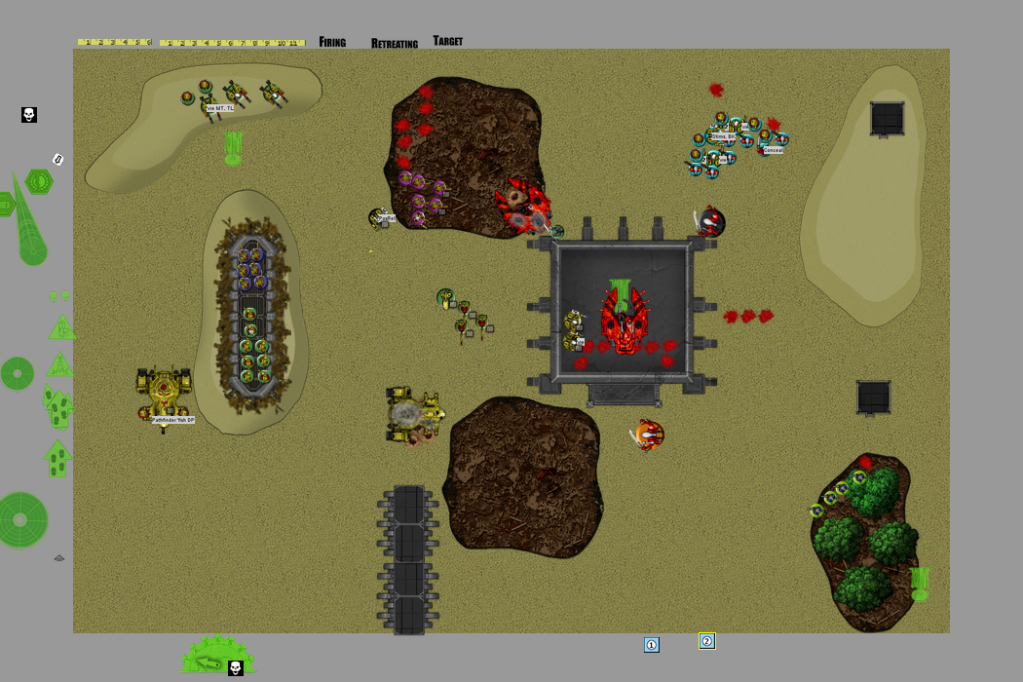
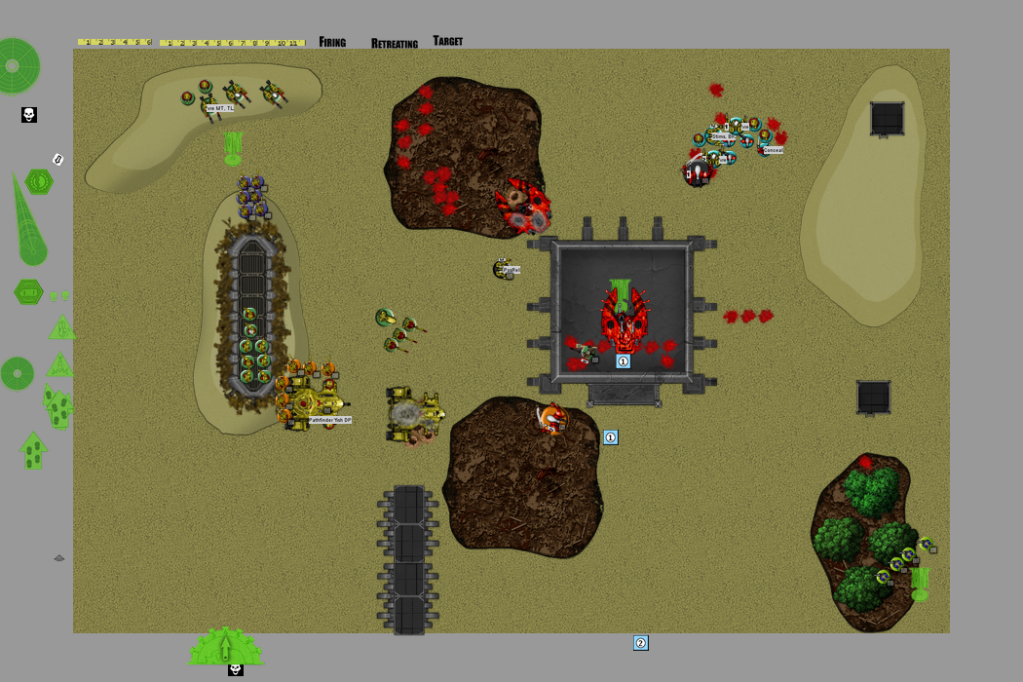
Turn 1 Tau Movement Phase

Moved the
FW into cover, set up the Railhead for a submuntion blast at the Dire Avengers, moved devilfish into cover, supported the
FW with the Crisis
HQ and got ready to obliterate Storm Guardians.
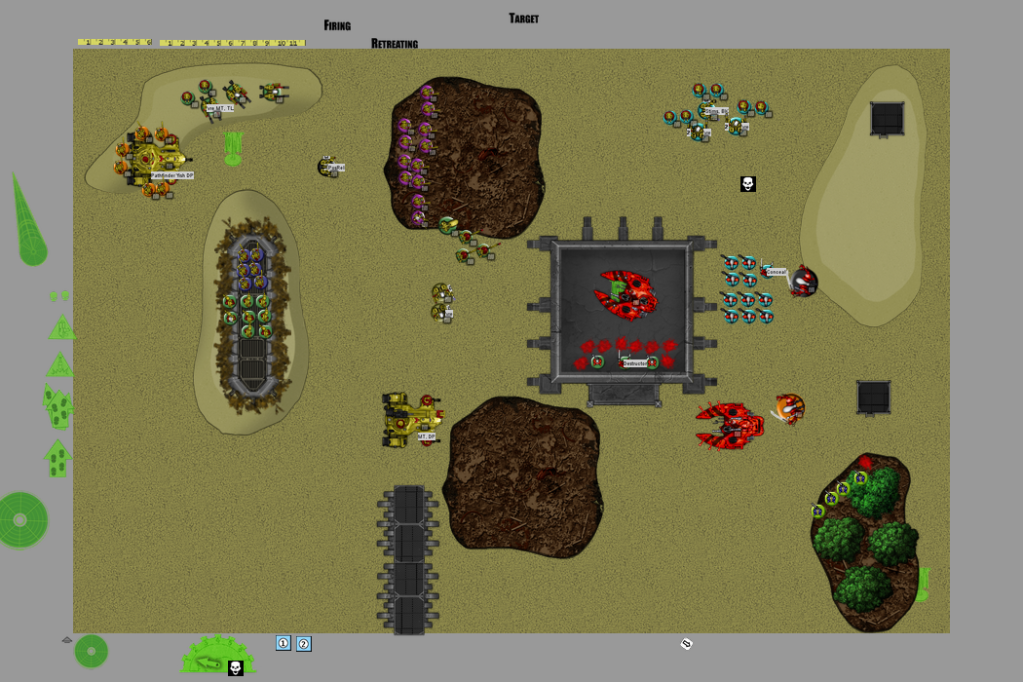
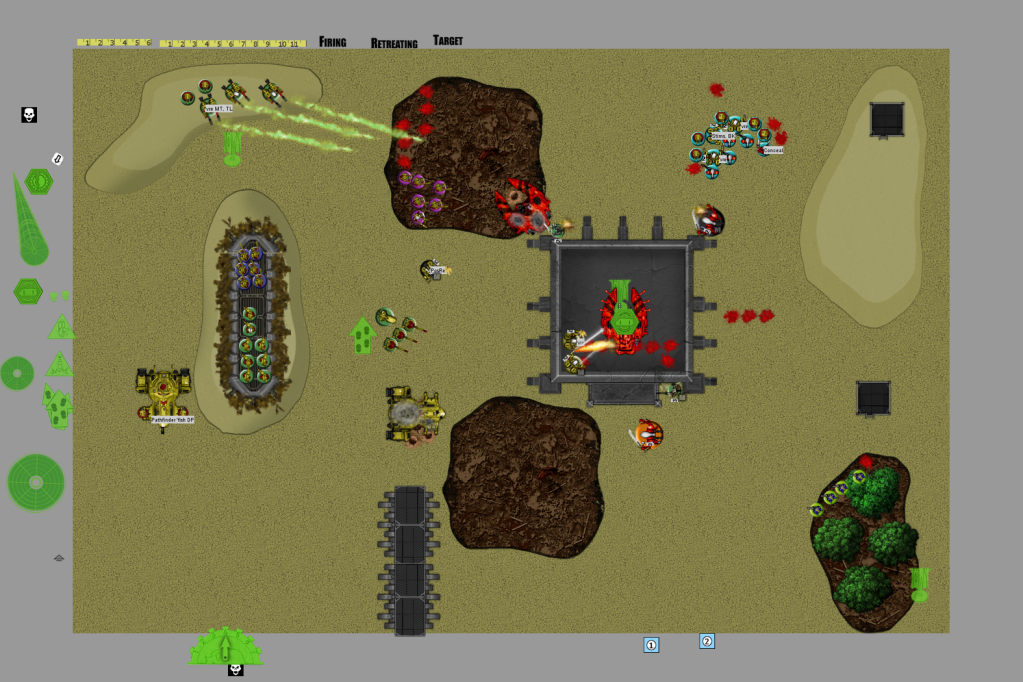
Turn 1 Tau Shooting Phase

Killed one
DA with the submunition round, less successful that I hoped. On the upside, obliterated the
SG with flamers and beams killing 8.
JSJ’ed the Crisis team out of the ruin in the assault phase
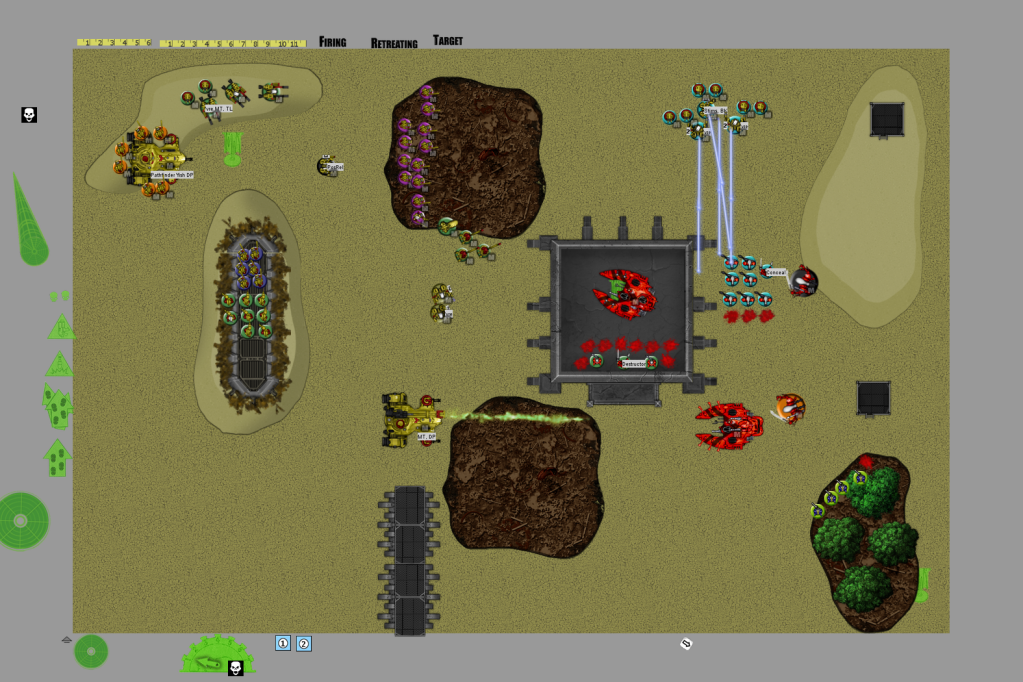
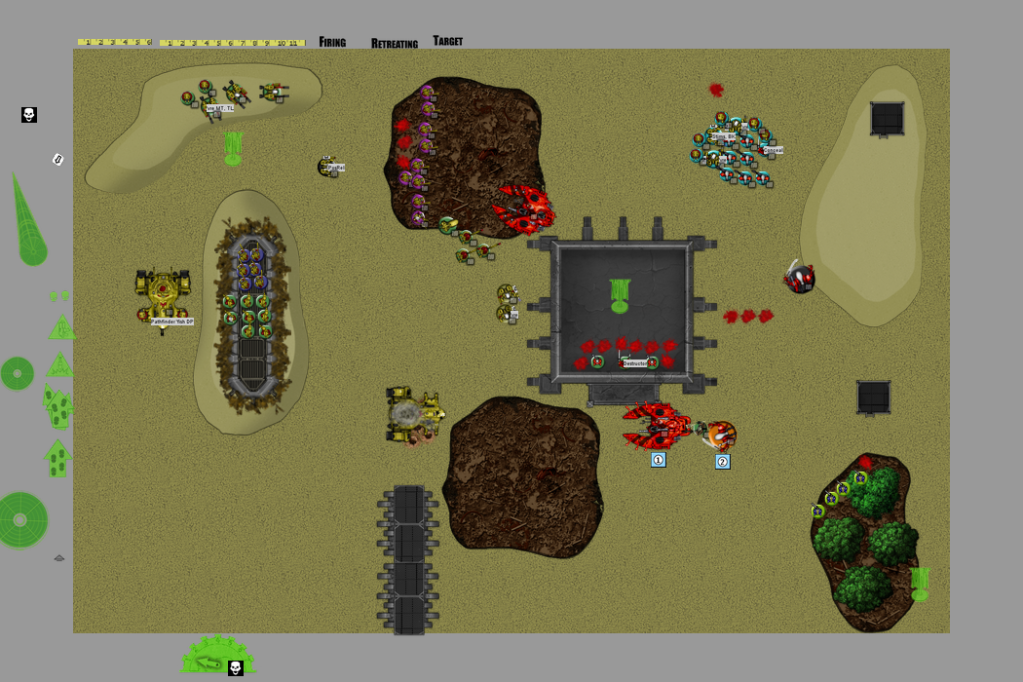
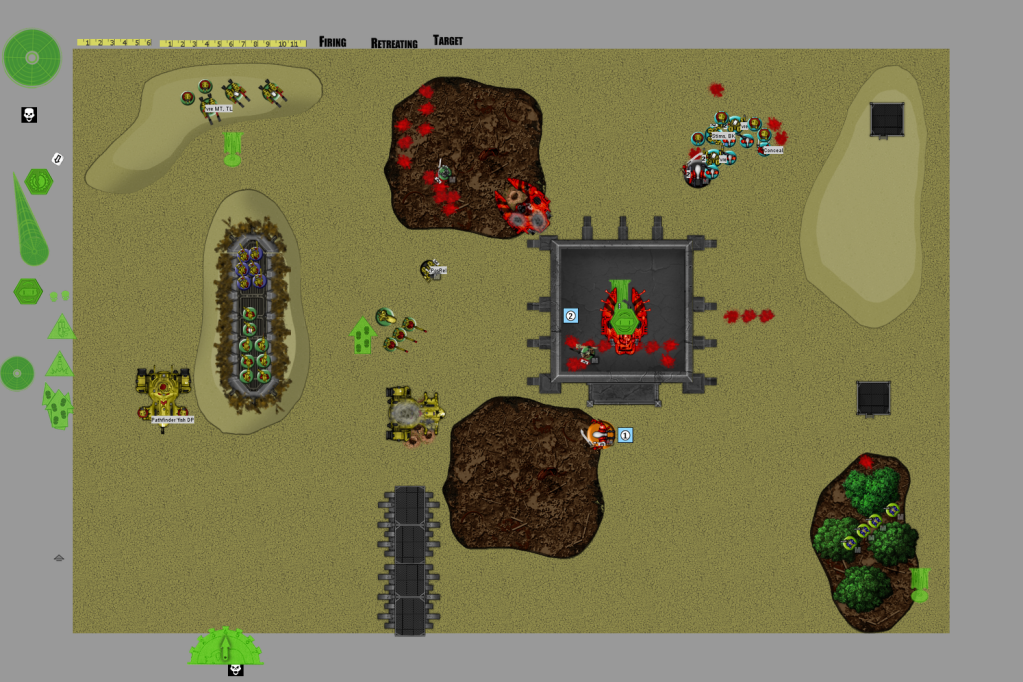
Turn 1 Eldar Movement Phase
With their options limited by the commanding fields of fire of the Broadsides, the eldar creep out of their deployment zone with the falcon hopping into the ruin to preserve the guardians and the wave serpent acting as a shield for the Bright lance Wraithlord.
Turn 1 Eldar Shooting Phase
The wraithlord missed with the Bright Lance
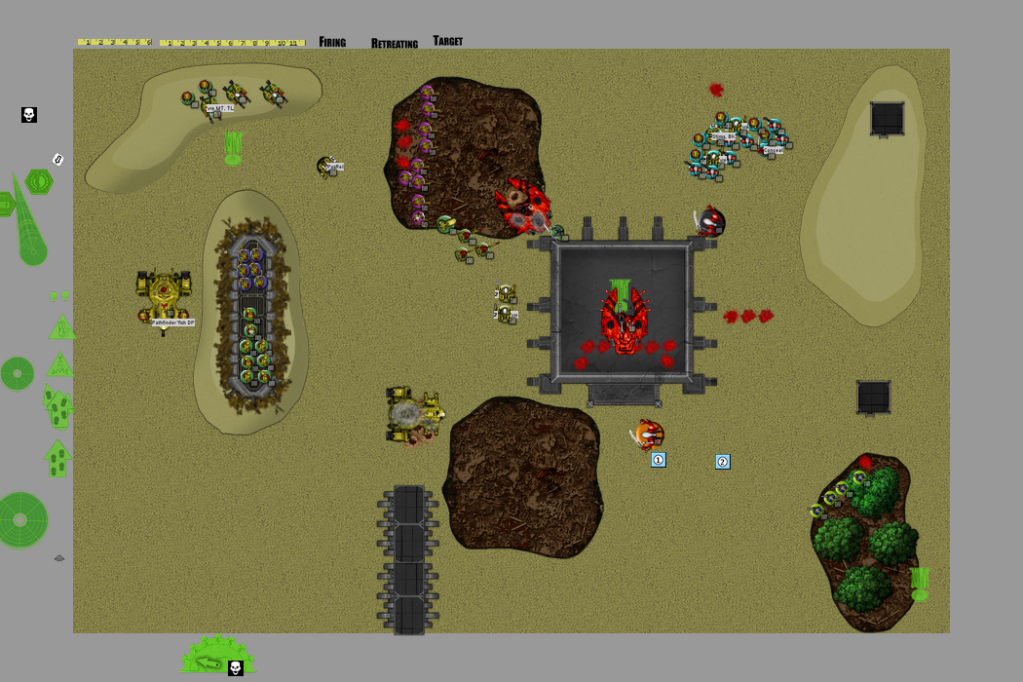
Here is the rest too tired for commentary
Turn 2 Tau Movement
Turn 2 Tau Shooting
Turn 2 Eldar Movement
Turn 2 Eldar Shooting and Assault
Turn 3 Tau Movement
Turn 3 Tau Shooting

Turn 3 Tau Assault

Turn 3 Eldar Movement
Turn 3 Eldar Shooting and Assault
Turn 4 Tau Movement
Turn 4 Tau Shooting and Assault
Turn 4 Eldar Movement
Turn 4 Eldar Shooting and Assault
Turn 5 Tau Movement
Turn 5 Tau Shooting and Assault
Turn 5 Eldar Movement
Turn 5 Eldar Shooting and Assault
Any thoughts on how to improve my play


 3000 3-4 League 5-3-1
 1500
1500


