Due to the volume of pictures I have decided to start a separate thread for games 5-7 of the league. You can follow my first 4 games HERE:
http://www.dakkadakka.com/dakkaforum/posts/list/275485.page
I basically missed the 4th week scenario since I was on travel for 2 weeks. So its on to week 5!
As it is Valentines week, we had a funny bonus point condition!
Week 5 Scenario - Valentines Day Ceasefire?
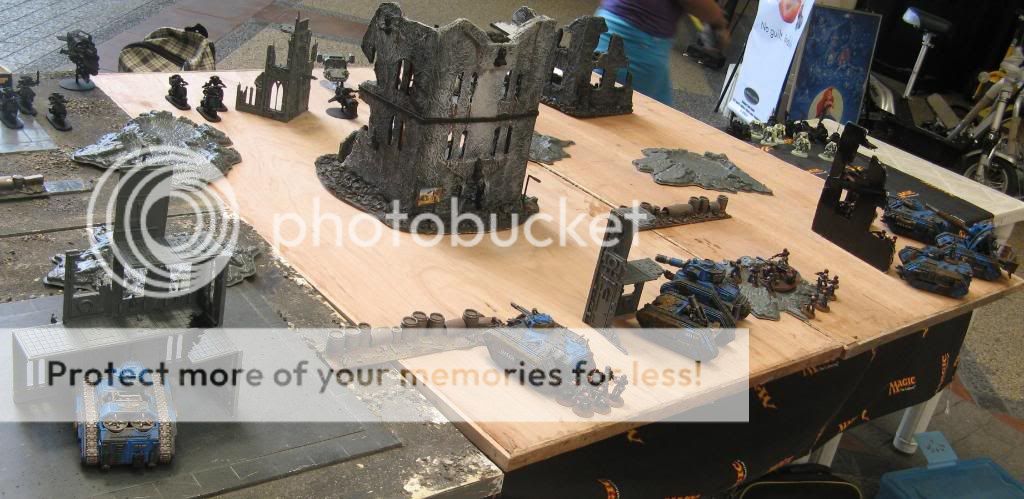
Deployment: Dawn of War
Game Duration: 5 Turns Only
Special Rules:
Infiltrators and Scouts
Reserves
Deepstrike
Night Fighting (1st Turn Only, as indicated in Dawn of War Deployment)
Psychic Storm - All psychic tests are resolved at
3D6, discarding the lowest die roll. Any double 1's or 6's before the discard suffers a "Perils of the Warp" attack
Victory Conditions:
Total
VP determines the Winner
Bonus
VP:
+200VP for destroying opponent's most expensive unit
+200VP each for destroying opponent's
HQ
+100VP each for destroying opponent's Special Character/s
(Im sure somebody will ask this, but yes the points are cumulative. Meaning if your opponent's
HQ is part/is also the most expensive unit, you get +400pts for destroying it)
Bonus Points Conditions:
If gamed is played or witnessed with loved one / special someone: +2pts! (Awarded once only)
If game is played or witnessed with a DIFFERENT loved one / special someone: -20pts! (Can be awarded multiple times)
Game 5 Week 5
This game pitted me versus Clarence's Beautiful Blood Angel Army. He fielded this list:
BLOOD ANGELS TASK FORCE SANGUINE INVICTA
Headquarters:
Brother Corbulo
Elites:
Blood Angels Death Company Furioso Dreadnought "Morikar"
2 Dreadnaught
CCW with Storm Bolter and Meltagun/ searchlight, smoke launchers
Dedicated transport: Dreadnought Drop Pod
Blood Angels Death Company Furioso Dreadnought "Malakhai"
2 Dreadnaught
CCW with Storm Bolter and Meltagun/ search light, smoke launchers
Dedicated transport Dreadnought Drop Pod
The Death Company
5 man squad armed with
CCW and boltguns, power armour, frag/krak grenades
Dedicated transport: Death Company Rhino/ stormbolter
Troops:
10 Man Blood Angels Tactical squad led by Brother Sergeant Angelo
Vet Sergeant Armed with Power Sword
One marine equipped with meltagun
One marine equipped with Lascannon
All others have bolters, krak/frag grenades
Dedicated transport: Blood Angels Rhino
5 Man Blood Angels Assault squad led by Brother Sergeant Seraphian
Vet Sergeant equipped with Power Fist
All others have Boltgun/
CCW, frag/krak grenades
Dedicated transport: Blood Angels Rhino
5 Man Blood Angels Assault squad led by Brother Sergeant Cheras
Vet Sergeant equipped with Power Sword
All others have Boltgun/
CCW, frag/krak grenades
Dedicated transport: Blood Angels Rhino
Fast Attack:
Blood Angels "Tempest" Land Speeder "Skull 1"
One Assault Cannon and Typhoon Missle launcher
Blood Angels "Tempest" Land Speeder "Skull 2"
One Assault Cannon and Typhoon Missle launcher
Heavy Support
Blood Angels "Baal" class Predator
Twin linked Assault cannon, stormbolter and sponson mount heavy bolters
Blood Angels "Baal" class Predator
Twin linked Assault cannon, stormbolter and sponson mount heavy bolters
Clarence won the toss, and decided to give me the first turn:
I deployed 1 squad from the 1st platoon, an empty chimera from the platoon, and also the
HQ chimera. My penal legionaires got the "gunslinger" ability.
Clarence decided to combat squad his
tac squad Angelo, and only deployed the combat squad with the lascannon.
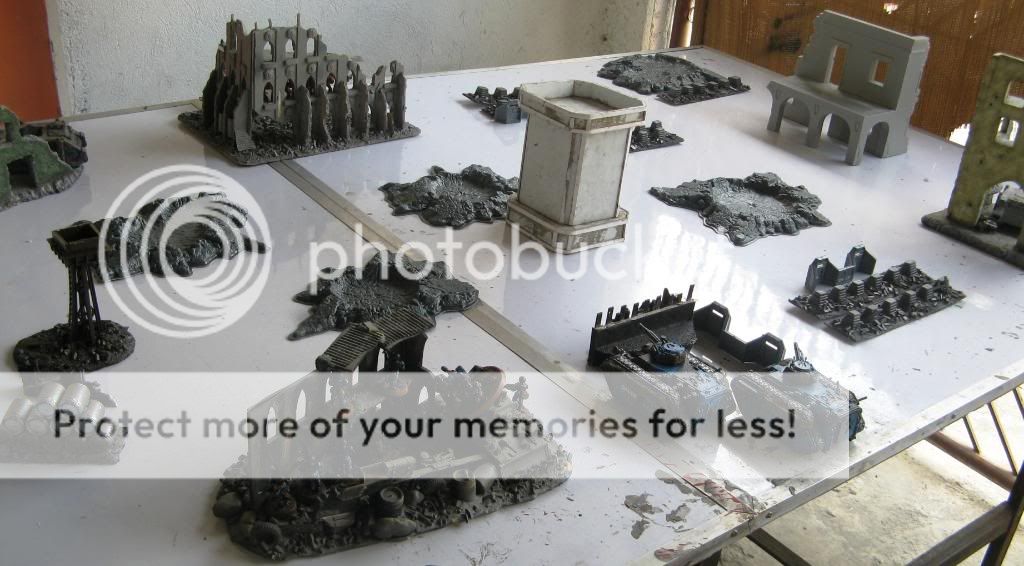
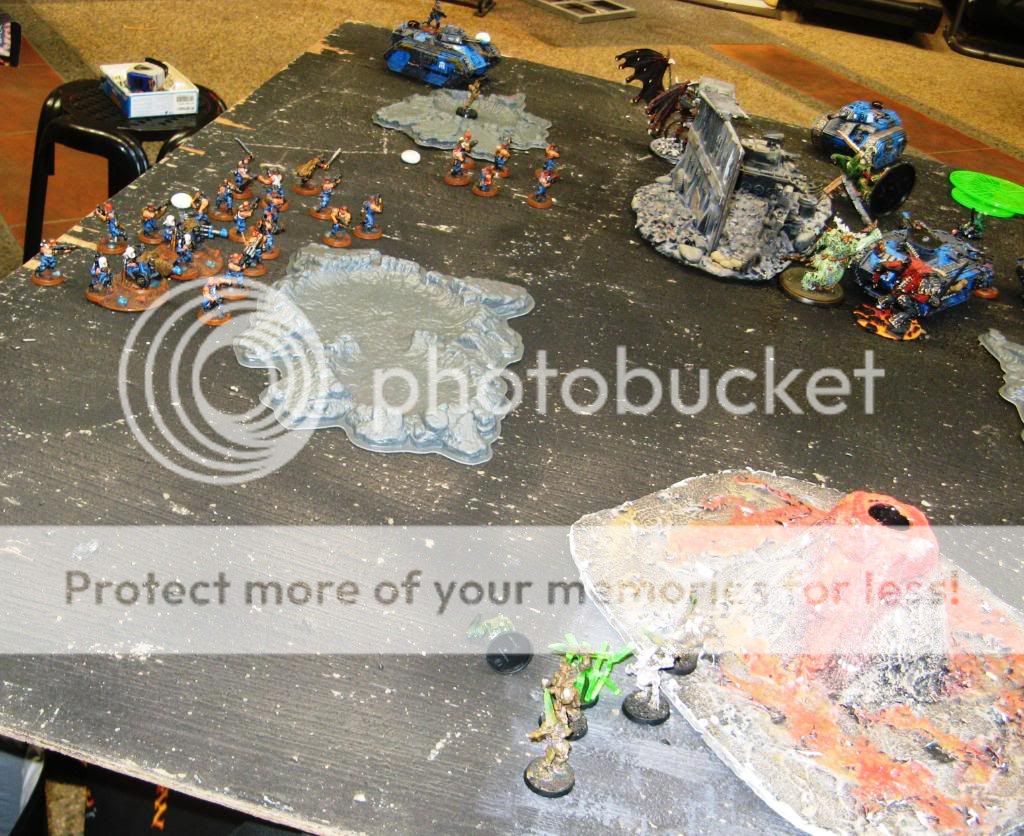
Deployment, with lascannon squad Angelo in the middle level on the ruin on the opposite side.
IG turn 1
Most of my forces enter, except the chain gang and Capt Sidewinder's platoon. My devil dog and the PCS1 chimera curl to the left of first squad, while the leman russ and griffon enter in between the squad and the 2 initial empty chimeras, in which the 1st platoon meltagun
SWS as well as the
CCS soon enter. The second squad enters then later uses "run,run,run" to position itself along an area with a tank trap and barricades. I decide to use the basilisk as a bait unit and position it to my extreme right.
Shooting has the melta
SWS chimera fail it's night fight roll, but the Leman Russ roll's 2 6's and illuminates the lascannon squad Angelo! As a result everything that can shoot does and only the lascannon marine is left, and he promptly vacates his position and runs behind the ruin!
End of
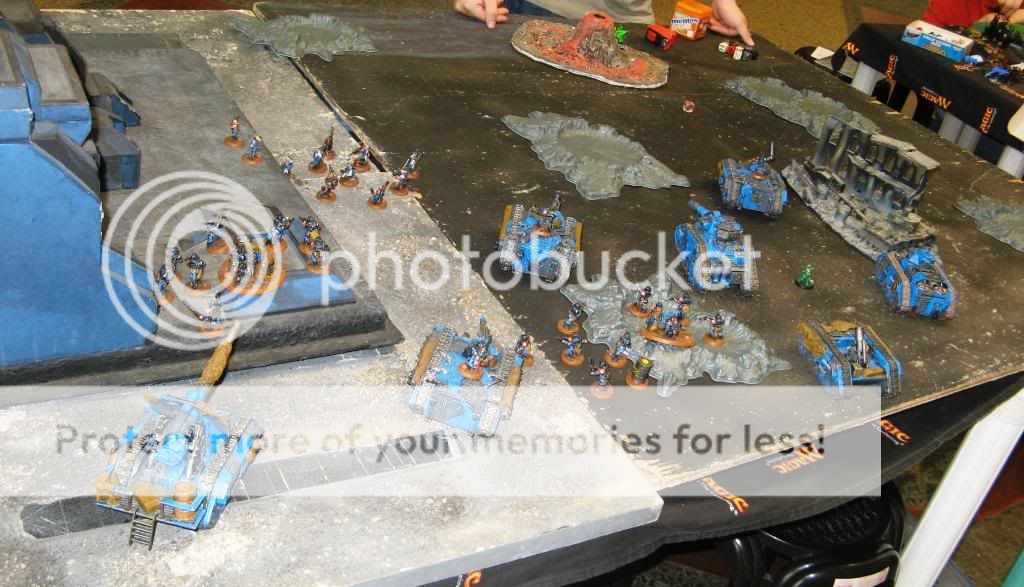
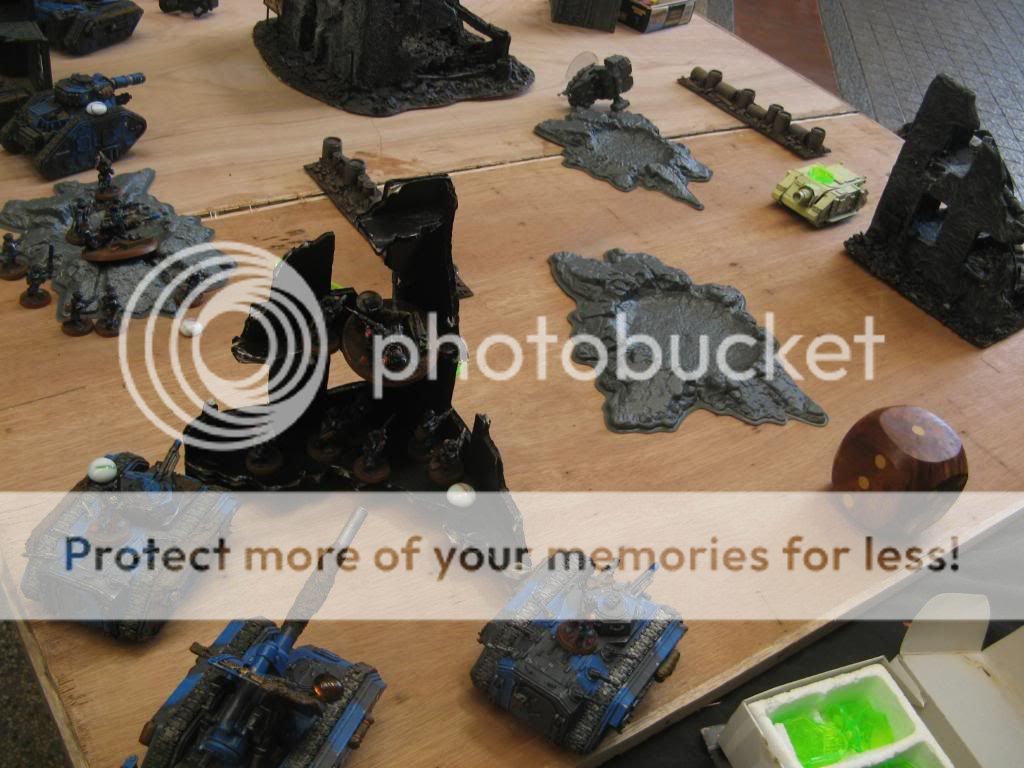
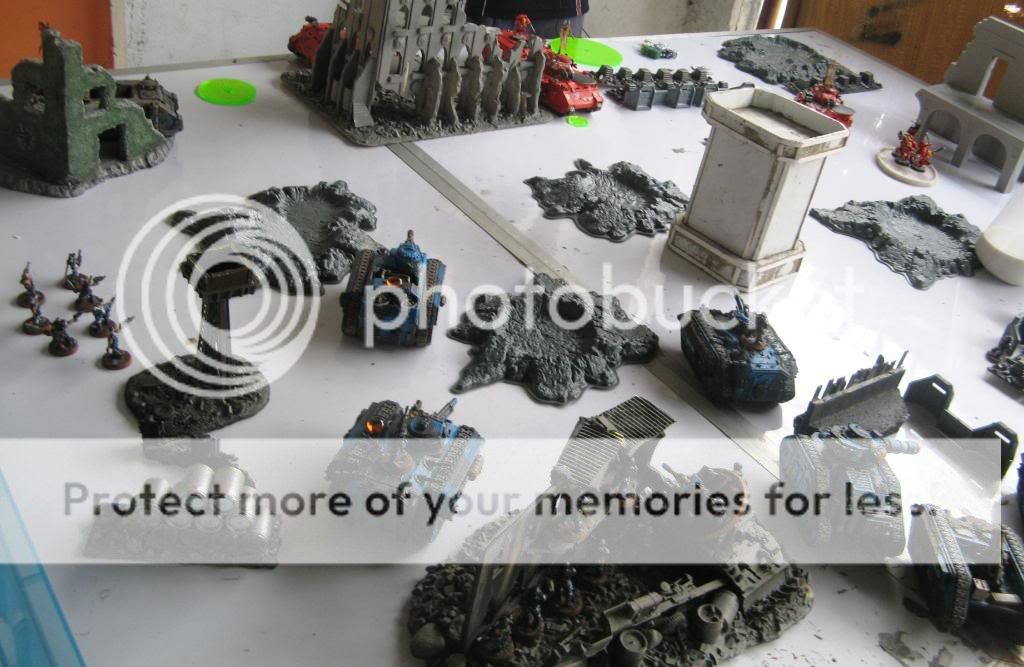
IG turn 1 (left view)
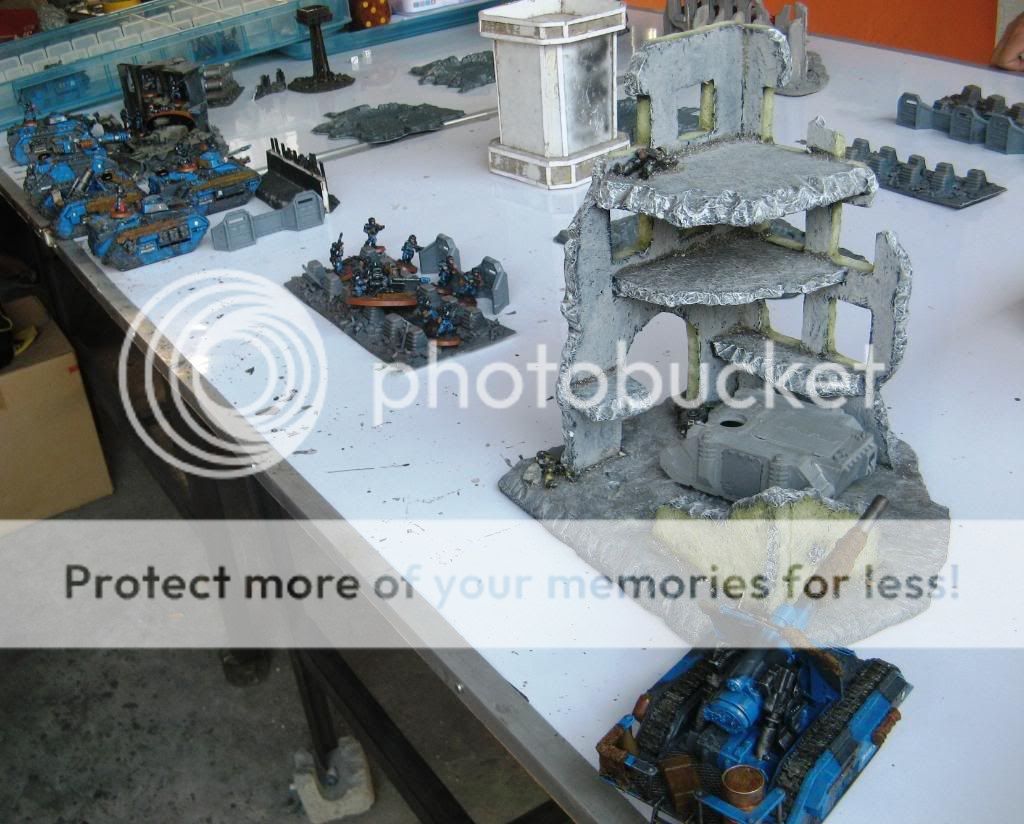
End of
IG turn 1 (right view)
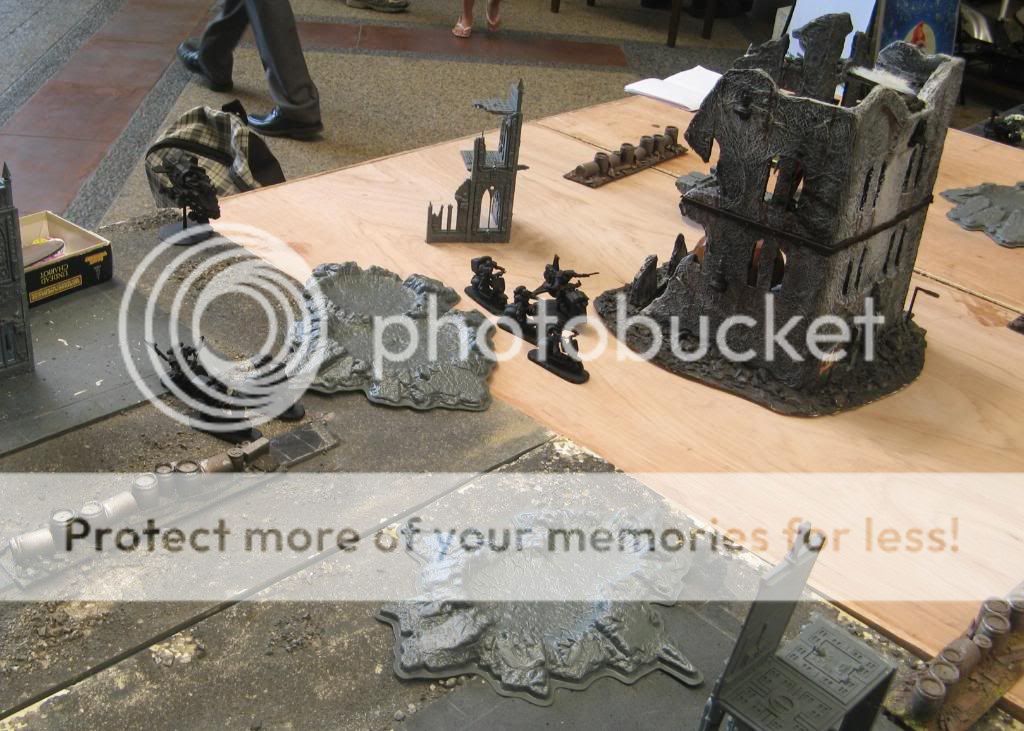
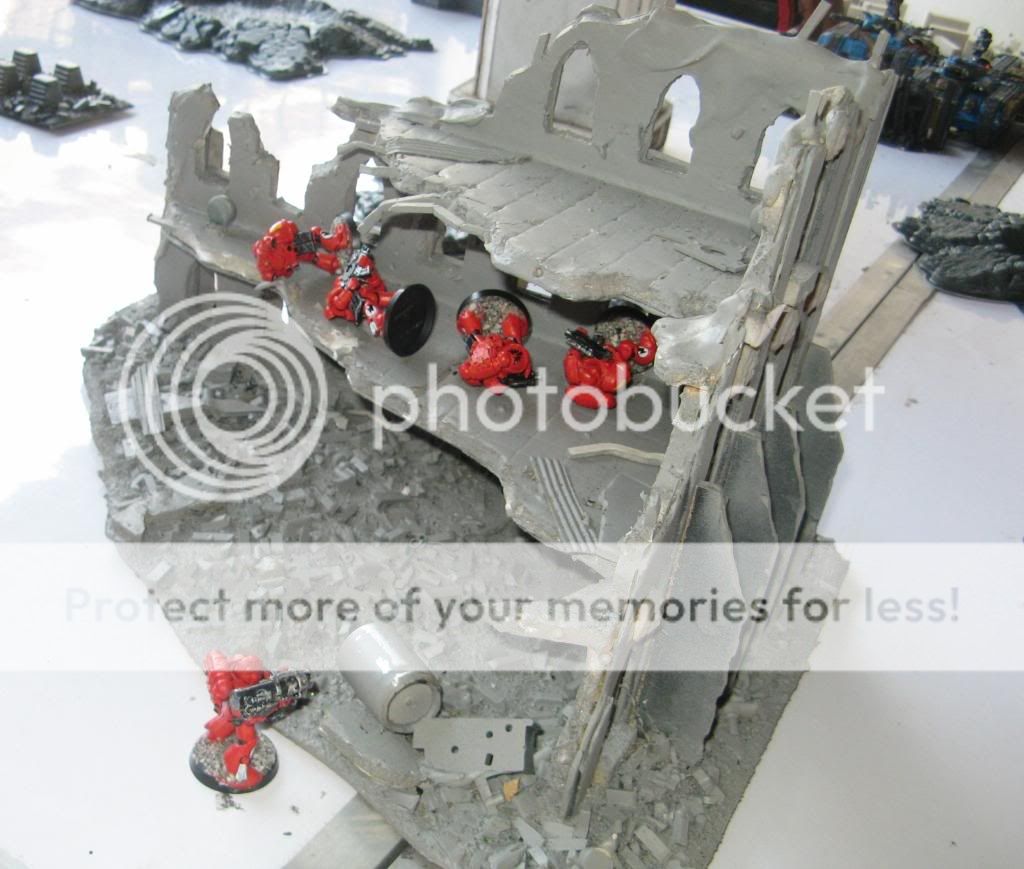 IG
IG turn 1: The lascannon gunner (the
ML is a proxy) legs it as 4 of his squadmates die!
BA turn 1
The lascannon marine knows no fear and regroups, while all
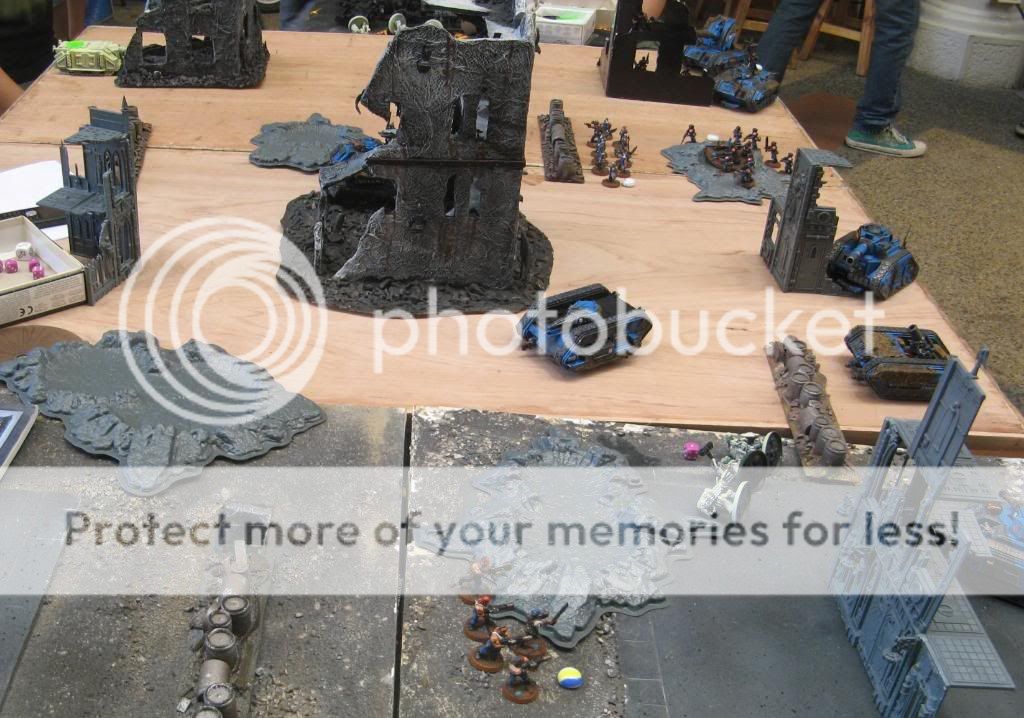
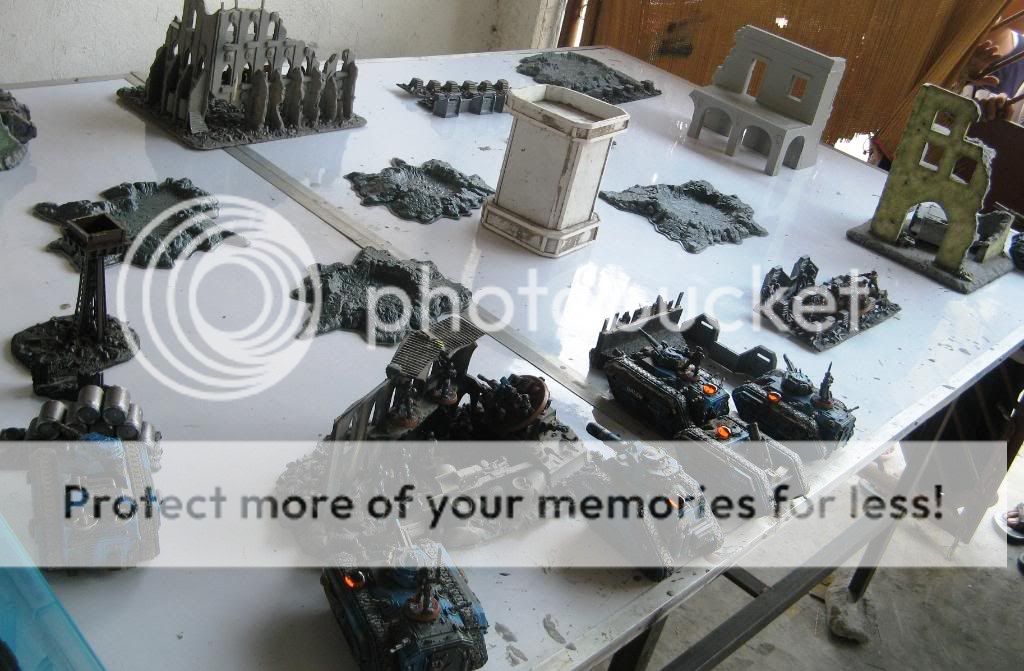
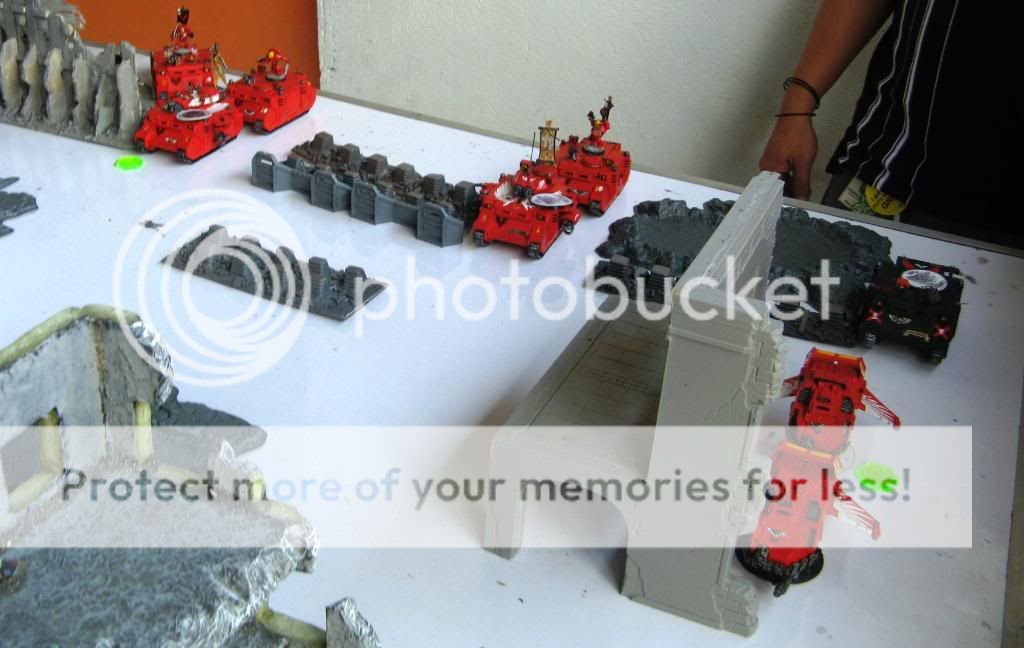
BA tanks enter the game. Baal 1 moves 12" to the left of the ruin and pops smoke, with the rhino of assault squad Seraphian plus the rhino of combat squad Angelo behind it. Towards his left, Baal 2 does the same thing with the rhino of Squad Cheras behind it. On his extreme left, the 2 speeders "Skull 1" and "Skull 2" goes flat out towards the basilisk, while the death company rhino with corbulo entering some distance behind them. The lascannon targets the Leman Russ easily due to the searchlight, but misses the tank.
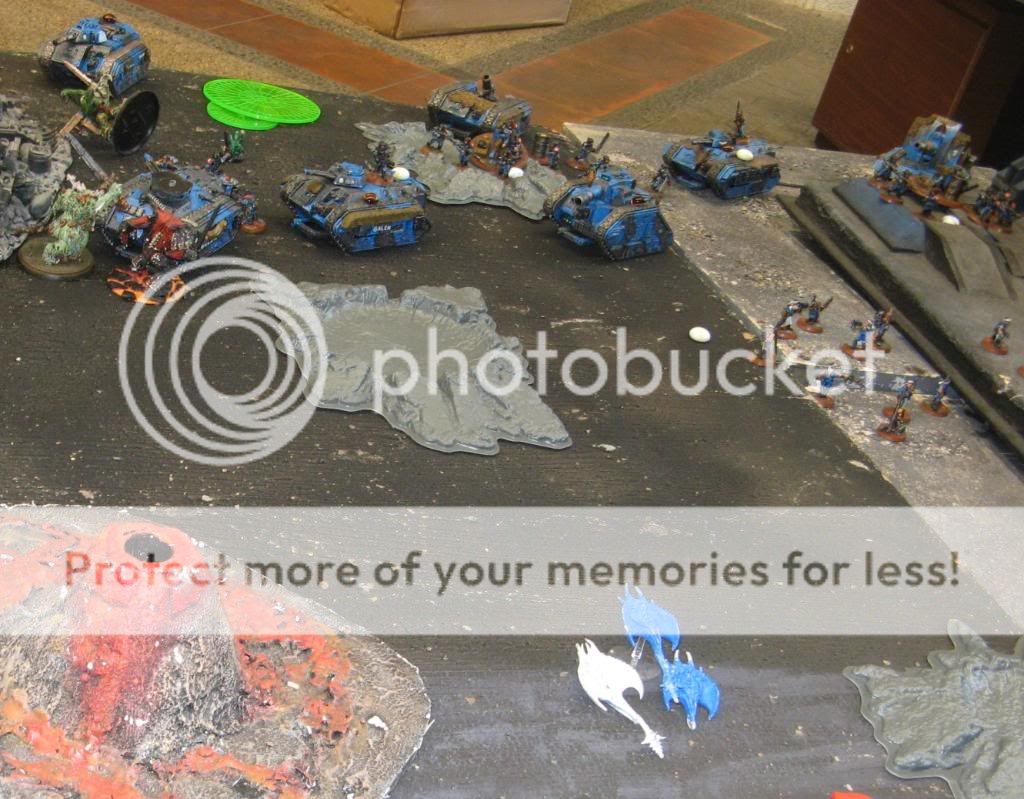
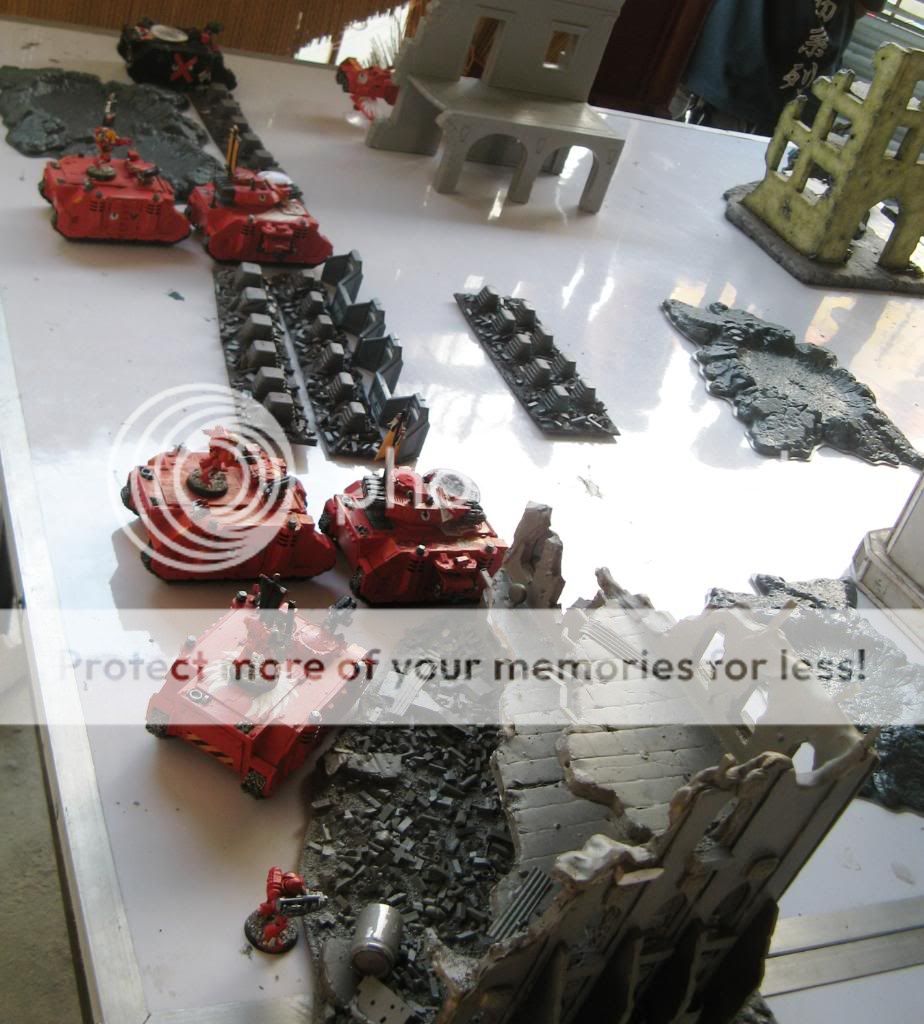 BA
BA reinforcements enter the center
The death company rhino pops smoke as the Skull 1 and 2 moves flat out towards the basilisk.
IG turn 2
Reserves show only the "Chain Gang" penal legionnaires show up, and they outflank from my left. The basilisk tucks itself behind the ruin in order to have cover versus the speeders. The other tanks redeploy slightly.
Shooting is below average. While the long range lasguns of the chain gang finishes off the lascannon marine of squad Angelo, all other shooting does nothing except shake the speeder "Skull 2", while the griffon manages to stun Baal 1.

The chain gang finishes off the lascannon marine of squad Angelo
 IG
IG shooting is tepid as only Baal 1 is stunned and speeder "Skull 2" is shaken
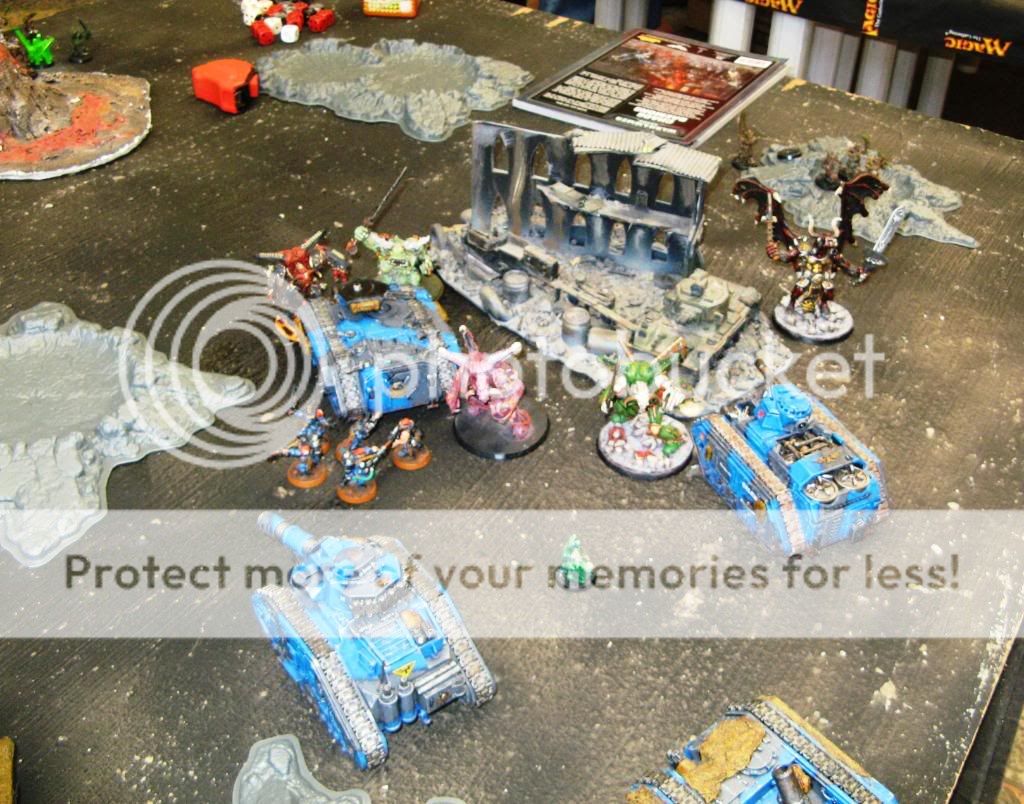
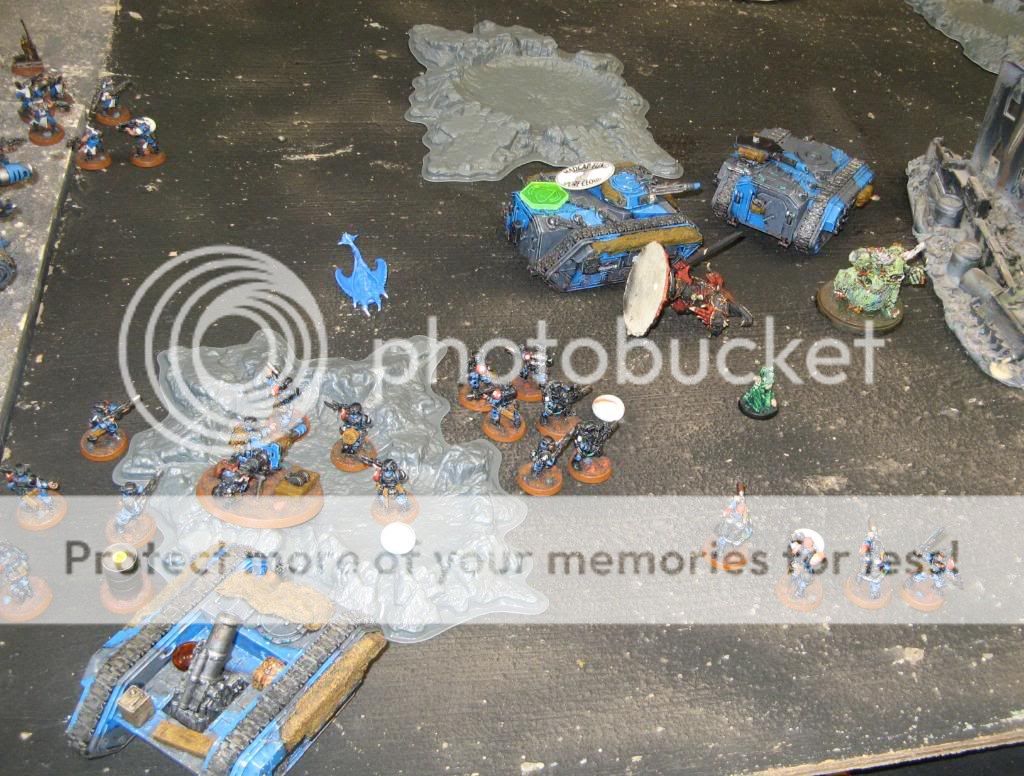
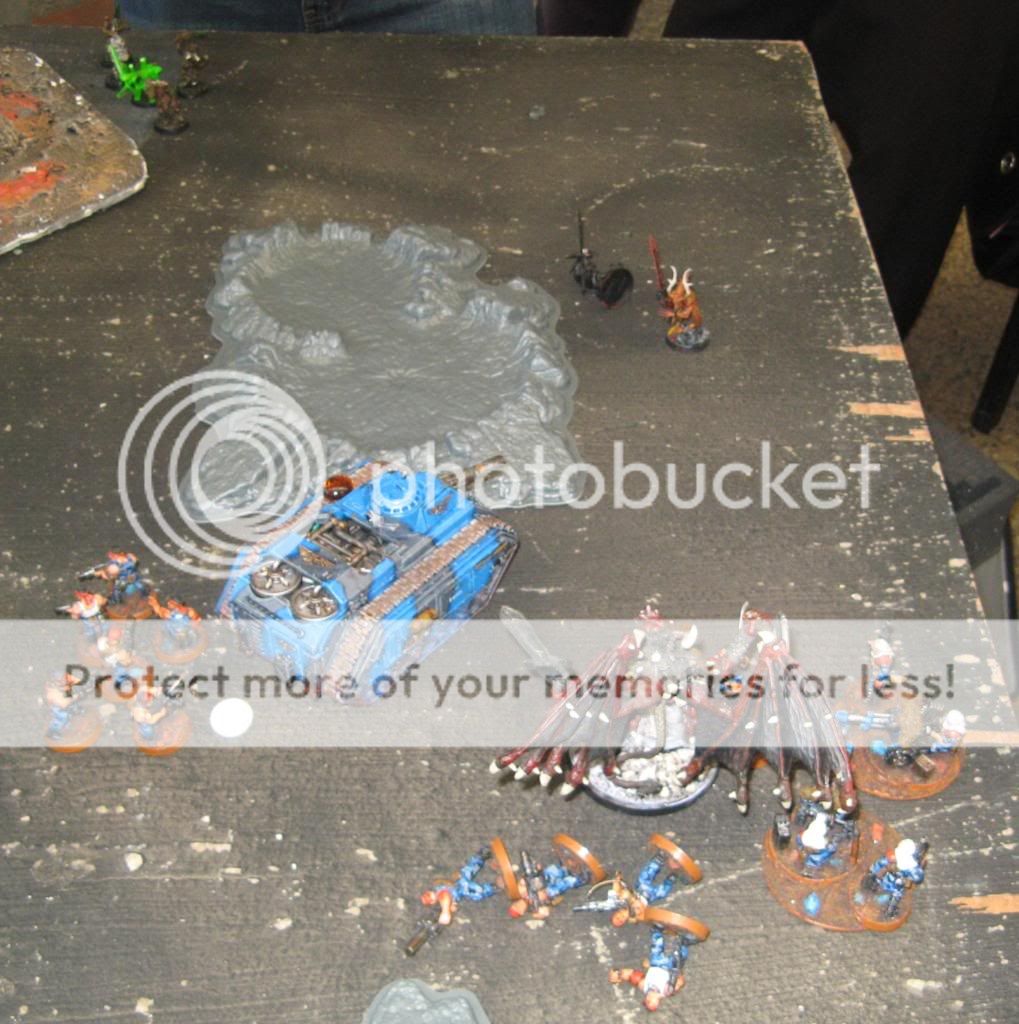
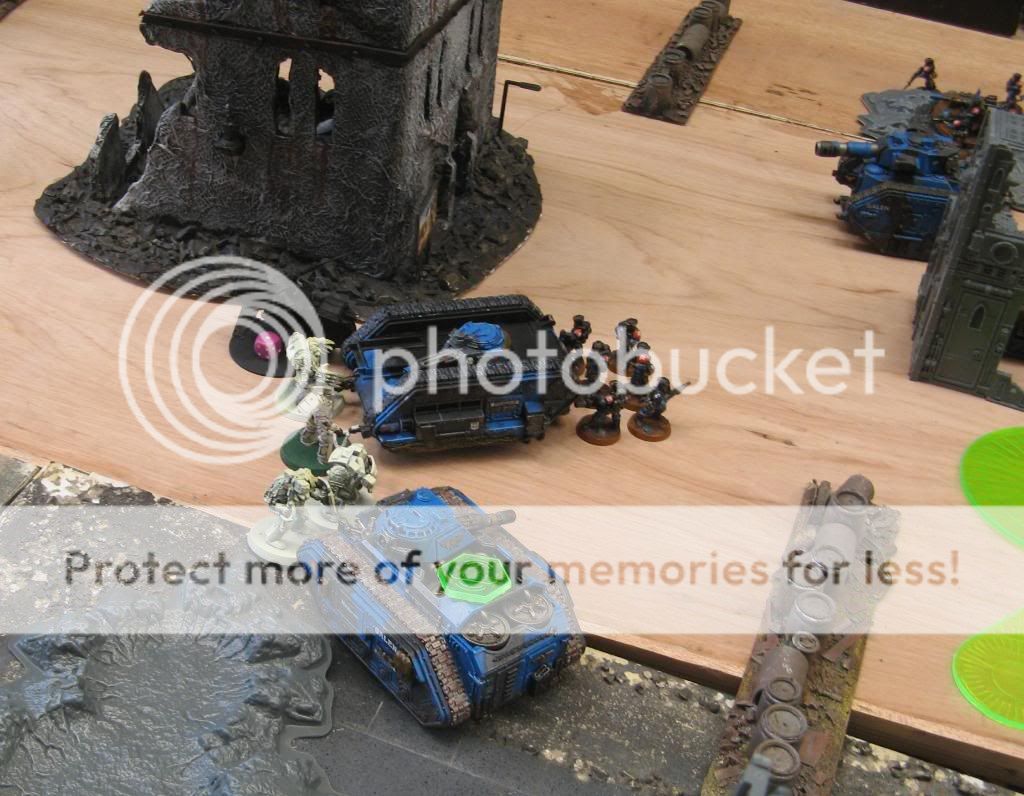
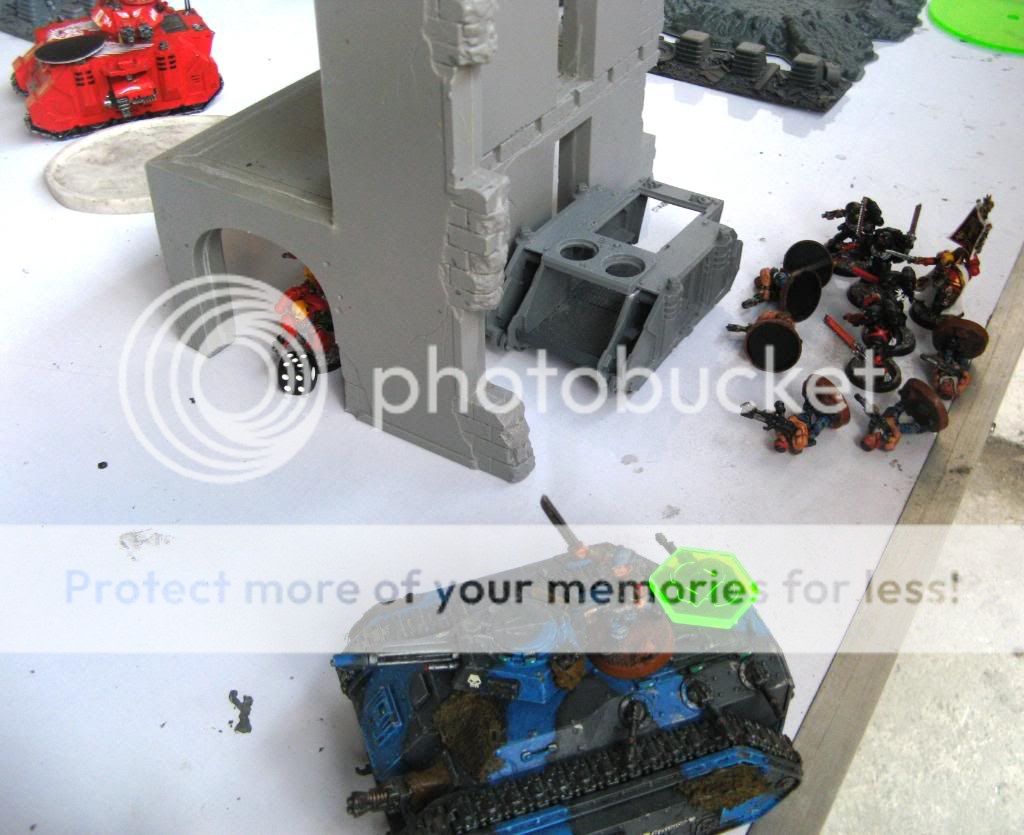
BA turn 2
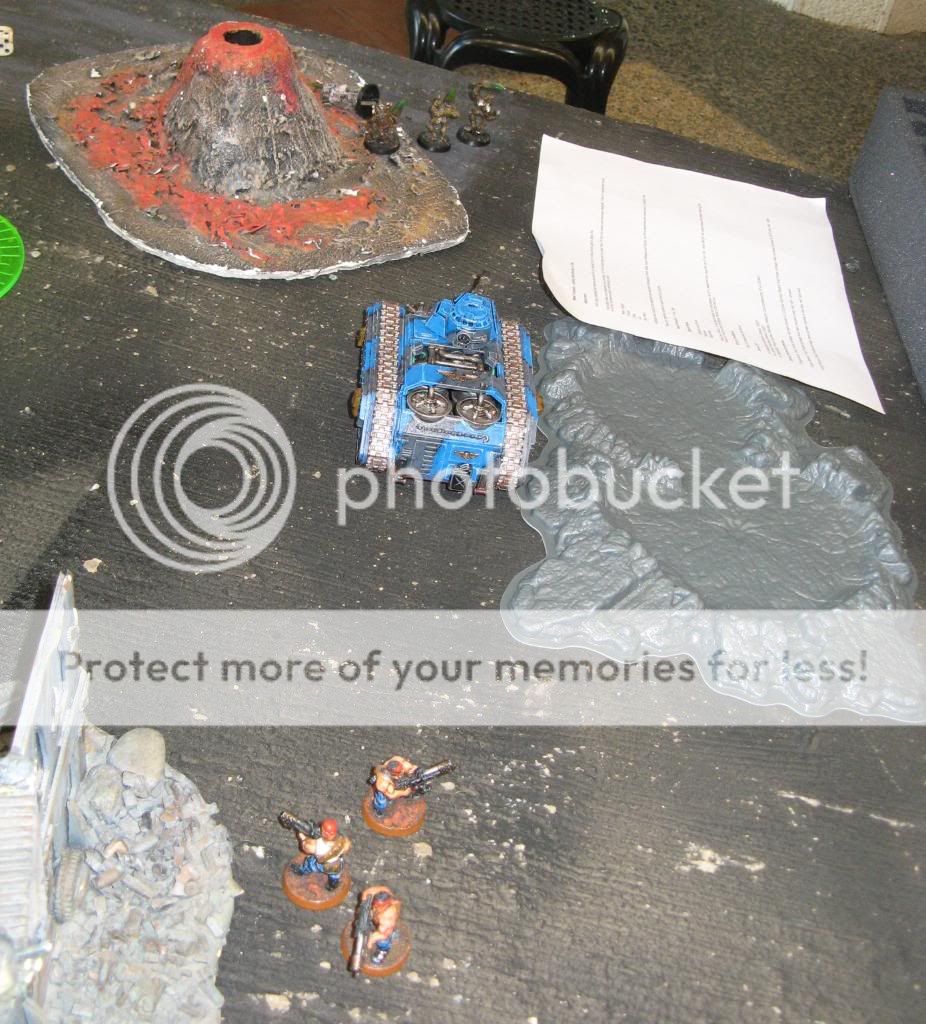
Clarence decided to separate the deployment of his Furioso Morikar from its drop pod. Thus, it dropped empty in a crater near my first platoon's second squad (Clarence forgot the drop pod models, we were forced forced to improvise using glue bottles), and Morikar entered play beside the Chain Gang.
Baal 2 manages to overcharge its engines, as well as rhinos for squads Cheras and Angelo. The Death company rhino moves normally, but Rhino Seraphian stalls right behind the stunned Baal 1!
Baal 2 moves 6" forward, and Rhino Cheras moves farther and pops smoke. Rhino Angelo makes a move toward the Chain gang. Speeders Skull 1 and 2 move forward, with Skull 2 turbo boosting, towards the Basilisk. The Death Rhino moves into beside a ruin, trying to seek cover.
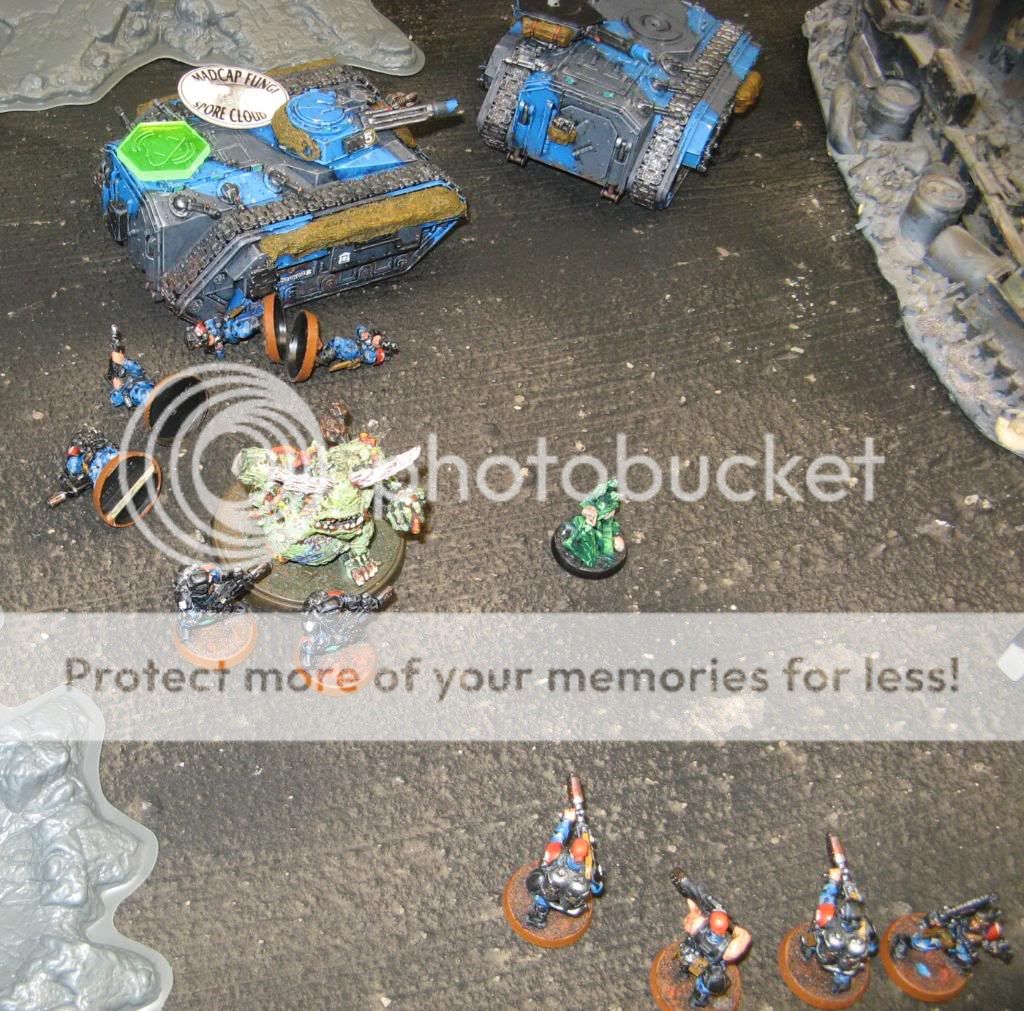
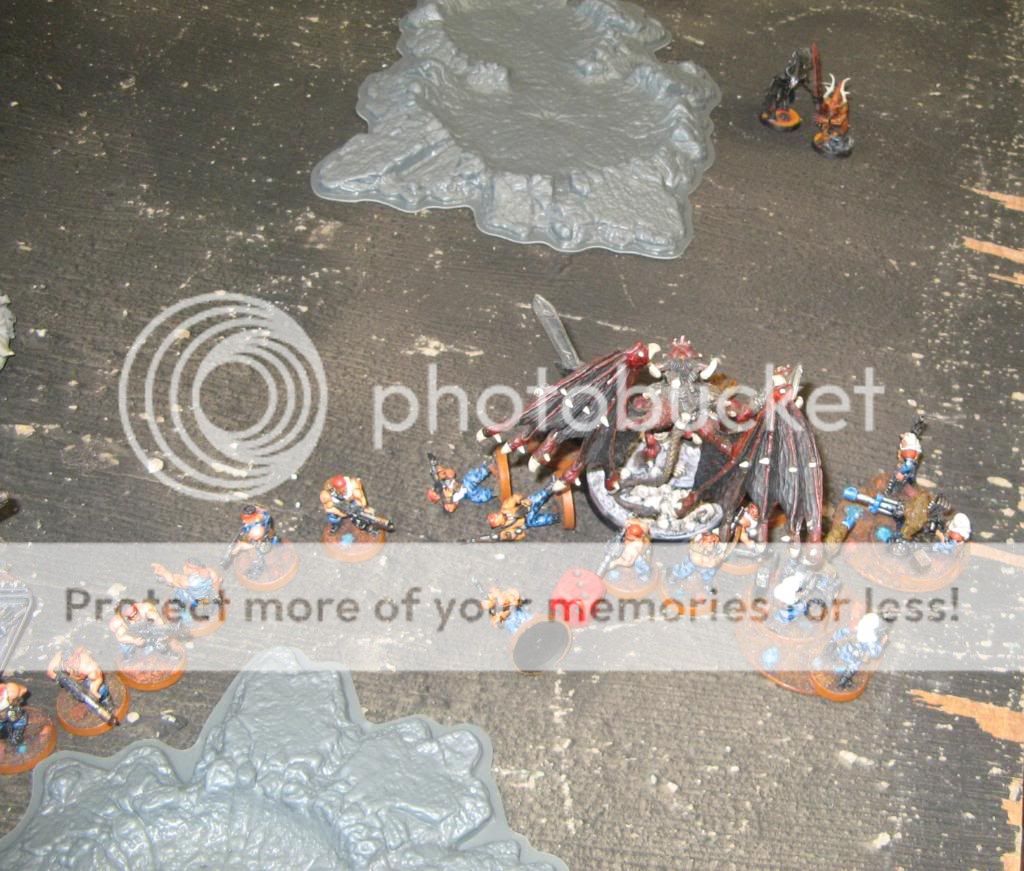
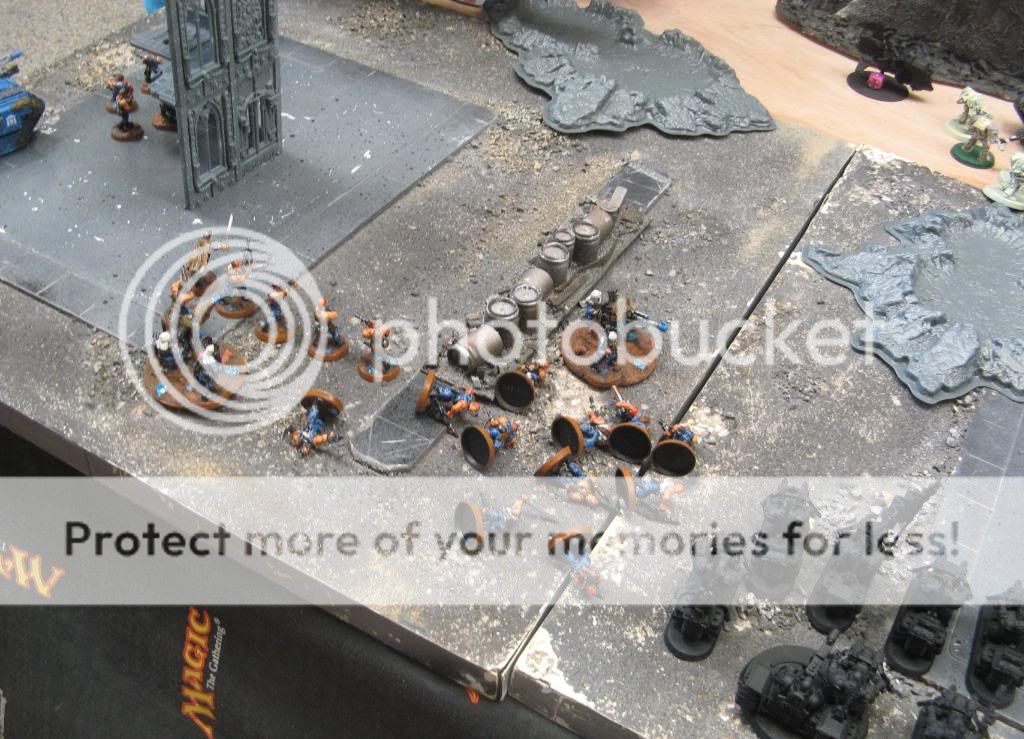
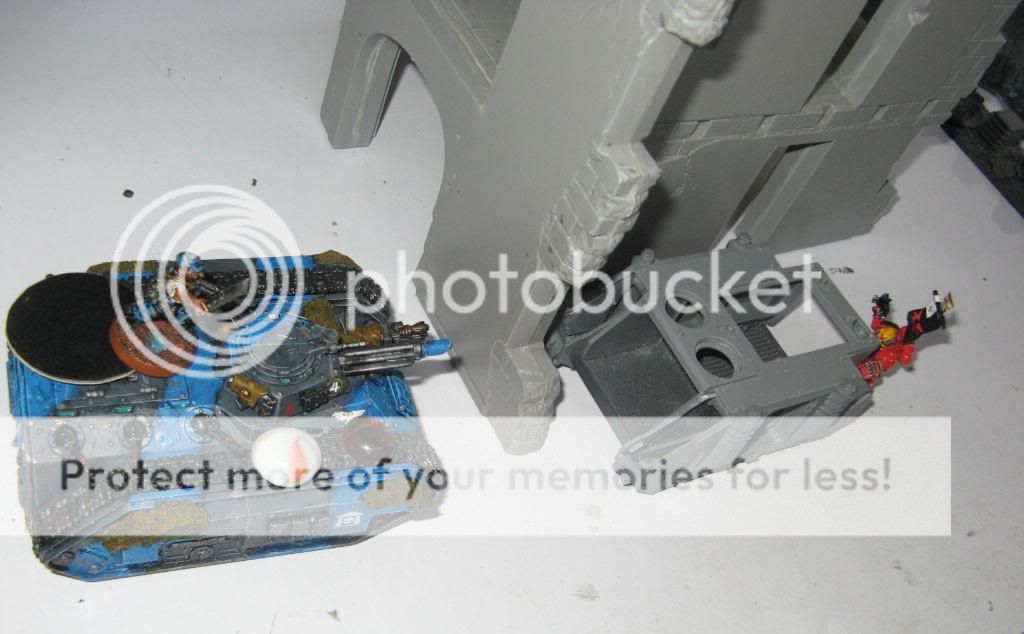
Shooting sees Morikar and the Rhino Angelo kill 3 chain gangers, who promptly flee out of Morikar's assault range! Baals 2 unleashes the
TL Asscan, 2
HB, and a storm bolter, but only manage to cause 2 casualties plus a wound on the autocannon team on my second squad, as they went to ground to avoid the worst of the fire. Skull 1 misses the basilisk badly with the multimelta.

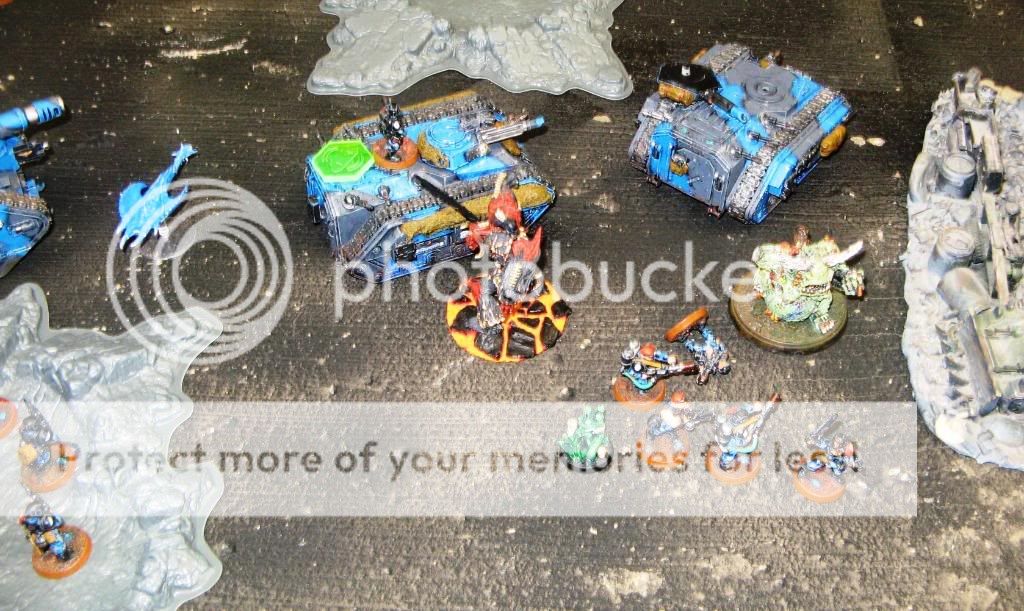
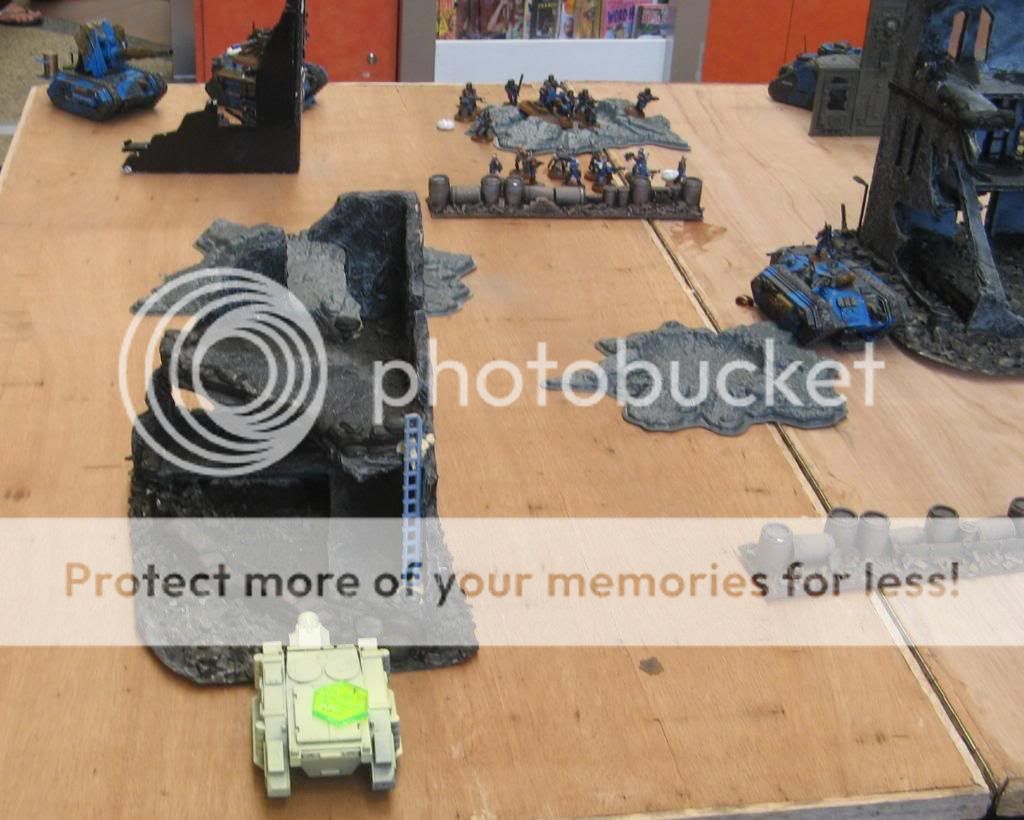
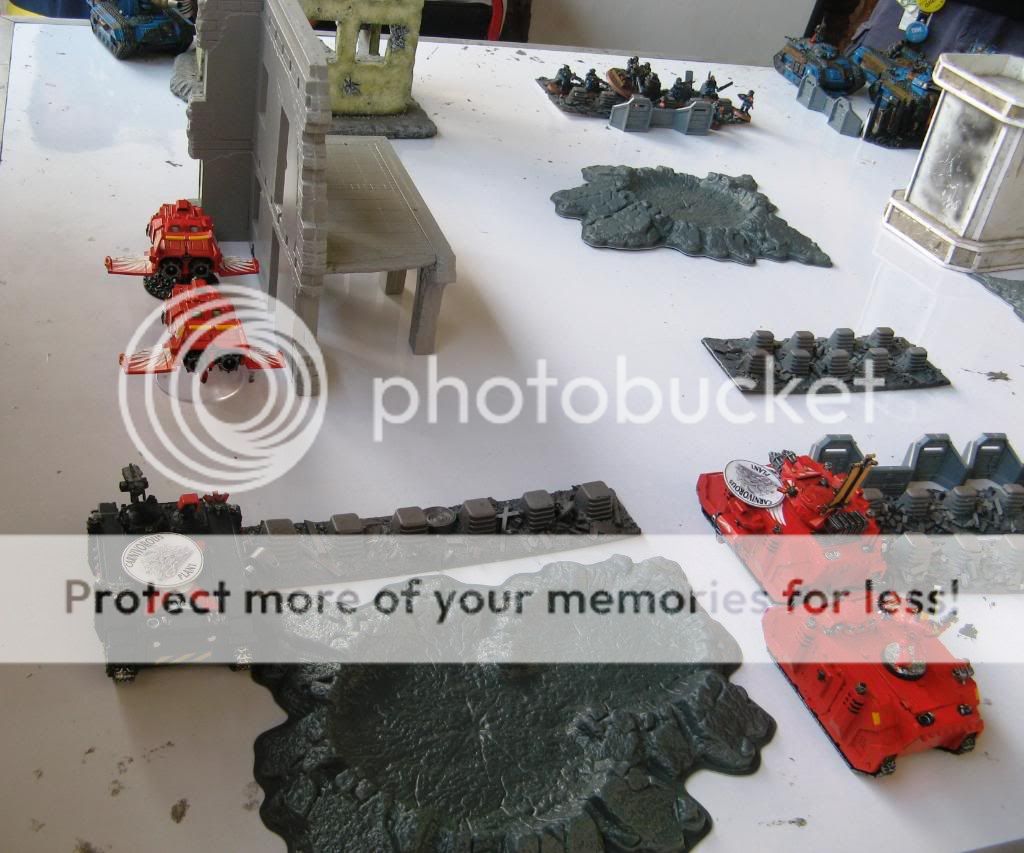
The penal legionnaires flee out of the grasp of the Furioso Morikar
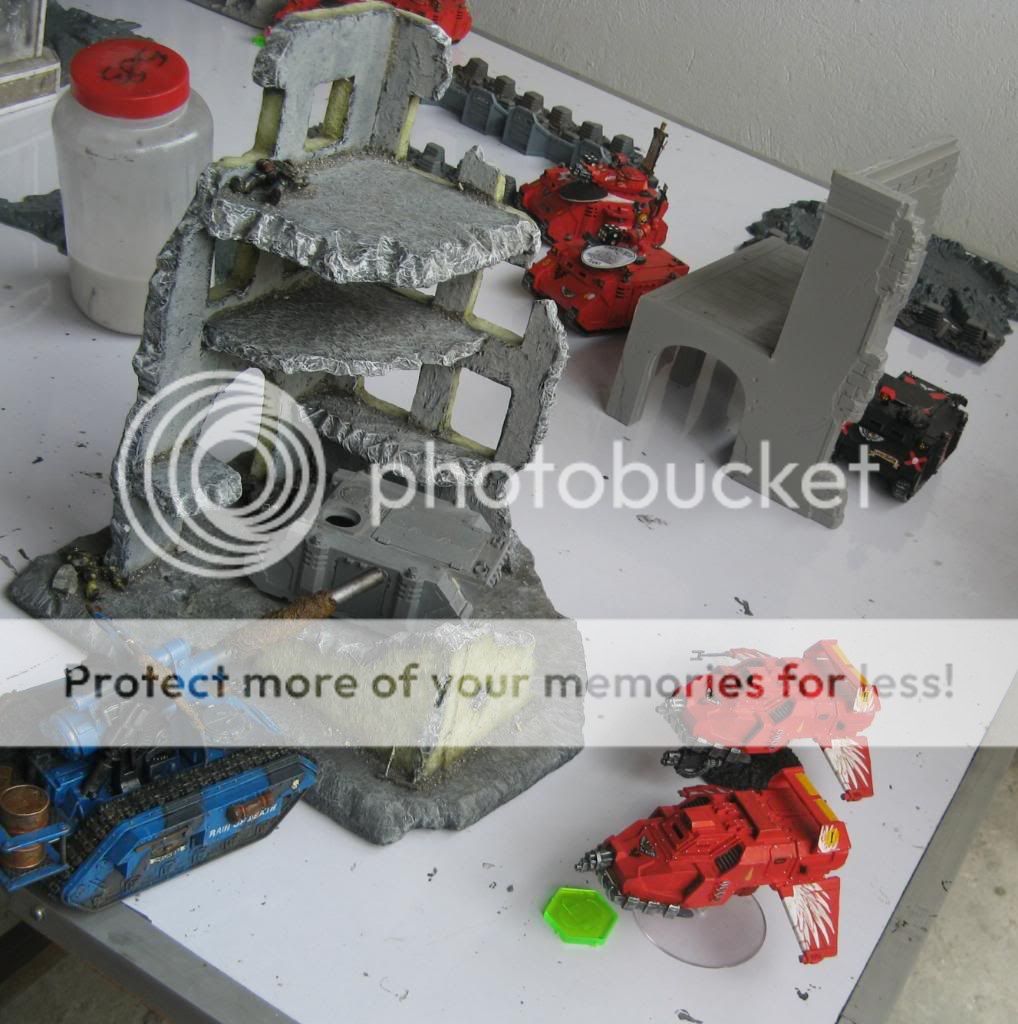
The basilisk dodges fire from Skull 1.
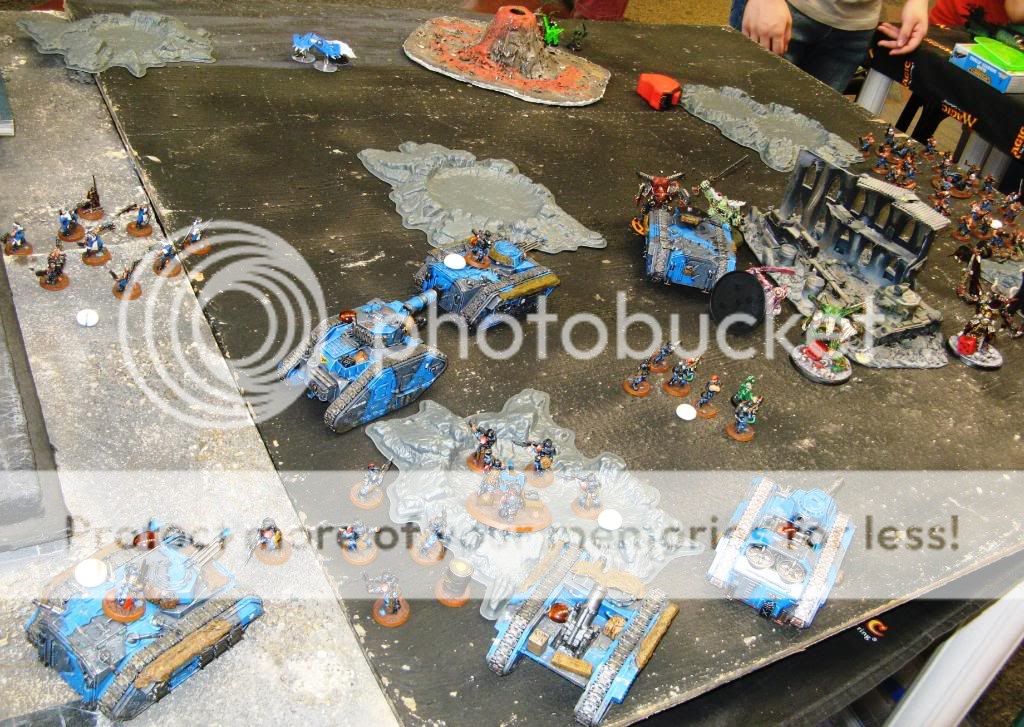
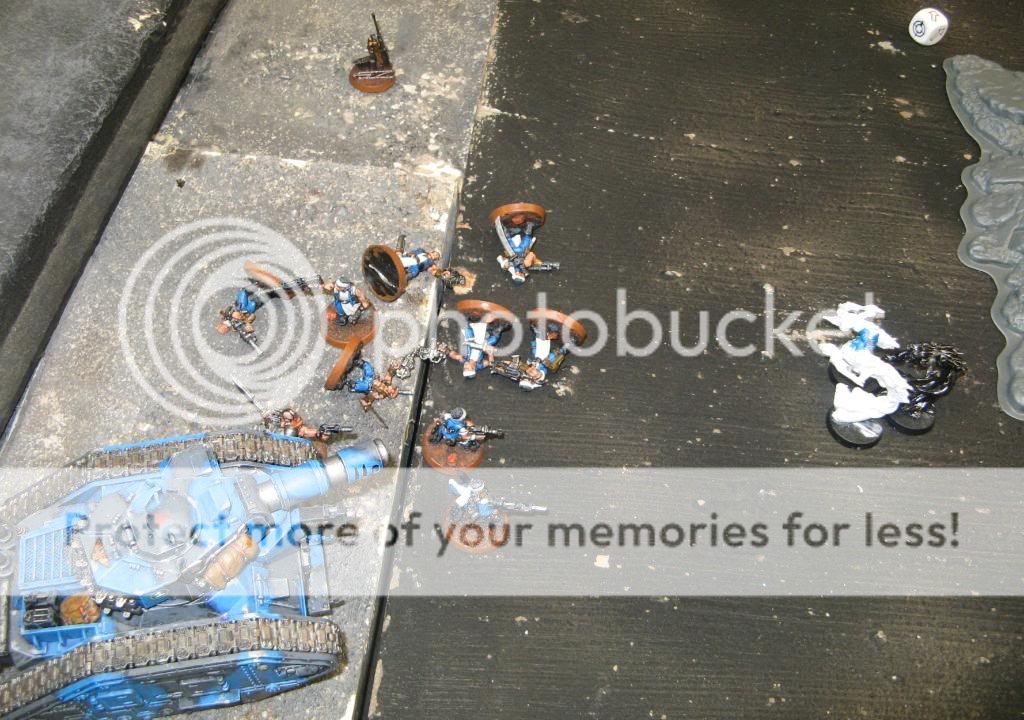
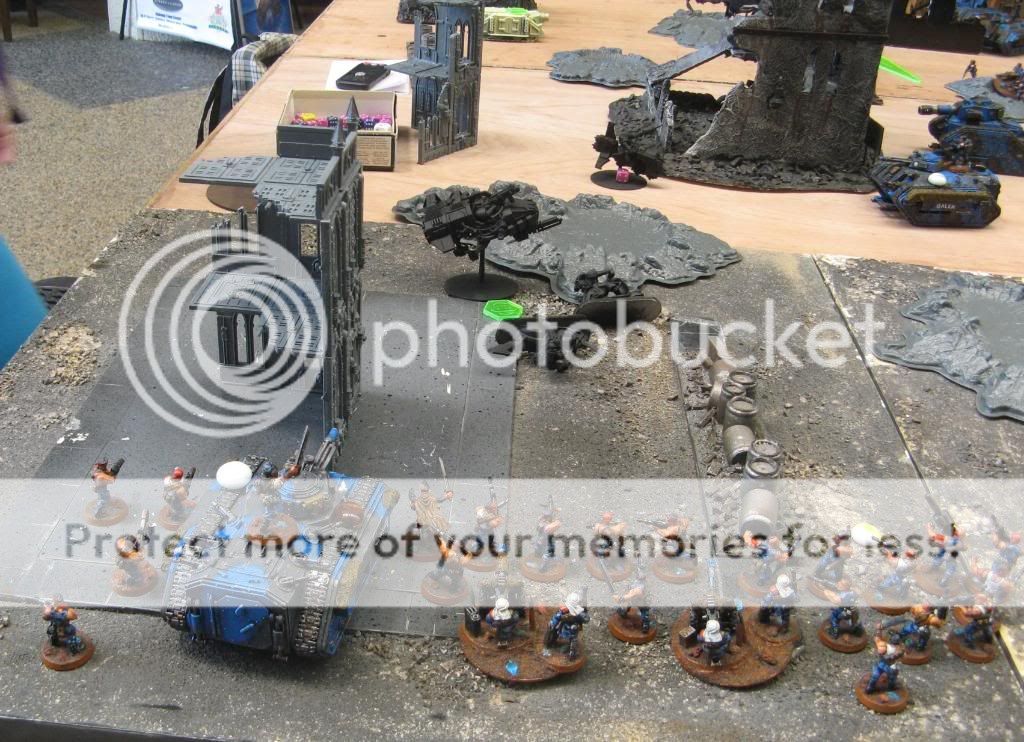
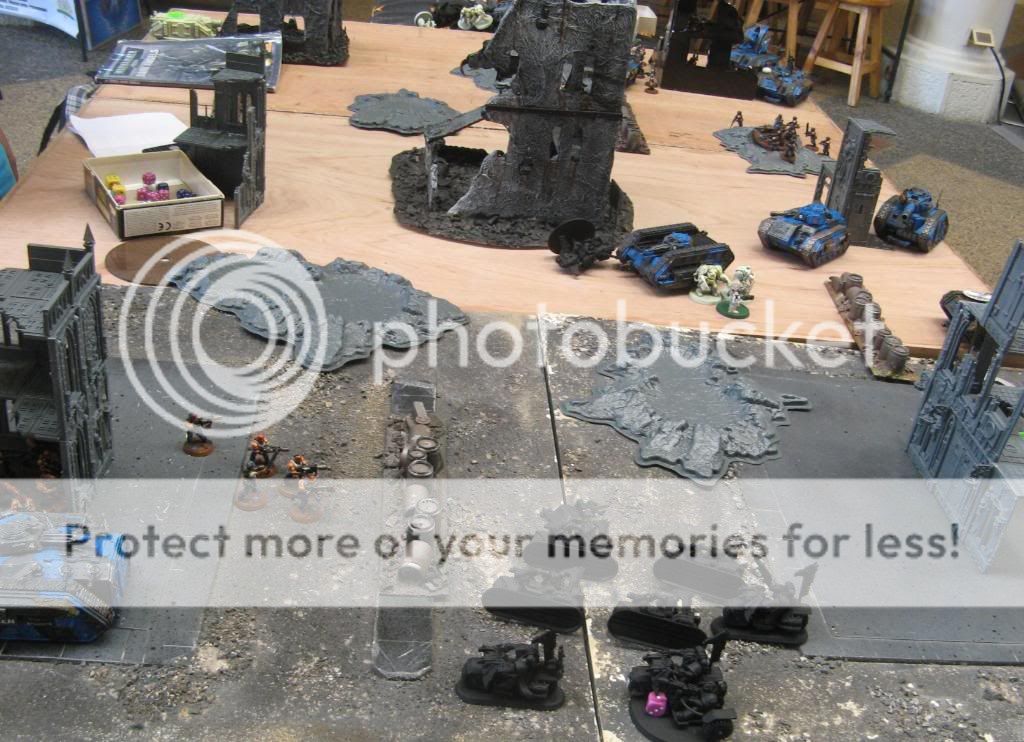
IG turn 3
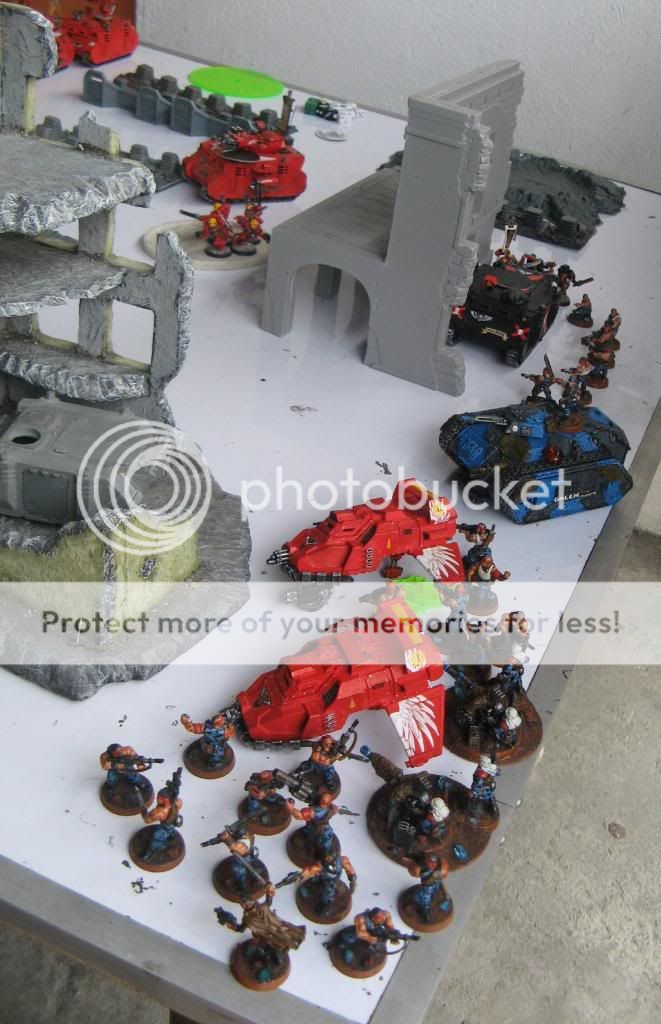
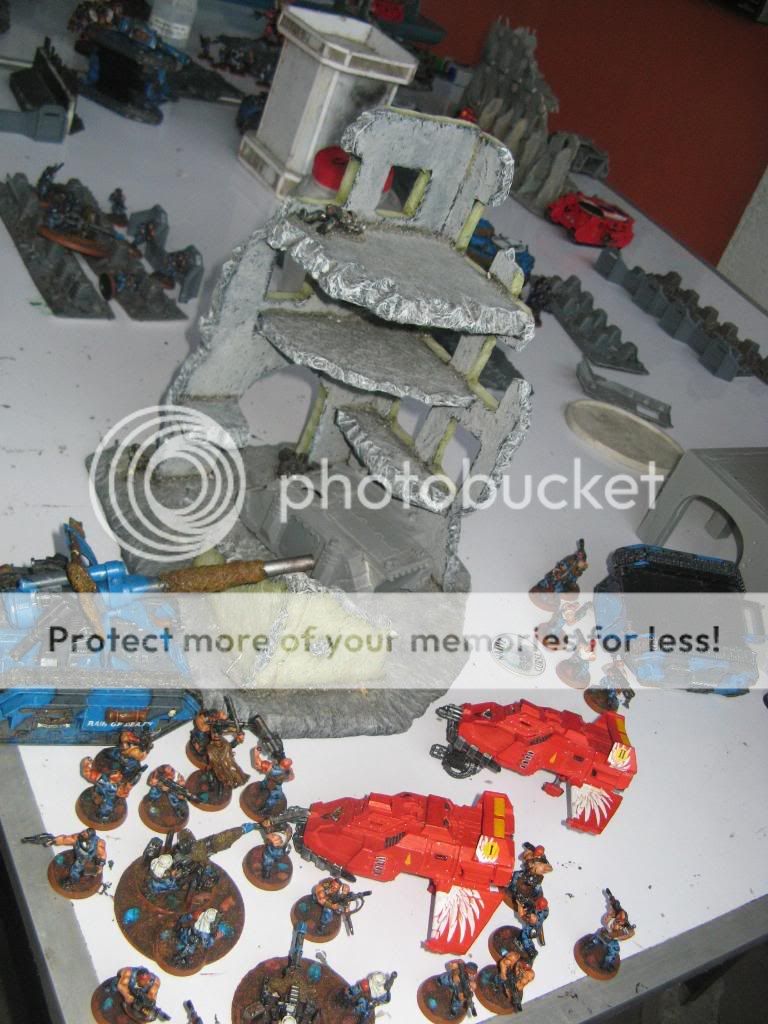
With a regularity common so far in the Gladiator cup, Captain Sidewinder and his platoon arrive right just where they are needed. His chimera makes a move right behind the speeders, and the flamer
SWS surrounds the Death rhino and protects the right side of the chimera. The blob squad enters near the speeders, grenade launchers and frag grenades primed for lobbing at the skimmers.
The Penal legion rally, moving 3" farther away from the Furioso. The other
IG tanks make a move to face towards the right, as the bulk of
BA forces are at the center and right of the
IG line.
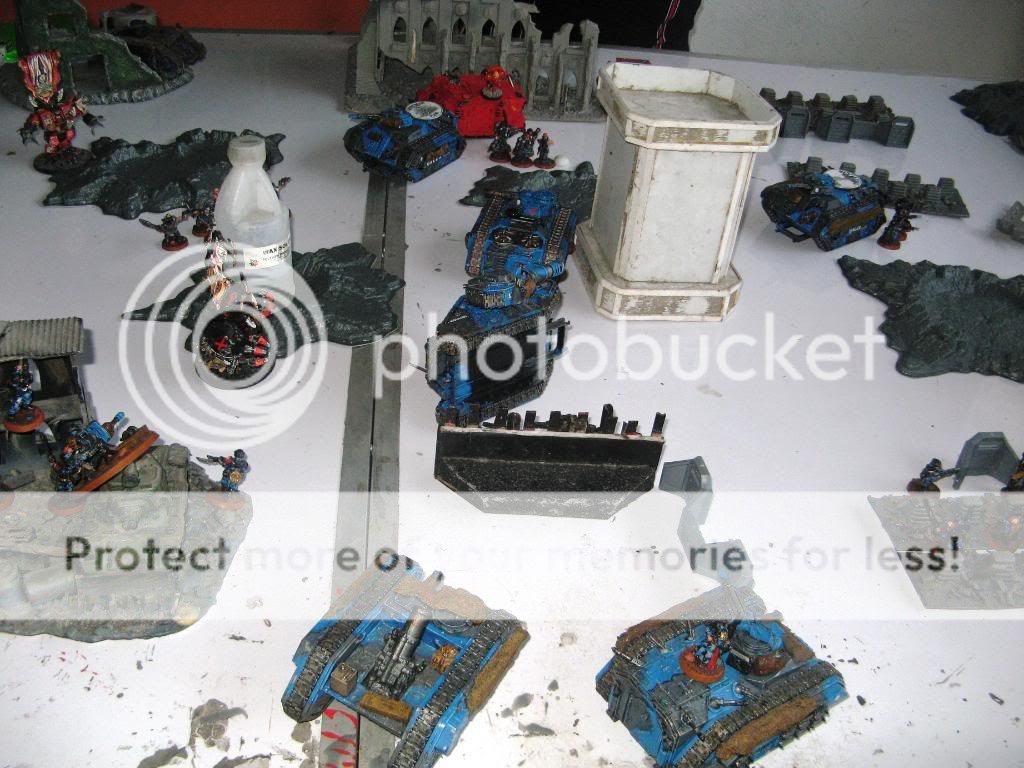
The
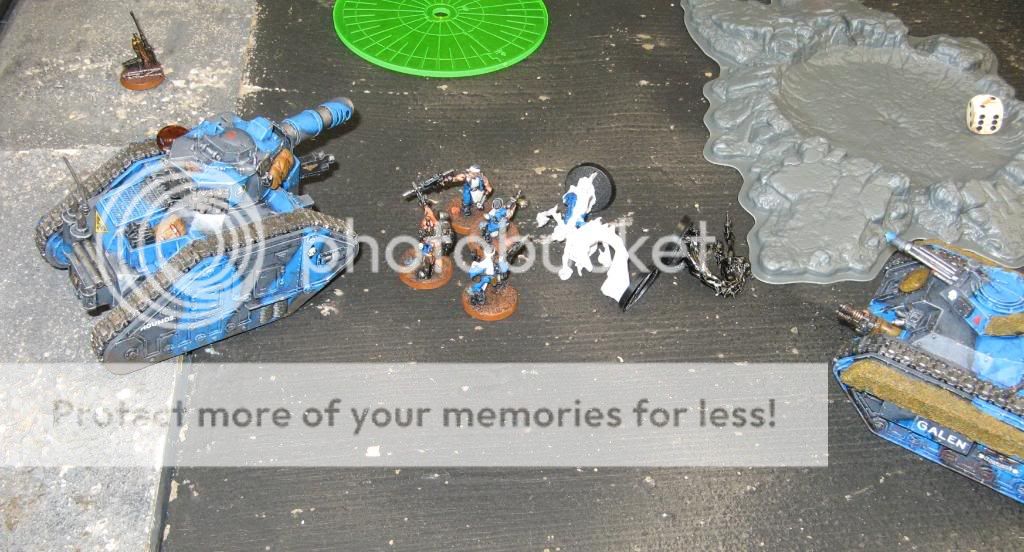
IG forces seemed to recalibrate their sights, as shooting proves much more decisive. The Cheras rhino explodes, taking 1
BA marine with it. The death company rhino is wrecked by Sidewinder's squad, while Baal 1 is stunned again. The flamers from the
SWS take down a death company lunatic, while not even the Exsanguinator prevents a wound to Corbulo. The multilasers, autocannons, and ordnance wreck Skull 1, while Skull 2 is immobilized and shaken. The blob assaults Skull 2 with grenades, shaking it again. The basilisk is thus saved from
immediate threats!
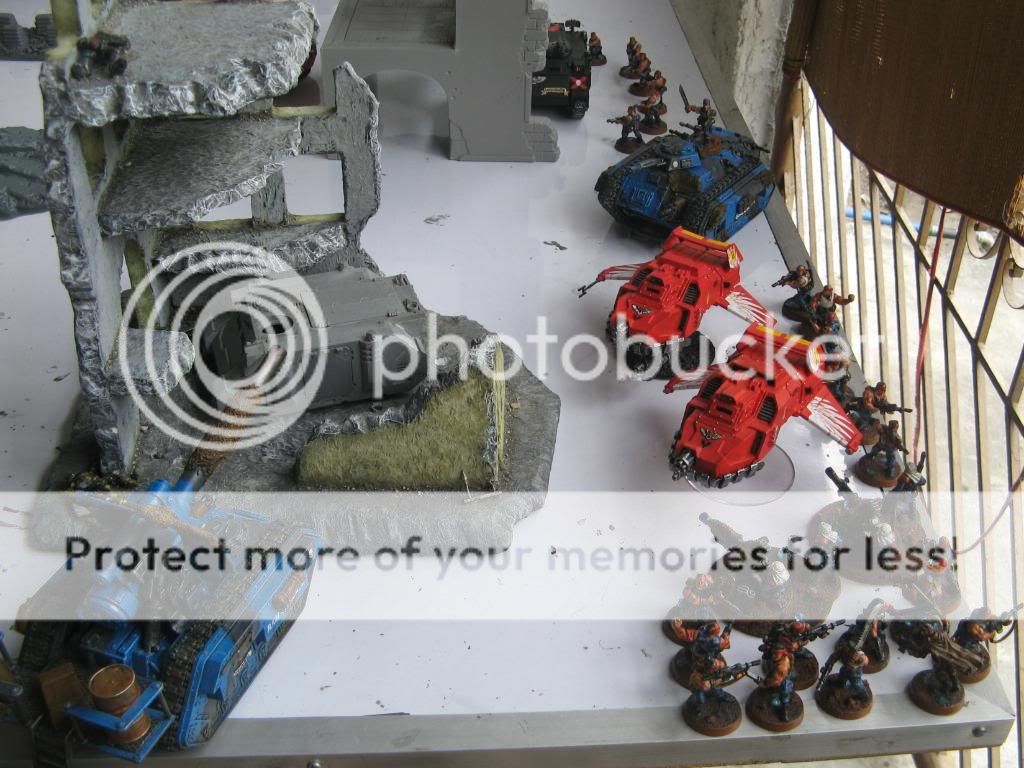
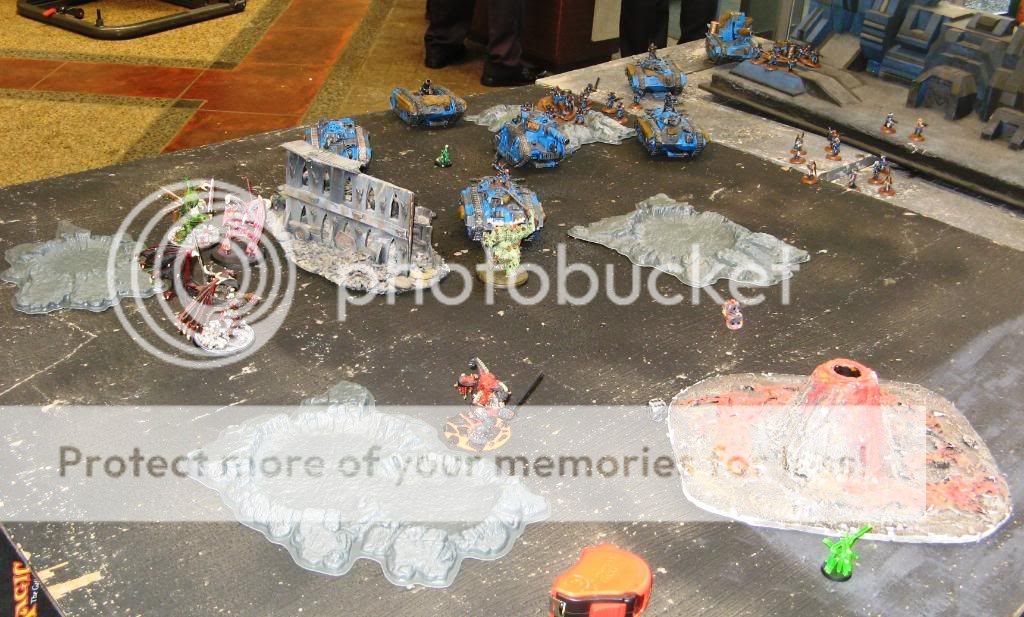
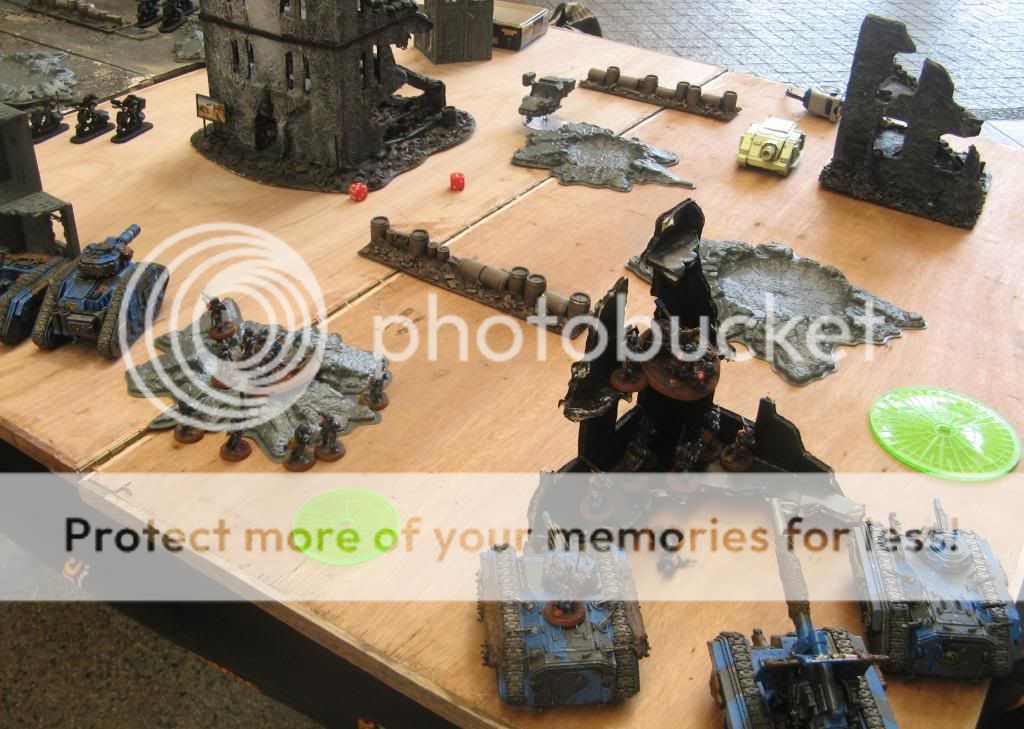
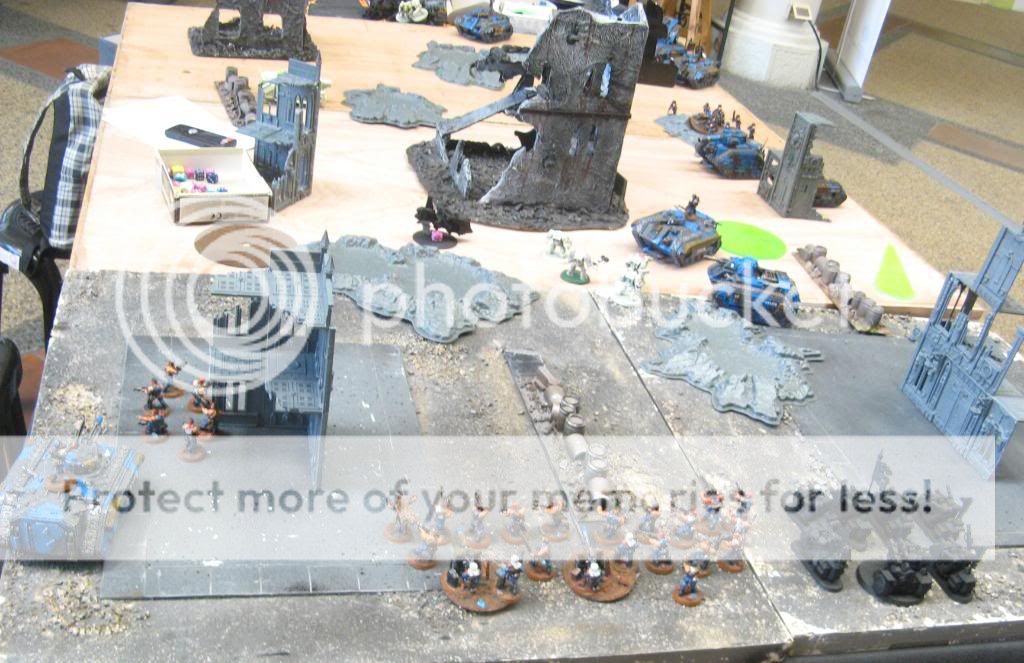
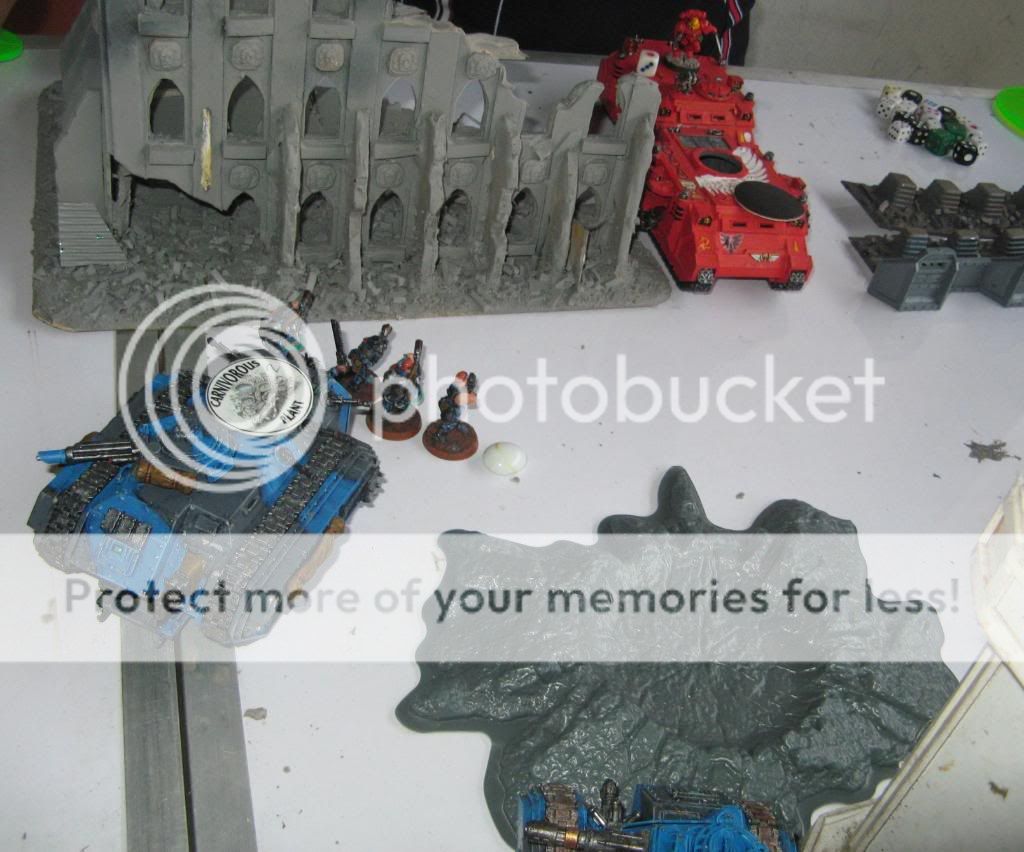
Sidewinder's Platoon to the rescue!
Skull 1 Falls, Skull 2 is immobilized and shaken, and Rhino Cheras explodes
The
IG tanks redeploy to face the threat on the
IG right. Baal 1 is stunned.
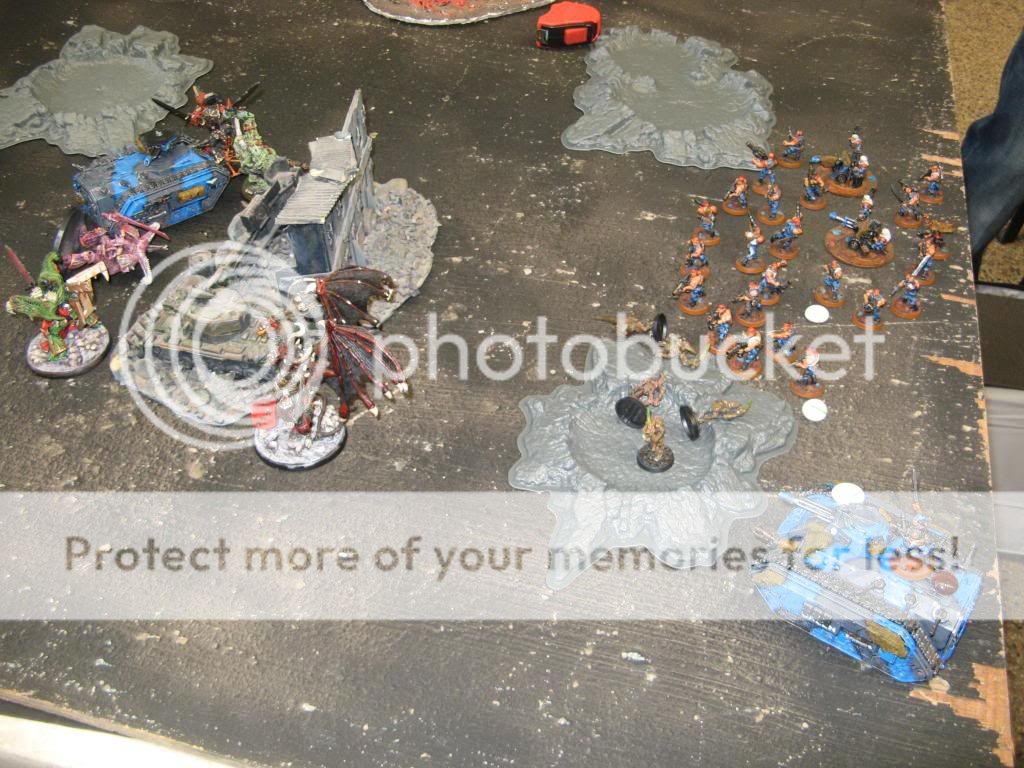
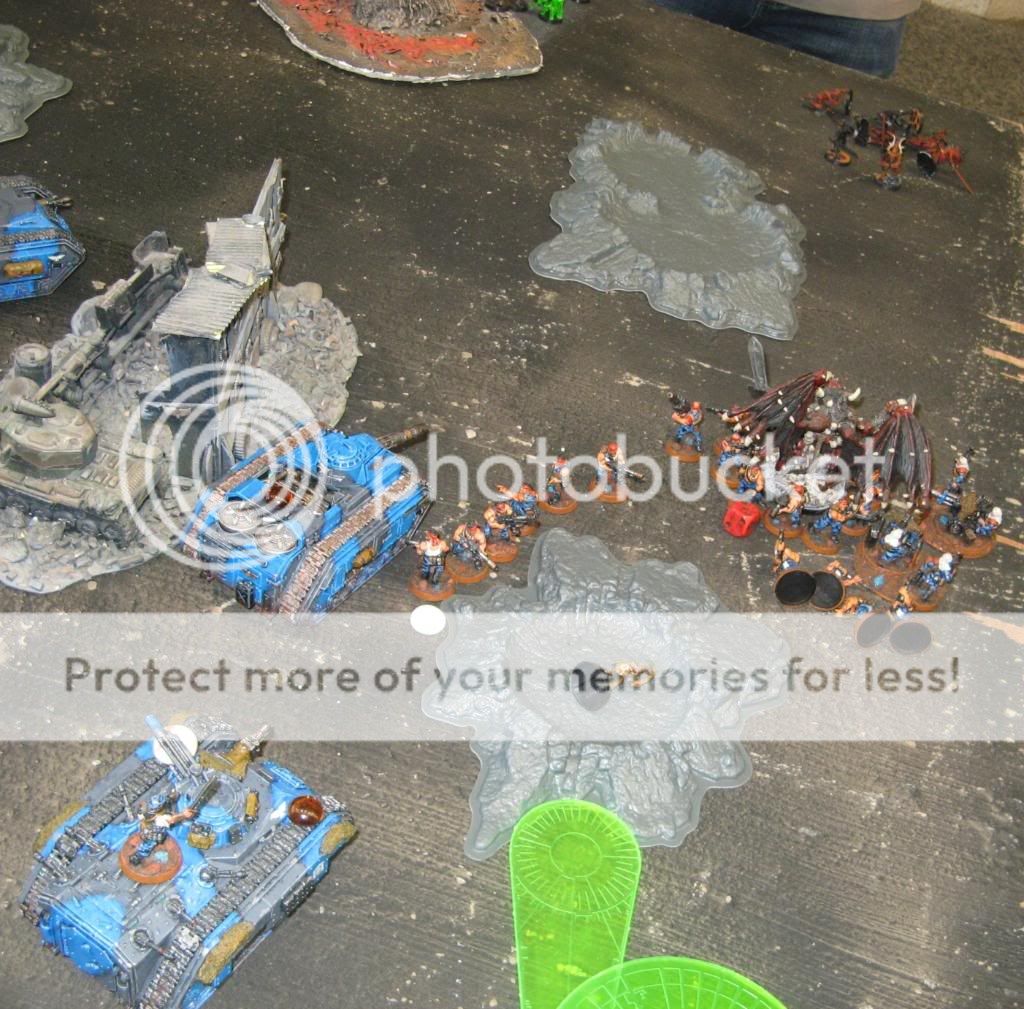
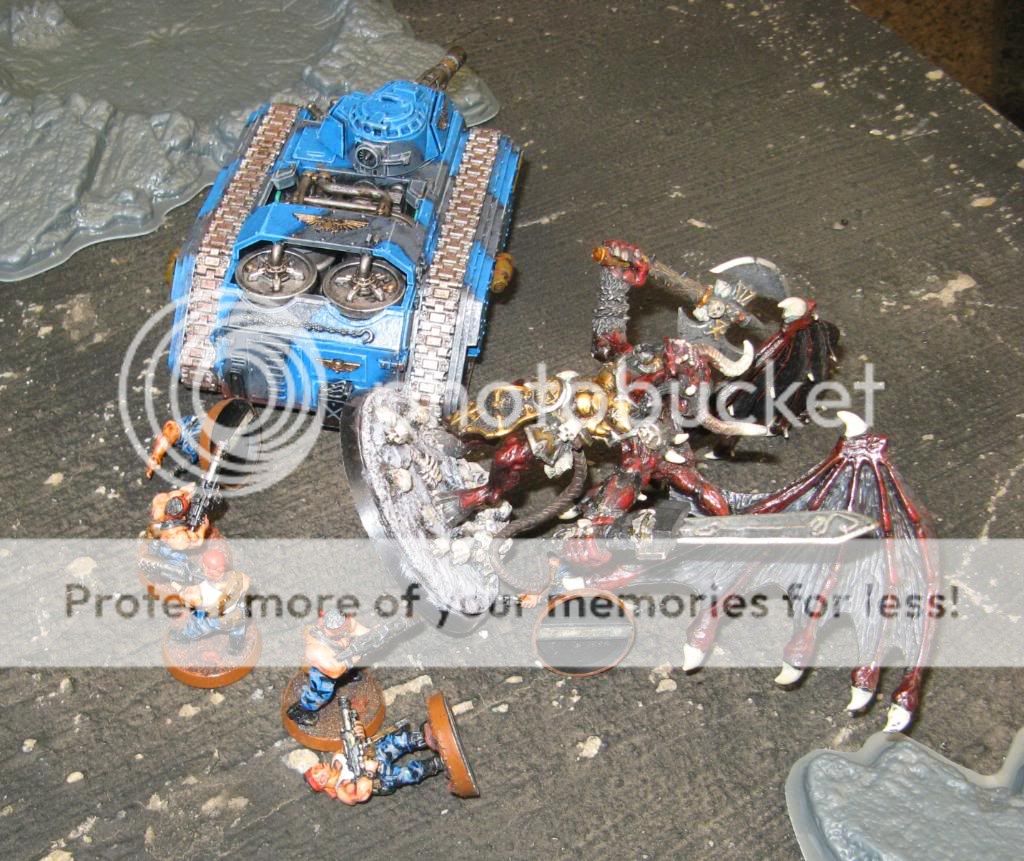
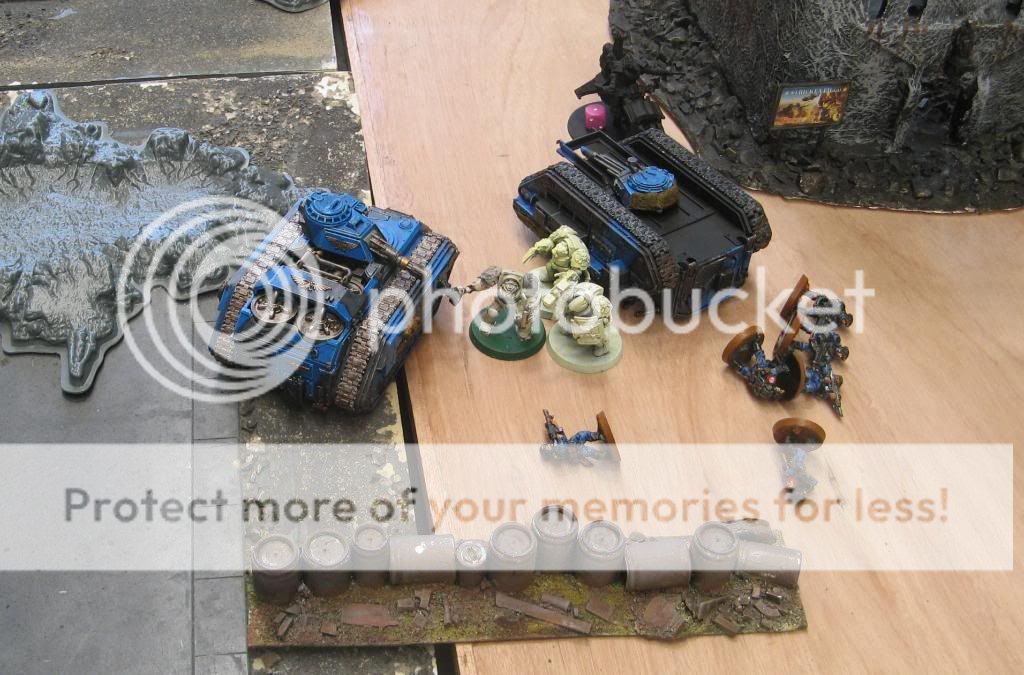
BA turn 3
Signals must still be fuzzy, as the drop pod of the Furioso "Malakhai" fails to appear.
Enraged, Morikar is forced to move only 3" into the ruins towards the closest enemy, the Chain Gang. Rhino Seraphian again rolls a 1 and thus it's engine is stalled, while Baal 2 and Rhino Angelo get normal results.
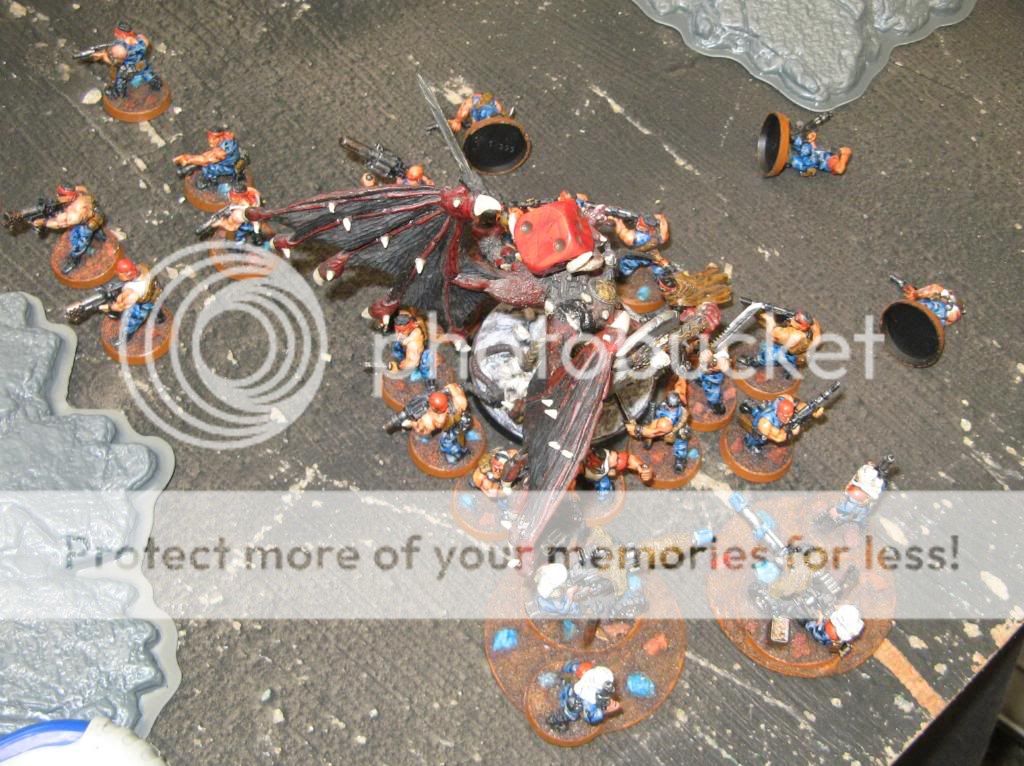
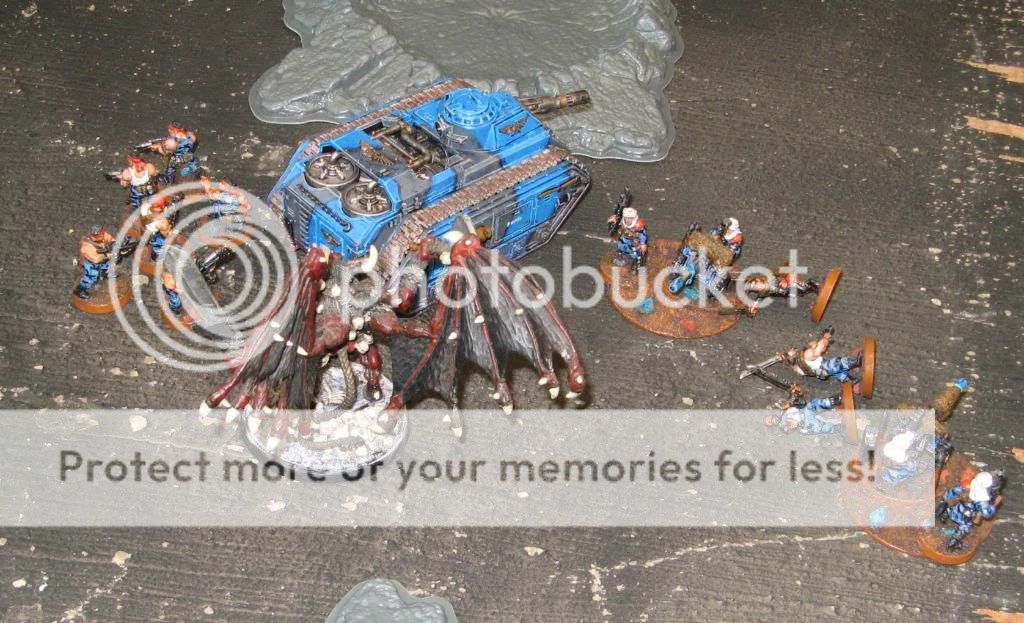
The survivors of squad Cheras move from the crater of its rhino, avoiding wreckage in order to seek cover in the nearest ruin. Corbulo guides the death company towards the flamer
SWS, while Baal 2 moves besides the crater of the Cheras rhino, it's guns aiming for the side armor of Sidewinder's chimera. Shooting sees the chimera shaken. Assault sees the Death Company and Corbulo predictably tearing the
SWS to shreds, the
BA consolidating behind the ruin of it's rhino.
Baal 2 shakes Sidewinder's Chimera, as squad Cheras hugs the ruins. Corbulo and the death company eviscerate the Flamer
SWS team.
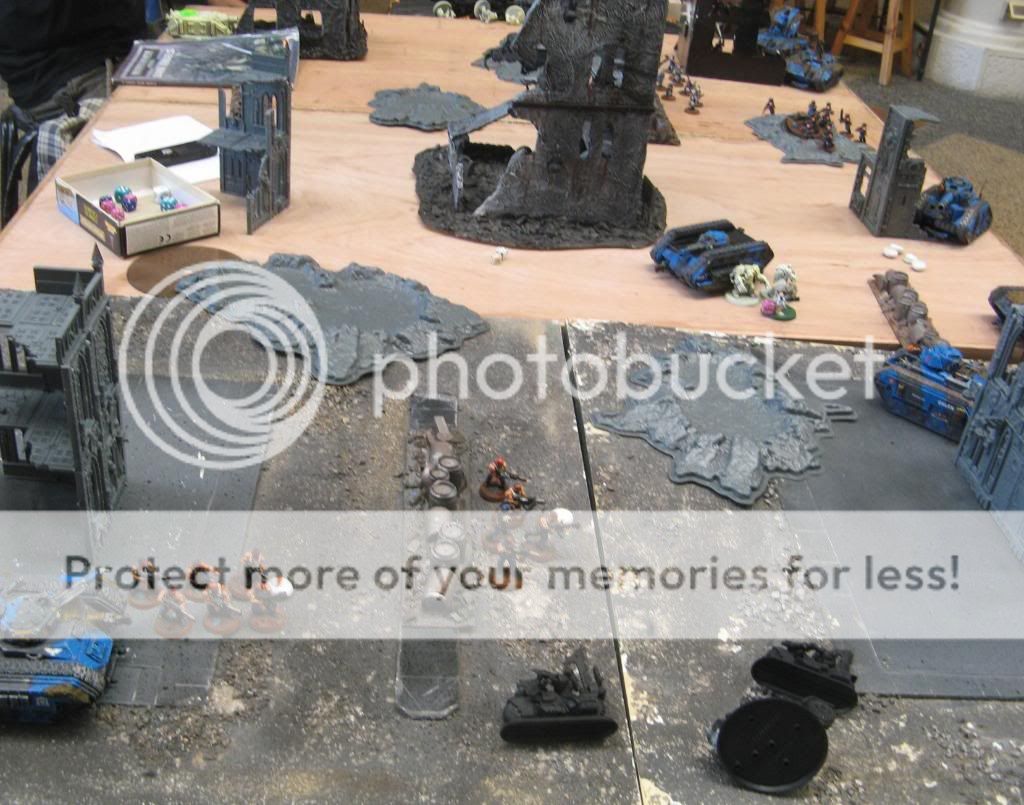
IG turn 4
The chain gang, devil dog as well as the
PCS chimera make aggressive moves closer to the
BA center, targetting the side armor of Baal 1. Sidewinder's shaken chimera moves at cruising speed and pops smoke, away from the death company. The basilisk moves slightly in order to aim at the BAs from squad Cheras.
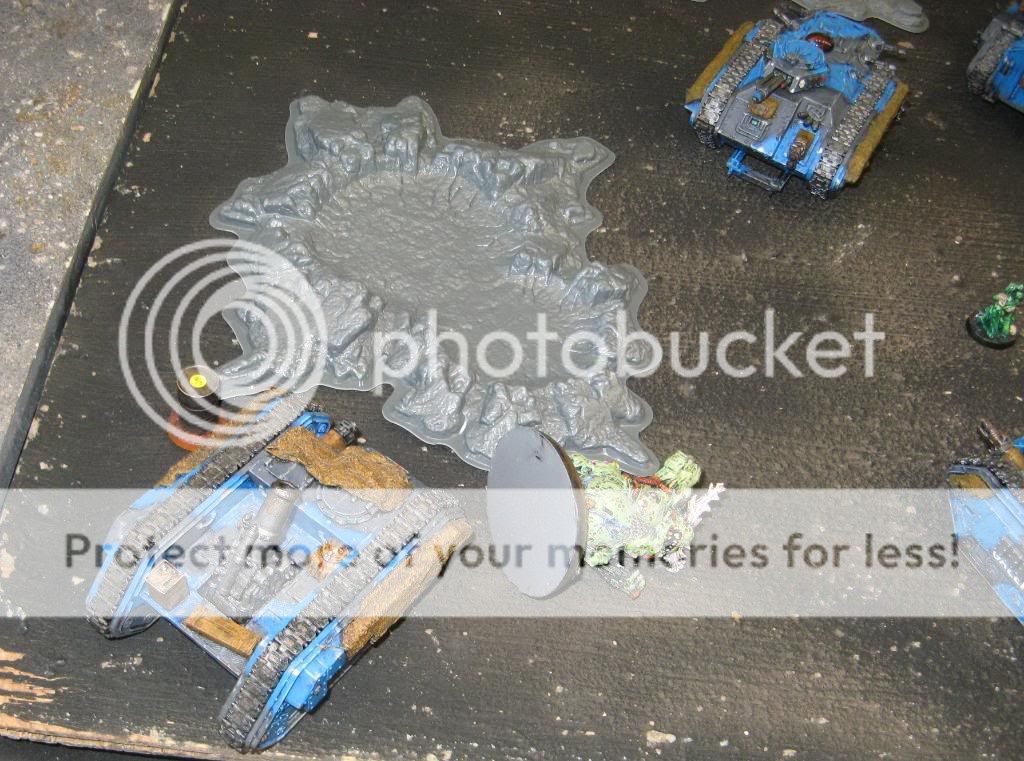
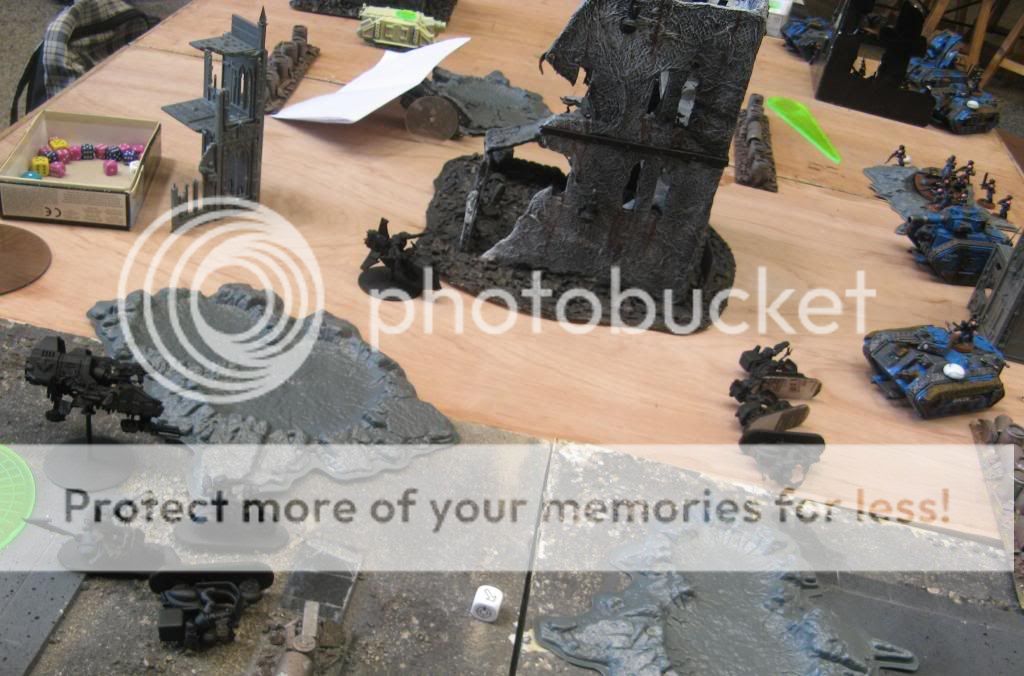
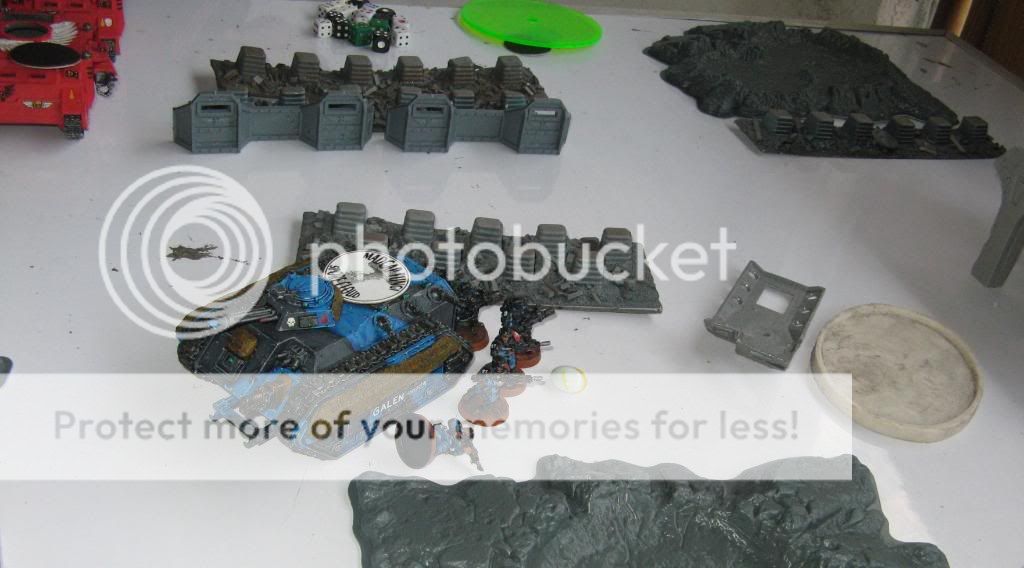
The Furioso manages to shake off autocannon rounds. However, side armor shots gets through cover and wrecks Baal 1, and similarly Rhino Angelo is wrecked, the squad getting out in good order. The blob squad manages to bring down Skull 2, and moves "like the wind" away from the marines due to a successful order. Multilasers, autocannon and ordnance shells kill all but 2 marines from squad Cheras, who flee away the pounding. The Griffon manages to bring a heavy mortar shell on Baal 2, stunning it.

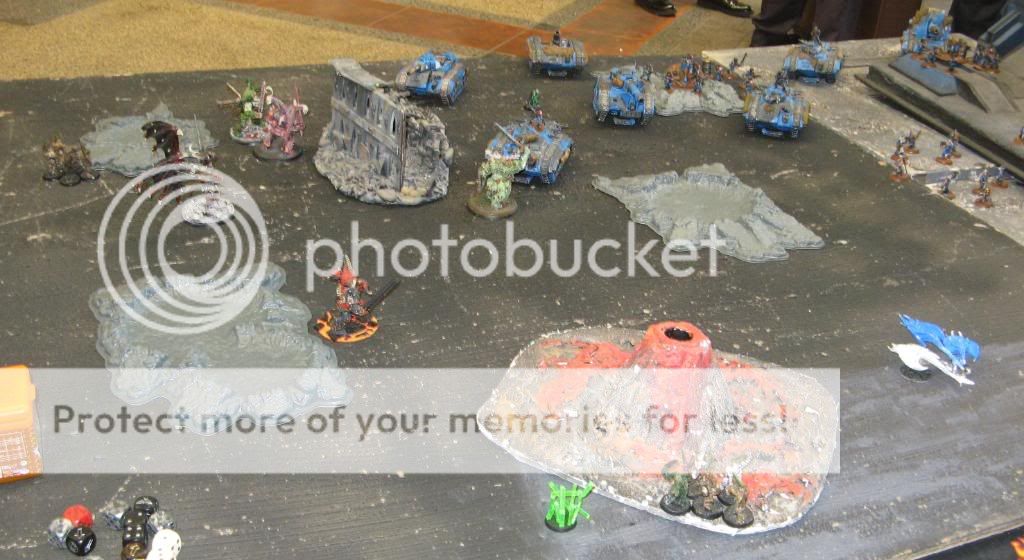
Skull 2, Baal 1, and the Rhino of Squad Angelo is wrecked

The griffon stuns Baal 2, survivors of squad Cheras flee. The drop pod (bottle) remains unharmed.
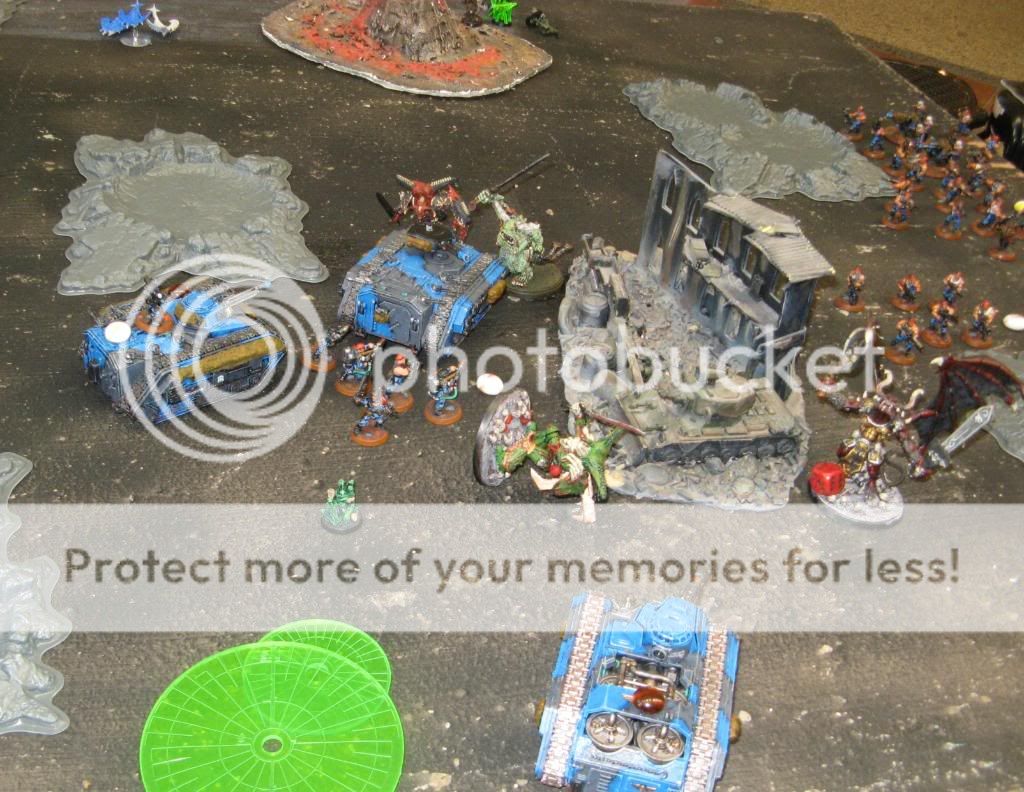
BA turn 4
Poor rolls continue to hound Clarence, as the Malakhai fails to show up again, and Rhino Seraphian rolls a 3rd 1 in a row to continue having it's engine stalled!
Morikar moves out of the ruin towards the chain gang, and pops smoke. The last 2 marines from squad Cheras rally, then move and huddle right behind the rhino of the death company, while the death company makes a move towards the Chimera of Capt Sidewinder, 1 marine impaling himself on the wreck of the rhino, despite "feeling no pain". Combat squad Angelo moves forward into the ruins. Shooting does nothing except kill another penal legionnaire.
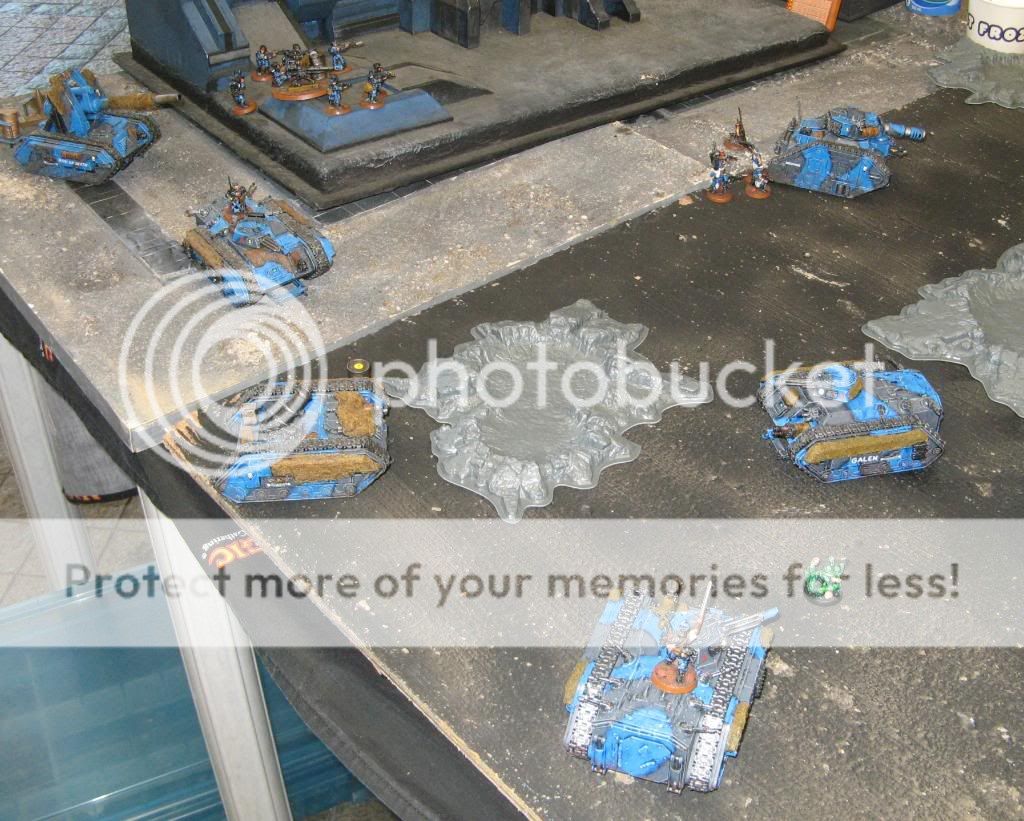
IG turn 5
Last turn, so time for me to go all out. The
PCS 1 chimera moves 12", pops smoke, and discharges Lt. Sherard's squad, 4 flamers at ready, in front of
BA squad Angelo. The chimera of the melta
SWS does the same, this time beside the stunned Baal 2. Capt. Sidewinder's chimera moves 6" in front of the Death Company, and the Leman Russ spots a window near the ruin where it can spot the death company too. The devil dog stays put and lines it sights on the Furioso Morikar.
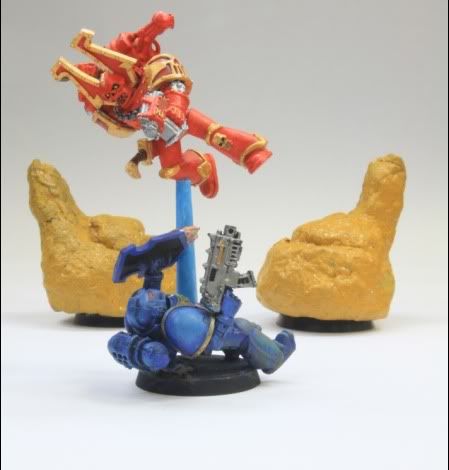
Shooting proves devastating. The devil dog removes the meltagun arm of Morikar, and flamers, lasguns, and multilasers destroy squad Angelo. the meltaguns of the
SWS team explode Baal 2, shrapnel taking down a guardsman. The
CCS destroys the drop pod with an autocannon round. Finally, the death company and squad cheras gets shot at by lasguns, autocannons, a flamer and heavy flamer, multilasers, a plasma pistol, and meltaguns, but a death company marine and corbulo (down to 1 wound) as well as both marines from squad cheras survive! However, the Leman Russ sends a battle cannon round as well
HB shells through the window, and after the smoke cleared only the
PF sergeant from squad Cheras survives, vowing revenge!!!
Squad Angelo is wiped out
Baal 2 explodes, taking a guardsman with it
Corbulo and the death company are destroyed, only the
PF sergeant of squad Cheras survives
BA turn 5
Finally the drop pod containing the Furioso Malakhai enters, with the dreadnought disembarking with a clear
LOS to the rear of the Leman russ. Morikar continues to move in a vain effort to come to grips with the chain gang. The rhino Serpahian finally clears it's engine, manages to turbocharge it, and in an act of spite moves through the ruins in order to tank shock the
PCS 1 (who manage to pass
Ld and move aside) as well as ram the rear of it's chimera, shaking it. Malakhai sends a multimelta shot through the engine of the Leman Russ, exploding it. Sergeant Cheras assaults Sidewinder's chimera with a shout, and his power fist tears the tank into a wreck, with the Captain managing to fall out in good order. Too little too late though, as the 7th Galen carry the day versus the Blood Angels.
Malakhai explodes the Lemar Russ, while Rhino Seraphian tanks shocks the chimera
The
PF sergeant wrecks the chimera!
What a game! And what poor luck with Clarence's reserve and turbocharge engine rolls! This caused his forces to come at me piecemeal, thus enabling me to deal with his forces separately instead of having to handle a red tide of angry blood angels! The end result was a 10-1 win (including the +2 for the valentine's bonus, as I brought my wife to the gaming place earlier in the day).
Unit of the match has to be again Capt. Sidewinder's Platoon. The other unit that did very well was the griffon, as it kept on shutting down 1 of the Baal predators thus denying Clarence the bulk of his fire support. The
LR and Bassie were so so, but the last turn shot of the
LR versus the death company was ace, despite shooting through cover!
A 4-1 record so far, with this win giving me a shot to be in the top 2 of our sector. 2 more games to go!!!


 65/4/6,
  10/2/1,
  10/3/0,
  2/0/1,
  0/1/1
0/1/1
 1/0/0
1/0/0