Battle Report 4/10
Orks vs Soul Drinkers 1500 pts
Annihilation
Spearhead Deployment
Orks:
HQ:
Ghazghkull Thraka 225
Troops:
Ork Boyz x30 240
Nob w/
PK boss pole
3 Big shootas
Ork Boyz x 30 240
Nob w/
PK boss pole
Nobz x7 285
2
PK
5 Big Choppas
Painboy
Trukk
Elite:
Lootas x 10 150
Fast Attack:
Deffkoptas x5 225
TL RL
Heavy Support:
Killa Kans x3 160
3 KMB
1525
Soul Drinkers: Not 100% sure, just guessing here
HQ:
Chaplain 100
Troops:
Tactical Squad X 2 495
Melta
Combi Melta
Drop Pods
Scout Squad 102
6 scouts
SGT
Elites:
Terminator Assault Squad 500
Land Raider Crusader
Fast Attack:
Assault Squad 190
Heavy:
Whirlwind: 85
Techmarine: 50
1500ish
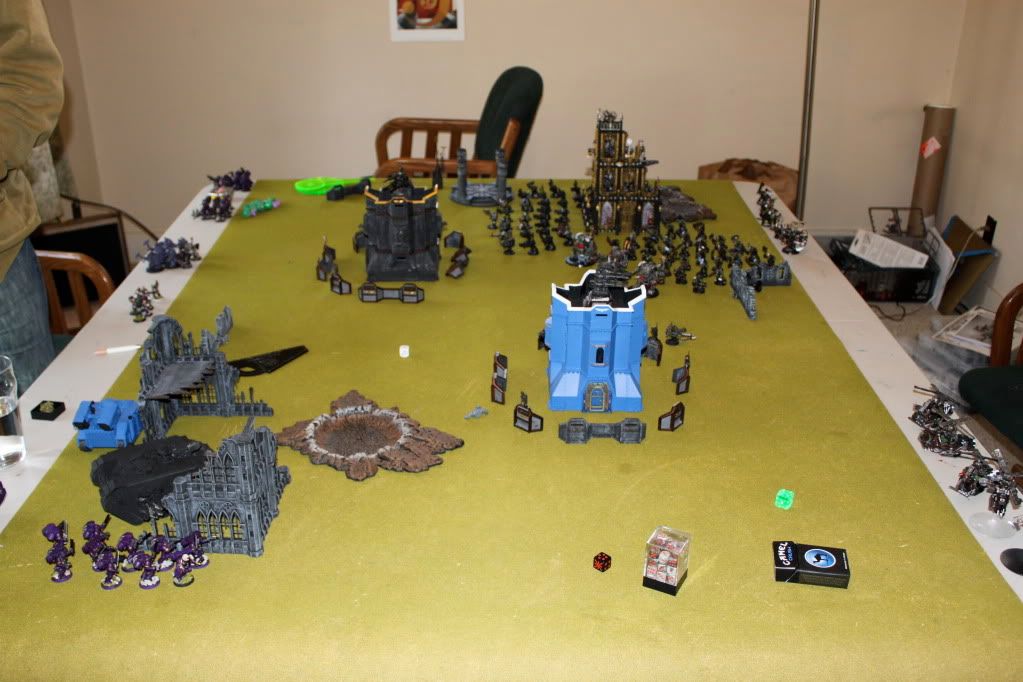
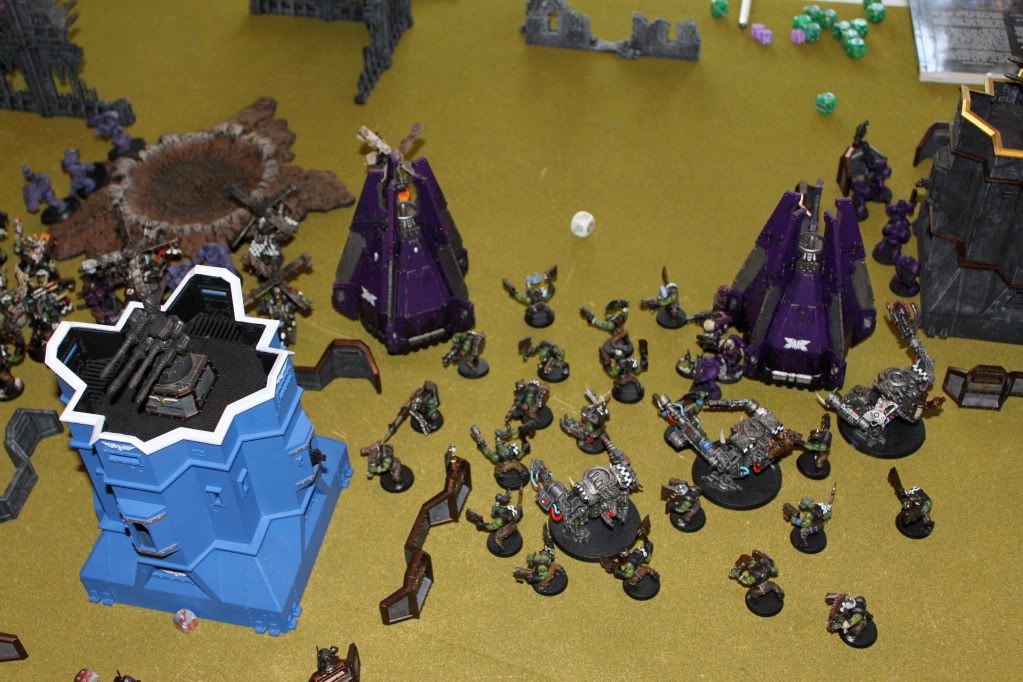
Deployment Phase:
The Soul Drinkers bunkered up on his quarter of the table. As usual, he kept the majority of his force in reserves. He deployed his Jump Assault Squad, Land Raider, and Whirlwind all in the ruins in his quarter.
I knew that he wanted to use the drop pods to close ranks on my Ork mobs. I decided the best plan of action was to control the center of the board, and work the flanks to pick off anything arriving in reserve. With a nice ruins location in my deployment zone, I decided to hole up my lootas. They had free
LOS to almost anywhere on the board. I deployed my Kans in front of Mob Grimskraga, and Mob Gobsmasha on their right, looking to support my left flank.
TURN 1
Top (Soul Drinkers)
The Land Raider lurches to the edge of the ruins. The Jump assault squad is ordered to stand their ground. The Whirlwind is ordered to drop its ordinance onto the rank formed Mob Grimskraga. With a slight mishap in the calculations, the shot is slightly off course.
Bottom ( Orks)
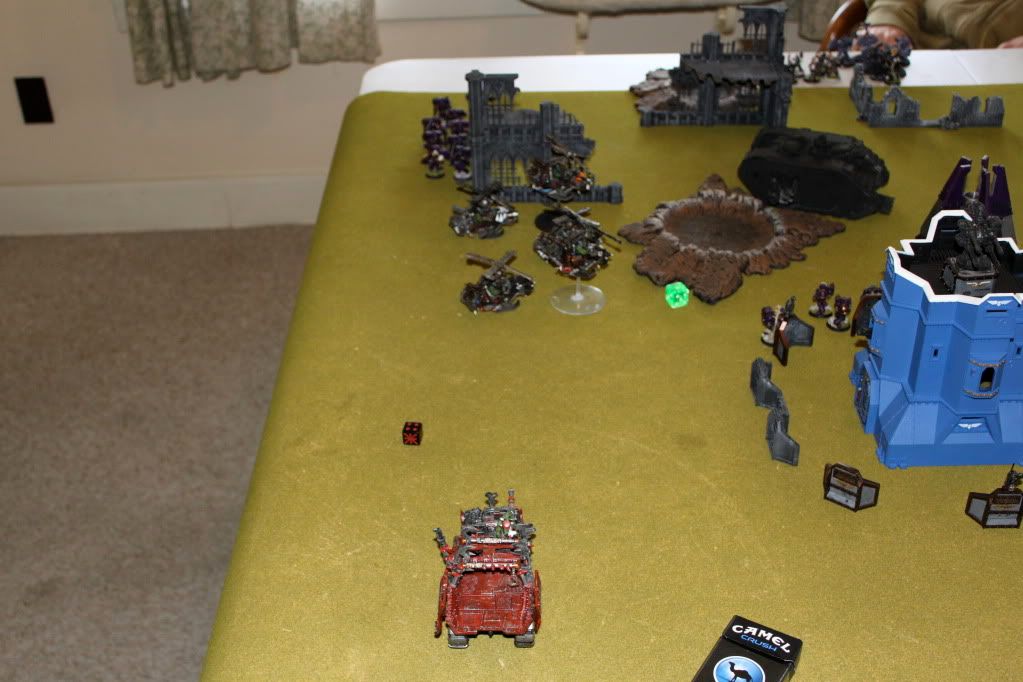
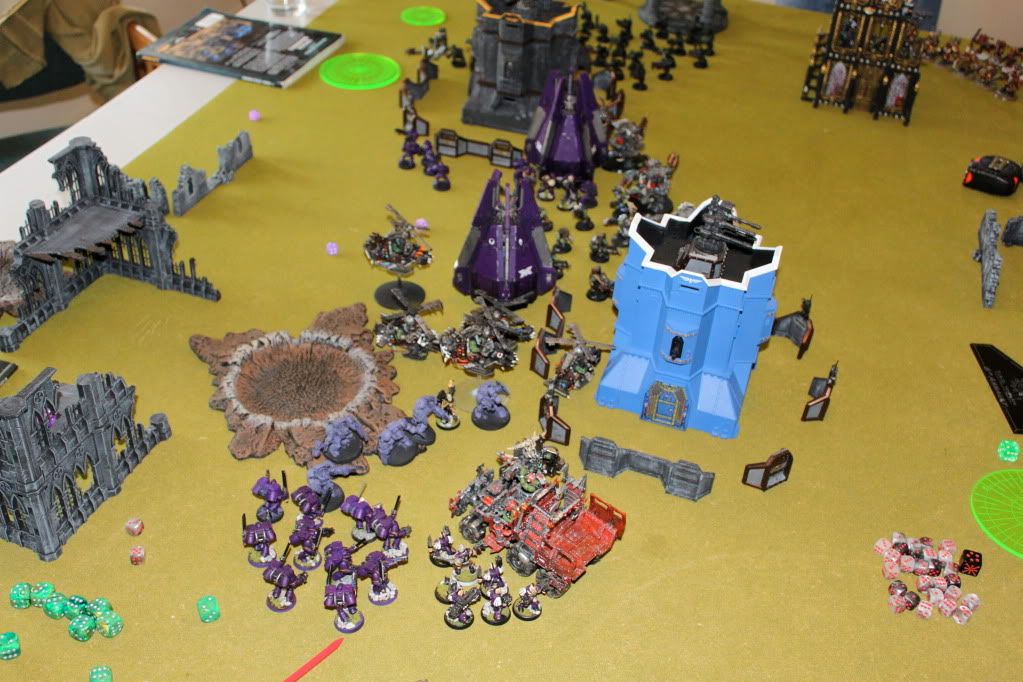
The Kans are ordered to move up and protect Mob Grimskraga. The Kans move their 6’’ plus 2 more in their shooting phase. Mob Grimskraga moves up under the cover of the Kans and then keep pace by running another 2’’. Mob Gobsmasha advances on the left flank, using the bastion as cover from the Land raider. Able to see the front end of the Whirlwind, the Lootas in the building let fly with two shots each. A lone shot gets through, and failing its cover save, the Whirlwind explodes in a thunderous blaze!
As you can see, the well places Lootas could barely see the Whirlwind, but left it a smoking crater.
END of 1 Orks 1 Soul Drinkers 0
TURN 2
Top
The only things arriving from his reserves were both of his drop pods, each filled with combat squadded tactical marines. The pods dropped exactly where they intended to, directly in front of the Kan mob. The Marines disembark and combat squad immediately. They fire their Meltas into the Kan wall, wrecking one and immobilizing the other two. Great rolling. The Land Raider rolls out of the ruins into a large crater.
Bottom
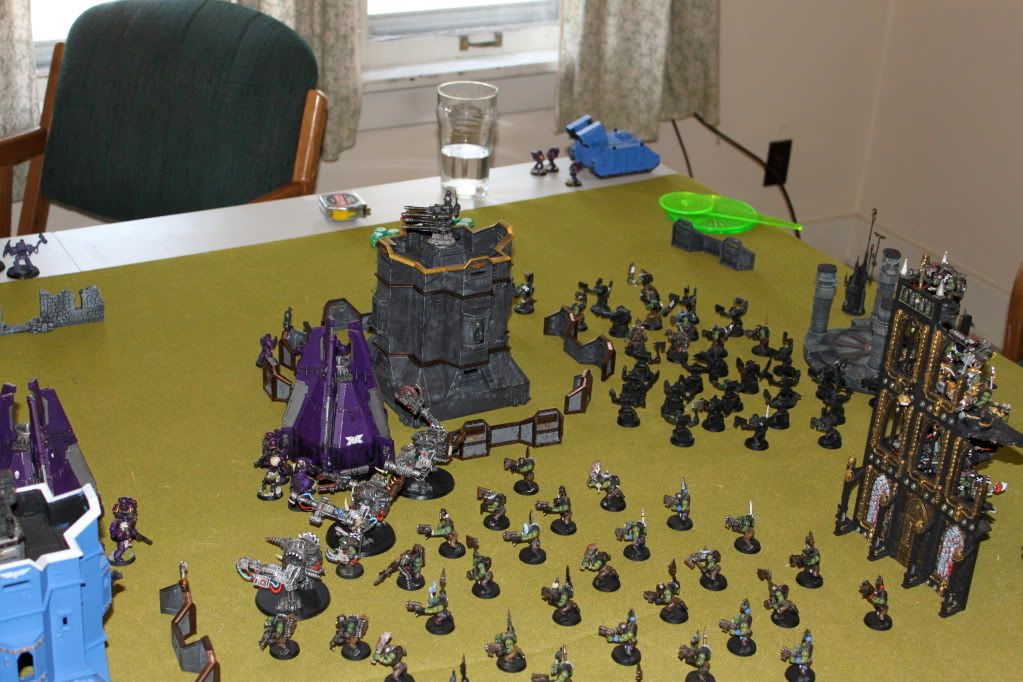
Both of my reserves come in this round. Ghazghkull’s Trukk with Nobz and The Squad of Deffkoptas. The Koptas outflank, rolling to come in on my left table edge. Ghaz’s Trukk rolled up the left flank making a beeline right the the Land Raider/Assault Termies. Looking back, I didn’t really like the move of bringing on my Koptas to hunt the
LR. In the end however, the move worked out as my Twin-Linked rolling was spot on and they were in great position to harass and destroy his Infantry units. With my Kans unable to move, they stared to lay fire down on the Marines arriving from Deep Strike, while Mob Grimskraga moved forward and laid down a wondrous volley of fire, almost in assault range. I think the mistake that my opponent made was the fact that he gave me so many small units to destroy. The combat squads were easy and small targets that he through right in the middle of the board, which I made a point to control.
Orks 1 Soul Drinkers 0
TURN 3
Top 3
The last of his reserves are in this round, his scout squad moves in right behind my deffkoptas. I thought this would be the end of them, but he rolled horribly between his Land Raider and his Scouts. He only managed 4 wounds on the Kopta squad. Again, my opponent makes a tactical blunder and moves his
LR toward the Koptas but for whatever reason fails to disembark or assault. He also does not move his Assault squad this turn. He does however manage to finish off my Kans, picking up a point (why do newly painted/assembled units always die first!)
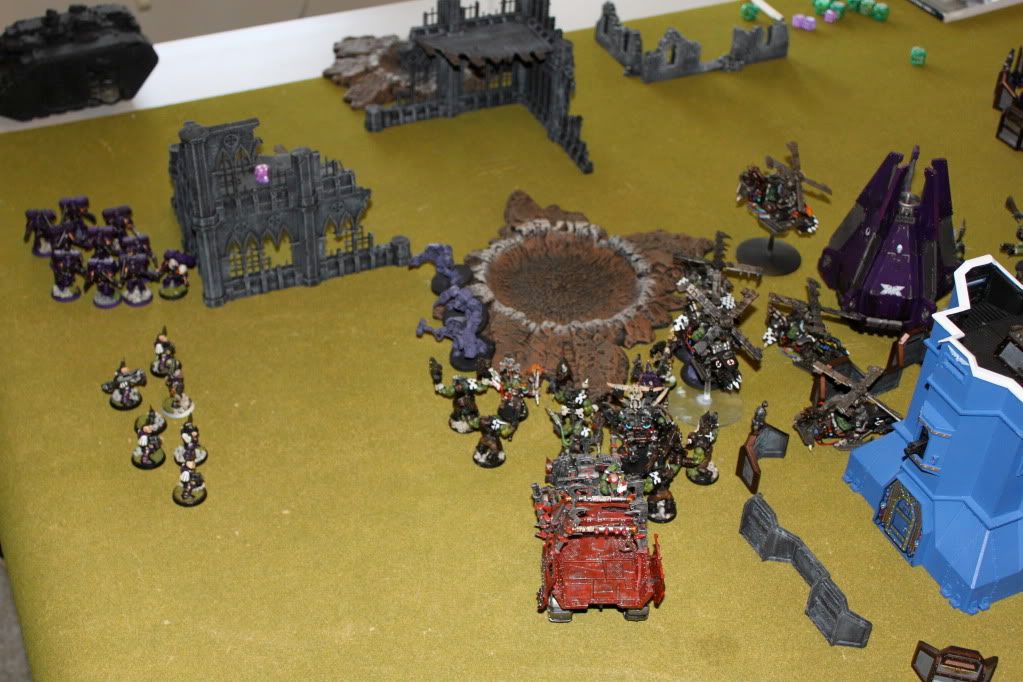
Bottom 3
This is really where I took charge of the game and capitalized on tactical mistakes. His
LR stuck out like a sore thumb and was a target priority for Ghaz/Nobz. I moved the Koptas away from the Scouts and started to harass his Marines. They killed all but one of his squadded Marines. The Trukk went right for the Land Raider and the Orks inside swarmed the large metal beast. Meanwhile in the center of the board, another squad of Marines succumbed to Loota fire and a wave of Ork assaults. During the assault phase, the Deffkoptas charged the small squad they were firing on and wiped them out. The real action happened when Ghazghkull ordered his Nobz to charge headlong into the Land Raider. The attack roll against a vehicle was successful. While the Big Choppas couldn’t do any damage against the Land Raider, the
PK Nobz and Ghaz could. When it came time for Ghaz to attack, he reach back and turned the
LR to a smoldering pile of scrap metal scoring a 6 on the damage chart.
The
HQ and Termies were forced to disembark and passes the pinning test.
I knew that the Termies and
HQ would wreak havoc on my Nobz next turn, so I was hoping Ghaz could help them a bit. I was happy with this turn. I wiped out to combat squads of Marines as well as the Land Raider.
Orks 4 Soul Drinkers 1
Turn 4
Top
My opponent finally brought his assault squad into play, moving, shooting, and then finally helping the Termies wipe out all of the unit except Ghaz. The scout squad went to attack the Trukk, but failed their roll to hit.
Bottom
My opponent picked up a point in his half, and Ghaz and my Trukk were all alone, so I wanted to assure that these were protected. I was tempted to play in character of Ghaz and run headfirst into the Termies but thought better of it. Ghaz jumped in the Trukk and it sped away full-out. On the other end of the board, Grimskraga, Gobsmasha, the Lootas and Koptas all led a coordinated attack which ended up wiping out his other two Marine units as well as one of his Drop pods. So many squishy targets!! At this point, the game was lost for my opponent.
Orks 7, Soul Drinkers 2
Turn 5
With his force depleted and no orks in range, we decided to call the game. Big win for the Green Wave!!!


 9W-oL-2T
 0W-0L-1T