Game Two
vs. Mike playing Tau
Mike is from the LA area, and we’ve played before in HardBoyz a couple of years ago. Unlike me, he’s actually stuck with Tau for the last few years and as Mech Tau has consistently been a pain for my Guard, I’m a bit worried about this one.
Shas’
el w/ Plasma/Missile and 2 Gun Drones
3x 3 Plasma/Missile Crisis Suits
2x 6 Fire Warriors
2x 16 Kroot
2x 5 Pathfinders w/ Gun Drone Devilfish
1x 2 Piranhas
2x Railheads
1x 2 Broadsides w/ 2 Shield Drones
Mission is Reverse Kill Points, in that the player with the most stuff alive at the end of the game wins (dedicated transports do not count as kill points). We’re fairly even, but Mike’s Gun Drones, normally a liability in kill point missions, are actually bonuses this time!
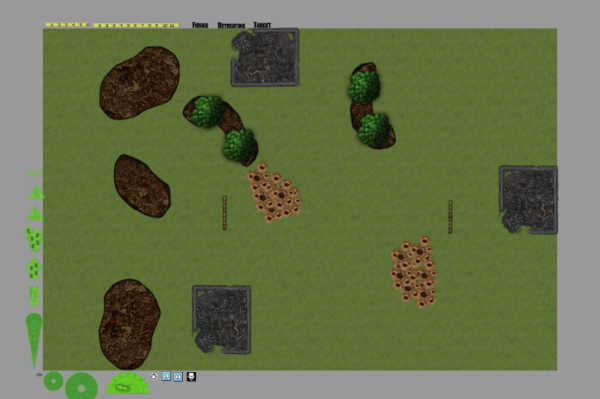
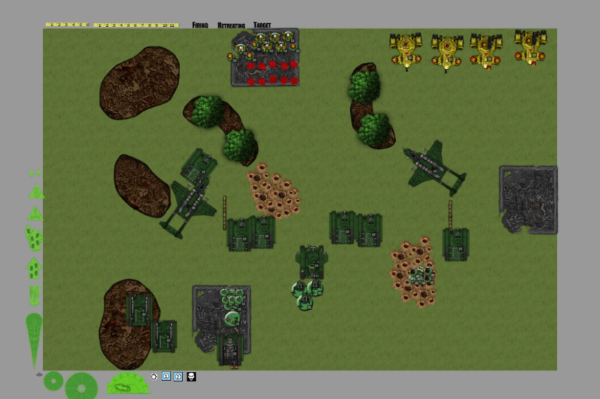
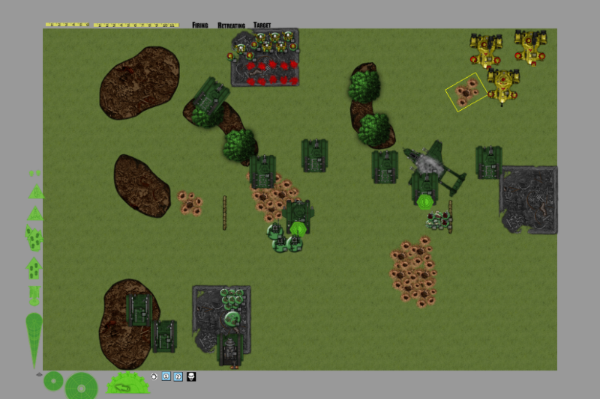
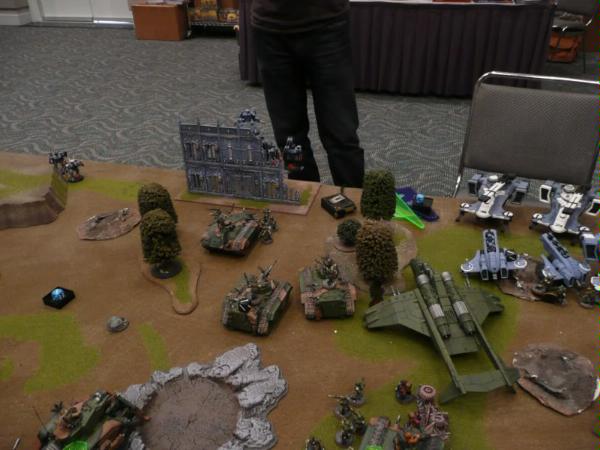
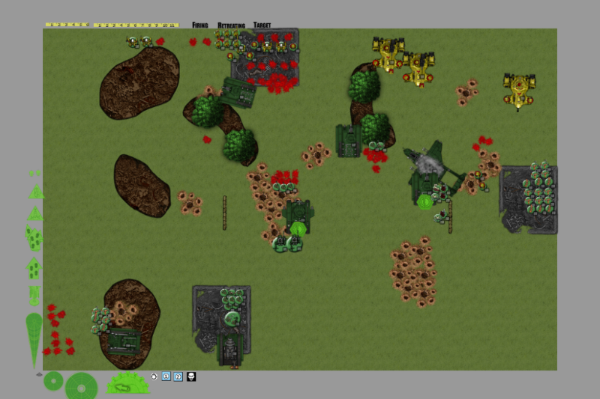
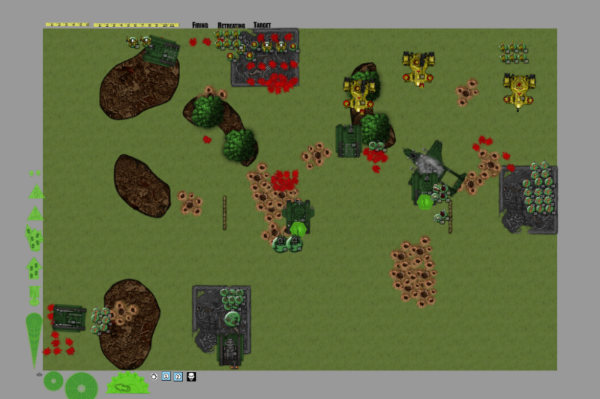
I win first turn and set up lengthwise across the board with the Stormtroopers Scouting forward. Mike only deploys about half his army, keeping 2
Fireknife teams, the Fire Warriors and the Piranhas in Reserve. Both Kroot packs elect to outflank.
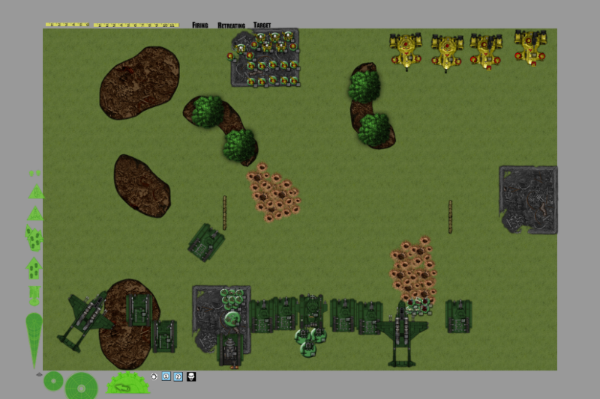
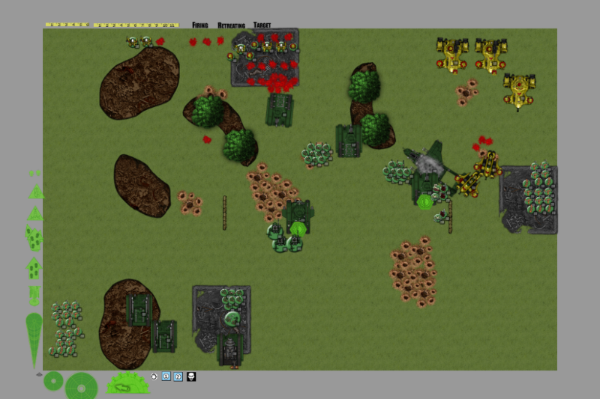
Turn One Guard
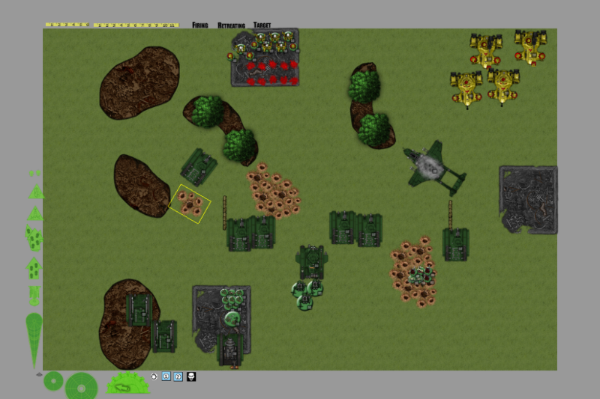
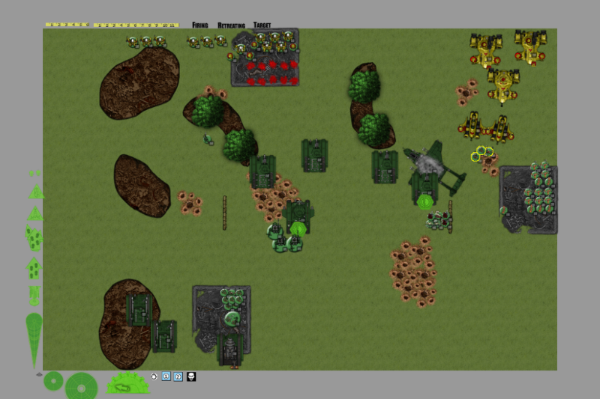
My army zooms forward in an attempt to cripple the Tau before they can bring their guns to bear. Concentrated fire takes out both Pathfinder squads, but the Broadsides absorb multiple lascannon hits without loss.
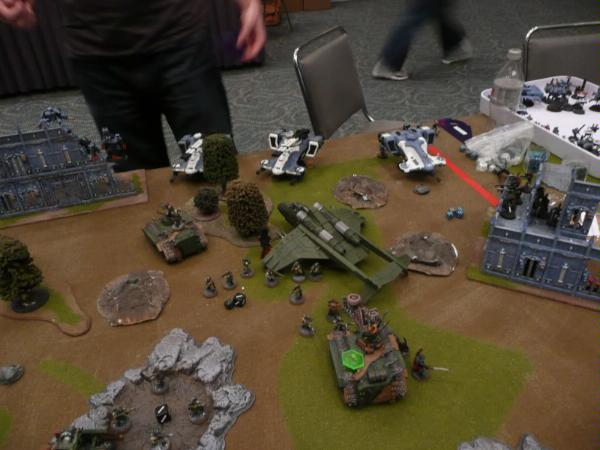
Turn One Tau
Devilfish shift into blocking positions for the Railheads, Crisis Suits bounce around a bit and Railguns take down both Vendettas. Fairly simple turn.
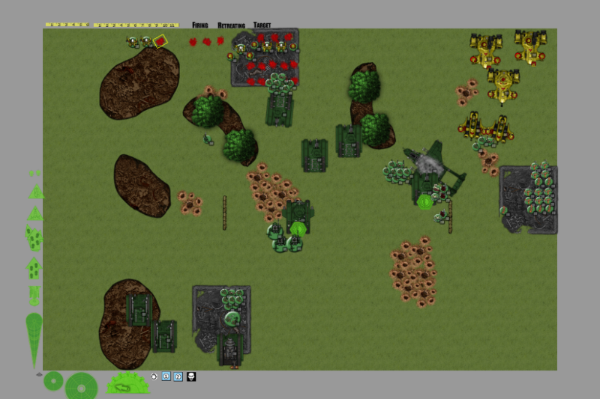
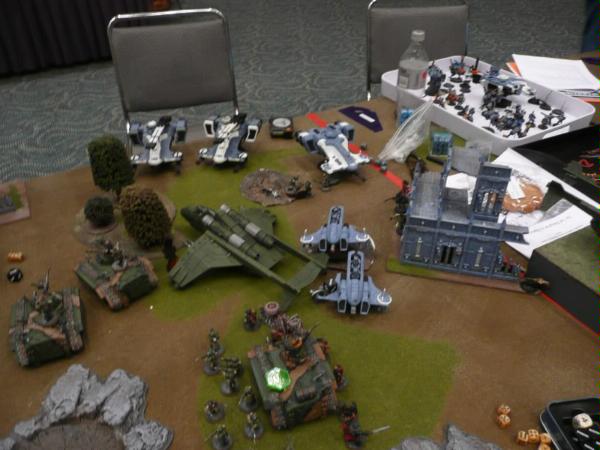
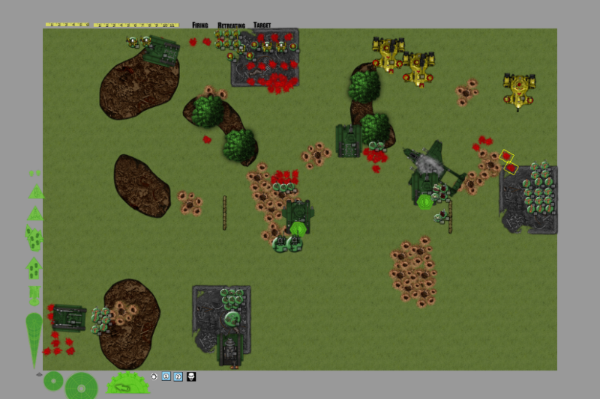
Turn Two Guard
On the right, meltaguns sink a Devilfish and the Chimera finishes off the dropped Gun Drones (who are more important then the Fish!) Another advancing Chimera immobilizes itself on the Vendetta wreckage as does the Demolisher in the center of the board. The Broadsides take fire from the rest of the army and again walk away without a wound!

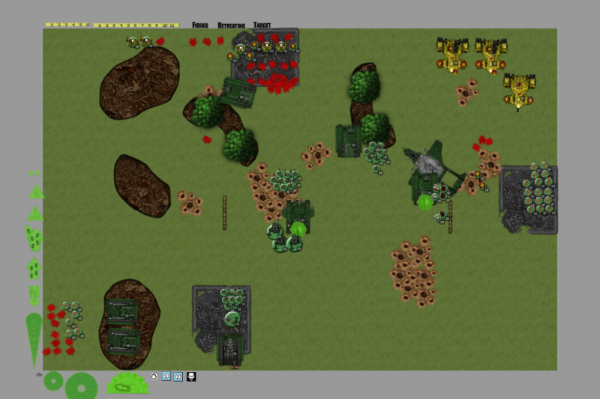
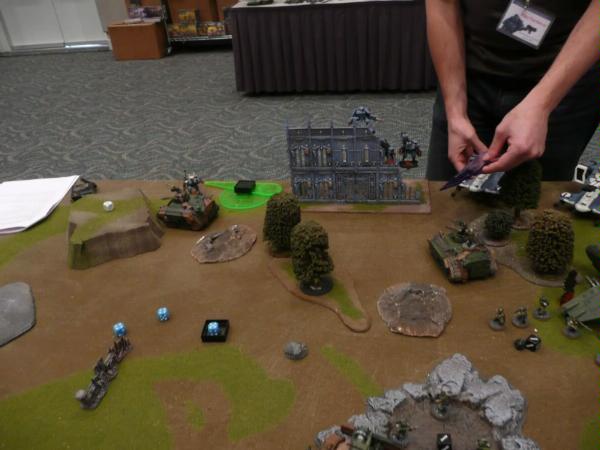
Turn Two Tau
With just about perfect reserve rolls, both
Fireknife teams, the Piranha and a Kroot pack show up from Reserve while the vulnerable Fire Warriors stay hidden off the board. The Piranhas explode a Chimera as do the Fireknives, which then send the Stormtroopers fleeing from the wreckage.
Turn Three Guard
A Chimera zooms forward, spins around and drops its passengers in the face of the Tau firebase. Meltaguns flare out, but the Broadsides only lose a drone. On the right, the forcibly disembarked Veteran remnants engage the Piranhas with meltaguns and krak grenades, but can only pull a Shaken result. Fortunately for the Guard, the support weapons come through as the Colossus vaporizes a Crisis suit and the squad runs off the board. Right next to the Colossus, the Hydras brutalize another Crisis suit squad, which also runs off the board! Finally the Sentinel autocannons pick off another suit, but this squad holds.
Turn Three Tau
Piranhas aim for the immobilized Chimera, but miss with their Fusion Blasters. Right behind them, the 3 Veterans who failed to kill the Piranhas are taken down by the Kroot. The 2nd Kroot pack outflanks to the left and makes a play for the Hydras, but their rifles fail to damage the tanks. In the center, the Veterans there are blown away as is another Chimera.
Turn Four Guard
The Hydras move and flamer the Kroot, who ignore the smell of burning flesh and stay in the fight. In the center, the Chimera moves forward while the infantry squads in the center move to find cover against the Tau barrage. Plasma guns from the Inquisition retinue blow up both Piranhas, but 2 drones survive.

Turn Four Tau
Mike begins to work on my dismounted infantry and shoots the heck out of them with the Railheads. Broadsides explode a Hydra, and the Kroot there Shake the other one. A single pack of Fire Warriors finally arrives from Reserve and sets up shop in the firebase building, while the Crisis Suits blow off all a Chimera’s guns but still leave it operational. One Sentinel dies to something or another also.
Turn Five Guard
The Hydra tankshocks the Kroot and the Chimera tankshocks the Crisis team, but both pass their morale checks. Inquisitor and his friends take out the last two gun drones from the Piranha for the kill point. The rest of the Guard infantry hunkers down and hopes to survive.
Turn Five Tau
The last Fire Warrior team shows up right on time and promptly hides off in the corner. Railheads break another infantry squad, but that’s about all that happens. Time’s up and that’s game.
Aftermath
Welp, Mike has me by about 3 or so kill points so he takes the win, 13-1. I thought I started off aggressive enough, but my Vendetta placement on the right created a bottleneck once it got shot down. It would also have been a lot better if I had loaded both Vendettas up with meltavets and gone for first turn kills on the Tau skimmers. Sentinels and the Stormtroopers probably should also have outflanked as it would have helped out against the skimmer castle in the NE corner. Finally, immobilizing my Demolisher just out of cannon range turned it into a large heavy bolter turret the entire game, which was a huge waste. At least it didn’t die, but still.
Mike played well as he had no need to advance on me, which is always a great thing for Tau. Reserving out the Crisis teams I thought was a pretty big risk, but it stopped them from getting ganked first turn. Overall, I just couldn’t concentrate enough force to break either his Broadside firebase or his skimmer castle and my attack ended up sputtering out in midboard.
I am sadly entertained by the fact that my Colossus has missed nearly every shot in two games now, but when it does hit, it hits big. Off to Round Three.


