Necrons
HQ
Necron Lord w/ destroyer body, phase shifter, resurrection orb, war scythe
Troops
10 Warriors
10 Warriors
Fast Attack
3 Wraiths
4 Destroyers
8 Scarabs w/ disruption fields
Heavy Support
Monolith
2 Heavy Destroyers
2 Tomb Spyders
Tau
HQ
Shas'
el w/
tl missile pod, flamer,
hw drone controller, 2 shield drones
Elite
2 Crisis SUits w/
tl missile pod, flamer
Troops
6 Fire Warriors, devilfish w/ +1
bs,
sms, multi-tracker, disruption pods
6 Fire Warriors, devilfish w/ +1
bs,
sms, multi-tracker, disruption pods
6 Fire Warriors, devilfish w/ +1
bs,
sms, multi-tracker, disruption pods
Fast Attack
2 Piranha w/ fusion blaster, +1
bs, 1x disruption pod
2 Piranha w/ fusion blaster, +1
bs, 1x disruption pod
Heavy Support
1 Hamemrhead w/ rail gun, burst cannons, target lock, multi-tracker, disruption pods
1 Hamemrhead w/ rail gun, burst cannons, target lock, multi-tracker, disruption pods
1 Hamemrhead w/ ion cannon, burst cannons, target lock, multi-tracker, disruption pods
Mission: 5 Objectives
Deployment: Spearhead
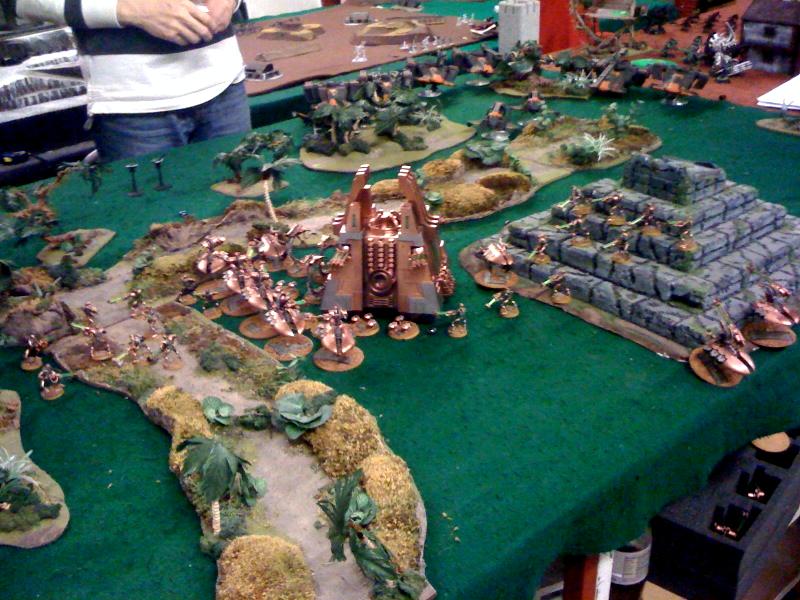
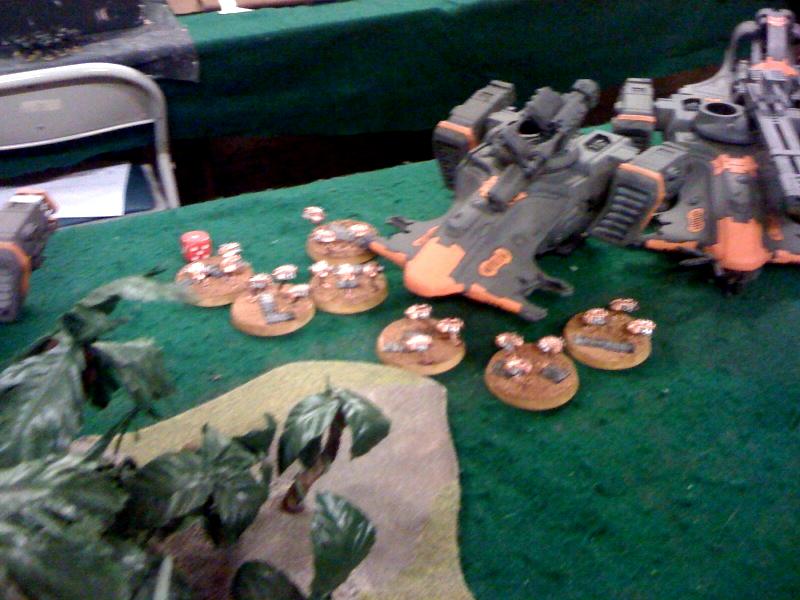
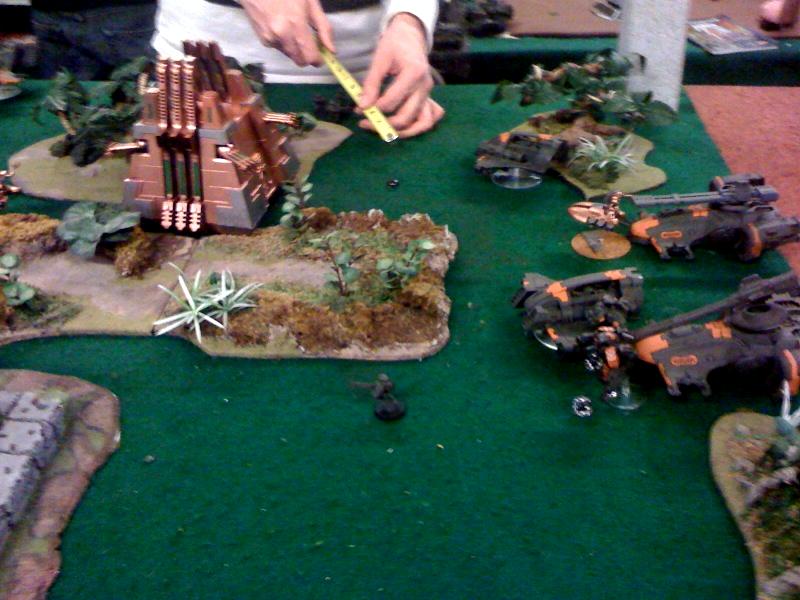
The Tau win the roll off and give first turn to the necrons. I pick the more heavily loaded area objective wise and claim two objectives off the get go. Tomb spyders are deployed either side of the 12 inch zone as close as possible wraiths and scarabs next, warriors back, and destroyers poised to move down the sides. Lord starts behind the monolith giving res orb goodness to everyone. The Tau squeeze on the back edge for the most part, but deploy the piranha's up a bit.
The deployment pic.
Necron Turn #1
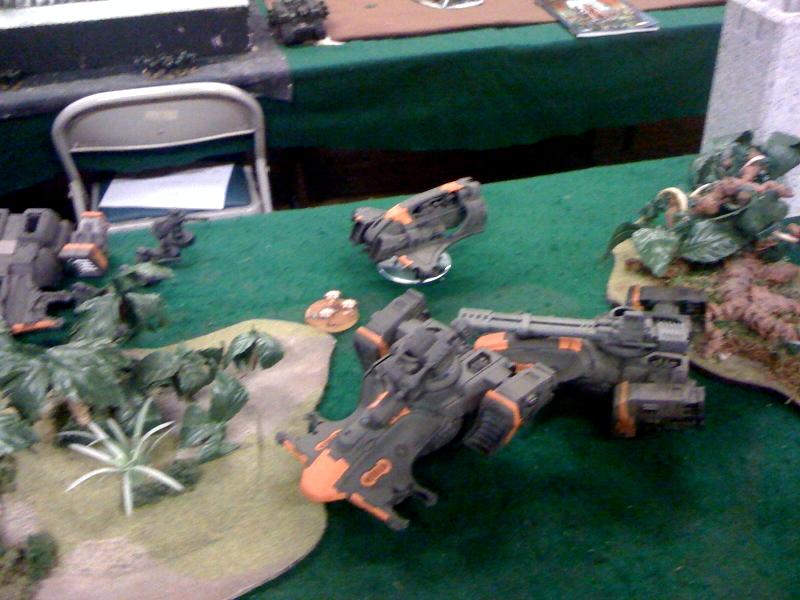
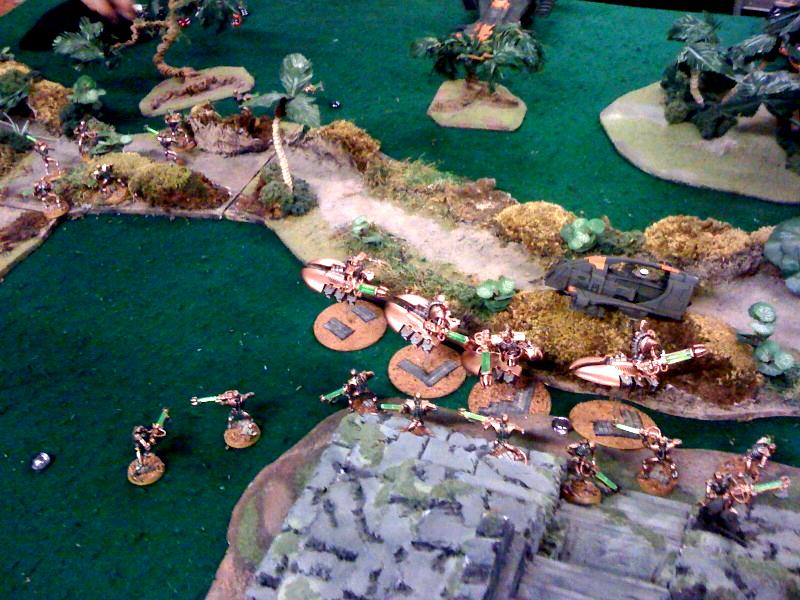
Wraiths, lord, scarabs all boost across the table into Tau territory. Destoyers move up and immobilize one piranha, and shake the other, heavy destroyers get a hit on a hammerhead but he disruption pods it. Monolith lands a template on the other piranha squad but he disruption pods that as well. Both warrior squads move up and run to get better positions.
Necron Turn #1
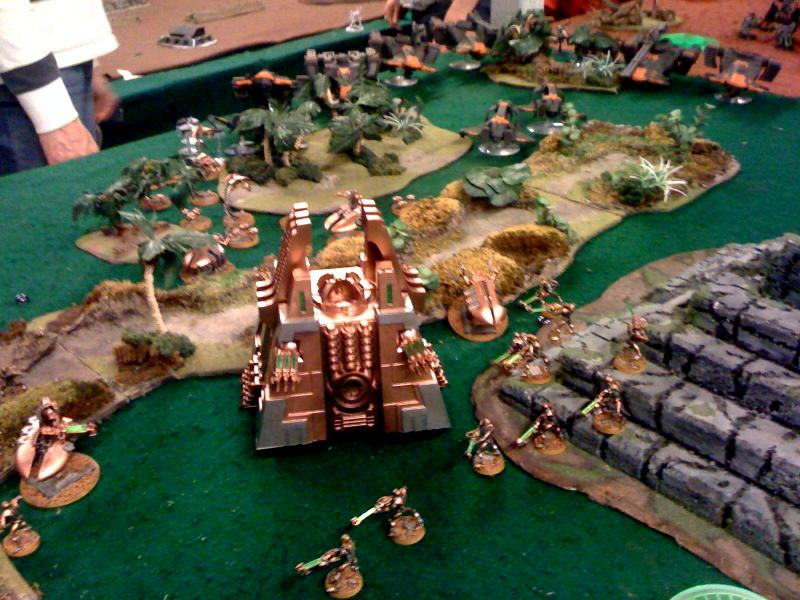
Close up of the boosted forces
I boosted everything across here to pin him in. And hopefully put pressure on early and hopefully overwhelmingly.
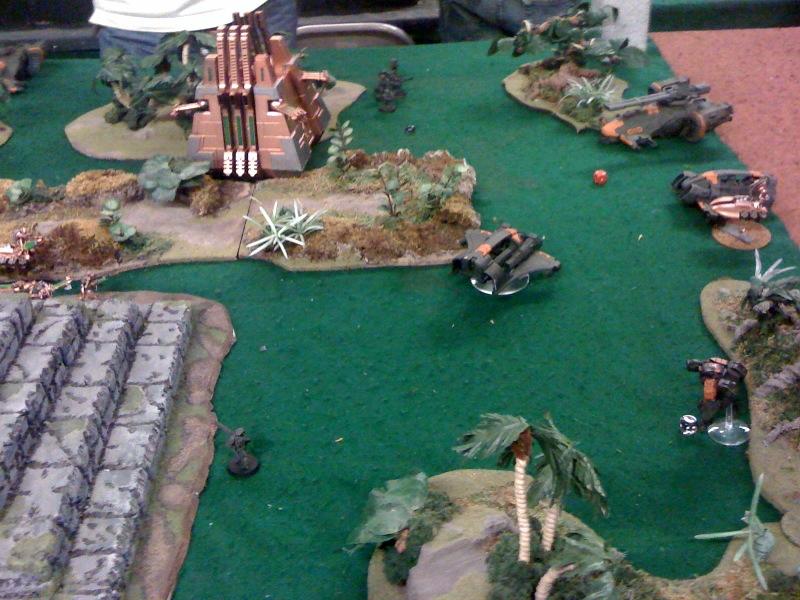
Tau Turn #1
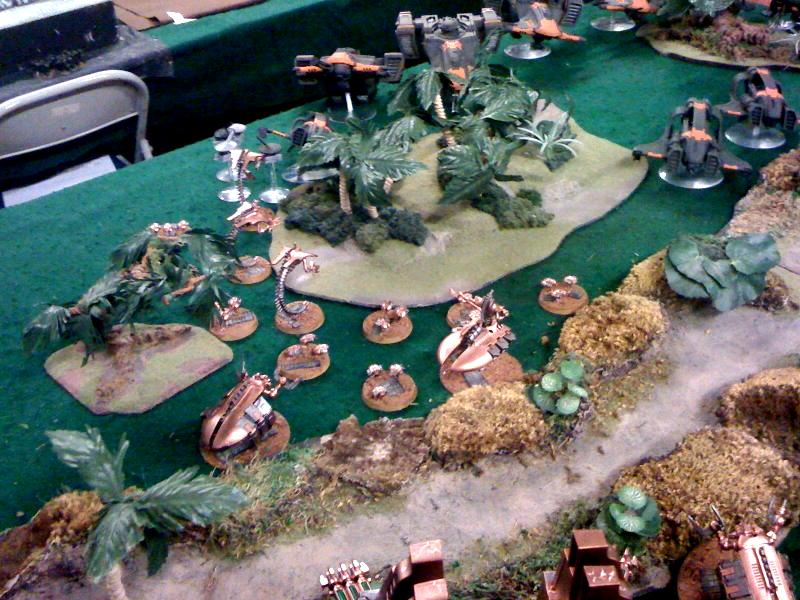
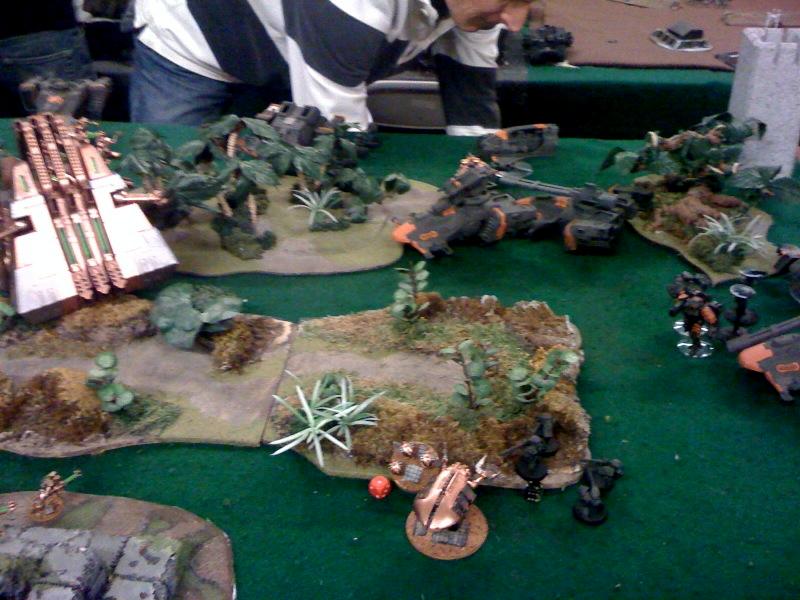
He moves up 2 devilfish and unleash's on the wraiths knocking them all down. Other shots knock off a scarab base, knock down a warrior, and that's about it. (no shots at the monolith he was using the template to try to thin out the scarabs since I had them fairly bunched up). He moves the drones up to shield a devilfish from my advancing tomb spyder. His other two piranha move up and shoot at the tomb spyder for no damage. His shacken one retreats to his board edge.
Tau Turn #1

2 Devilfish come up along the side for shots into the wraiths. Piranhas advance for shots on a tomb spyder everything else shuffles back.
Necron Turn #2
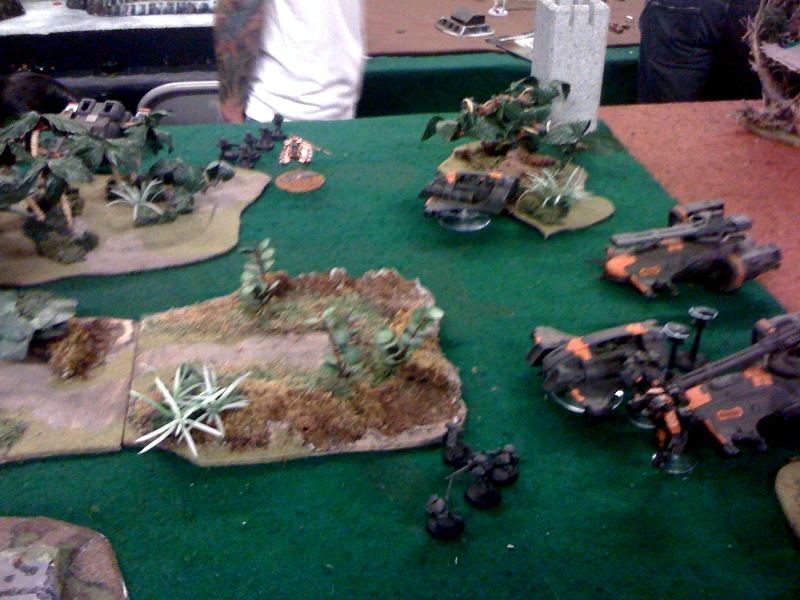
Left warrior squad shoots into the drones killing 2 they break and run off the table. Destroyers shoot into the side of the devilfish but fail to do any damage. Monolith wings a shot but it's disruption podded. Right side warriors shoot at the piranha's immobilizing/killing one and shaking the other. The heavy destroyers hit but fail to pen the devilfish in front of them. The destroyers and tomb spyder assault the fast moving devilfish, I get one six off of the spyder and it stuns the devilfish. The necron lord assaults the other devilfish, only needing four's he hits twice and immobilizes and shakes it. The tomb spyders assault the 6 inch moving ion head 28 attacks later and no damage to the ion head. The other tomb spyder assaults the piranha squadron but gets no hits.
Necron Turn #2
The warriors shooting the drones and causing them to run enabled the tomb spyder to make it into base to base with the devilfish otherwise it would have been able to make it.
The scarabs assault the ion head, 7 scarabs, 28 attacks, not a single glance (with only needing 4's to hit), well there went my cover and we are about to see some dead scarabs.
Tau Turn #2
Rail gun shot at the monolith misses other fire is focused on taking down the scarabs (1 railhead, an ion head, one piranha, and 6 fire warriors) which are reduced to one base, the other fire warrior squad shoots up the detroyers knocking down 2. Crisis suits shoot into the heavy destroyers killing one, the other heavy destroyer is taken down by the drones. The last devilfish knocks down 3 warriors. In
hth the stunned devilfish is immobilized and both guns ripped off by the tomb spyder, and the lord wrecks the other one.
Tau Turn #2

The fish in the back is now immobilized all of it's guns torn off. The fire warriors rolled well and actually downed two of the destroyers.
There were a lot more scarab's here a moment ago.
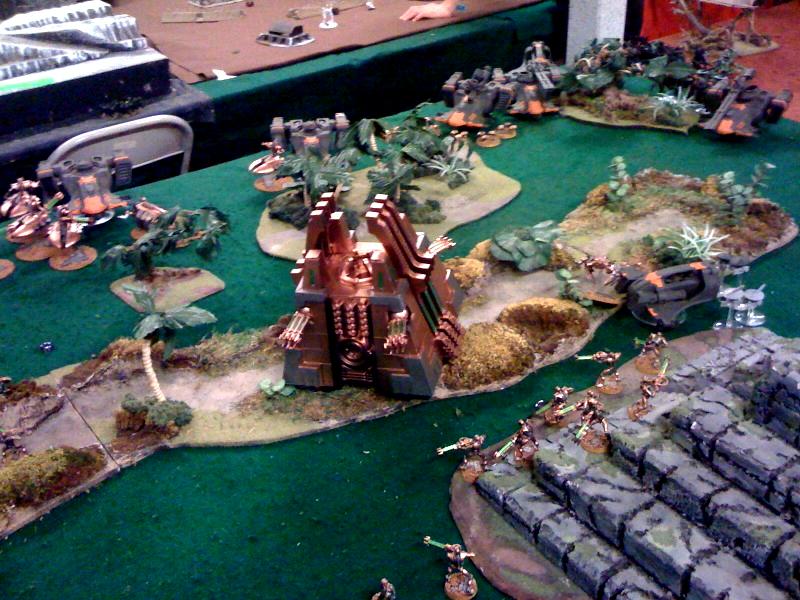
Necron Turn #3
Both destroyers get up, and 2 of the warriors. The destroyers move up and shoot into the crisis suit's killing one suit. The monolith fires off it's flux arc catching 2 warrior squads, the drone squad, and 1 piranha, and does absolutely nothing. Warriors shoot into the drones and finish them off. The tomb spyder assaults a fire warrior squad kills 2 they flee off the table. The lord assaults the ionhead and immobilizes it, the lone scarab assaults a hammerhead and shakes it. The right side tomb spyder assaults the devilfish and wrecks it.
Necron Turn #3
Things are looking priomising here. I'm thinking the tomb spyder is going to much some fire warriors very soon!
Tau Turn #3
The last scarab base goes down to a piranha. The lord takes a wound, and the right side tomb spyder takes a wound. 2 shots at the monolith result in a stunned. The lord wrecks the ion head.
Tau Turn #3
Tha tau vehicles continue to shift away from my assaulty elements. Triple ones on my part were enough to kill off the spider that was trying to hem them in.
Necron Turn #4
The destroyers move up and shoot down both of the shield drones and put wounds on everyone in the crisis suit squad. Lord tries for a hammerhead needing 6's but doesn't get any. Left side tomb spyder doesn't roll high enough to catch the other tomb spyders. And the monolith misses. The warriors shoot off the drones.
Necron Turn #4
Hmm where did that spyder go. Well that allieviated the pressure there and allows the Tau to keep circling.
Tau Turn #4
More rail gun shots fails to do anything to the monolith. 2 wounds are put on the destroyer lord. The right tomb spyder is killed.
Necron Turn #5
The monolith hits with the particle whip and finally manages to kill a hammerhead. The lord immobilizes a piranha. The tomb spyder still can’t make it to the fire warriors and the destroyers take out the last suit and leave one wound on the command.
Necron Turn #5
It's starting to look pretty sparse over here. Not much copper left.
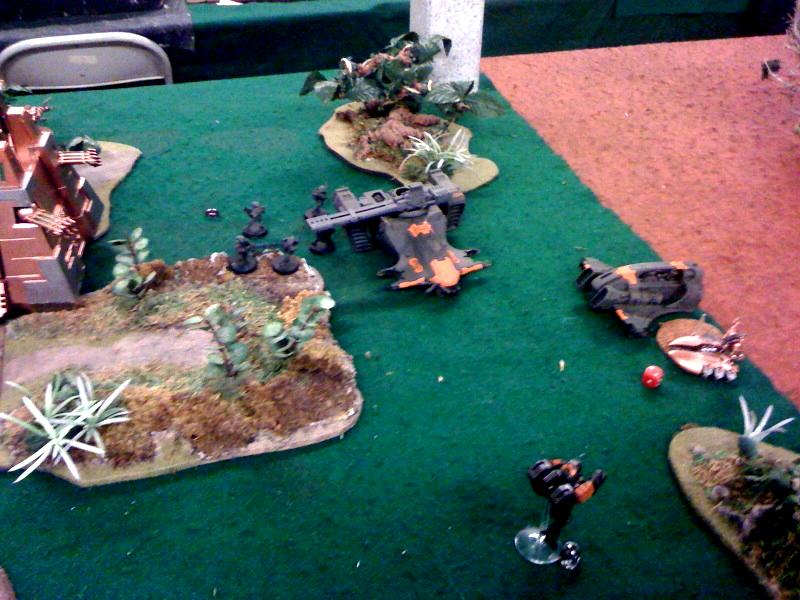
Tau Turn #5
The commander and some help gun down the necron lord. The piranha flat outs to contest an objective and my opponent rolls a 2 to end the game.
Tau Turn #5
The piranha boosts in to contest the front objective.
The tau hold their objective, and the Shas'
el claims a moral victory downing the Necron Lord on the last turn.
Final: Necrons : 3 Objectives, Tau: 1 Objective.
Necron Survivors: 1 Tomb Spyder, 4 Destoyers, 19 or so warriors and the monolith
Tau Surivovors: 7 fire warriors, 1 piranha, 1 hammerhead, 1 shas’
el, 1 immobilized piranha, and one immobilized weaponless devilfish.
Summary: The Tau player is very new to the game having just started a few weeks ago. He really struggled between dakka and evasion. It's a tough decision do you move 6 and get to fire everything or move 12 and just fire one gun and half your fire power. He played a little too agressive with the devilfish but then again you need something to slow down my fast movers. He did good wheeling his units away and continuing to shoot. Some target priority issues, his suits should have been going after my destroyers and he probably shouldnt have taken the pot shots at the scarabs on the first turn, instead just ignore them and their 2+ and take some early shots at the Monolith. He also didn't position his units well for the last turn objective grab. He got too focused on killing instead of manuevering his piranha's for the end game contest. Still it was fun marching the necrons into the teeth of his guns and seeing what popped out the other side (answer, not a whole lot).


 Tarus 7th Regiment "Dragoons": IG 2500+ points
 Speed Freaks: Orks 2000 points
 Soul-Forged Angels: Blood Angels WIP


 2,500 Points Zahndrekhs Royal Dynasty
  850 Points Bork'ans Elite
  750 Points Thousand Sons
  1,500 Points Armadyls Espada (space wolves)