Thanks a lot for the compliment armyman! I like switching between the two armies because they're so different, although
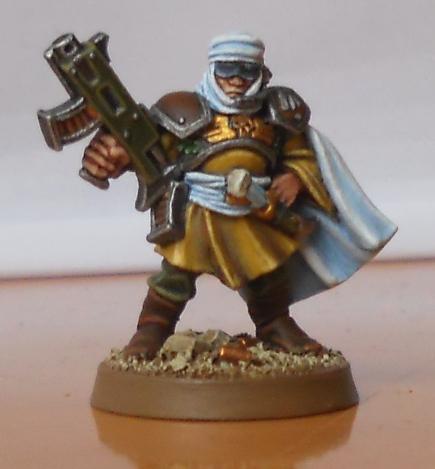
TBH I like painting ork vehicles and tallarn infantry. I've yet to try any tallarn armour, although I have a bassie and sentinel on my table... I can't decide whether or not to do it heavily weathered like the ork vehicles or more factory fresh. I've added extra stowage and would love to try out some camo netting, but so far my experiments have failed... thoughts about any of that, anyone?
My ork boyz are kinda cartoony, which contrasts with the weathering on the vehicles. I'm not exactly happy with them, but can't bring myself to add extra skin highlights to 50 or so models... When I started doing them I had no idea how to paint really, and I'm stuck doing them the same for uniformity.
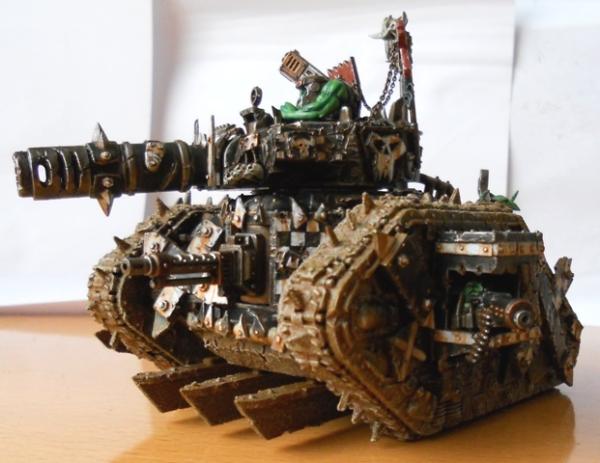
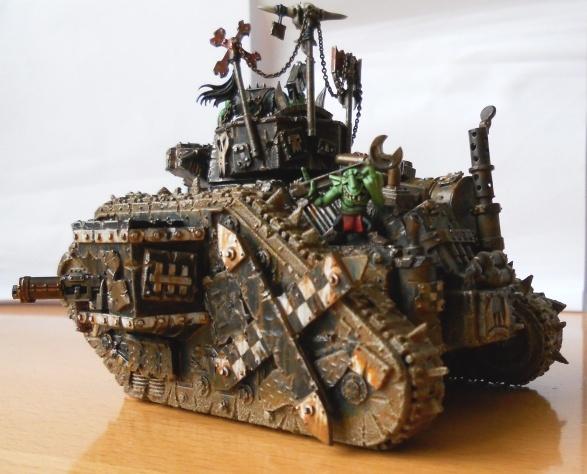
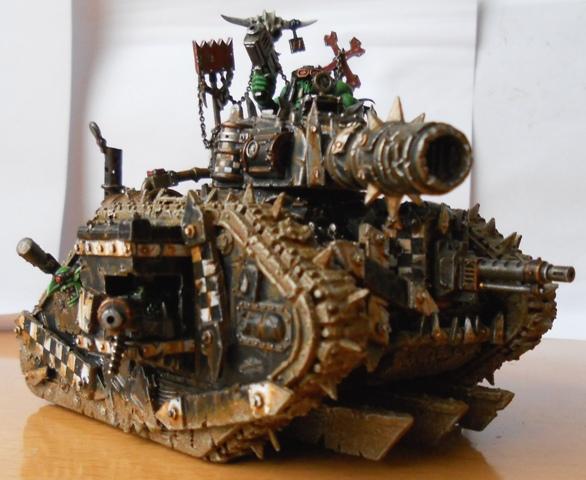
As for the tank, I wish I'd taken some in-progress shots (but no camera back then)- sorry! I can tell you what I used, though... Here we go!
1x old style (comes in more bitz so better for lootin') leman russ off ebay, unpainted.
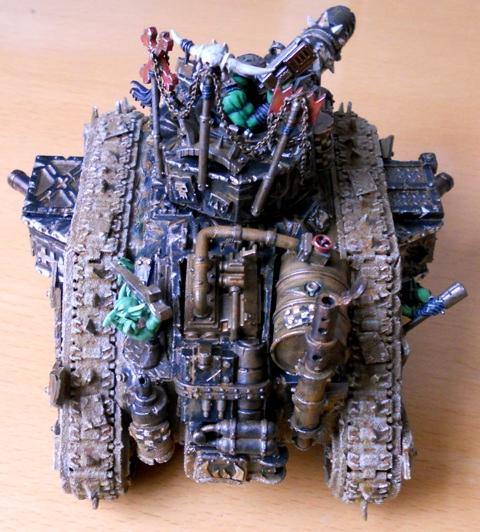
Battlefield accessories set- has material for patches (ammo box lids and so on) and oil drums, and the spikey tank trap parts make great patches.
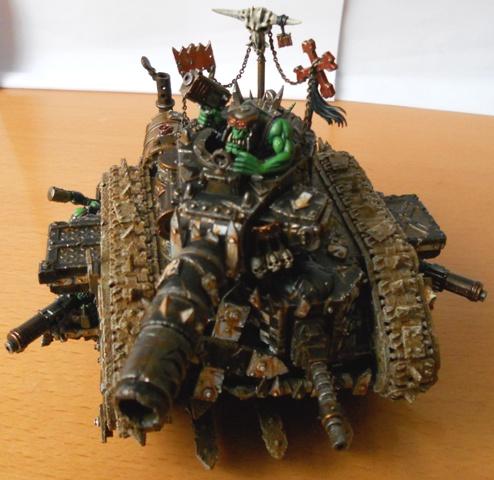
1x stompa crewman for the cheeky grot mechanic
0.75mm plasticard.
0.75mm diameter plastic tube for rivets (To be added to any plain plasticard patches- like on the tracks and oil drum)
plasticard textured to look like metal industrial flooring
Chain from forge world (why oh why didn't I shop around for that, I probably got ripped off).
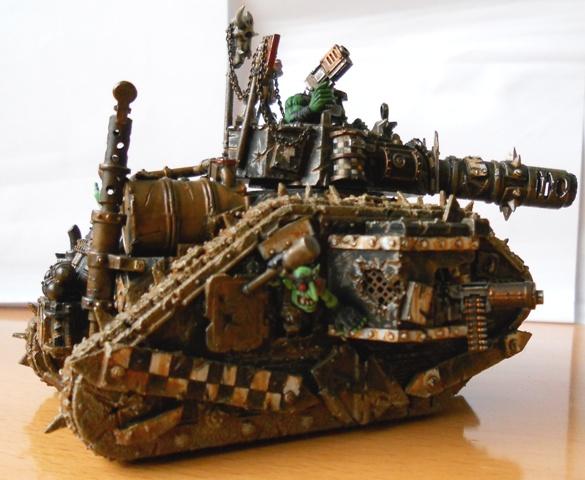
Tamiya sand effect diorama paint- after the whole thing was painted I slapped this on everywhere for mud, then painted it bestial brown, then drybrushed snakebite leather, graveyard earth, bleached bone.
A whole lot of bitz, both leftovers and purchased, from the Boyz, Nobz, Grots, deff dread, trukk and stormboyz sprues.
The two grot sponsons worked out great- For each, I used the top of the rokkit pack with the grot pilot from the stormboyz set, added a shoota and greenstuffed a grot head from the grot set so that its looking down the barrel rather than staring at the sky. Miraculously these clip in right where the heavy bolter was as they're just the right size for the sponsons! With some twisting you can get them in and out when the sponson is built as well, so I painted them separately and put them in last.
A lot of the clutter actually comes from me ruthlessly taking a set of clippers to it after it ready to be primed. Totally mutilate it- scratches, bullet holes (pin vice needed), chips, gaping holes, twisted metal- just be brutal! Made a big hole? Roughly patch it with battlefield accessories and then attack the patch with the clippers! Leave no straight edge untouched! Apart from anything else, this process is extremely fun

.


 "Whilst we stand, we fight. Whilst we fight, we prevail. Nothing shall stay our wrath"
  Guilliman and the Ultramarines are like Manchester United, everyone hates them because they are so awesome!
