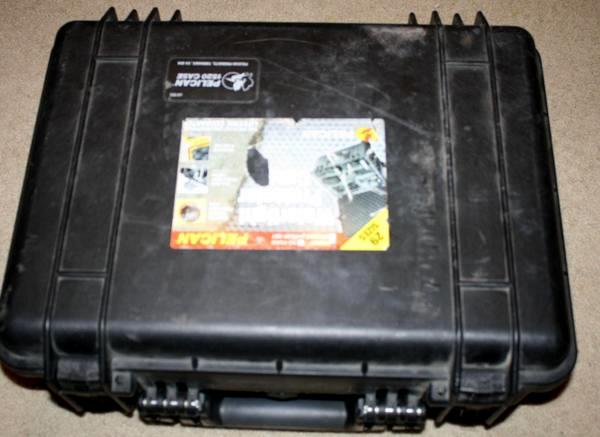
So I got a foam lined case for free because it was "defective". Its a pelican case but the seals are bad and the pressure valve is busted. People I work for were going to throw it away for no longer being waterproof. I rescued it.
The Case
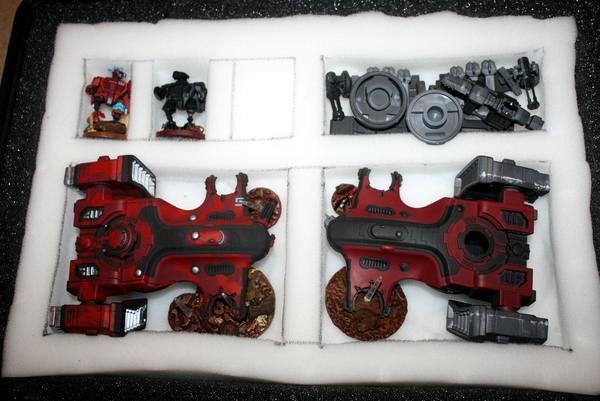
The Top Layer
From left to right, top down-
It will be my Shas'o, Shas'
el, XV88, All vehicle gear/weaponry
Devilfish, Hammerhead/Skyray
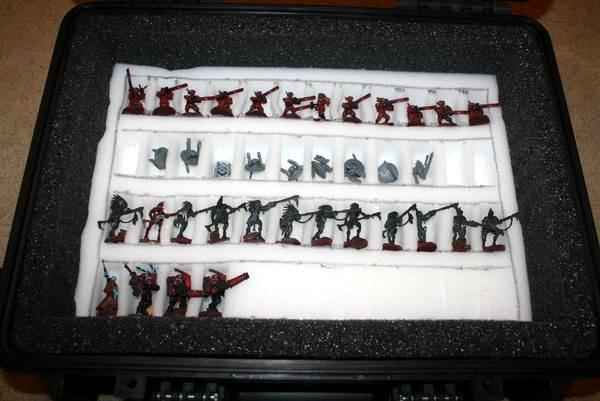
The Bottom Layer
Left to right, top down-
1st Fireteam - drone bases share sections
2nd Fireteam - drones share sections
Shaper then Kroot squad
Ethereal, Stealth team (room for 3 more, then two more XV8s laying sideways)
And the part I actually love the most - The ARMORY
I take of the lid lining and here is what I have:

Each Mason Jar lid is superglued to the lid...and since all my Tau will be magnetized, each weapon/equipment type will have its own lid to organize it. Center top will be Commander Special Issue and bottom center is Stealth Team stuff (since they dont have much and their gear is magnetized differently)
The Foam is all hand cut. So the tutorial part I figured is you can do this with any hard shell case.
1) Measure the Inside dimensions of the case
2) Get foam layers (I used
http://shop.hobbylobby.com/products/2-x-14-x-14-premium-poly-foam-652412/ for my layers)
NOTE: the layers need to be 2" thick at least. This way you can cut into it and have the models fit all the way in.
3) Mark foam into layout you want for models
4) Cut Foam - I did this by cutting a square for each model. The depth was just the blade length of my X-Acto knife. Then you pull square to the side and slice the underside out while pulling loose foam. It pops right out about halfway through the bottom layer.
5) Foam the Lid - Mine came with foam, but you may need to layer your lid with foam too in order to keep models in the top layer snug.
I plan on getting another case together for my Black Templar army as well. I will take photos of the step by step for that one. It will most likely NOT be the same kind of case so while I have the end results here and a text tutorial, I plan on expanding to a full picture walkthrough in the near future. As always, C&C is welcomed.


 Black Templars 2500 points - 12/3/5
 Tau: Es'run Sept 1800 points - 9/3/4
