I've decided to attempt to build a Zone Mortalis set. I'll be using my trusty Pink Polystyrene foam insulation for the base and walls of it. The Imperial corridor of
FW's set are nice, but for Orks I want something more natural.
I came up with the idea to make a cave themed board from the last fluff paragraph of the Warboss entry in Codex: Orks combined with the first paragraph of the ZM rules mentioning some types of 'the fatal ground' including "...lightless underhives, the prison-vaults of sundered fortress citadels, labyrinthine industrial sewer systems and sacred catacombs."
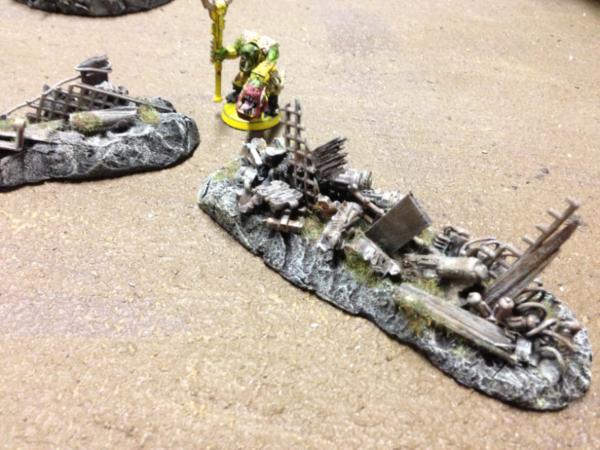
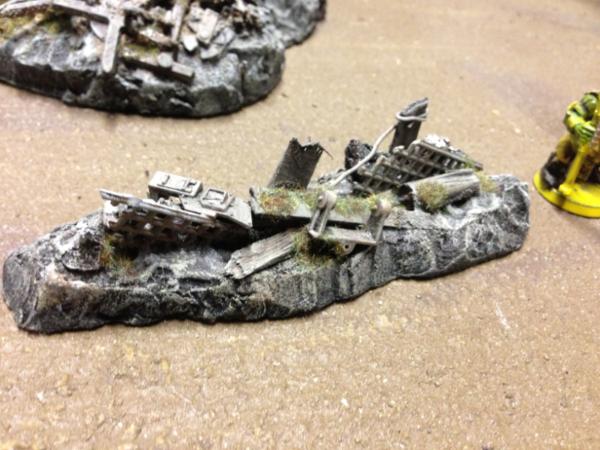
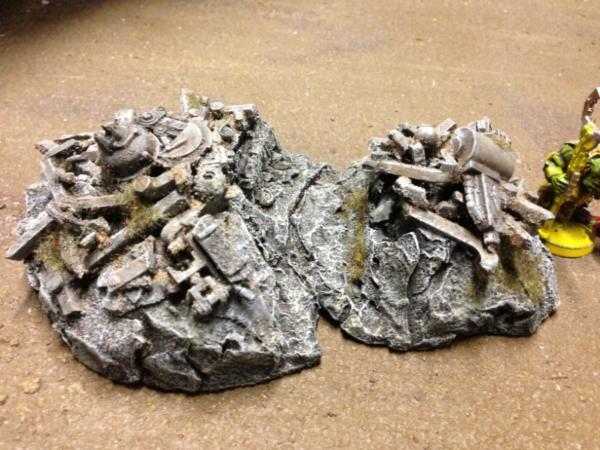
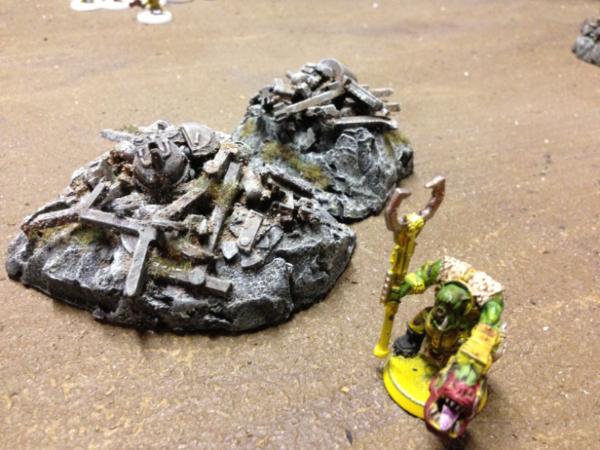
Not to mention the texture would be much easier to achieve what I want. But I'll be throwing in some random shenanigans throughout the tiles, like exposed pipes, war banners, corpse remains, computer terminals, etc.
I went and bought a new sheet of 1" thick from Home Depot, and had to get it cut down from the massive 4'x8' into a more manageable size for my Chevy Cruze. Trying to get anyone in the store to help was a struggle, as their is no specific tool approved for doing that exact job, it was a bunch of "Manager's approval needed" red tape.
Eventually I walked out with two 3'x4' sections and a 2'x4' section, for the low price of $12 . Add in the 1' speed square I got the make the job easier, and total cost of the project is under $20. Slightly less than Forge World sells it for.
Quick math, I can make a 16 piece board from a 4x4 section, leaving the other half of the sheet for walls. They will be 2" wide by 3" tall, and follow the same pattern as the stanard ZM tiles do (I've nicknamed them the 'T', 'Cross', 'L', and 'Horseshoe'). The height means I'll need to stack and glue three pieces of the same shape to get them high enough. The
FW walls are closer to 2.5" tall, but since I'm working with 1" stock, it was either go 2" or 3", and 2" was a little low for a dreadnought.
The edges of the sheet were curled, and after initially cutting my 2'x4' section into 8 tiles, I didn't like half of them because they wouldn't lay flat. I set them aside to be wall fodder, and cut the rest of the 16 tiles out of the non-warped parts of the sheet. With the help of my new speed square, this went pretty quick and smooth. They all laid out nicely in a grid, with a few small gaps from not being perfectly square, but I kinda expected that.
I don't want the 2" grid of floor tiles that
FW has on their set, but for layout purposed, I marked up a sheet. It will be painted over after the walls are on anyways.
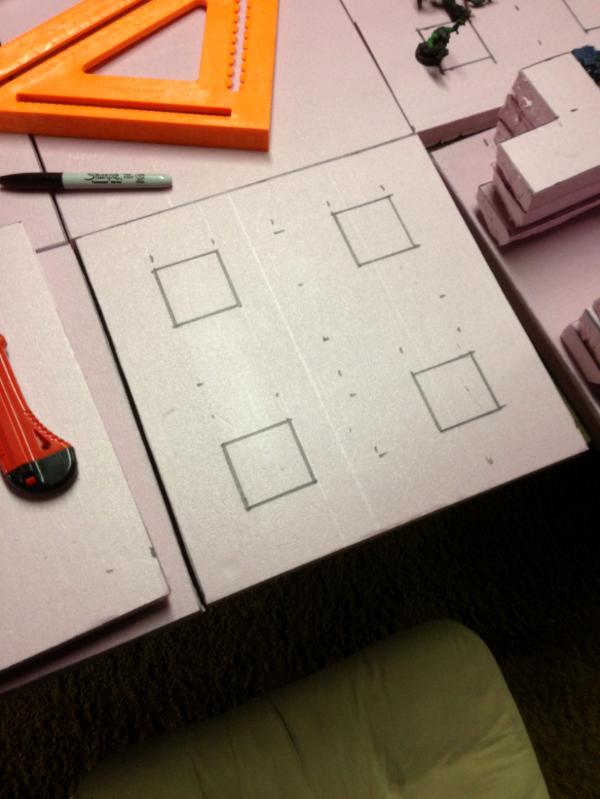
Time to start cutting the walls. The first wall I decided to tackle was the corner of the 'Cross' tile. There are four of them on the tile, times the height of three, means I needed to cut out 12 tiny right angle corner pieces.
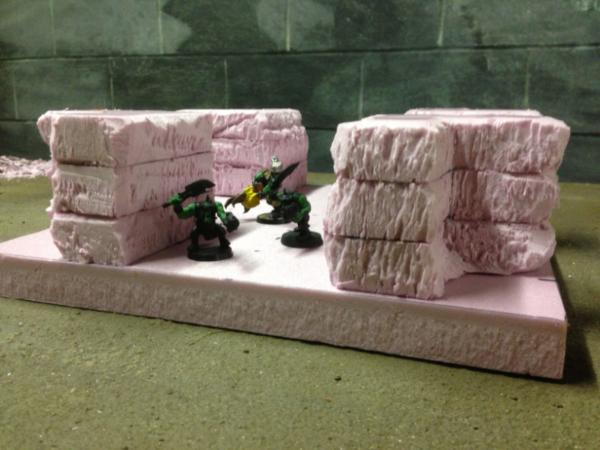
Here they are rough cut, still need to be glued, trimmed, and textured. But I wanted to see how it would look size-wise.
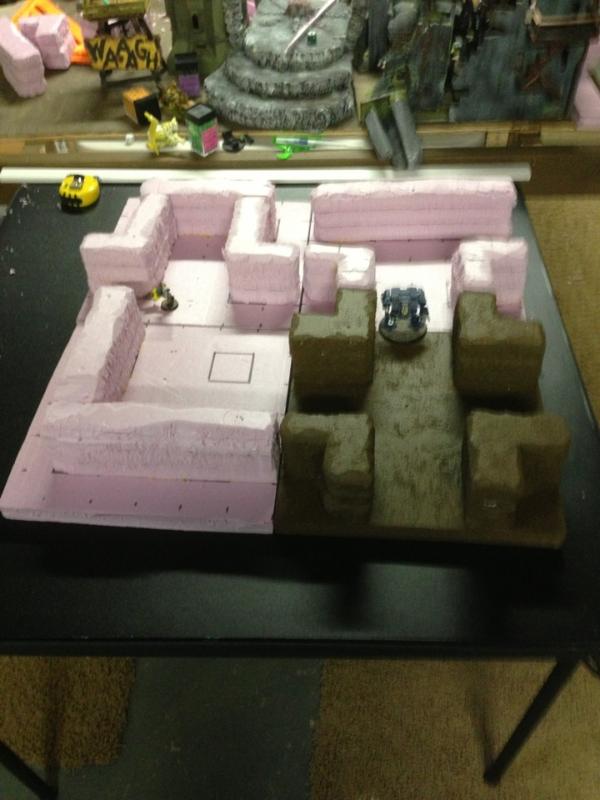
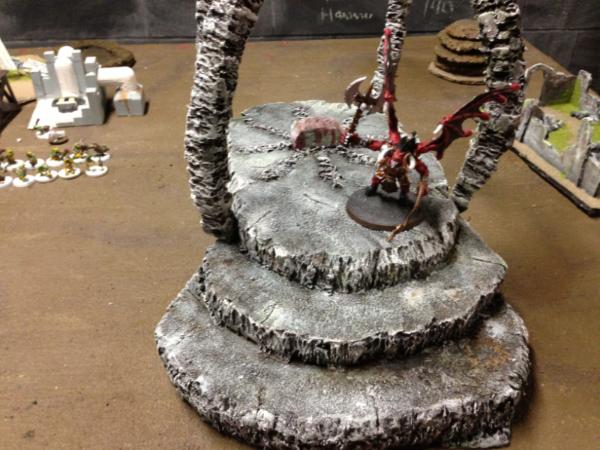
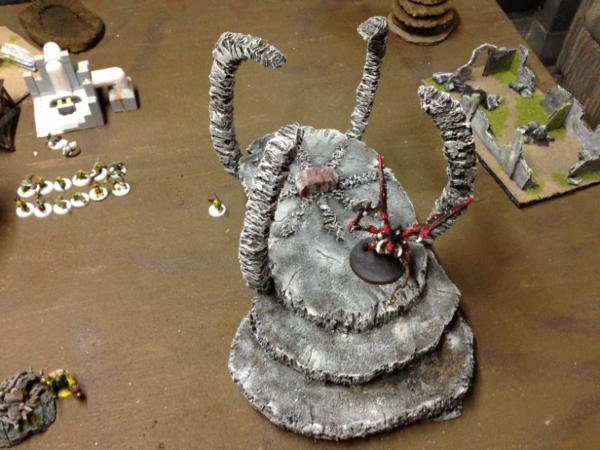
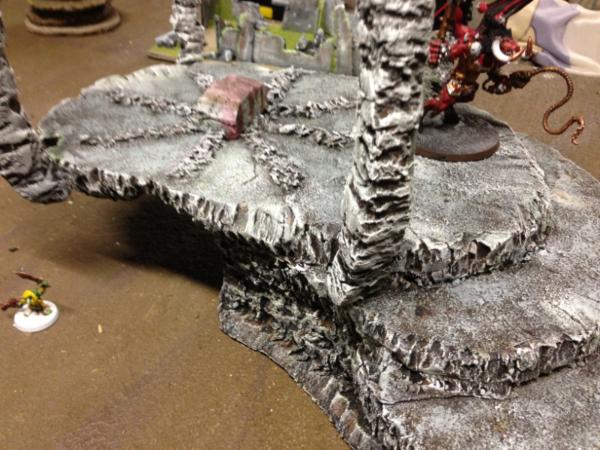
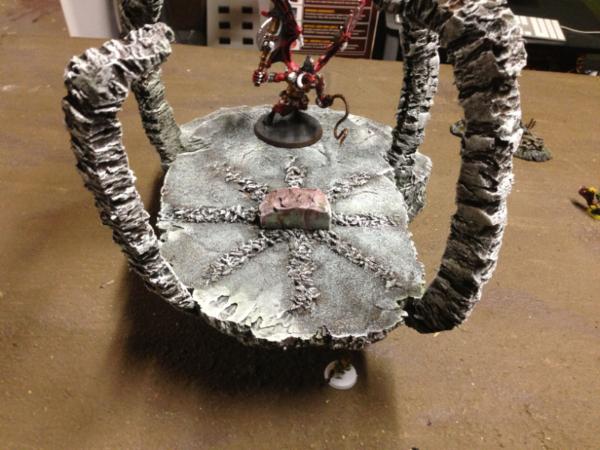
Using the same technique as I did for my daemon alter, by scraping a knife against it I'm able to pull out a rocky texture. It doesn't hide the three layers of foam all the way, but it helps blend them. Here the wallks are glued and textured
And painted! I used the same can of brown paint from my table. Mixed in a handful of sand in a plastic cup and slapped it on.
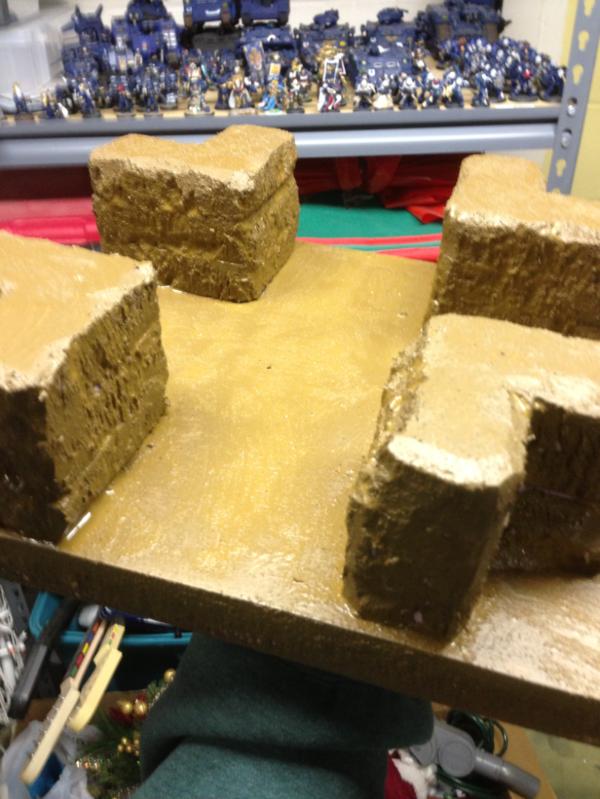
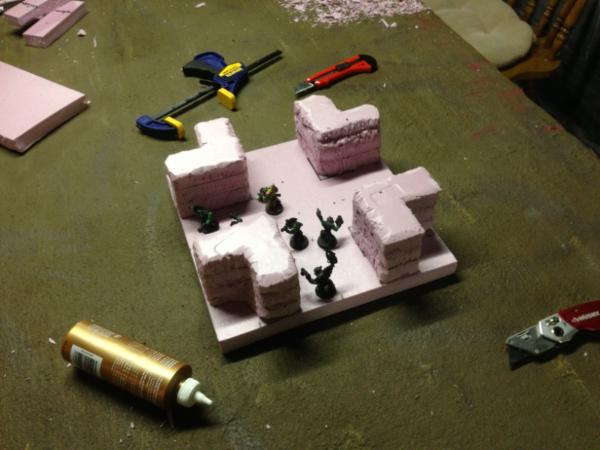
I am pleased with the results, so on to the other three tile shapes! First, cut out ALL the walls and glue them.
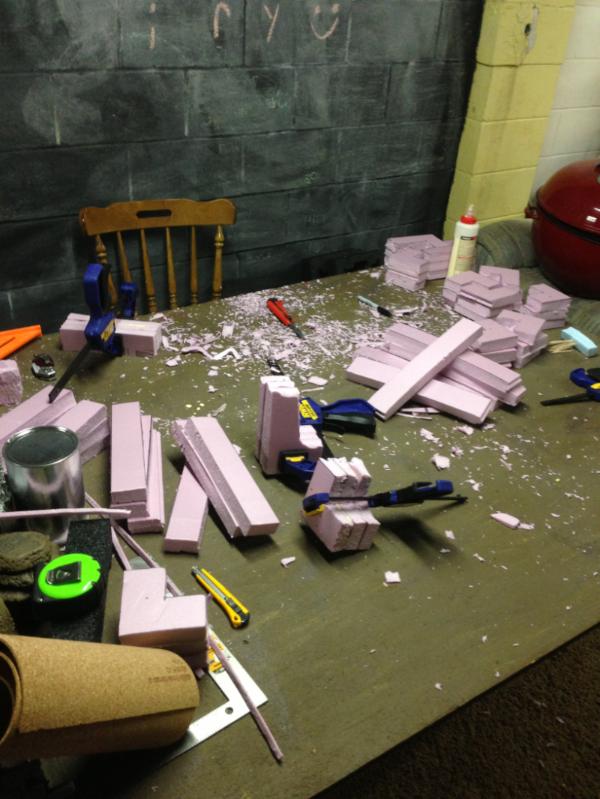
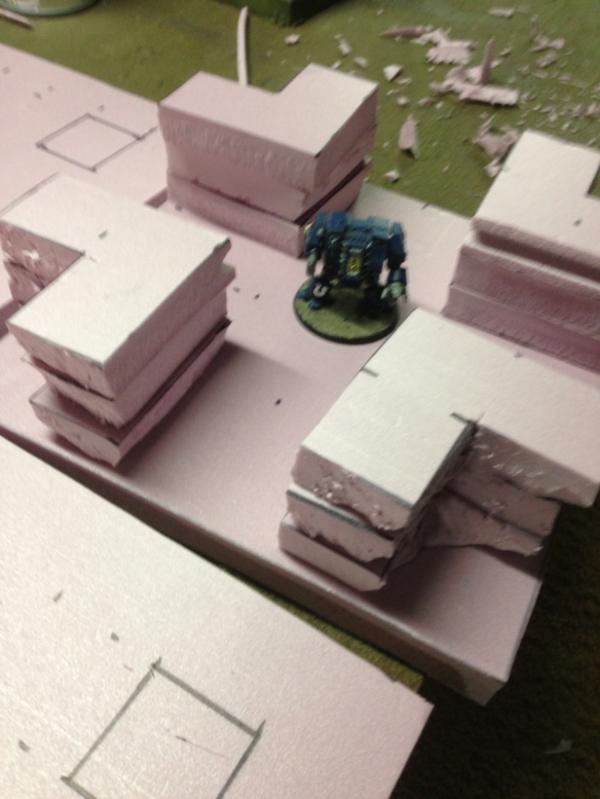
Then assemble!