Unlimited Marines:
Master w/ Power Weapon, Plasma Pistol, Aritficer Armor, Iron Halo
Tactical Squad Alpha: 9 Marines and a Sarge w/ Power fist
Tactical Squad Beta: 4 Marines and a Sarge w/Bolt Pistol + CCW
Assault Marines: 7 Marines, 1 Flamer 1 Plasma Pistol
Devastator Squad: 3 Missile Launchers, 1 Lascannon, 2 marines and the Sarge w/bolters.
Risen of Auchrist
1 Lord w/Staff of Light; Veil of Darkness
10 Warriors (alpha)
10 Warriors (beta)
4 Destroyers
3 Scarab Swarms
<!--[endif]--> Mission: Gamma Cleanse
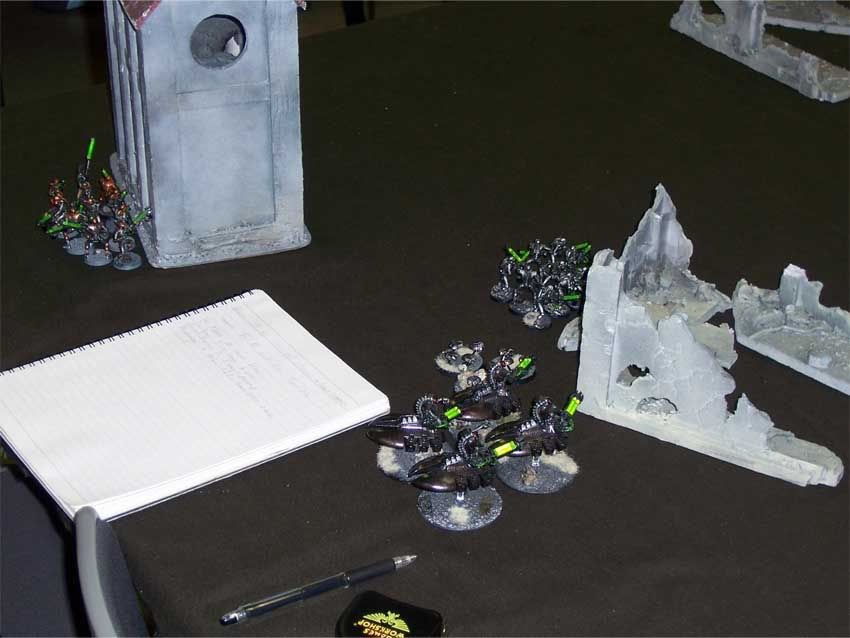
I once again found myself facing off against the Unlimited Marines, this time in a 750 cleanse mission. Setup was conservative, with both of us placing most of our units out of sight, midway through our quarters.
I found solid cover a little scarce on my side, and tucked the Lord and Warriors Alpha behind a building deep in my corner, clearly telegraphing that they would quickly be getting up to teleporting hijinks. He put the Devastators in the ruins near the center of the table, giving him a commanding view of the battlefield, but also allowing me to put my Scarabs exactly 18 inches away, guaranteeing a first turn charge. I won the roll and chose to go first.
Necron 1:
Movement:
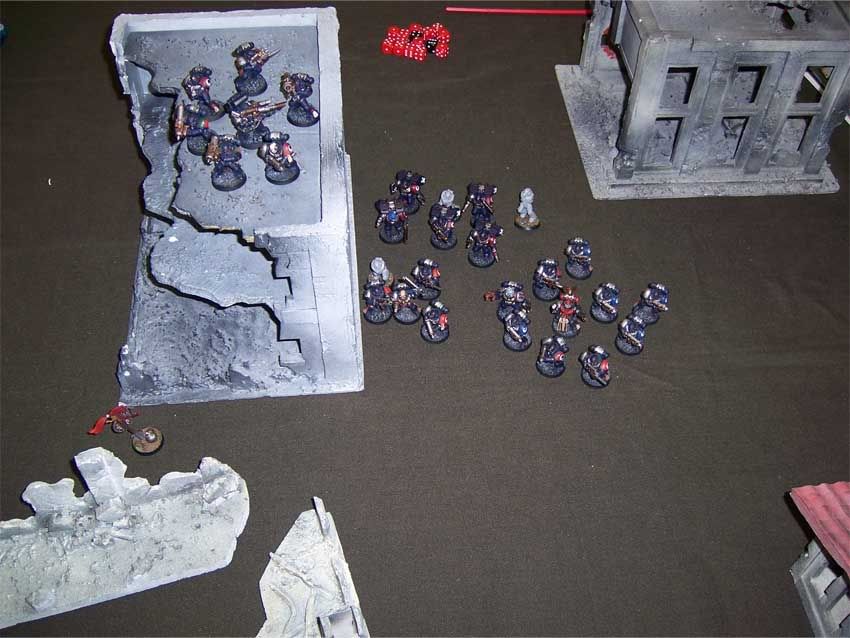
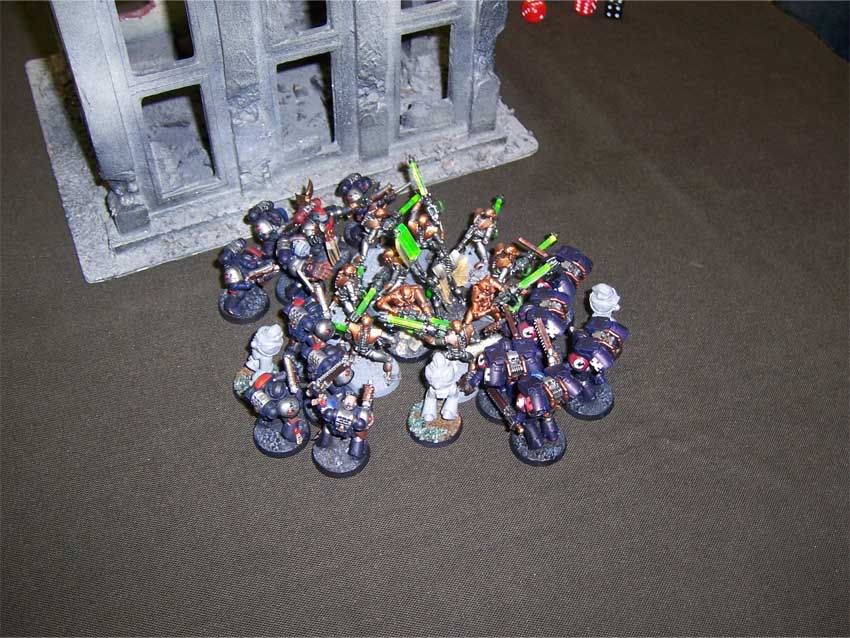
The Scarabs scurried towards the Devastators. The Destroyers skirted to the right, getting a bead on Tac Alpha, whom the Master was attached to. Warriors Beta break cover, and attempt to close to rapid-fire range on the Devastators. Warriors Alpha and the Lord teleport, and due to bad scatter, land much closer to Tac Alpha than I?d wanted.
Shooting:
The Destroyers manage to drop one marine from Tac Alpha, as does the Lord with his Staff of Light. Warriors Alpha manage to take down three. Tac Alpha then gets boxcars on it?s morale check, and falls back 6 inches.
Assault:
Scarabs charge the Devastator squad, but don?t accomplish anything other than tying them up.
Marines 1:
Movement:
The Assault Marines, Tac Alpha, and Beta all advance towards my Lord and Warriors.
Shooting:
Obviously shaken by the barrage and sudden appearance of enemies in their midst, marine shooting fails to accomplish anything.
Assualt:
Tac Beta charges in first, and manages to knock down two Warriors. The Assault Marines score seventeen hits, five wounds, and I fail two saves. The Master inflicts one wound, and smart casualty removal has left the Sarge with the fist unable to attack. However, then I rolled boxcars on the morale check, and my Warriors and Lord get run down. Suckage at maximum.
 <!--[endif]-->
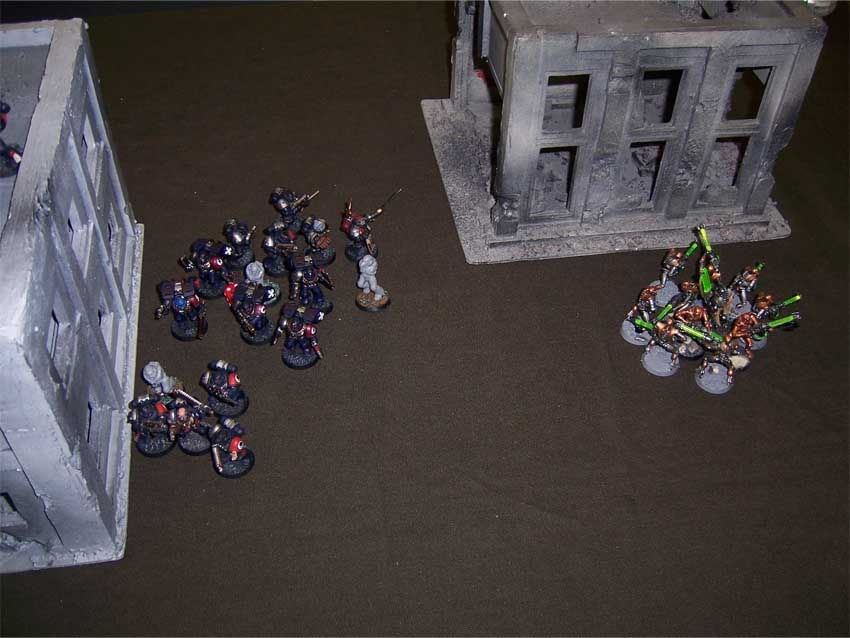
The squads try and consolidate out of sight from my Destoyers.
The Devastators finish off one scarab base, who do nothing in return.
Necron 2:
Movement:
The Destroyers angle up to get a shot at the Assualt Squad. Warriors Beta advance towards the Devastators. I?m hoping that my Scarabs will die during his assualt phase, so that I can shoot the pants of the Devastators with Warriors Beta.
Shooting:
The Destroyers take down two Assault Marines.
Assualt:
The Scarabs finally kill a marine, and take two wounds in return.
Marines 2:
Movement:
Now everyone starts heading towards my Destroyers. Shooting fails to hurt anything.
Assault:
My Destroyers are within range of the Assualt Marines by a quarter of an inch. They fail to kill the only Destroyer in contact, preventing me from trying to break away and get the hell out of dodge, and everyone piles in.
 <!--[endif]-->
The Devastators roll really well, and finish off the Scarabs.
Necrons 3:
Movement:
The Warriors head towards the Devastators, trying really hard to get within assault range (and fail).
Shooting:
Warriors Beta kill one Devastator, and brace for a rain of missiles and las blasts.
Assault:
One Destroyer goes down.
Marines 3:
Movement:
Both Tac squads move towards the Destroyers.
Shooting: The Devastators open up with everything they?ve got on my exposed Warriors, and in one of the worse spates of rolling I?ve ever seen, fail to get a single hit.
Assault:
The Destroyers take one more casualty, and boxcar the morale check, roll a one for distance, and get run down.
Necrons 4:
Movement:
Warriors get a five on their difficult terrain check, and move into the ruins, getting out of sight of the Devastators, and shoot Tac Beta through a window.
Shooting: No casualties inflicted.
Marines 4:
Movement:
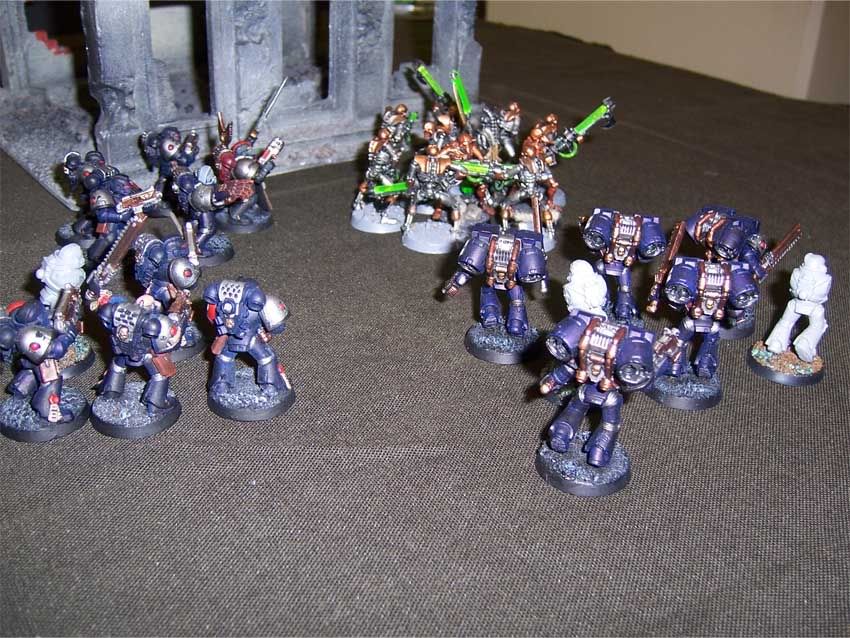
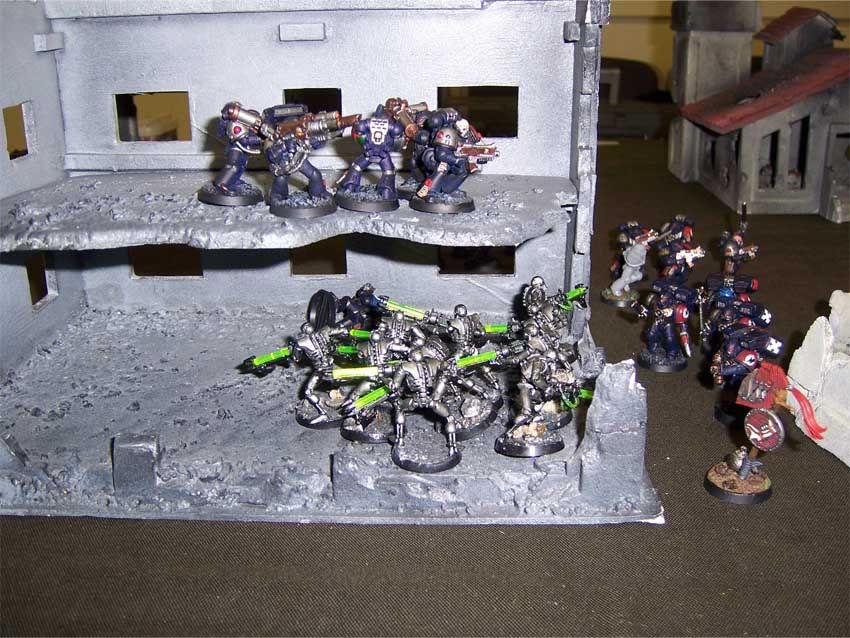
All marines head towards the ruins my Warriors are lurking in. The Devastators drop down to the second floor, getting within vertical charge range.
Shooting:
Assault Marine flamers knock down 2 Warriors. Rapid fire shooting from Tac Alpha and Beta knock down four more.
Assault:
The Devastators reach the first floor, one marine getting himself cacked by the ?crons.
Necrons 5:
3 Warriors make their WBB roll. Phase out will occur after two more casualties.
Movement:
You?re kidding, right?
Shooting:
Ha-ha, no.
Assault:
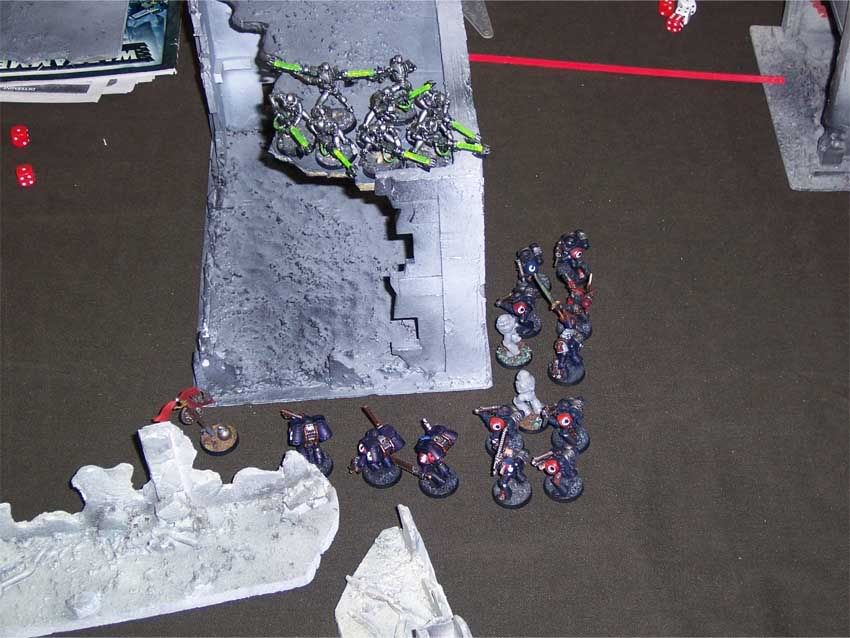
Warriors drop one more Marine, who break and get run down, leaving my Warriors hanging in the breeze before the rest of the SM army.
Marines 5:
Movement:
The Marines line up the side of the building, so that they all can shoot the tin bitz off my Warriors.
Shooting:
Bolt pistol fire from the Assault Marines knocks down one more Warrior, the flamer does nothing, while the marine with the plasma pistol cooks himself. The Master manages to kill one more Warrior with his plasma pistol, leaving me at the Phase Out number.
Necrons 6:
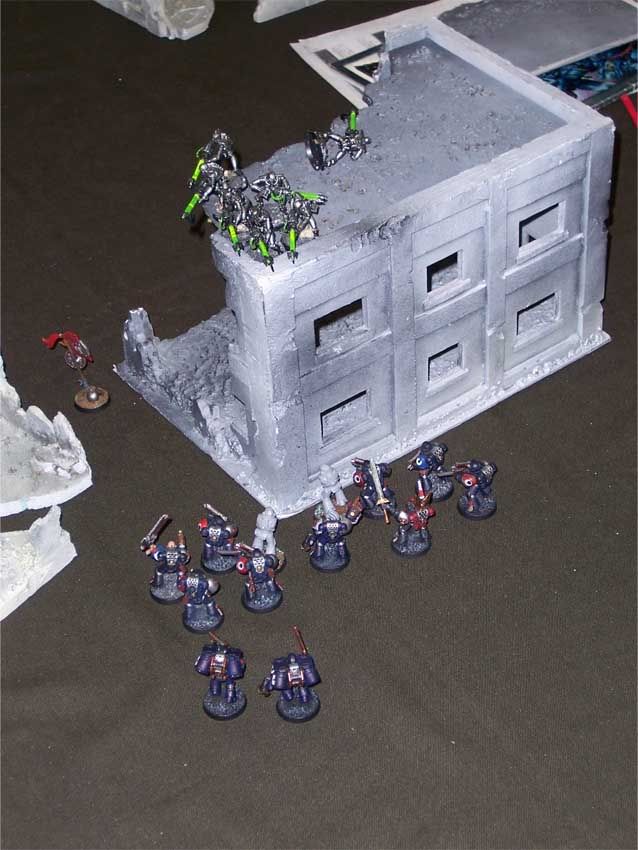
WBB brings me back to one Warrior above Phase Out.
Movement:
I get a six on my difficult terrain test, letting the Warriors make it up to the roof, leaving them probably out of charge range of everything except the Assault Marines.
Shooting:
Gauss fire inflicts one casualty on the Assault Marines, sending them running.
 <!--[endif]-->
Marines 6: The Commander manages to kill one more Warrior with plasma. The game ends with me contesting one quarter, the same quarter where every unit remaining in the game happens to be (save the Assault Marines, who are both below half strength and falling back, and doubly don?t count). However, with the victory points he?d gained from kills, it was a crushing defeat for me.


 so no.


