I promised someone I'd post up a little tutorial on my tentacle/tendril/Harrowing/greenstuffery technique.
Actually, "technique" sounds like kind of a high-fallutin' term for what I do, which most of the time amounts to seat-of-my-pants noodling around.
Anyway, here's how I work. First, the tools:
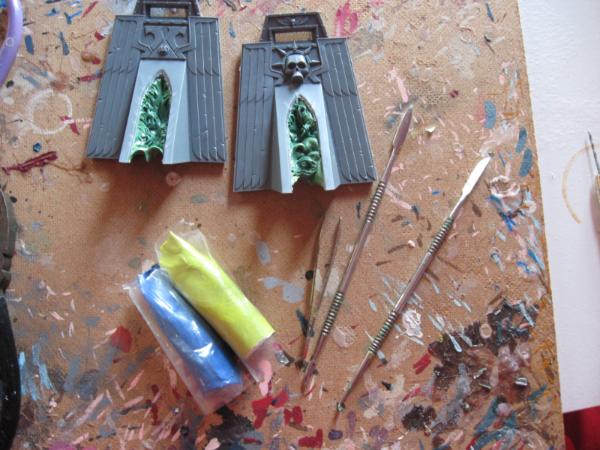
Over 90% of my stuff I make using the two metal tools here, and tweezers. And my fingers. I use all 4 ends of the metal tools. The two ends I use the most often are what I call the "mini-cup" (right-hand tool, bottom) and the "scalpel" (left-hand tool, bottom: the sharpest of the blades, with a kind of lil' scimitar curve, which is very useful).
Any time I use any of these tools (or my fingers), by the way, I wet them, dipping them into a cup of water I keep nearby, then quickly wiping them down. (If they're not a bit wet, they stick to the greenstuff. If they're too wet, the greenstuff gets wet and then stops sticking -- not good.)
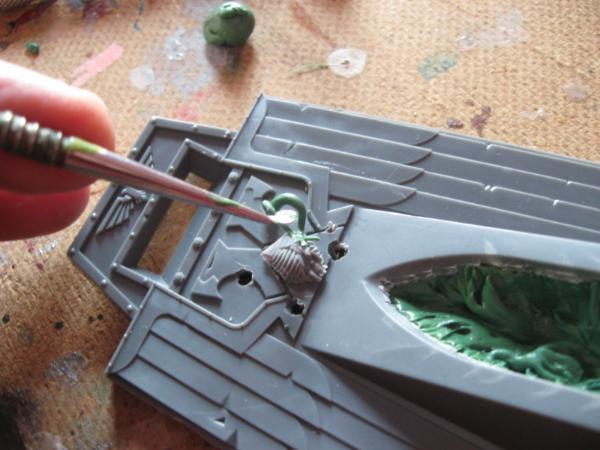
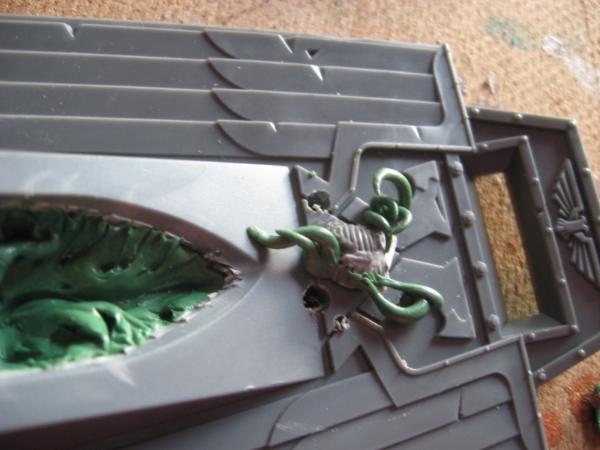
Here's a little project I'll work on for the purpose of this tutorial: a skeletal torso glued onto the Fortress of Fredemption, which will now need to be Harrowed.
First I drill a few holes around the project.
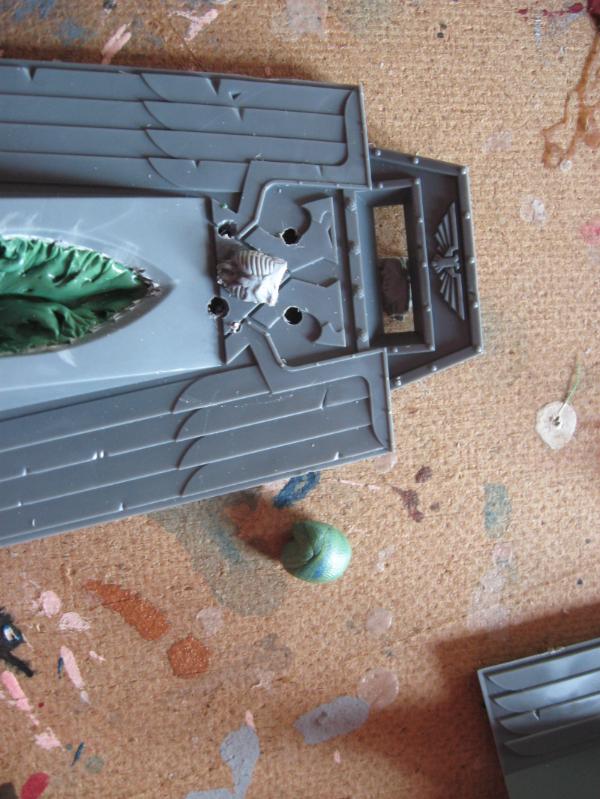
These are to anchor the greenstuff onto both the front and back of the piece. (I don't always bother doing this. But then sometimes tentacles and other greenstuff work that I have simply smeared onto flat plastic comes off after drying.)
Then I roll up a ball of greenstuff (maybe a marble's worth at a time). Then I pinch off a bit and roll it into a thin tube, with both ends tapering into very thin points.
Then I fold the thin tube in half.
Then I work the folded tube into one of my anchor holes...

Then, using the "mini-cup," I curl the two tentacles and mash the ends of each into the torso.
It doesn't have to look perfect yet. It just has to be firmly smeared into the receiving end, to create a relatively strong bond with a flat-ish blob of greenstuff at the smeared end.
Then, delicately, with my fingers (wetted a bit), or one of my tools, I tease and curl the greenstuff to shape the tendrils in flowing, chaotic-looking curves:

Then I start to feather the smeared ends with my mini-scalpel, splitting the ends, and sometimes splitting the split ends.
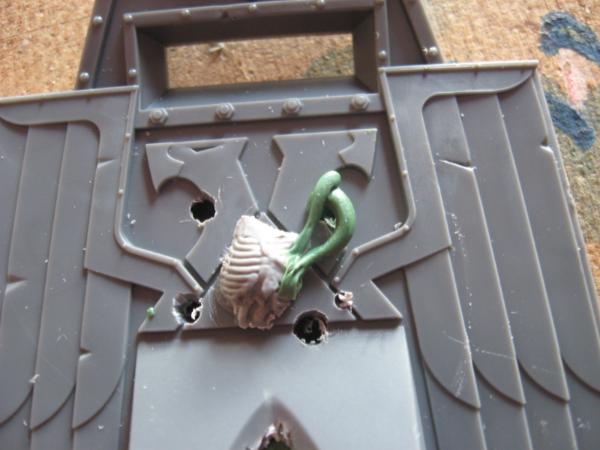
UsuallyI need to re-smear, or re-shape the thing. And more often than you might think, I decide I don't like the way it looks and I'll rip it all out and start again.
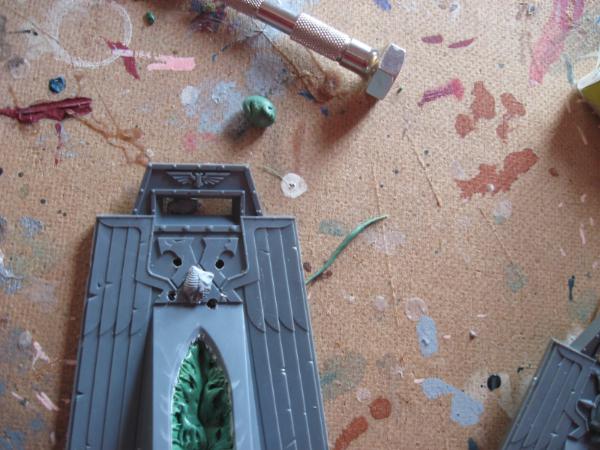
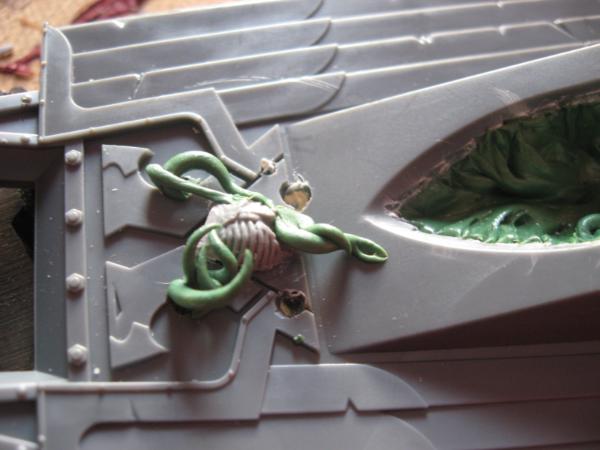
Then I smear a small blob on the back of the piece over the drilled holes, pressing it so that it mooshes into the greenstuff on the other side, to anchor the work.
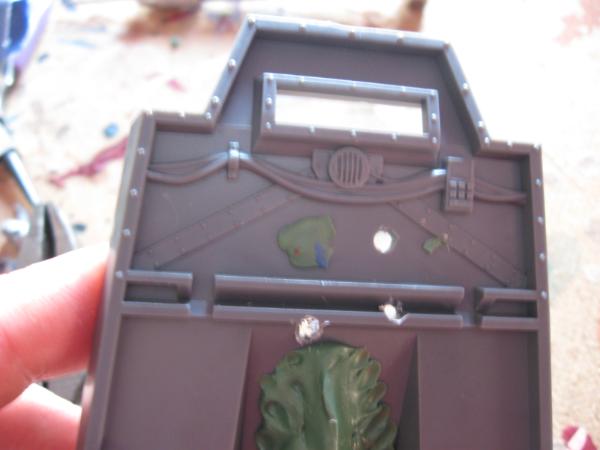
The next step is..... moar greenstuffing (along with more splitting and re-splitting, more teasing and curling...)
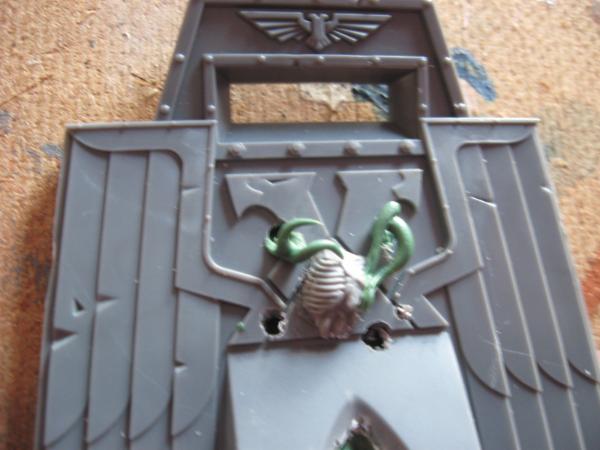
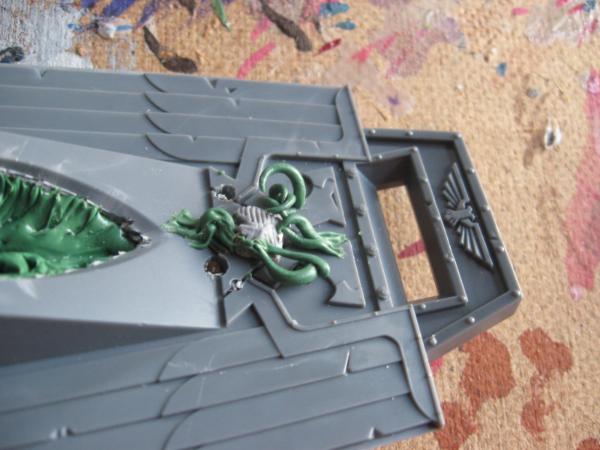
Here's a start on the bottom:
(This time after I folded the greenstuff tube, I curled one end around the other, then smeared it onto the torso...
... then smeared and split the part going into the Fortress:
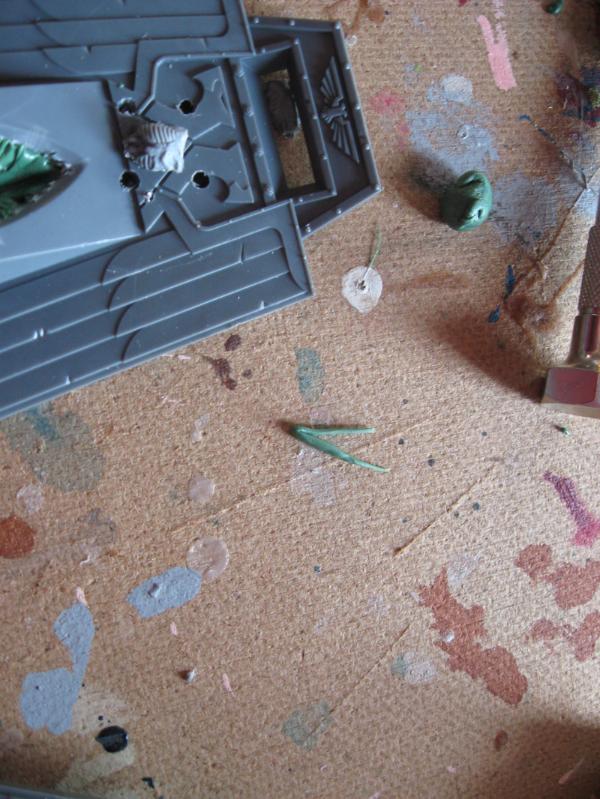
I do this a few more times, using new tendrils to cover up or re-work the parts I've done so far that I don't like...
And then (this step is critical), I stop. Before I think I'm done, I stop. As soon as I find myself accidentally smooshing work with my fat fingers, I stop. I stop and put it aside. My stuff is almost never done after one round, and rarely done with only two rounds. I've learned the hard way to let things dry before working more on them.
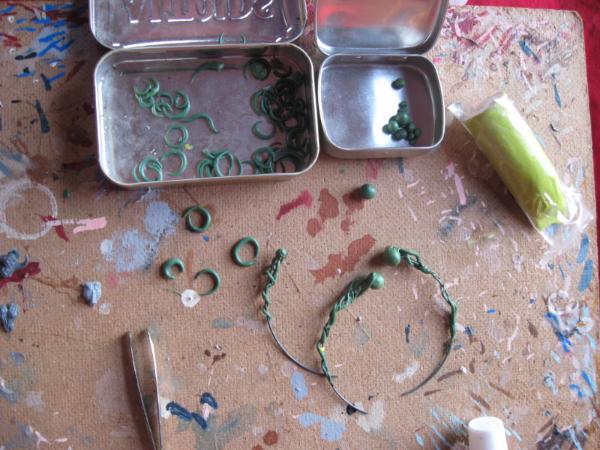
I almost always end up with leftover mixed greenstuff. I hate the idea of wasting greenstuff (since I use so much of it), so often I work up a few bitz to use later. Sometimes I roll bits into small spheres, to use as daemonic eyeballs. And sometimes I roll pinches into more of those thin tubes with tapering ends, then curl them into what look like pairs of horns, to cut up and use as teeth later. (I keep little boxes of each of these, for when I need them later.) Or I work up other odds and ends that I might use in some future project -- like the eyeballs on wire with tendrils you see here:
So there you go. I hope this is helpful.


