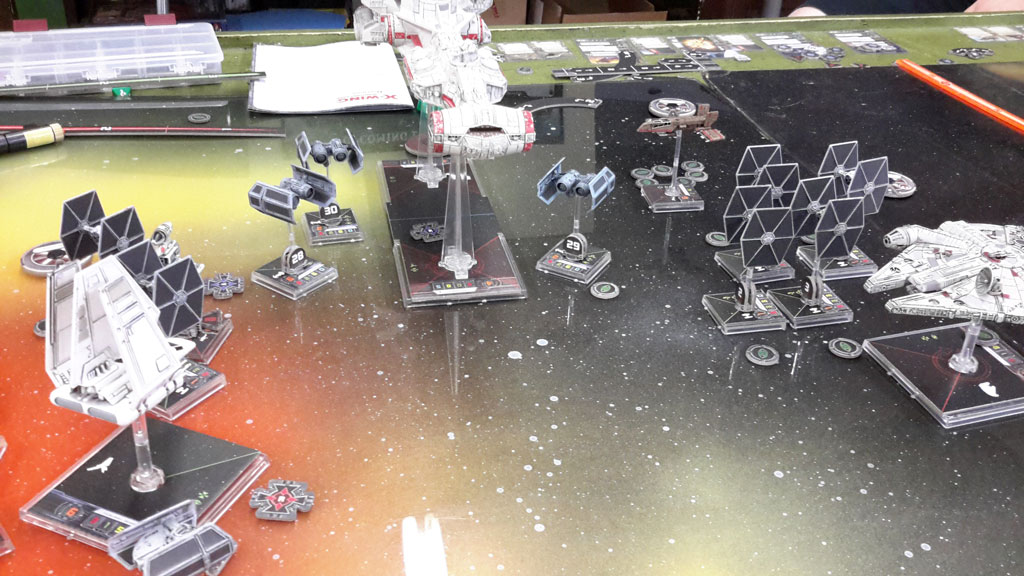
The CR90 is a beast.
Unlike the transport, it has two separate sections, each with its own action, that must also be destroyed separately. Once a section is destroyed, it becomes crippled and becomes far less effective. It's got firepower and range, honestly I might have lost had some crazy stuff happened, making us call the game over early. The CR90 also has a weak spot, its entire aft section is far less protected, and any critical hits against it tend to come up with nasty criticals.
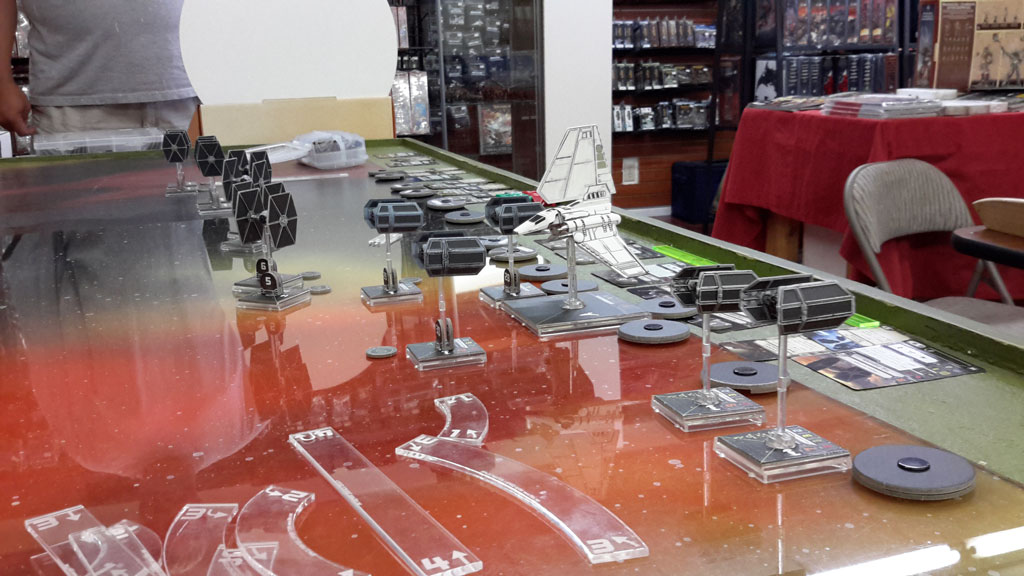
The setup was:
TIE Bombers
Captain Jonus (22)
Deadeye (1)
Flechette Torpedoes (2)
Proton Torpedoes (4)
Proton Bomb (5)
Scimitar Squadron Pilot (16)
Flechette Torpedoes (2)
Proton Torpedoes (4)
Proton Bomb (5)
Scimitar Squadron Pilot (16)
Flechette Torpedoes (2)
Proton Torpedoes (4)
Proton Bomb (5)
TIE Fighter Swarm
"Howlrunner" (18)
Expert Handling (2)
Stealth Device (3)
Academy Pilot (12)
Academy Pilot (12)
Academy Pilot (12)
Academy Pilot (12)
Academy Pilot (12)
Academy Pilot (12)
Academy Pilot (12)
TIE Advanced Wingmen
Darth Vader (29)
Squad Leader (2)
Assault Missiles (5)
Shield Upgrade (4)
Maarek Stele (27)
Lambda-Class Shuttle Bomber Support
Colonel Jendon (26)
Sensor Jammer (4)
Rebel Captive (3)
Anti-Pursuit Lasers (2)
ST-321 (3)
Total: 300
View in Yet Another Squad Builder
I forget my opponent's exact list, but it had the CR90, Millenium Falcon with Chewbacca piloting, 2 B-Wings with Ion Cannons, X-Wing with Wedge and Biggs, and the HWK 290 Moldy Crow with Kyle Katarn. I think he over upgraded some stuff a bit.
On the turn where we got in range of each other, Darth Vader was evaporated due to terrible rolls, and Biggs took a lot more damage than expected. The B-Wings didn't manage to get a solid hit in.
My bombers and shuttle had deployed opposite the CR90, and I was using the shuttle's ability to give the bombers lock ons early on the CR90. The idea was to launch proton missiles at range 3 to force it to spend actions on regenerating shields.

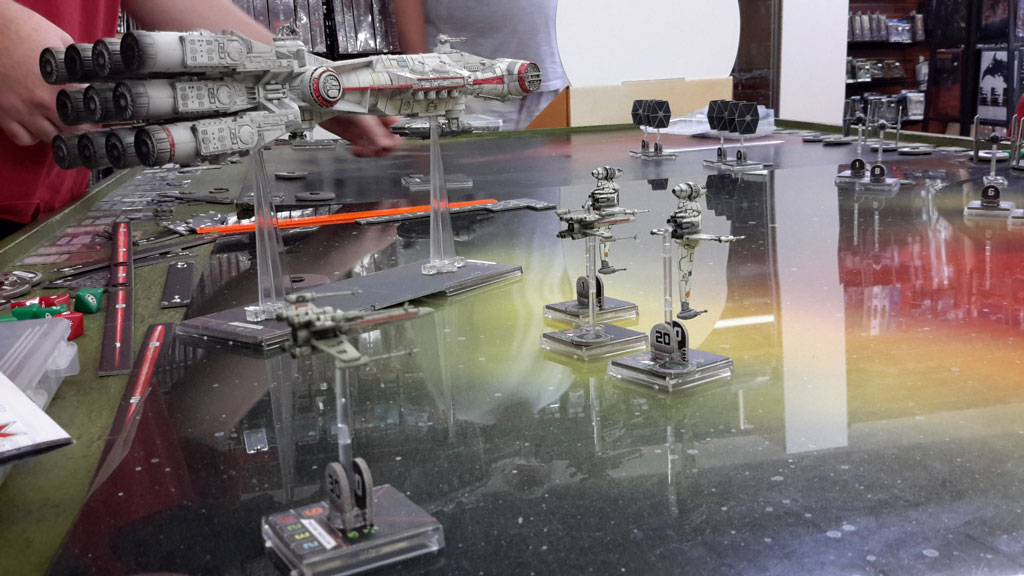
On my right of the table, 4 TIE fighters fought with Chewbacca backed by the HWK 290.
When the furball stage of the battle happened, I was carefully maneuvering the bombers to try and drop their bomb payload.
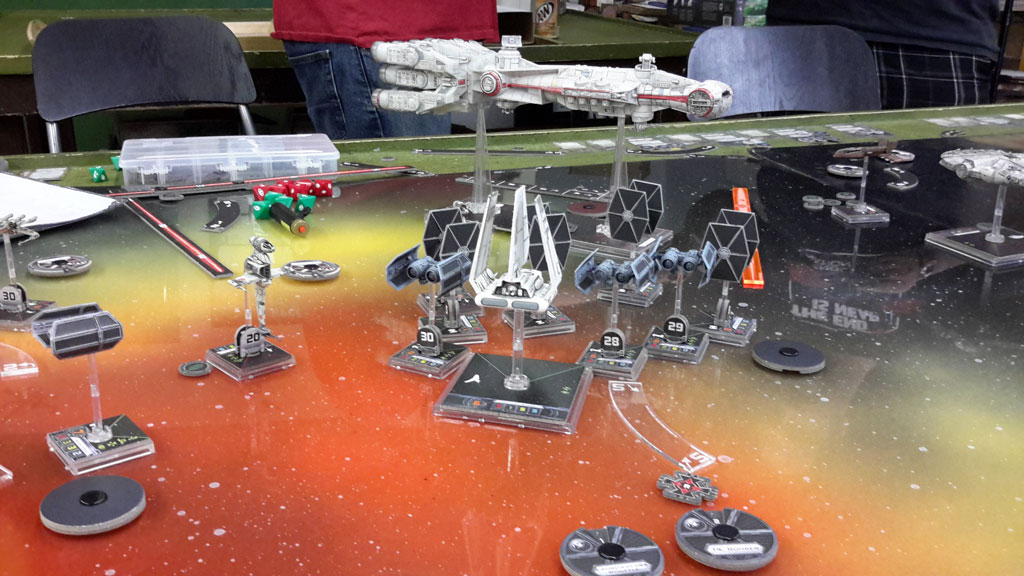
Through the morass of fighters and gunfire, they managed to get into the perfect spot to drop proton bombs. All the while, the CR90 was just dishing out the damage, I would have lost a lot more stuff by now had my opponent been rolling decently with all of his other ships, and if my defense dice hadn't been so hot. So I also vectored in at much of other stuff to shoot at the CR90 to follow up on the bombs.
Bombs away!
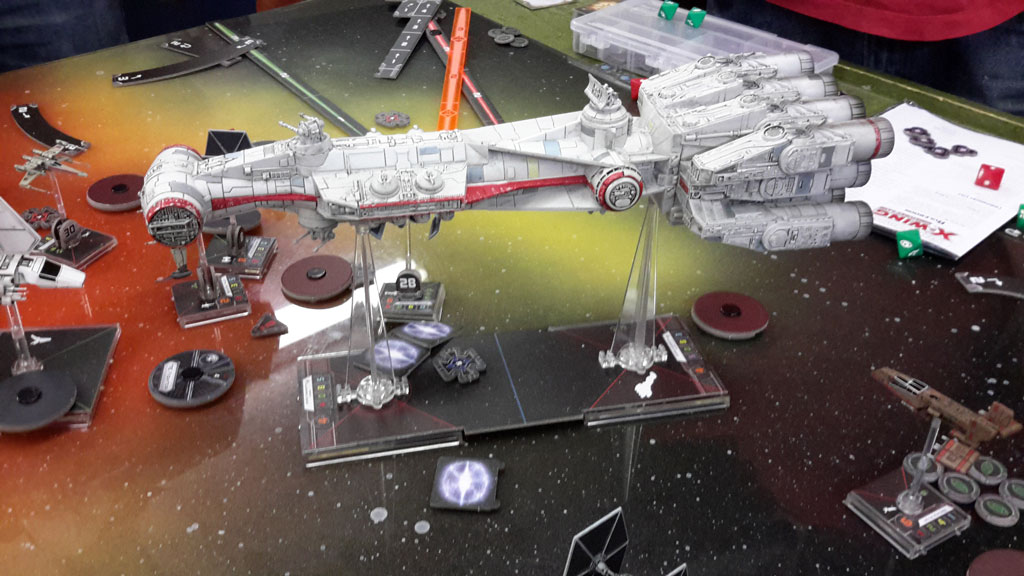
In its attempts to try and get away, the CR90 managed to ram and destroy one of my academy TIE fighters, not too big of a loss.
The bombs exploded, not only catching the CR90, but also hitting my shuttle, the Falcon, the HWK 290, and a B-Wing. The resulting crits were very nasty against the CR90, making it so that it couldn't take regenerate actions from one crit, and another crit prevented Reinforce actions. Those were the two actions that were needed to survive the wave of incoming shooting. During the combat phase after that, I crippled the aft section of the CR90 further reducing its effectiveness by lowering its energy production. But, when it finally got to fire it killed a weakened TIE, severely damaged a bomber, and stripped the stealth device off Howlrunner with some damage. His other rebel ships killed Howlrunner and another academy TIE.
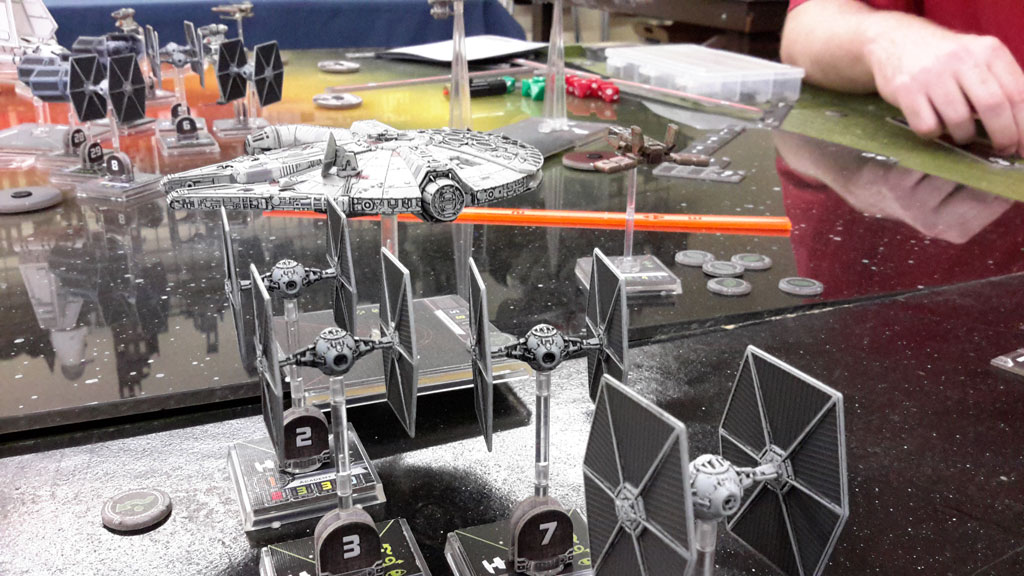
Then, due to sheer madness of the furball, on the next turn, the Falcon ended up right smack dab in front of the CR90 with nowhere to move. The CR90 rammed it, destroying it, and then the rest of my army blew up the remains of the CR90 since it couldn't take any defensive actions. At that point we called the game since he had lost too much, the falcon was actually doing pretty well and had a lot of health left before the CR90 rammed it, so lessons learned there.


 Farseer Faenyin
  7,100 pts Yme-Loc Eldar(Apoc Included) / 5,700 pts (Non-Apoc)