Forum adverts like this one are shown to any user who is not logged in. Join us by filling out a tiny 3 field form and you will get your own, free, dakka user account which gives a good range of benefits to you:
No adverts like this in the forums anymore.
Times and dates in your local timezone.
Full tracking of what you have read so you can skip to your first unread post, easily see what has changed since you last logged in, and easily see what is new at a glance.
Email notifications for threads you want to watch closely.
Being a part of the oldest wargaming community on the net.
If you are already a member then feel free to login now.
Hello, this is my first attempt at a battle report, so please excuse any mistakes I may have, I'm still learning
For this battle, we used a modified version of the Kill Team rules present on the Herald of Ruins blog http://heralds-of-ruin.blogspot.gr/p/kill-team-rules.html and the Operations Killzone rules found on the Galaxy in Flames blog http://galaxyinflames.blogspot.gr/p/here-is-homepage-for-special-operations.html , as well as modified army lists and scenarios found on the same blogs. The modifications were made by me and a couple of friends by combining the two rulesets and making up our own rules, so its not certain that they are for the best. We played a game at 250 points. As a general note, since you probably don't know the exact rules, players take turns activating their models/units. After they have completed all of their available actions (move, shoo/run, assault, etc) the next player activates one of their models/units and so on. The game uses some modified rules from the main rulebook, but most things are the same rule-wise. I will note where there is a change from the main rules.
A short story: In a remote place, far away from the darkness of the eternal war, a small Mechanicum expeditionary force comes across a Necron recon force, led by Pariah Necronius Metalhead. After careful thinking, the Mechanicum leader, Magos Auxillia Failus the Red, decides that the xenos threat has to be eliminated. Let the battle for who the best robot is begin!
Scenario: Data Drop
Set-Up: Both players roll a D6 and the winner chooses to go first or second. At the start of each turn, randomly choose a quadrant, place a marker at the center of the quadrant and scatter it 2D6”. A model may move in base contact with a marker to pick it up. After a marker has been picked up, it is carried by that model. If a model carrying a marker is killed or fails a morale check, then the marker drops to the ground, where the model used to be. If a model was killed or flees as a result of an assault, the model/unit that won now holds the marker. A unit may hold a number of markers up to the number of its available models. At the end of the game, a player scores two points for every marker that he still holds.
Deployment: Dawn of War
Primary Objective: The player with the most points at the end of the game wins the primary objective. If players are tied on points, no player wins the primary objective.
Secondary Objective: The player that kills the most opposing Special models wins the secondary objective. If players are tied on Special model kills, no player wins the secondary objective.
Tertiary Objective: First Blood, Linebreaker, Slay the Leader.
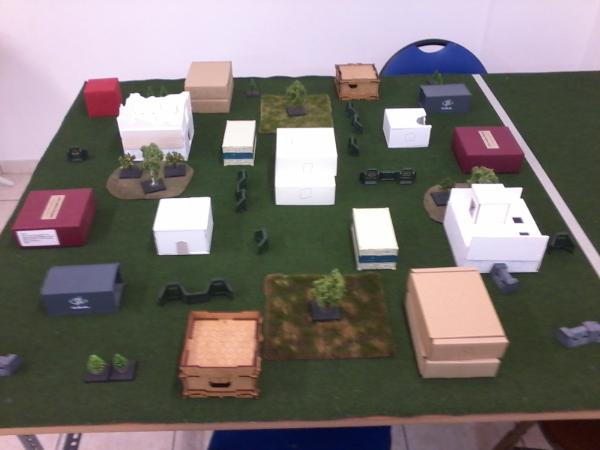
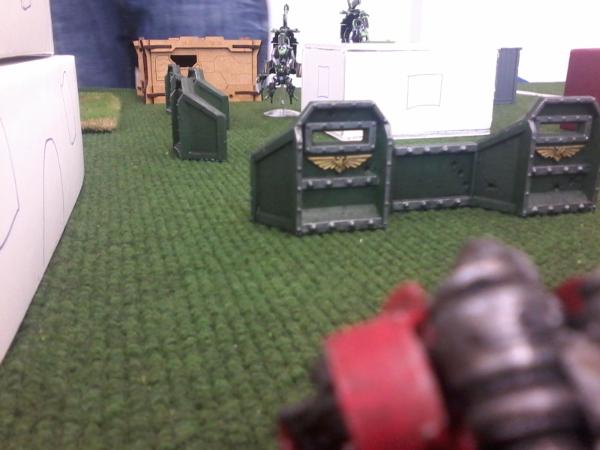
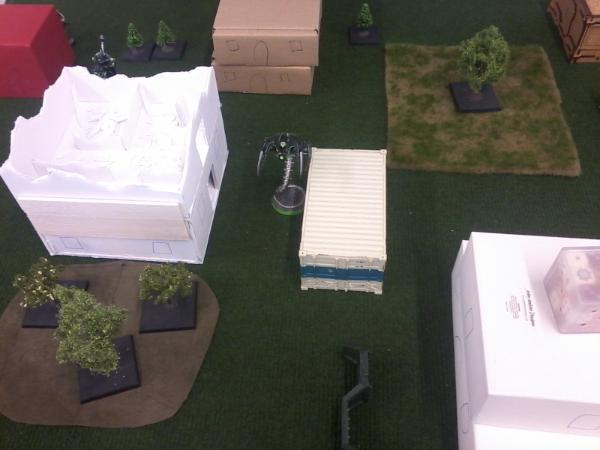
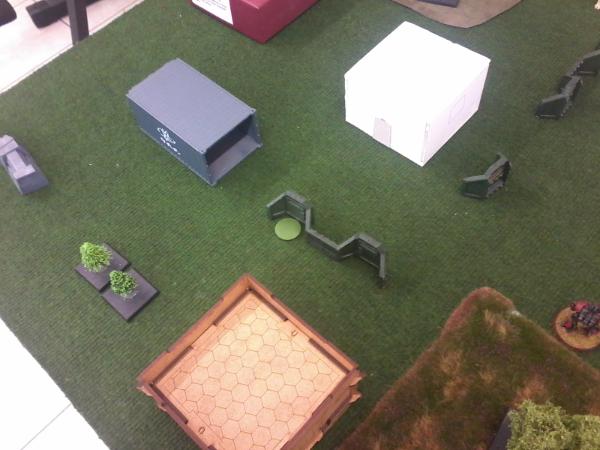
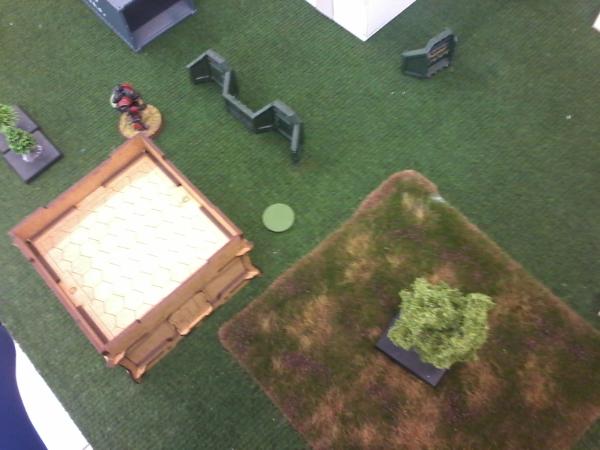
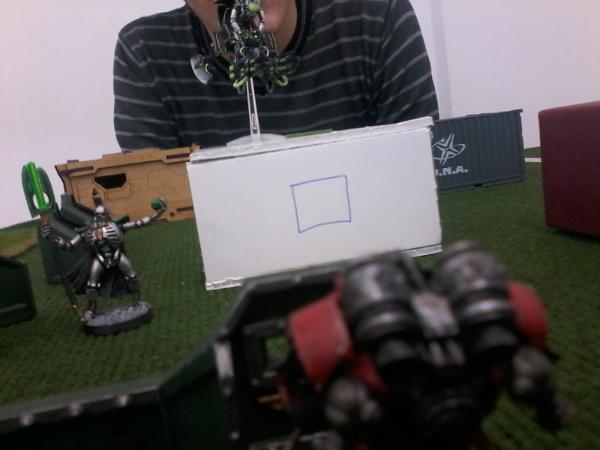
The board
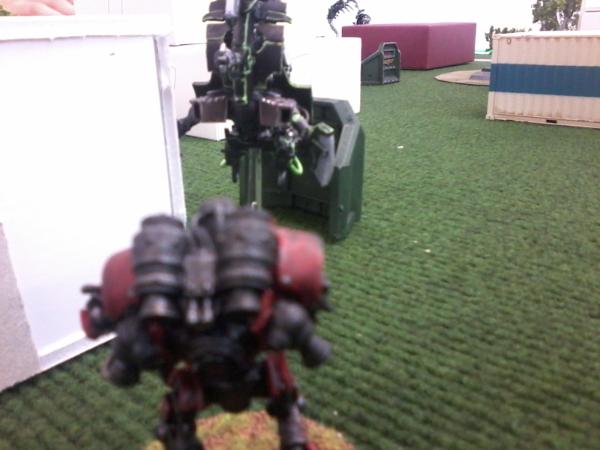
Armies
Spoiler:
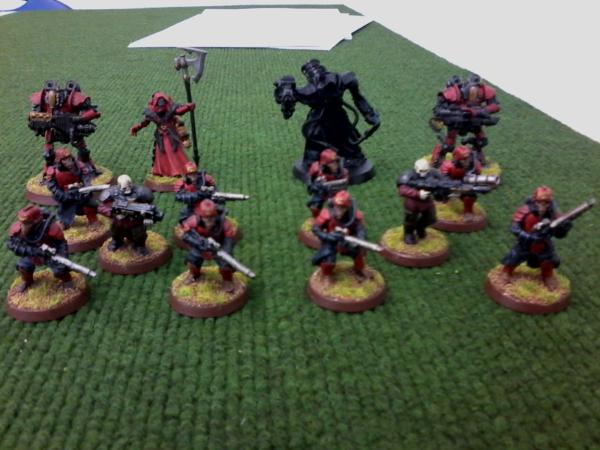
My Mechanicum
Leader: Magos Auxillia, Volkite Charger
Core: 2x5 Skitarii Hypaspists, 1 Volkite Charger in each squad
Thallax
Thallax with Phased-Plasma Fusil
Special: Myrmidon Destructor with Volkite Culverin
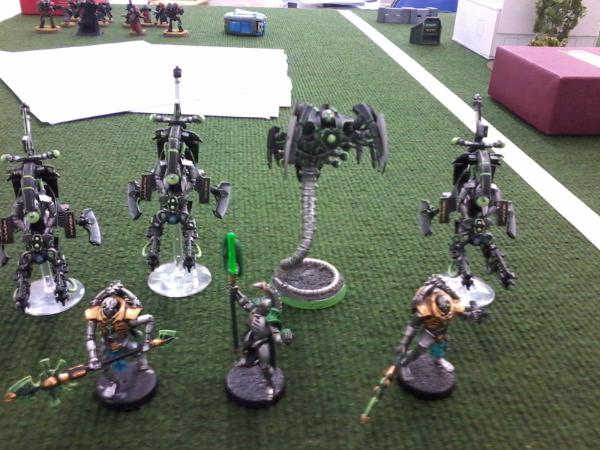
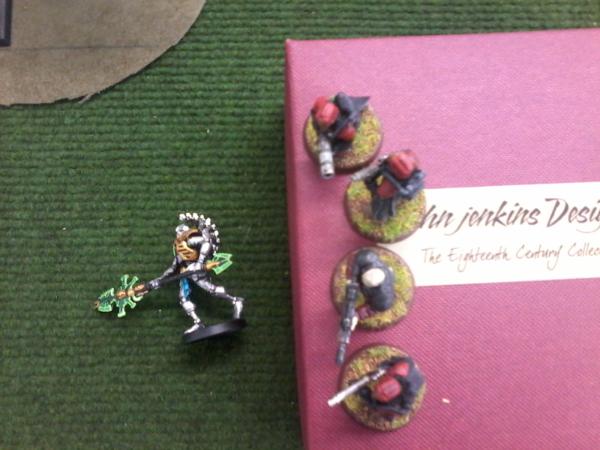
My friend's Necrons
Leader: Pariah, Warscythe, Gauntlet of Fire
Core: 3 Tomb Blades with Shieldvanes, Nebuloscopes and TL Gauss Blasters
Special: 2 Praetorians with Rods of Covenant
Wraith with Whip Coils
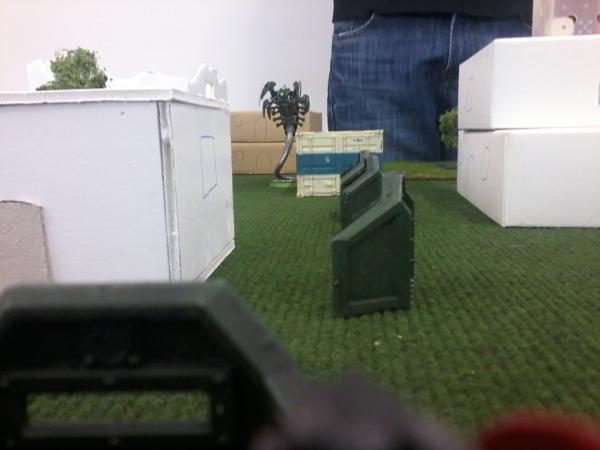
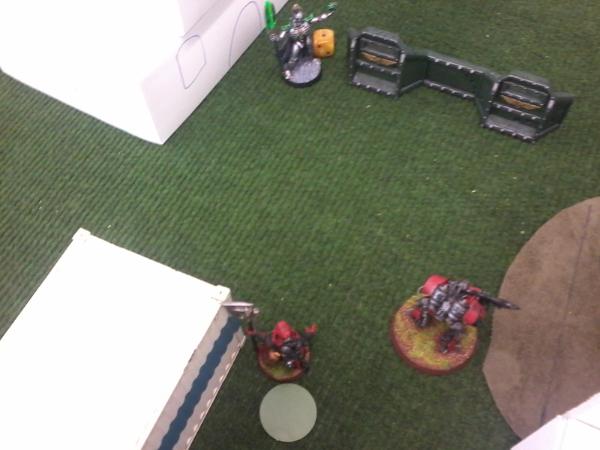
We rolled to determine who goes first and deployed as follows:
Spoiler:
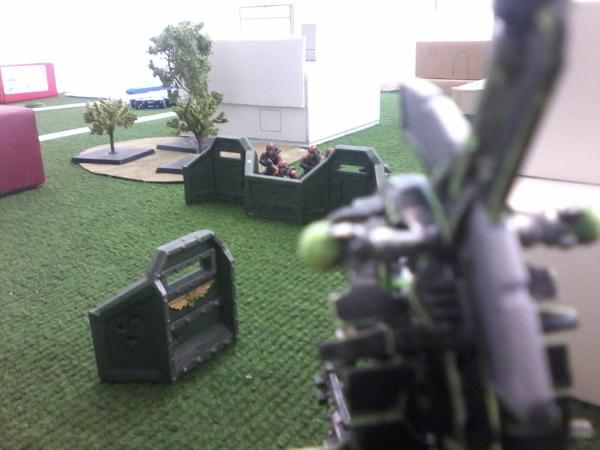
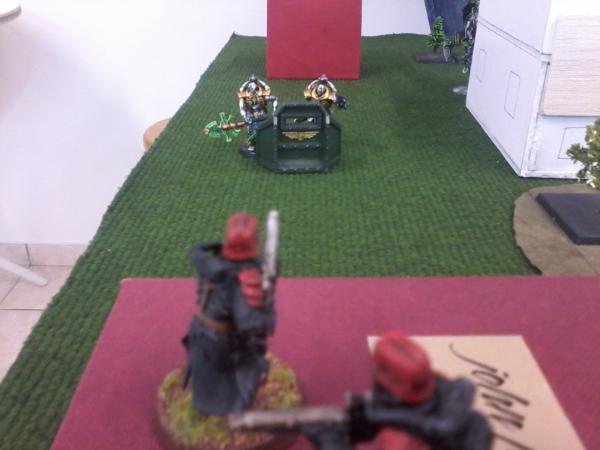
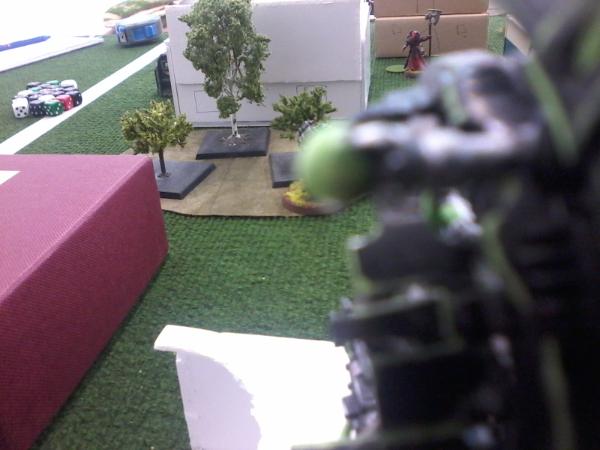
The two Praetorian are behind that red box at top left
Mechanicum win initiative
Turn 1
Spoiler:
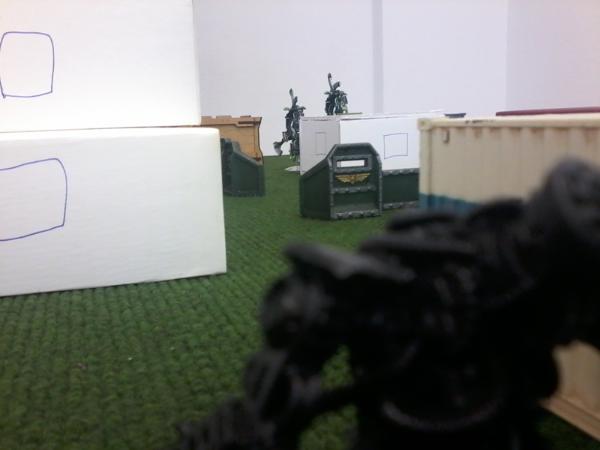
We roll for a quadrant and the first marker drops on top of the white building at the top-right.
I move my Myrmidon and take a shot at the Tomb Blade, causing a wound that it promptly saves on its RP save. Deflagrate hits do nothing. Note that in Killzone, being in cover causes the shooter to have -1 BS, as does the shooting at a target over half of your weapon's range.
The Tomb Blade then shoots back, causing 1 wound on my Myrmidon.
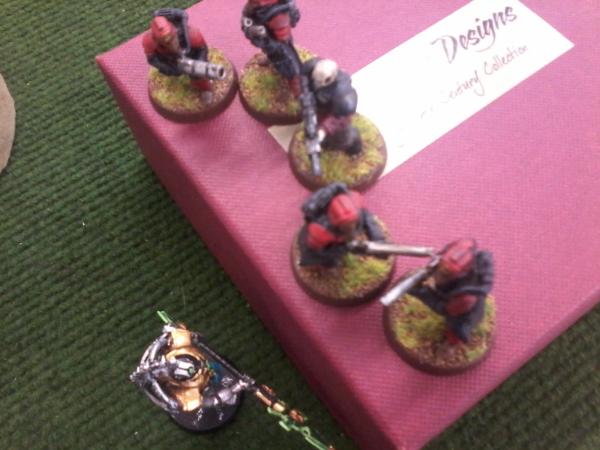
I move the first Skitarii unit up, they shoot at the same Tomb Blade but it saves everything.
His Pariah moves up a bit, behind the same white building. I move my Thallax ahead and take yet one more shot at the Tomb Blade (I really want it dead looks like), which it easily saves.
His other Tomb Blade moves onto the building, claiming the marker.
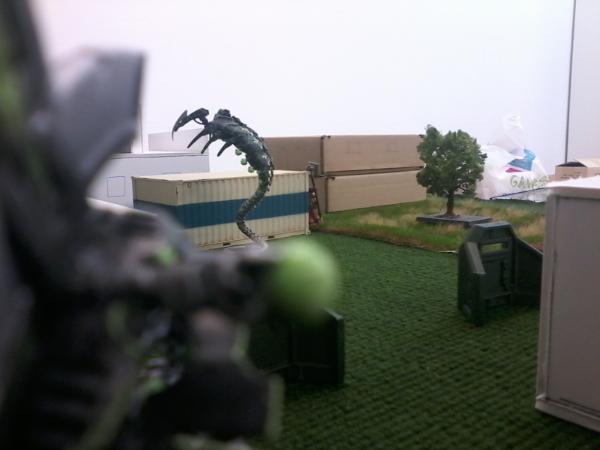
However my second Thallax, with the Plasma Fusil, takes a shot at the exposed Tomb Blade on the building, killing it and granting me First Blood.
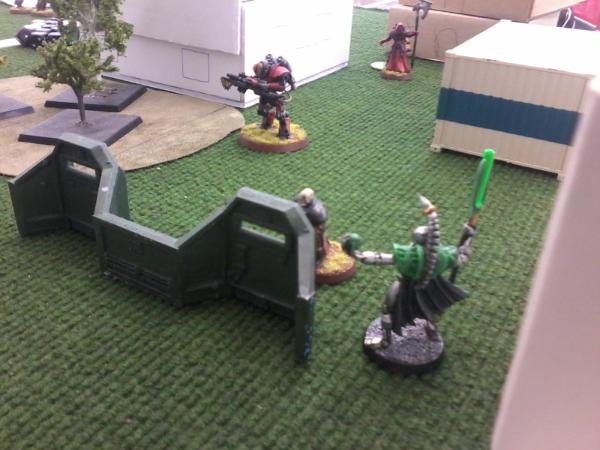
Over the rest of the board, the Wraith and the Praetorians move forward and my other Skitarii unit enters a building and my Magos moves around a bit.
Turn 2
Spoiler:
Another marker drops, pretty close to my Thallax.
My Skitarii move into cover and shoot yet again at the same Tomb Blade as before, doing nothing. The Tomb Blade then shoots back, killing one Skitarii but they pass their Nerve test (In Killzone, if a model dies within 3" to a unit/model, that unit/model has to take a Pinning test, called Nerve test.)
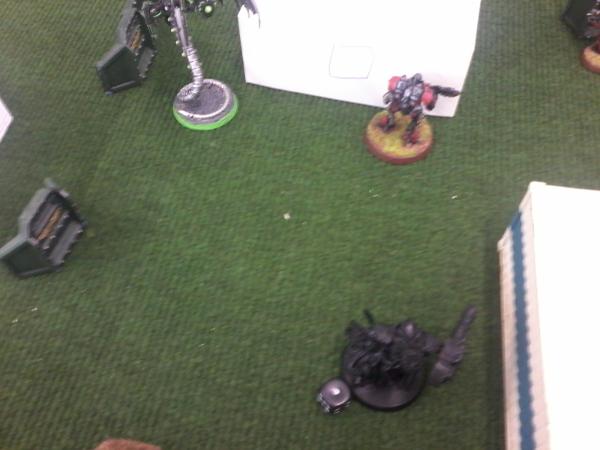
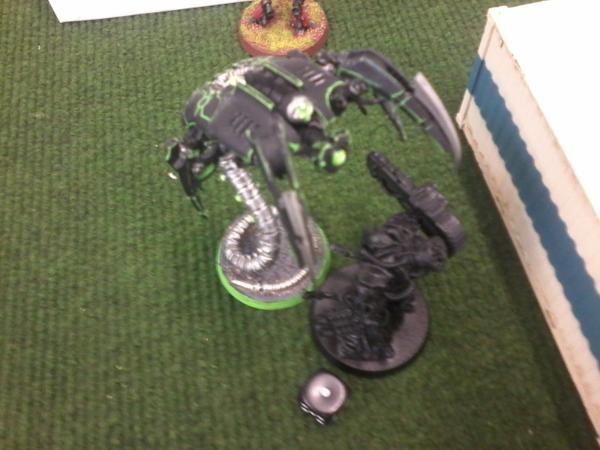
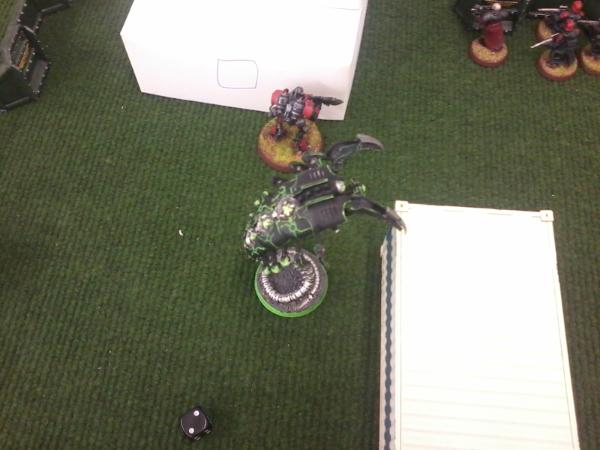
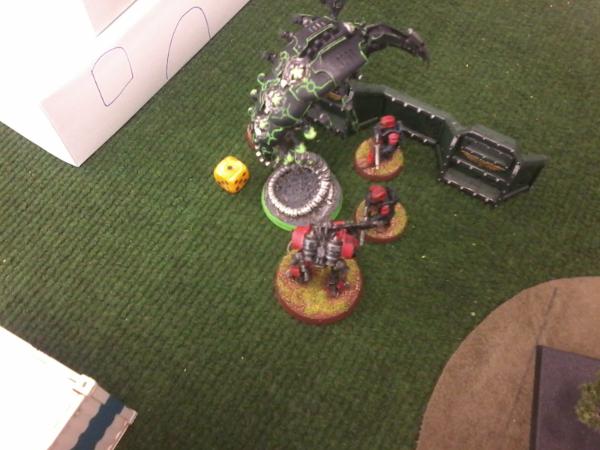
My Plasma Fusil Thallax moves to the left, shoots at the Wraith which saves everything and then jet pack moves (in Killzone, as there are only a few units and a lot of terrain, jet pack moves are halved rounding up) next to the marker, but is a hair short of getting it. The Wraith then jumps next to my Myrmidon...
Charges him... (Overwatch does nothing)
And proceeds to tear him apart.
Over to the left side of the table, my Skitarii fire at the right Paetorian and actually kill him His other Praetorian then moves up, shoots ineffectively and charges the Skitarii in the building. I do 1 wound but he saves it on his RP test. Now, unfortunately for my opponent, his attacks also completely miss, so we remain locked in combat for next turn (Here I could have chosen to break away from combat, since Killzone rules it that if you can leave voluntarily from a combat if it was a draw and your opponent gets to chase you (like sweeping advance), however if he catches you, you just stay locked in combat, you don't die)
My other Thallax shoots at his Wraith, but misses.
The Tomb Blade moves a bit and fires at my Magos, but is misses.
The Magos enters the building then fires at the Wraith, but also misses. (Man, its hard to hit in Killzone)
The Paraih then attempts to climb the building (in Killzone climbing requires an Initiative test) but with his poor initiative fails to do so.
Turn 3
Spoiler:
The next marker drops close to my Magos.
My Plasma Fusil Thallax grabs the objective and shoots at the Wraith but does nothing at all. (And you thought Wraiths are tough in regular games )
The Wraith then assaults the Skitarii, who along with the Thallax Overwatch with no effect (in Killzone, if a model/unit is charged, all friendly units/models within 3" get to Overwatch). The Wraith then proceeds to roll pretty poorly and only manages to kill a single Skitarii. They then attack back, causing 1 wound on the Wraith . My Magos then attempts to join the combat, but fail his charge.
The Tomb Blade then shoots at the Thallax, but it saves the wounds.
My Thallax assaults the Wraith and proceeds to kill it.
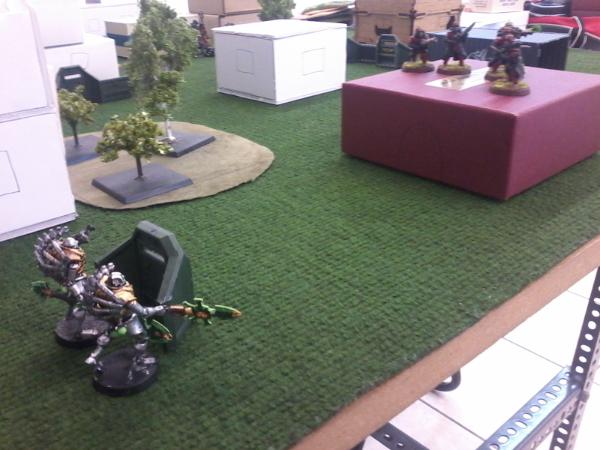
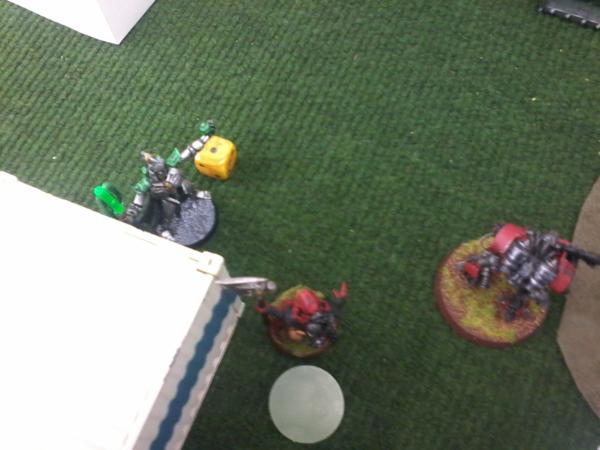
His Pariah moves forward buring a couple Skitarii with his Gauntlet but then fail to get into assault with them. At the other side of the board, his Praetorian kills one Skitarii but they hold.
Turn 4
Spoiler:
Another marker drops pretty close to my table edge.
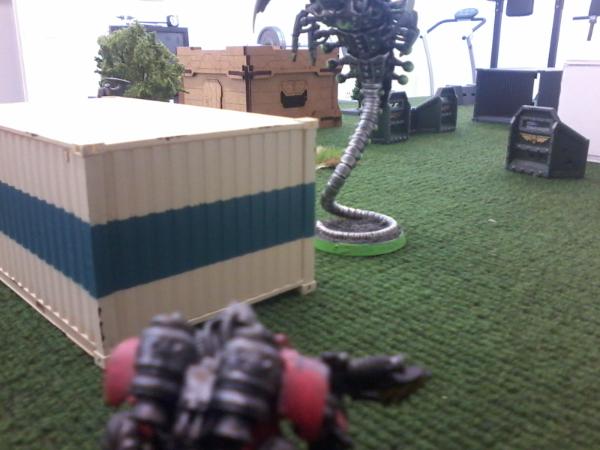
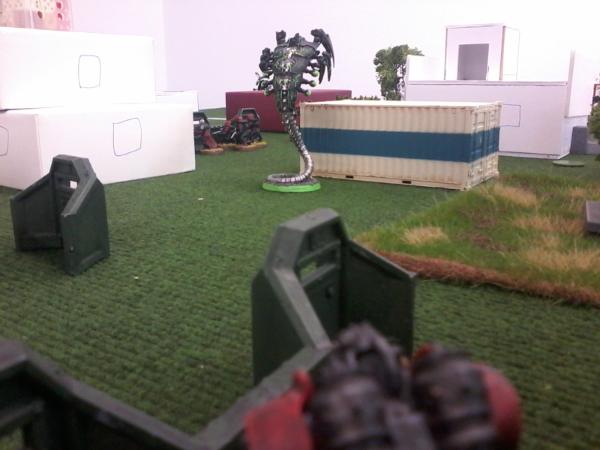
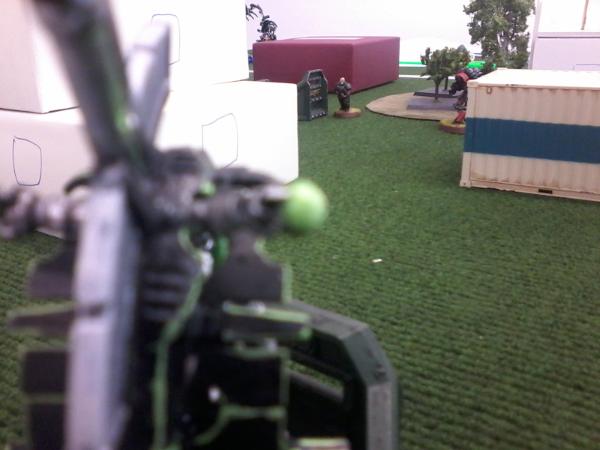
My Thallax moves up, shoots at his Tomb Blade, causing a Rending hit and killing it. It then jet pack moves back a bit, away from the Pariah.
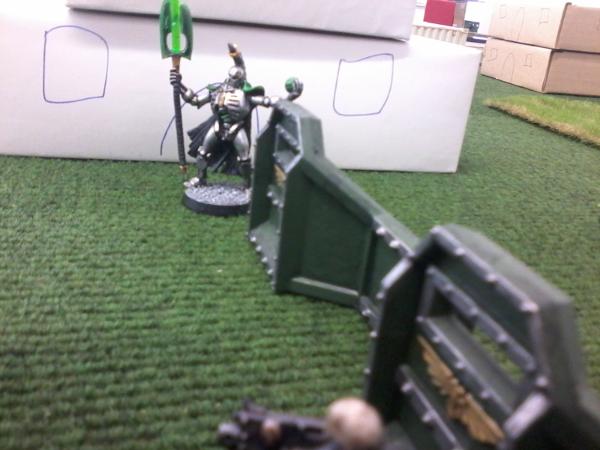
His Pariah moves up, flames both the lone Skitarii and the Thallax but causes no wounds. He then attempts to charge the Thallax but he rolls and fails completely.
The lone Skitarii then moves back a bit and takes a shot at the Pariah, causing a wound! His last Tomb Blade then takes revenge for his lord, killing the single Skitarii.
My Magos grabs the marker and fires at the Pariah, doing no wounds to him. I then think about charging in, but only with a Power Axe, I would strike at I1, meaning that his lord would get a couple swings in, probably killing my Magos. So I just stay there, looking at him.
Back to the far side of the table, where no one cares what's going on, the Skitarii manage to kill the Praetorian but he also kills one Skitarii (they have the same initiative) and they fail morale, running back 12" (in Killzone, any unit that fails morale runs 12", not 2D6").
My Thallax them moves behind his Tomb Blade, killing it.
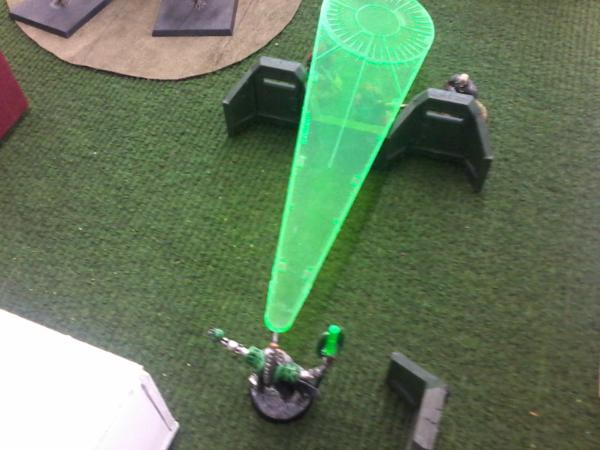
His Pariah then moves, flaming both my Magos and my Thallax but causing no wounds on either of them. He then charges my Magos, takes 1 wound from Overwatch and proceeds to roll the following:
Man, luck is really not on my opponent's side!
My Magos then kills his Pariah.
At that point we decide to end the game, since the Necrons have no chance, only with a single Tomb Blade holding a marker remaining.
Mechanicum take this game 8-0
End game thoughts
Spoiler:
Well, the dice were on my side for most of the game, considering my opponent failed three 2+ saves on his Pariah in a row. Anyway, it was a nice game and we learned a lot about the game as well as army compositions. We hope that we will have more games in the future!.
I hope you liked the battle report. Feel free to tell me which points I should improve or anything that you did not like, I'm always open to new ideas and would like to learn to make decent battle reports. Also don't forget to leave your comments of the game system. I find it pretty nice, since its a nice break from the 40k game, with its armies and compositions. I will post the full rules in this forum soon, so you could take a look at them ad tell me what you think.


 )
)

 . My Magos then attempts to join the combat, but fail his charge.

 armies and compositions. I will post the full rules in this forum soon, so you could take a look at them ad tell me what you think.