Forum adverts like this one are shown to any user who is not logged in. Join us by filling out a tiny 3 field form and you will get your own, free, dakka user account which gives a good range of benefits to you:
No adverts like this in the forums anymore.
Times and dates in your local timezone.
Full tracking of what you have read so you can skip to your first unread post, easily see what has changed since you last logged in, and easily see what is new at a glance.
Email notifications for threads you want to watch closely.
Being a part of the oldest wargaming community on the net.
If you are already a member then feel free to login now.
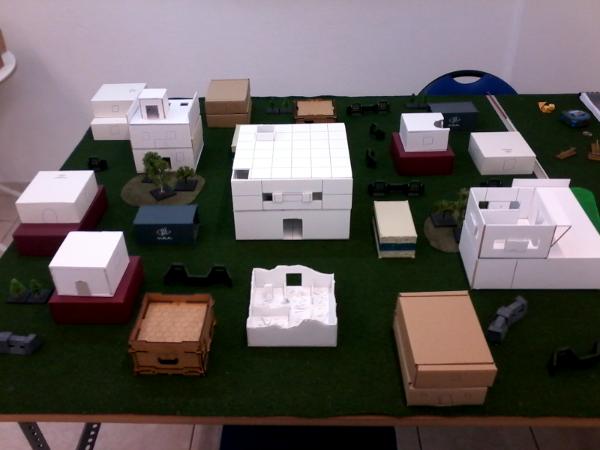
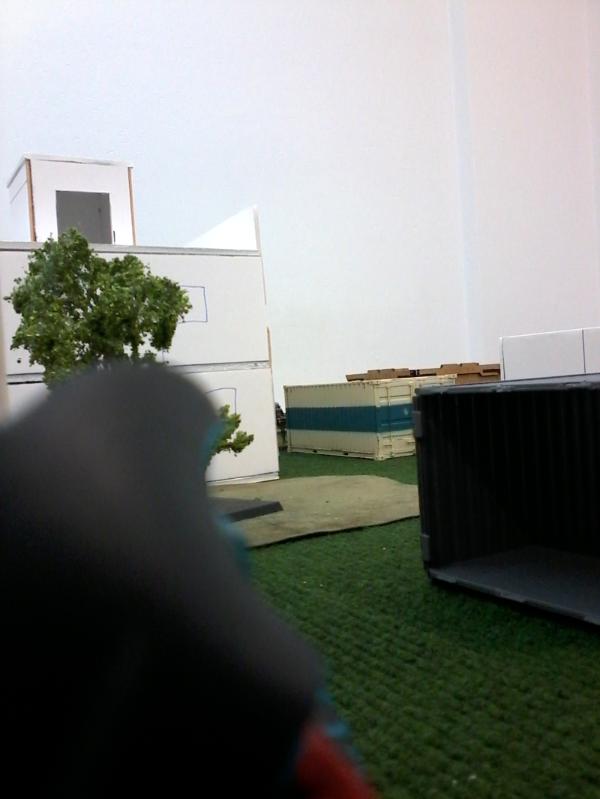
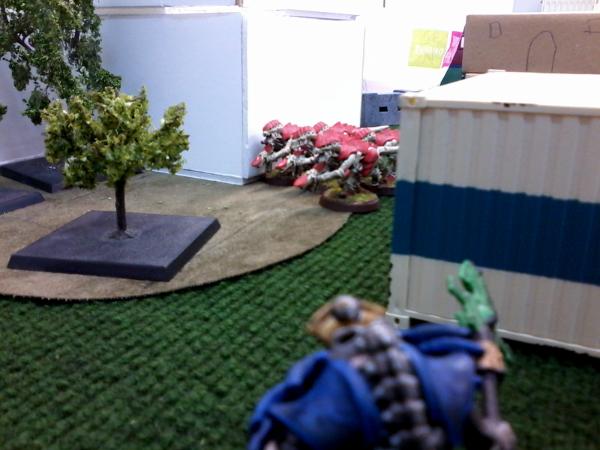
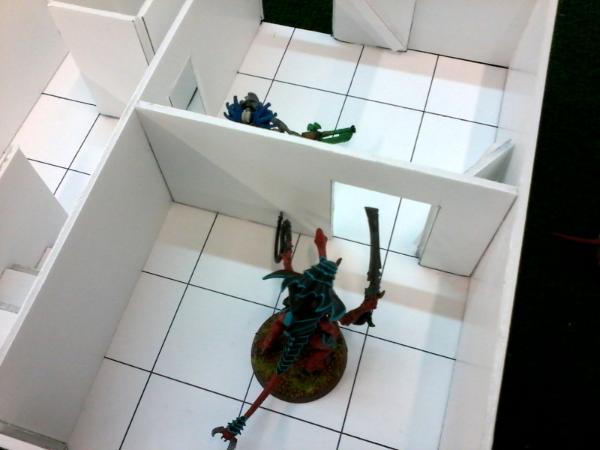
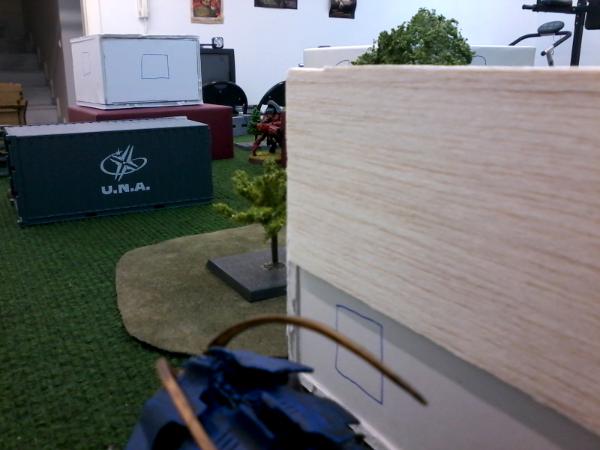
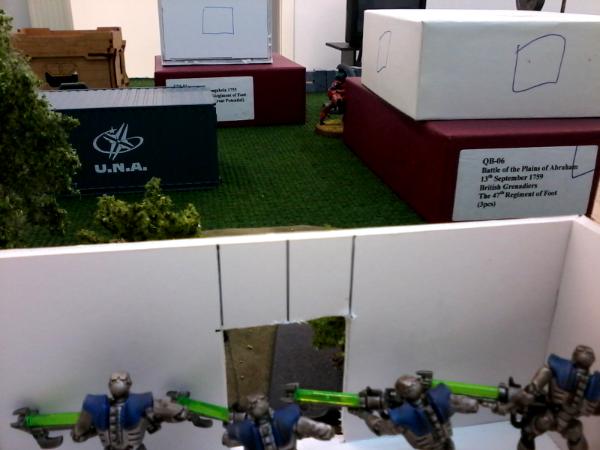
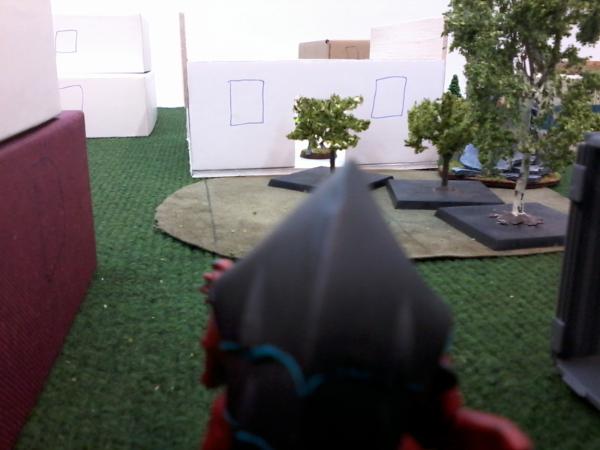
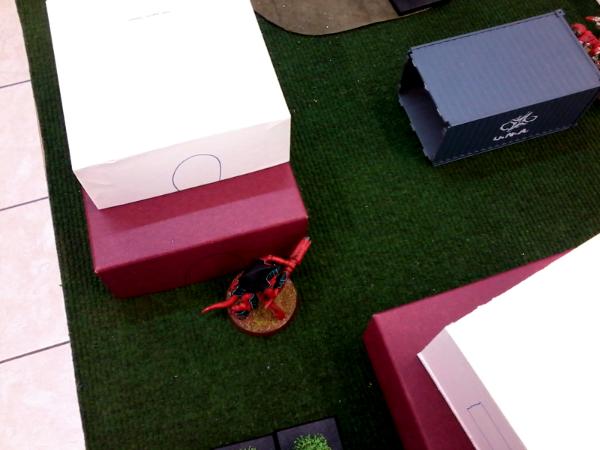
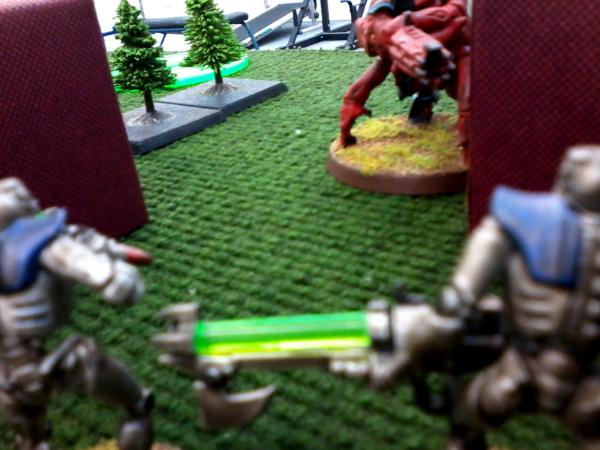
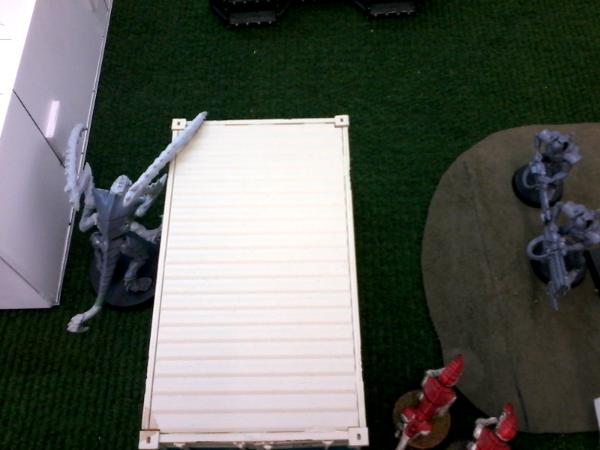
Hello, I'm back with another Killzone battle report. Here is the table we are playing on:
The two big buildings, the central one and the L-shaped one, follow the rules for buildings, but can hold more units in each floor (they open up, having interior and the like, you will see later).
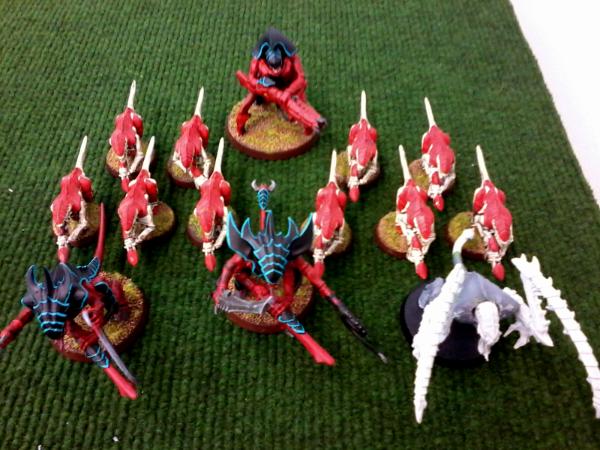
These are the lists we played:
Spoiler:
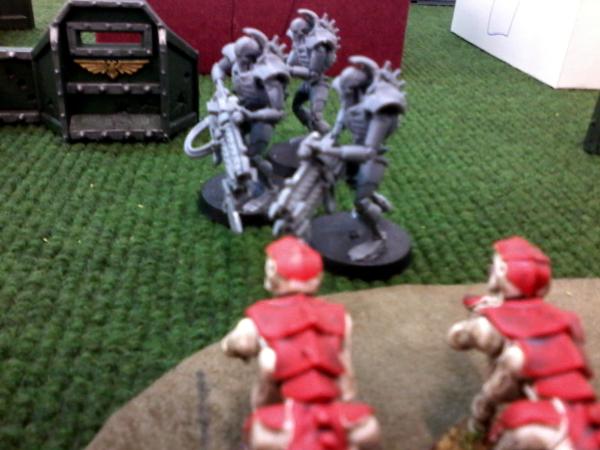
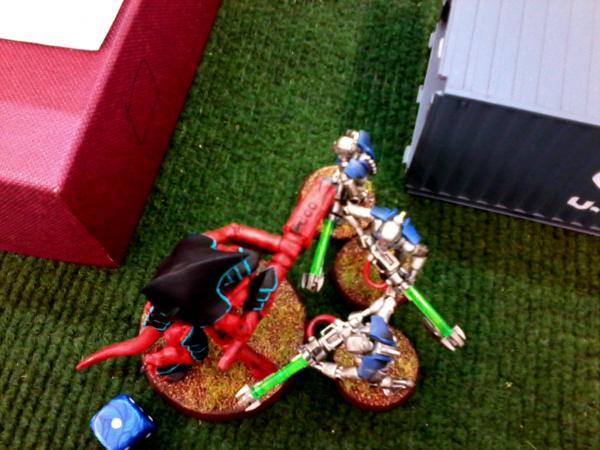
Necrons Team Leader: Necron Lord, Gauntlet of Fire (the guy on the left) Core: 4 Necron Warriors 3 Immortals Special: Lychguard with Warscythe Monstrous Creature: Canoptek Spyder, TL Particle Beamer
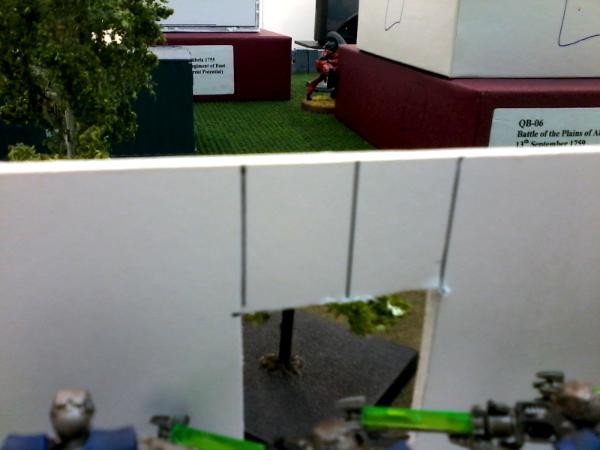
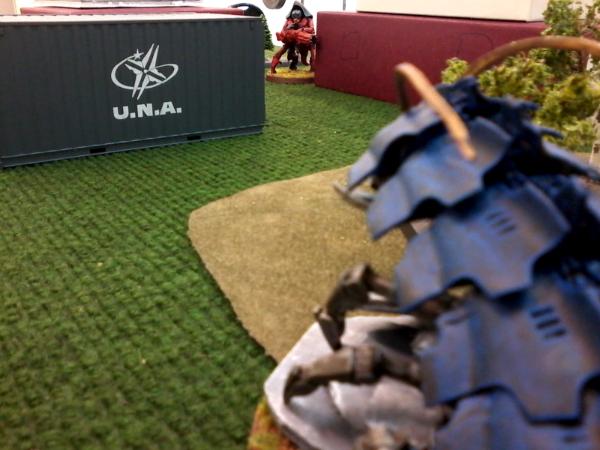
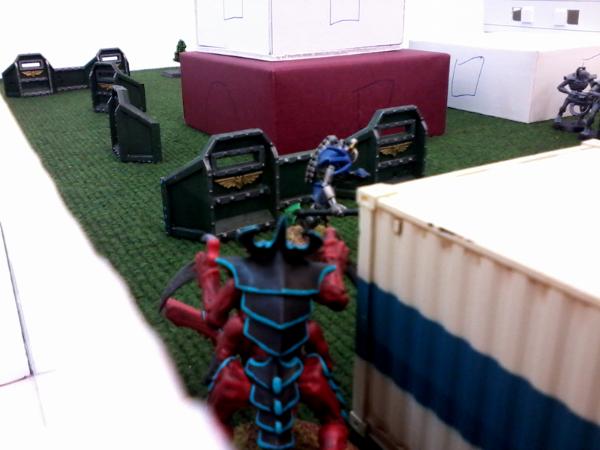
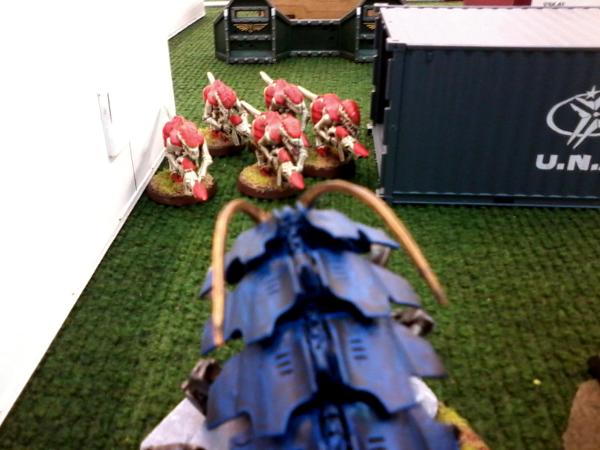
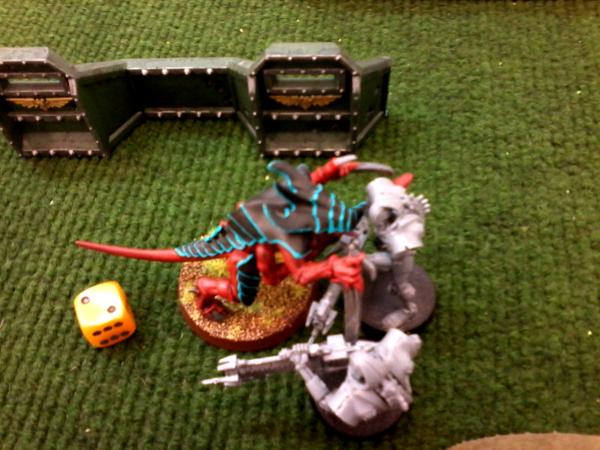
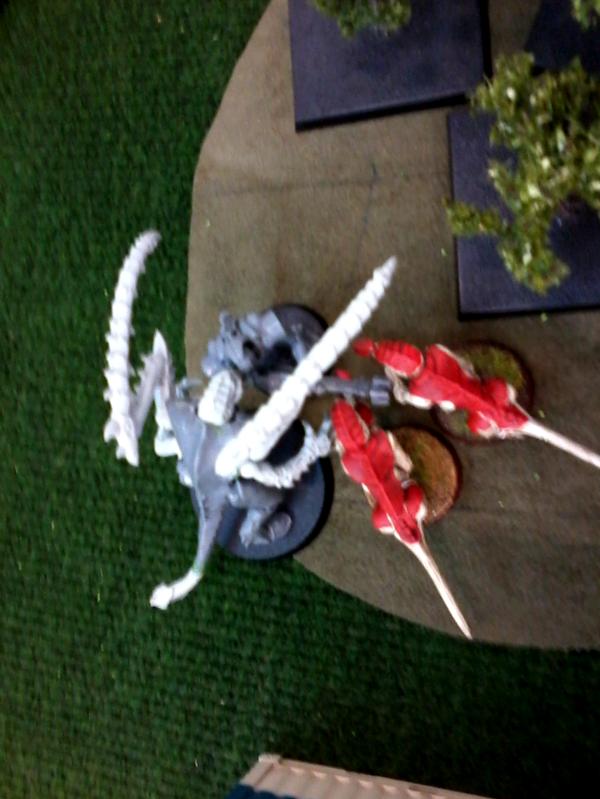
Necrons have the initiative and begin with the Lychguard running up behind the central building. The Hive Guard moves up and opens fire at the Warriors to no effect. The Warriors then move into the building for cover and fire at the Hive Guard, also to no effect. For the next few activations we both have our units move around the board, getting into better positions. The Spyder then moves up and fires at the Hive Guard with its Particle Beamer but misses completely, even with the twin-linked. My Termagants go for the Immortals, but as it is usual for the Tyranids, they miss completely Here I made a mistake, as I have my Termagants too bunched up and his Lord is very close to them.
Turn 2
Spoiler:
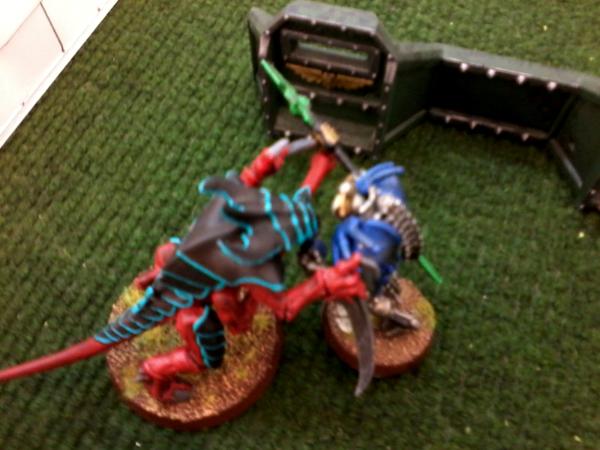
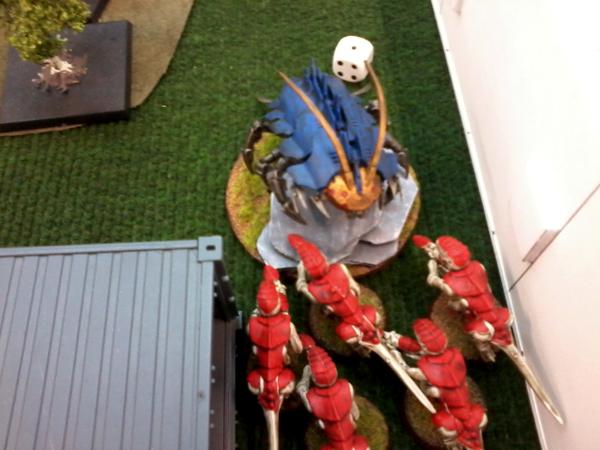
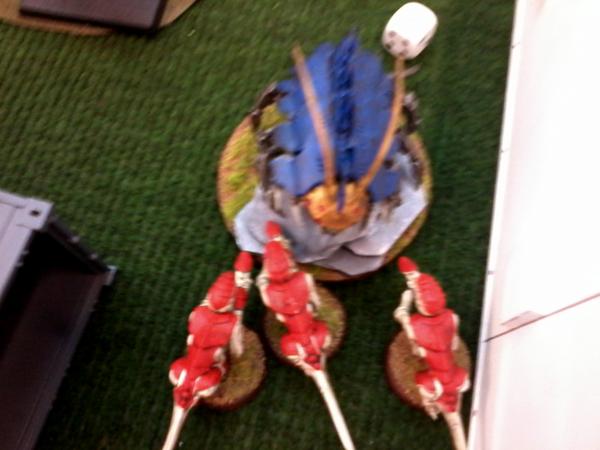
My opponent capitalizes on my mistake and moves his Lord to flame the Termagants. He ends up burning 3 of them but fails his charge. My Tyranid Warrior moves up, fires at the Lord to no effect and then... ...proceeds to charge him. My warrior causes a Rending hit and the Lord whiffs completely. He then rolls for morale for losing combat and fails it on an 11 . My warrior then easily runs him down and kills him for First Blood and Slay the Leader. His Immortals try to get revenge for the fallen Lord but prove to be extremely inaccurate, even with the close range bonus, only causing 1 wound to my Warrior. My Warrior Alpha moves into the central building, getting ready to greet the Lychguard next turn. The Spyder fires again at my Hive Guard but again does nothing (at least it hit it this time). The two remaining Termagants move close and take some pot shots at the Immortals to no effect though. The Necron Warriors remain in the building and fire at the Hive Guard to no effect. Confident, the Hive Guard moves out of cover and take a shot at the Warriors inside the building causing a wound which they promptly save on their RP. The Lychguard then charges at my Alpha Warrior. My guy whiffs and takes a wound in return. My Termagants move out and fire at the Spyder and manage to cause a wound! Finally I roll for the Lictor in my reserves but it doesn't come on the board (reserves in Killzone are rolled for when the unit in question is activated).
Turn 3
Spoiler:
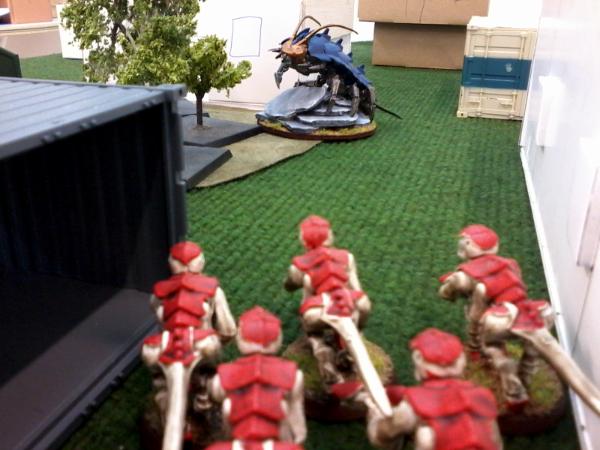
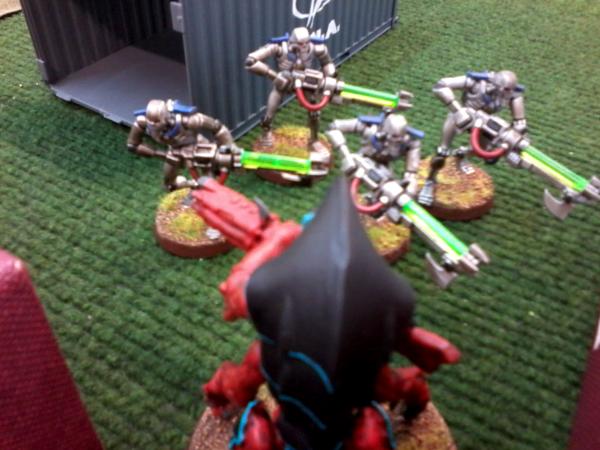
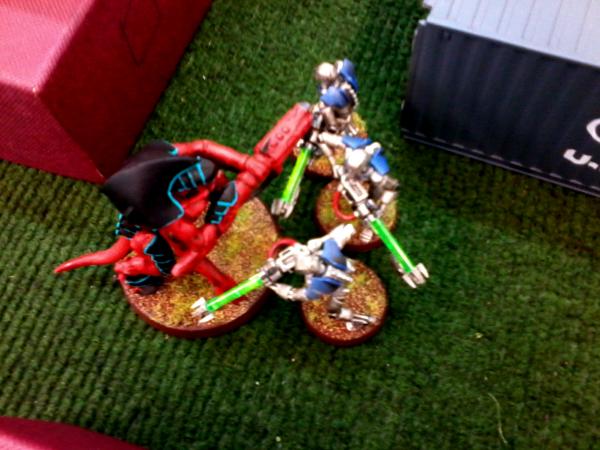
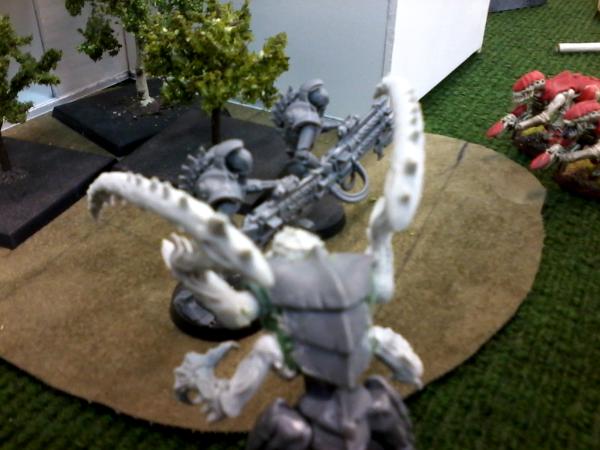
The Immortals shoot at the Tyranid Warrior again, causing one more wound (they just can't kill him ) My Hive Guard retreats back behind a building and takes a shot at the Warriors, to no effect still. The Spyder then gets closer to my Termagants and fires its Particle Beamer. Thankfully for me it misses... ...but then charges in and kills a couple Termagants The two Termagants fire at the Immortals again, with no effect yet again. Inside the building the beating continues, though my Warrior Alpha decided that he should stop being a merciless creature and just stands there, hugging the Lychguard. He however causes one more wound to the Warrior Alpha with his Warscythe. My Tyranid Warrior on the other hand fires at his Immortals, kills one and then charges them. It causes a Rending wound but the Immortals save it on their RP test. They do not wounds in return and attempt to Break Off but get caught and so we fight another round of combat. It resolves in no wounds for either of us. They choose to remain in combat this time, since if my Warrior keeps catching them he will keep hitting them. His Necron Warriors then move out of the building and finally I attempt to bring the Lictor in, but I fail again.
Turn 4
Spoiler:
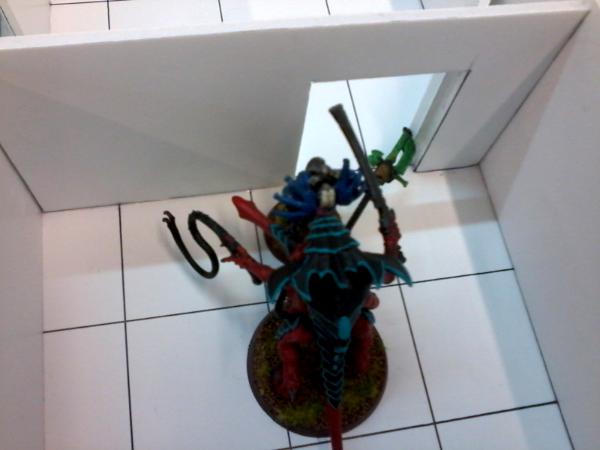
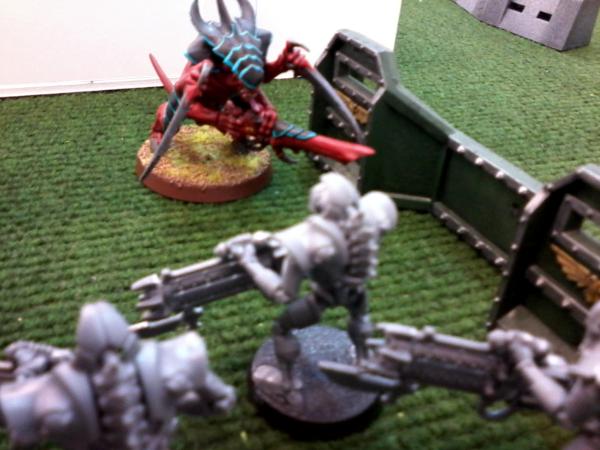
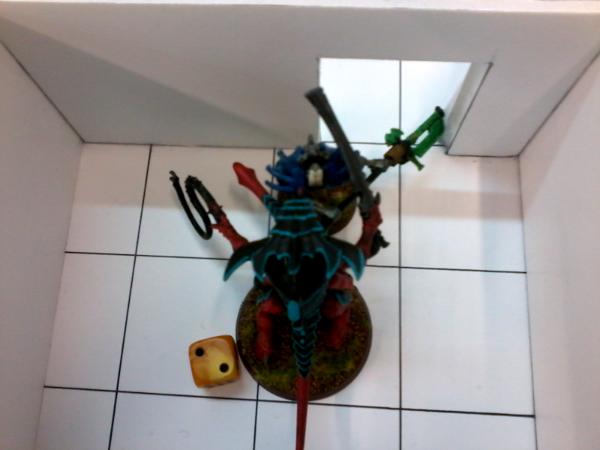
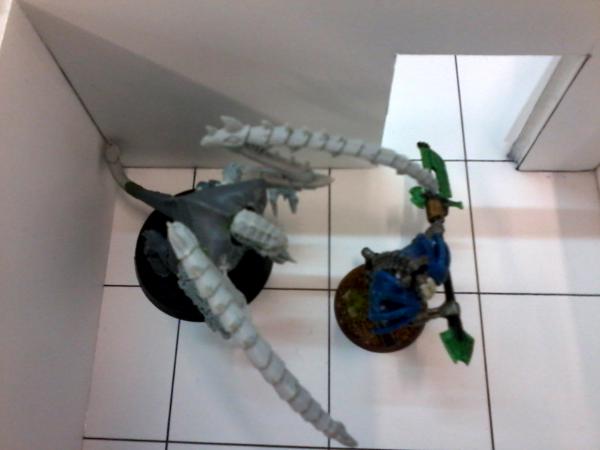
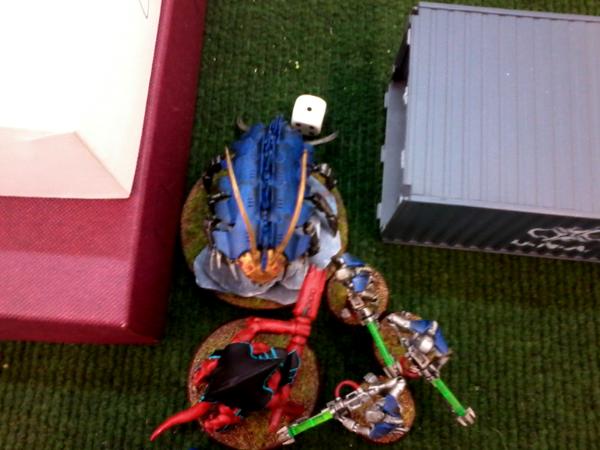
My opponents Warriors move close to my Hive Guard and shoot at it, but do no wounds. My Hive Guard then shoots back and kills one Necron Warrior before charging in. It takes one wound from Overwatch and misses completely in combat. The Warrior then choose to remain in combat, not wanting to let the Hive Guard go. The Immortals fight with the Tyranid Warrior, who whiffs and they then kill him (finally ). They then consolidate back, behind some cover. Seeing the Tyranid Warrior killed, the Termagants run behind the container, trying not to give up a Kill Point. The Spyder kills two more Termagants but they hold, as they are Fearless from the Synapse. The Warrior Alpha still can't do a single wound at the Lychguard, who kills it with ease (this is the same picture as before, I didn't take one for this instant). My Lictor arrives from Reserve and fires its Flesh Hooks at the Lychguard, killing him at last .
Turn 5
Spoiler:
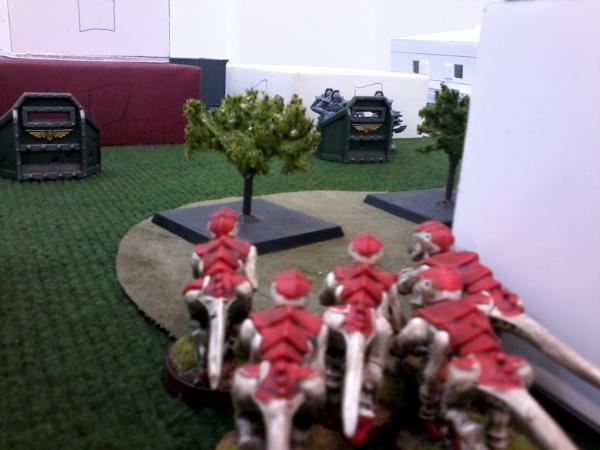
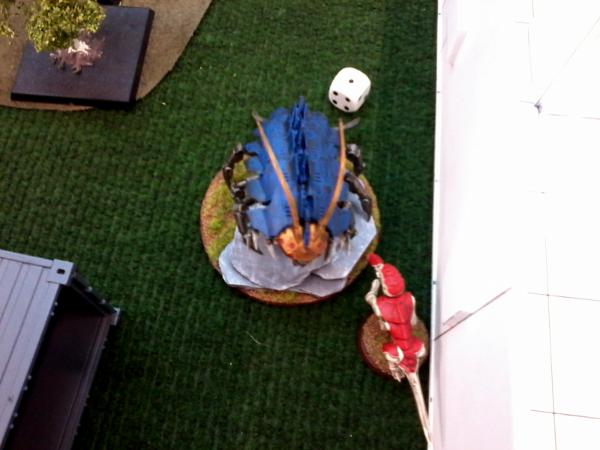
The Spyder kills my last Termagants and consolidates closer to my Hive Guard. In close combat, the Hive Guard does two wounds on the Necron Warriors but they save both. They do nothing in return. His Immortals move and then run into the woods. My Termagants pass their IB test and decide to come out and shoot at them, but they do nothing at all. Finally the Lictor runs closer to the Immortals.
Turn 6
Spoiler:
His Spyder charges my Hive Guard and kills him easily. My Lictor moves up, fires at the Immortals but misses completely and then charges in.It kills one Immortals but they hold. My opponent has no models to activate, so I activate my Termagants... ...who join the party and actually cause three wounds to the Immortal . He, however, easily saves all of them .
With Turn 6 over, we roll to see if the game continues...
Turn 7
Spoiler:
...And it does. With nothing to do really, the Warriors go for Linebreaker and the Spyder just shuffles around. In combat, the Lictor causes two Rending wounds on the Immortal, but he saves both of them on his RP test . The Termagants of course can't do anything. The Immortal then goes for my Termagants. Since I have no Synapse, if he kills a Termagants I would lose combat. Thankfully for me he doesn't hit.
Turn 7 is over so we roll to see if we continue...
Turn 8
Spoiler:
...But we don't
So this wraps up our game.
Spoiler:
Final Results Tertiary Objectives First Blood: Tyranids Line Breaker: Necrons Slay the Leader: Both
Tyranids: 2 Necrons: 2
Secondary Objective The Tyranids and the Necrons both killed one opposing Special model.
Overall, I think that I didn't really have a response for his Spyder. The only thing I could reliably do would be to charge it with both my Tyranid Warriors and the Lictor and hope to rend it to death. However, this is much easier said than done. My opponent had some bad luck in the beginning, with his Lord dying almost immediately, but then his luck turned. Anyway, it was a good game and we both really enjoyed ourselves. What we both understood about the game was that regular 40k tactics may not apply here, since the model count is so low. Every casualty really counts and it can hinder you ability to respond effectively to your opponent's moves.
Thanks you guys for reading this battle report. As a side note, I think that Killzone is a nice break from the main 40k game, since it feels more like your every choice counts. Any way, make sure you check out my other Killzone battle report here: http://www.dakkadakka.com/dakkaforum/posts/list/641057.page


 . My warrior then easily runs him down and kills him for First Blood and Slay the Leader.
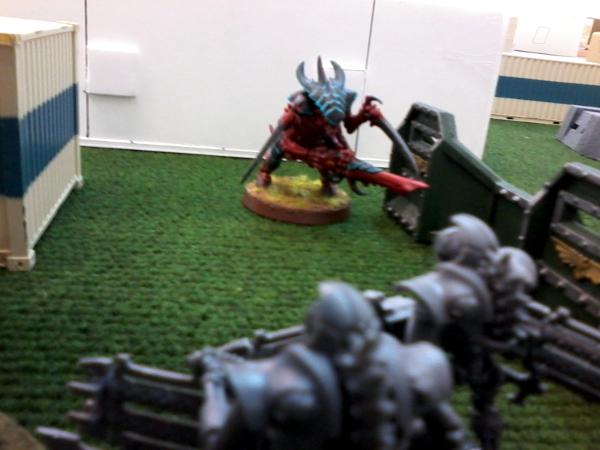

 )
)


 and misses completely in combat. The Warrior then choose to remain in combat, not wanting to let the Hive Guard go.
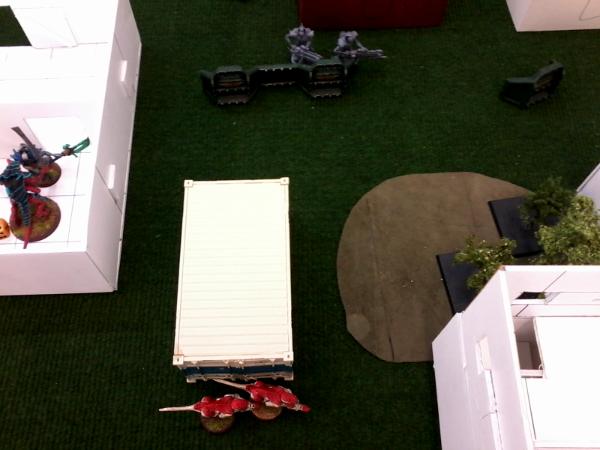

 . He, however, easily saves all of them
 . The Termagants of course can't do anything. The Immortal then goes for my Termagants. Since I have no Synapse, if he kills a Termagants I would lose combat. Thankfully for me he doesn't hit.