After defeating the Federation in the Neutral Zone, Romulan forces have begun forays into Federation space.(
http://www.dakkadakka.com/dakkaforum/posts/list/654150.page) Starfleet has been hard pressed to repair ships to counter the Romulan incursion. In order to give Starfleet some much needed breathing room Admiral Ross has dispatched captain Solok and the USS T’Kumbra on a desperate mission to interrupt Romulan supplies.
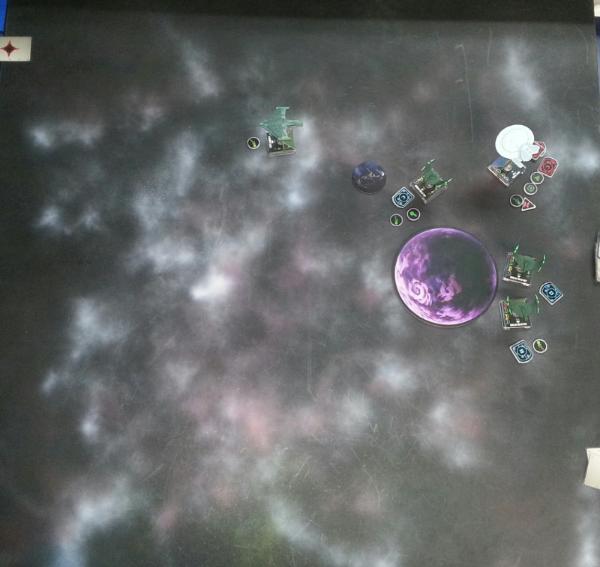
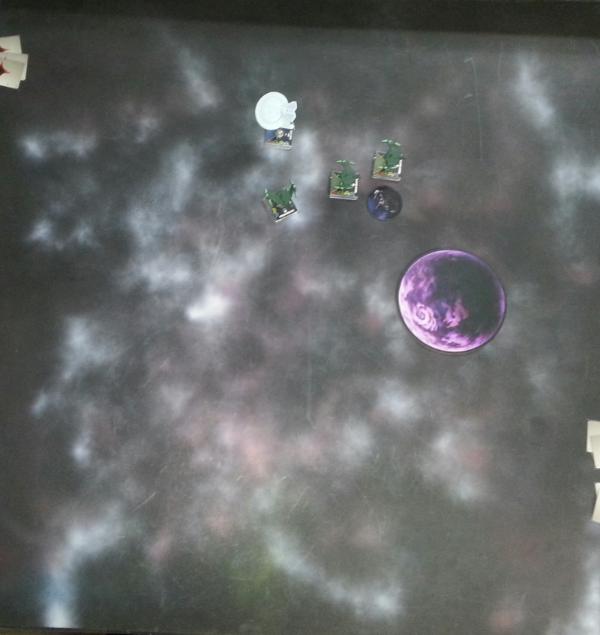
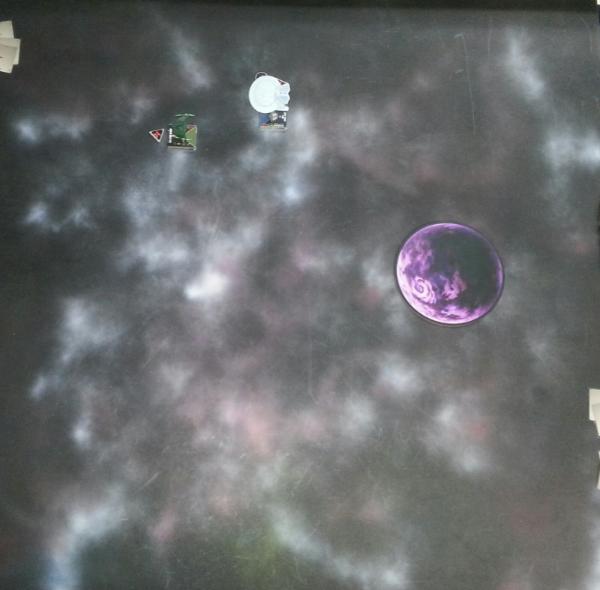
The T’Kumbra has been dispatched to the Calder system. The Romulans have established a resupply station at Calder 2 and built a Dilithium refinery on its moon. Solok’s mission will be to destroy both the station and refinery. A disruption in the supply chain should hinder the Romulan advance enough to give Starfleet much needed time to put more ships back into the line. T’Kumbra will be alone for this mission; Admiral Ross cannot spare any other ships. Solok is confident that his all Vulcan will not be daunted.
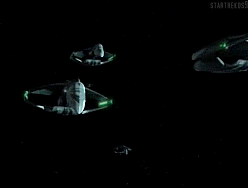
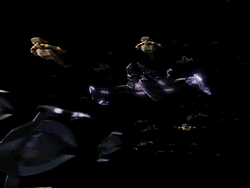
Starfleet intelligence has reported that Calder 2 is protected by 3 Romulan
BoP. T’Kumbra’s sensors detect all 3
BoP after dropping out of warp. Unfortunately intelligence was unaware that the IRW V’Sar had recently entered the system to resupply. Solok is not deterred by this development and remarks to his crew that “Starfleet Intelligence has once again shown its typical human attention to detail”. In cold Vulcan fashion, Solok orders shields up and all hands to battle stations.
Federation
Romulans
Just a note, we are using the models for the Praetus instead of the
TOS bird of prey. The Praetus has more of a TNG feel. This is a take on the Destroy the Outpost scenario that comes with the Gal Gathong. T’Kumbra will have to destroy both objectives and escape off her own board edge to win. Romulans only have to destroy the Federation.
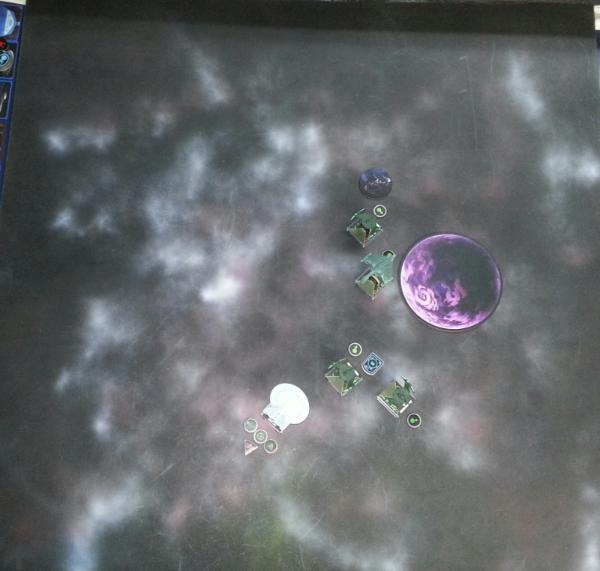
Set up
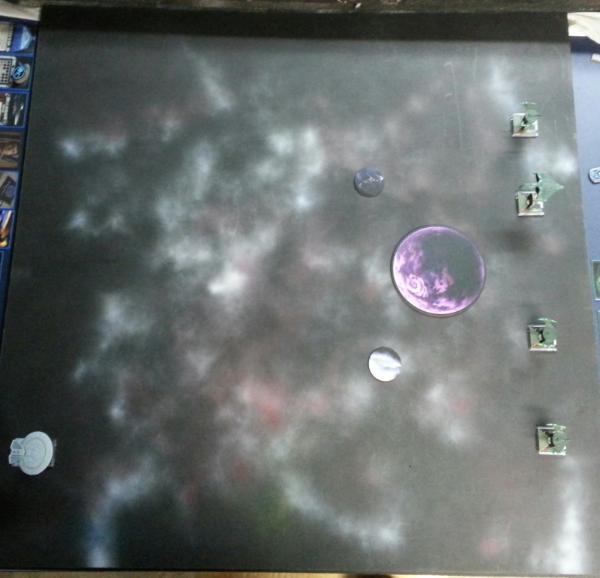
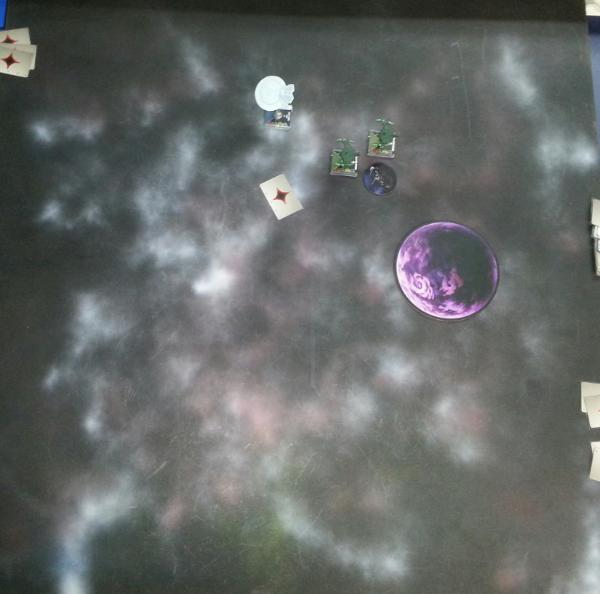
Turn 1
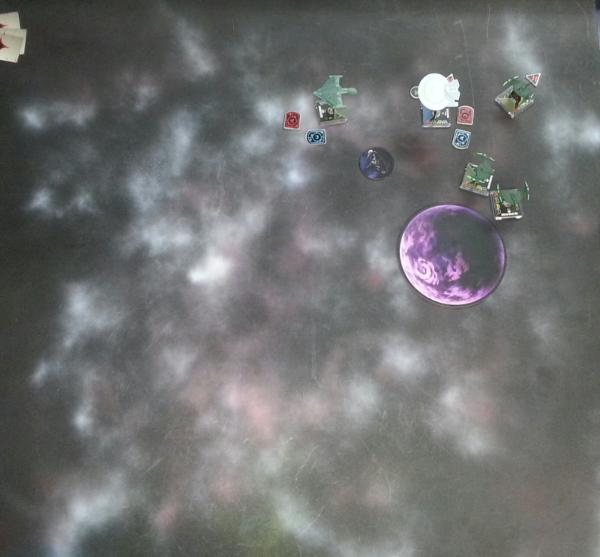
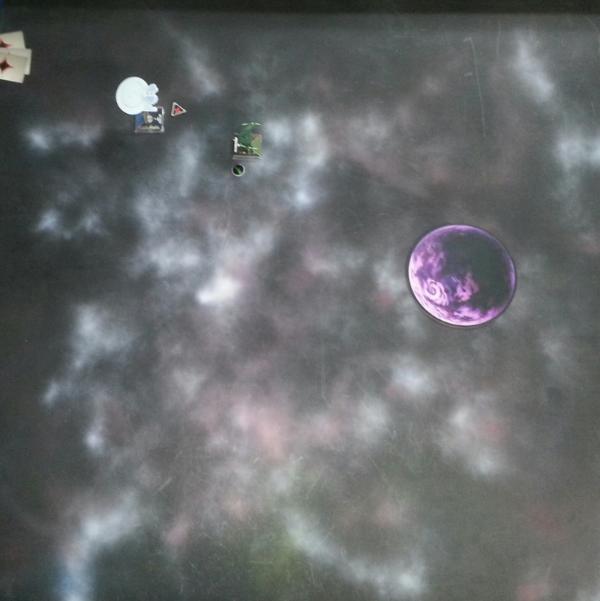
Romulans move in and cloak. T’Kumbra destroys the refinery.
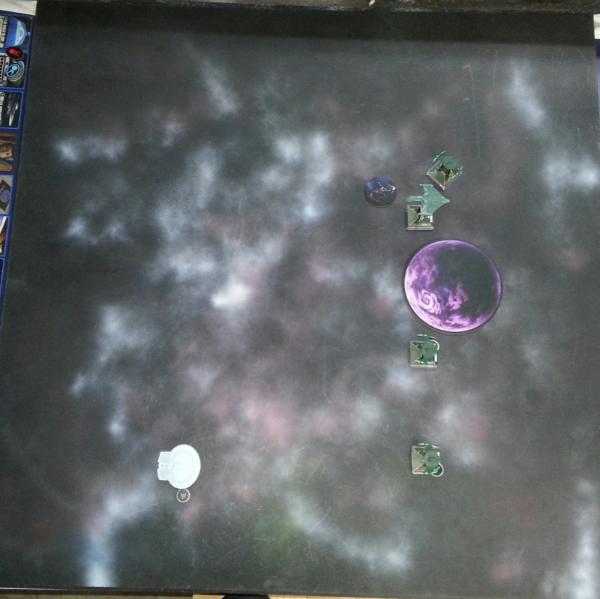
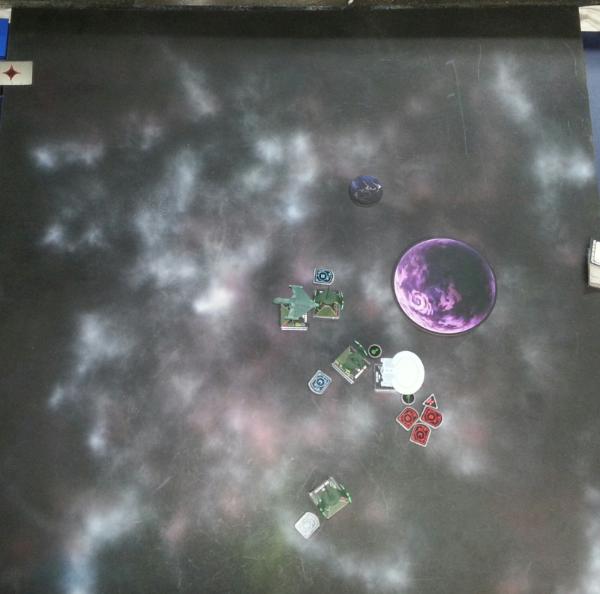
Turn 2
T’Kumbra scores 3 hits and a crit on the V’Sar. T’Kumbra looses 4 shields and suffers a Stunned Helmsman from combined Romulan fire.
Turn 3
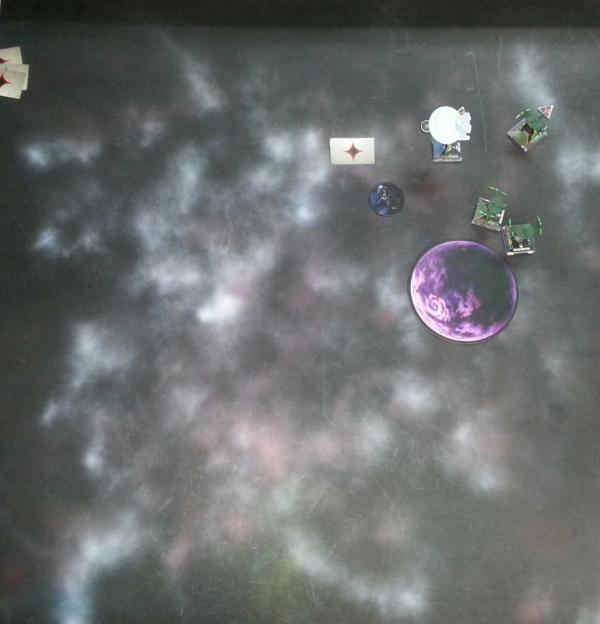
T’Pol sacrifices herself for the needs of the many to give T’Kumbra back 3 shields.
Turn 4
T’Kumbra deals 1 damage to a nearby
BoP.
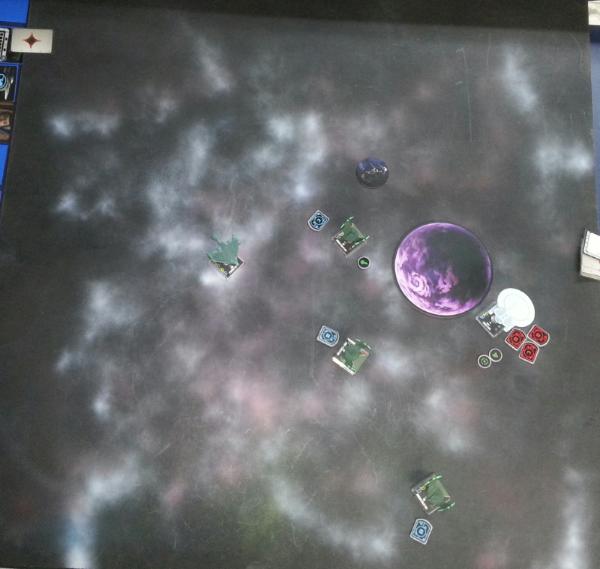
Turn 5
T’Kumbra deals 2 damage to another
BoP.
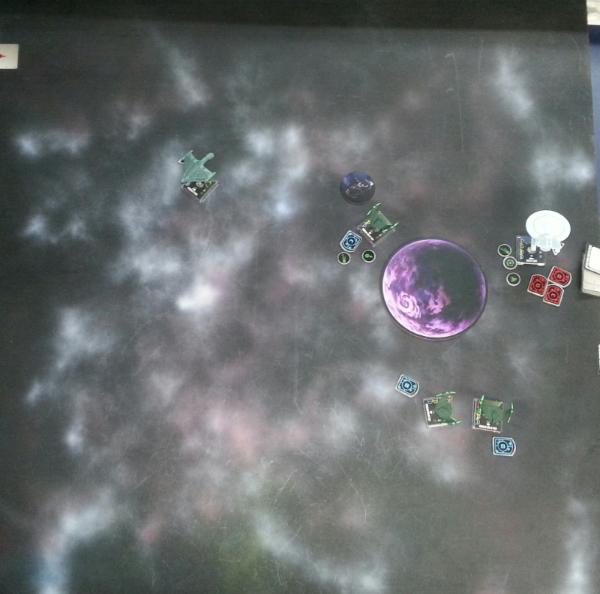
Turn 6
A
BoP takes out 3 shields on T’Kumbra deals 2 damage.
Turn 7
T’Kumbra Destroys the V’Sar with Quantum Torpedoes

.
BoP whiff

.
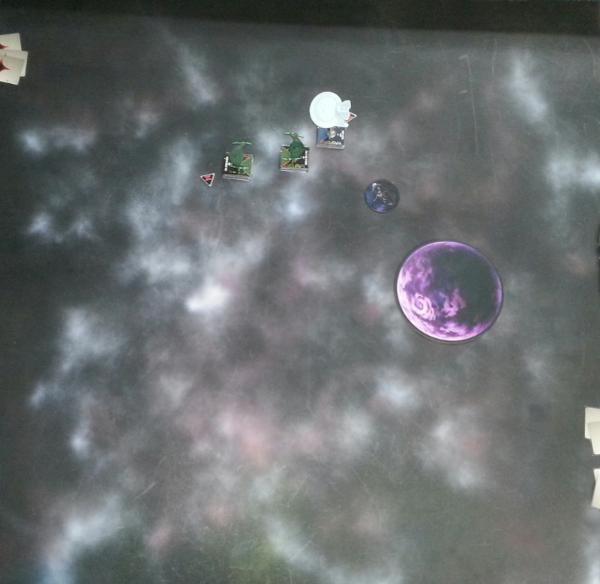
Turn 8
T’Kumbra destroys 1 shield and does 2 damage to a
BoP.
Turn 9
T’Kumbra destroys a
BoP.
Turn 10
T’Kumbra destroys a 2nd
BoP
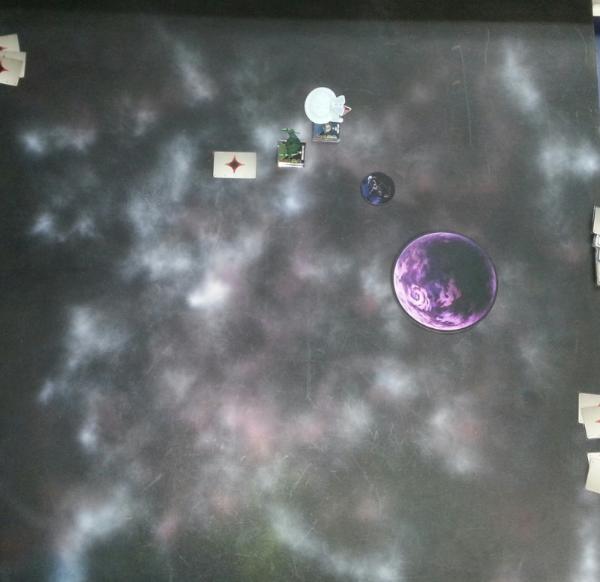
Turn 11
T’Kumbra destroys the supply station.
Turn 12
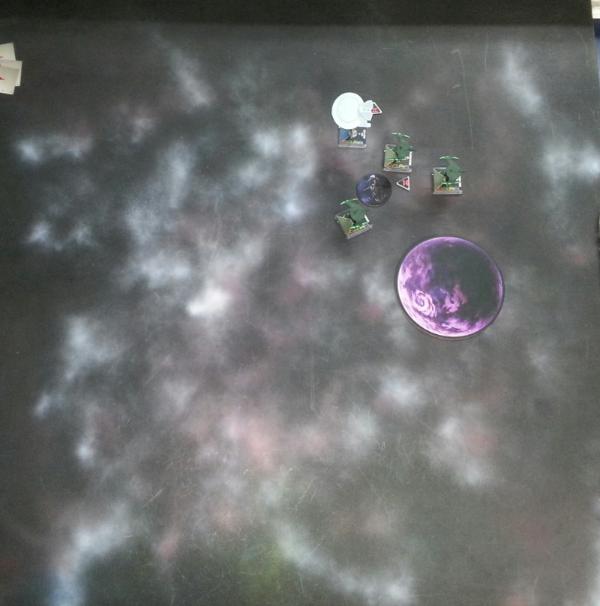
Romulan
BoP is desperate to catch T’Kumbra before she gets away.
Turn 13
BoP is too far out of range and T’Kumbra has escaped.

This was a fun one. It may seem one sided, but T’Kumbra was limping for the last half of the game. The
BoP couldn’t hit for

***. We purposefully kept them stripped down to give more of a behind the lines patrol feel. With all of the upgrades and officers the T’Kumbra was usually getting 3 defense dice and a reroll, not to mention 3-4 actions a turn. Originally we were going to make this a combination of the Kobiyashi Maru and Destroy the Outpost scenarios. We tried a 60pt T’Kumbra, 2 times and it was toast by turn 3. So we decided to go all out and load it up. It was too easy for the Romulans to gang up on T’Kumbra so we decided that to start none of the Romulans could start within range 1 of each other. I expected Spock because he was in the previous attempts. T’Pol with Needs of the Many was a surprise as was Computer Analysis. Being able to use Tuvok, Tactical Station, and Aux Control Room again without costing an action was pretty tough to get around. The big hurt was an early crit to the Warbird, making all turns red maneuvers, so it was tough to get it back into position.
It was blast and as always we had fun playing, hope you had fun reading.