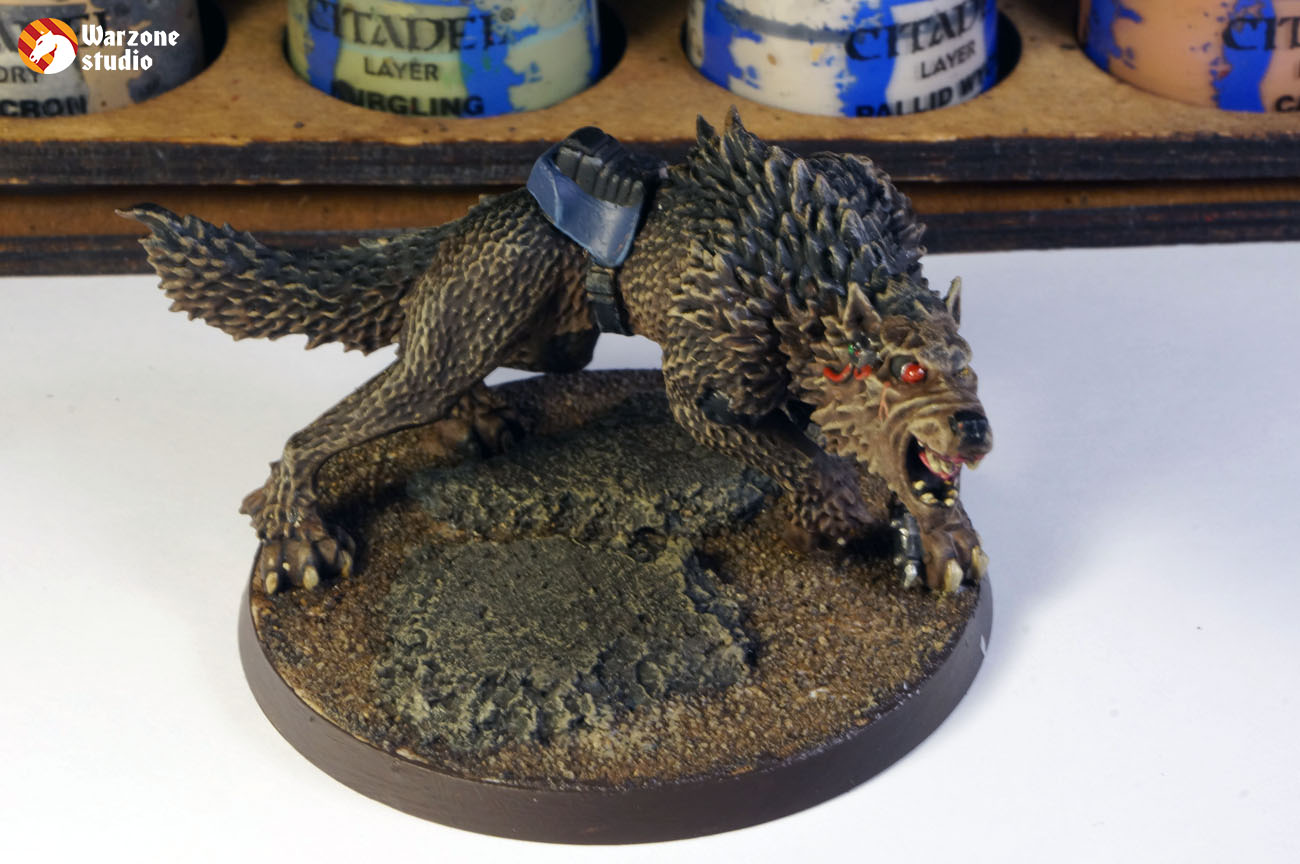
There are fur parts on many models in almost every gaming system. So, today we'll learn to easily paint fur. Harold, the Fenrisian wolf will help us.
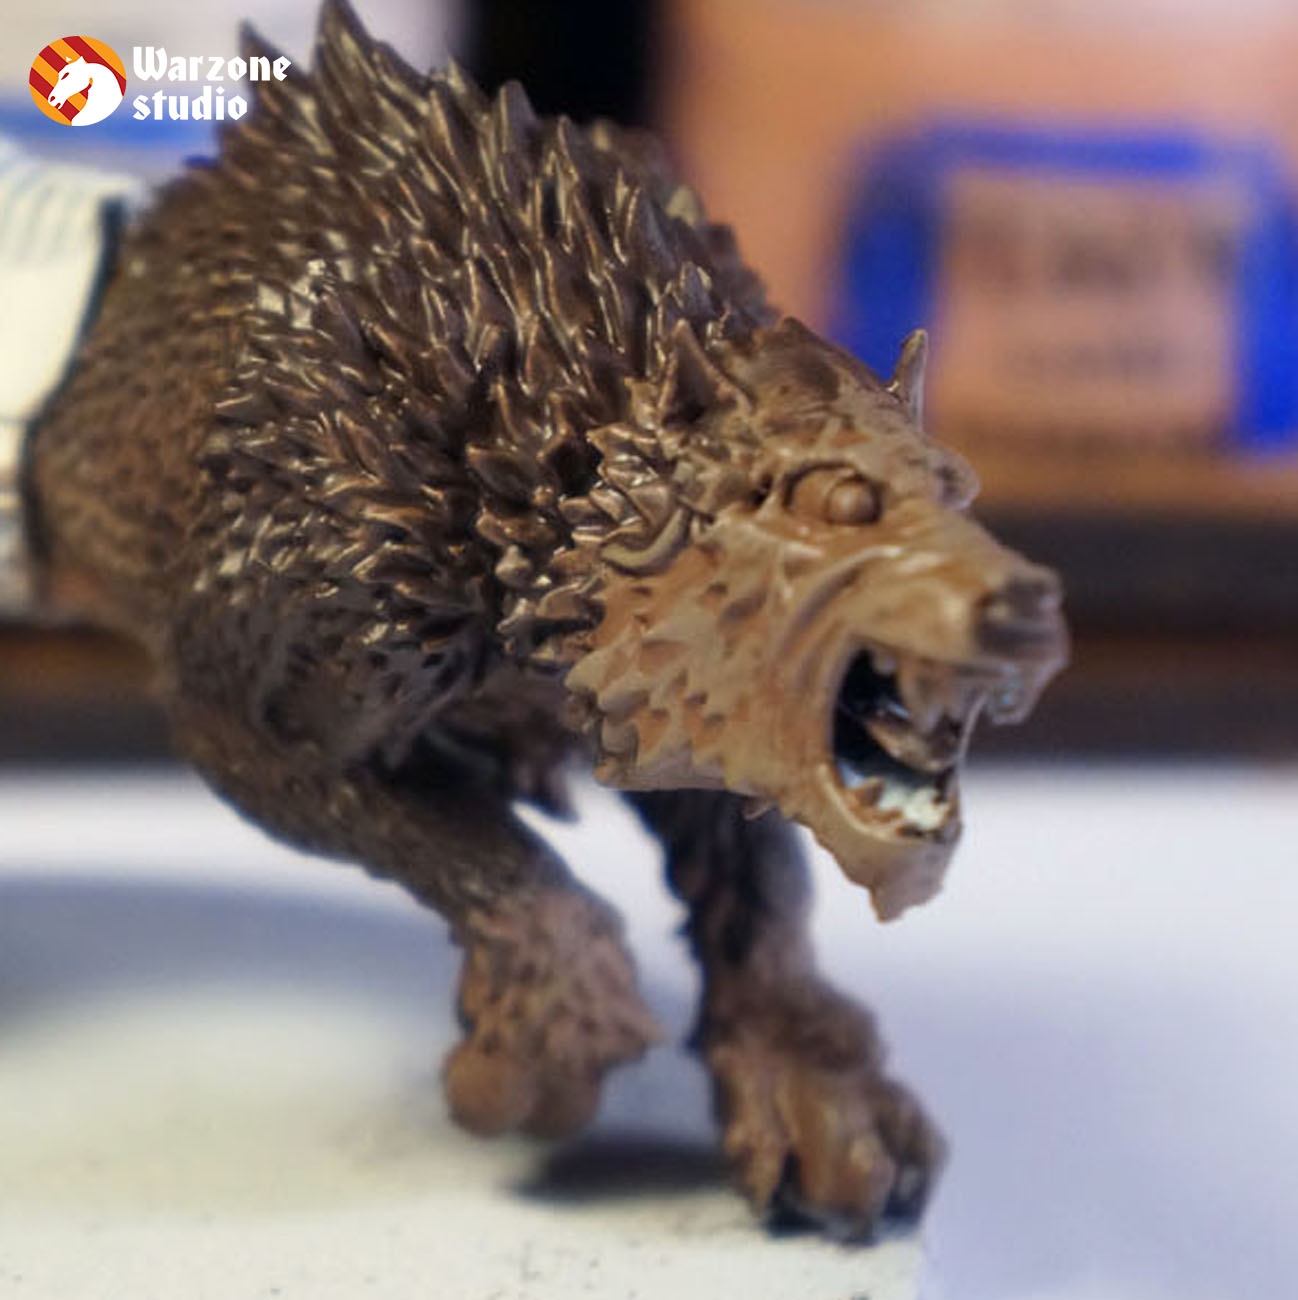
In fact, you can take almost every colour - the fur can be really different. We took Dryad Bark for the base. You need to cover the whole skin and there's no use n bein too accurate at this step.
For the second step you need the same colour, but several shades lighter. In our case - Gorthor Brown. Apply it on the lover part of the body - belly, paws, muzzle... If you paint just a fur, without a beast, you can paint the lower part of it.
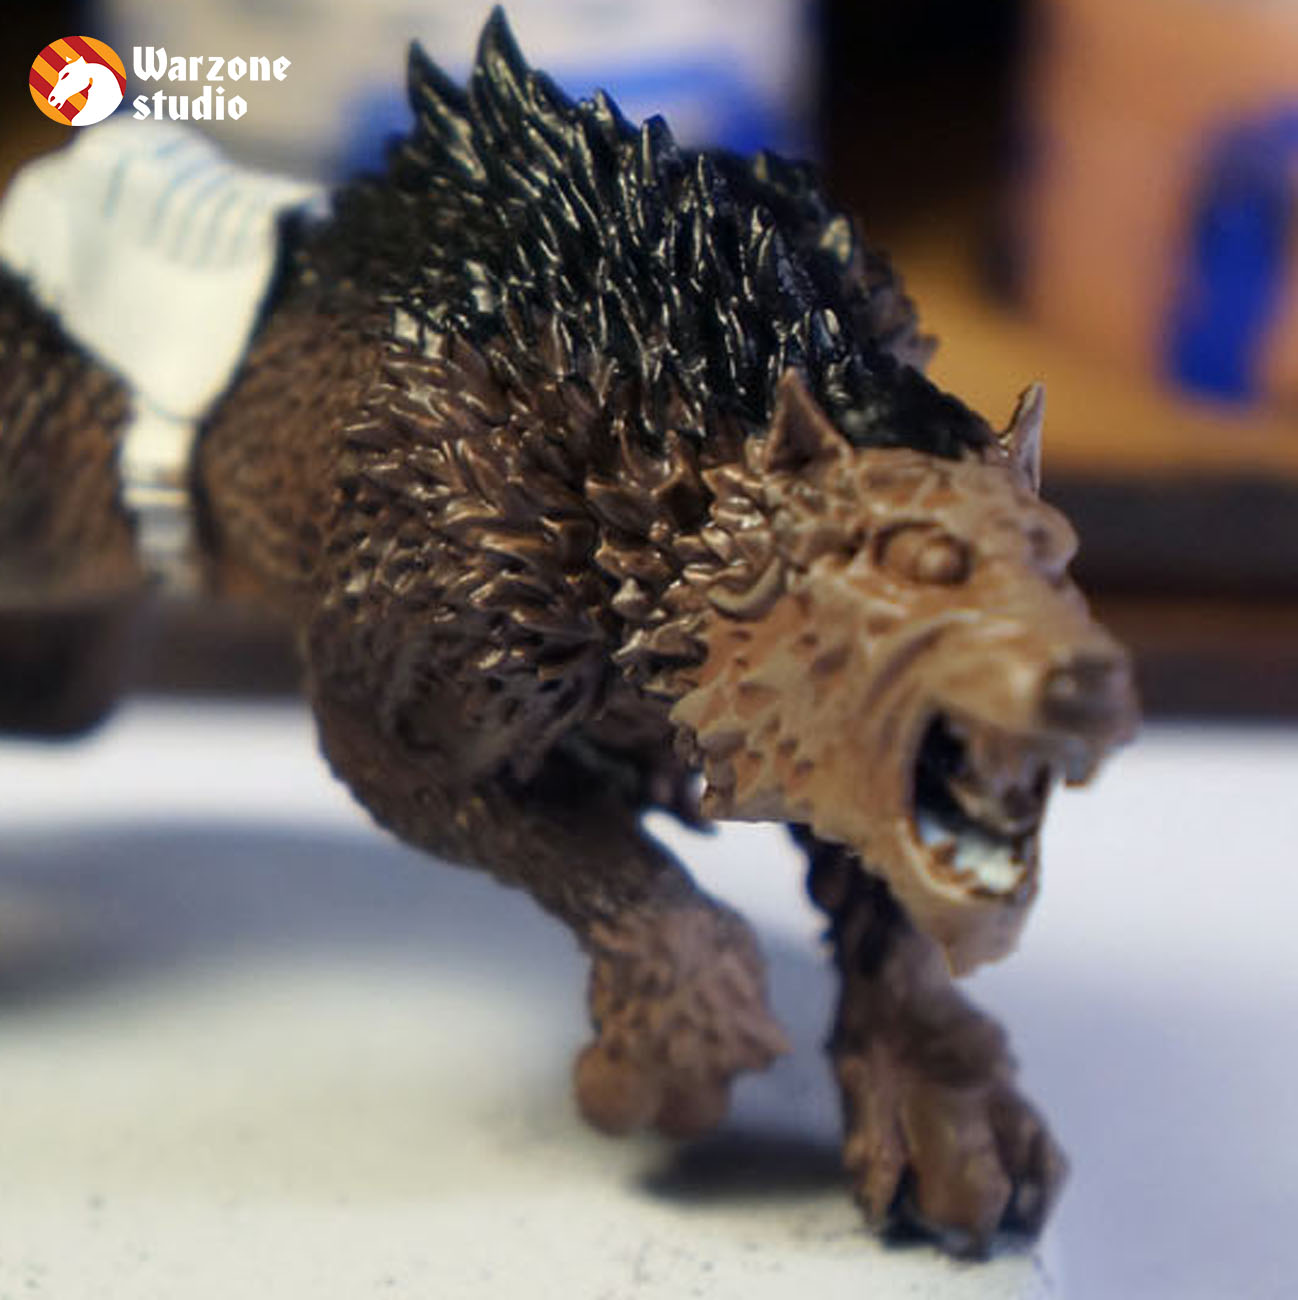
Now you need much to be much more accurate. Drybrush the light parts with even lighter shade. You need to leave some base in the recesses. This brings more volume. You can mix the previous colour with white, or take another one - in our case it's Baneblade Brown.
There can be stripes of a darker colour on the fur. Here we've painted the middle of the back with Abaddon Black, to make it more expressive.
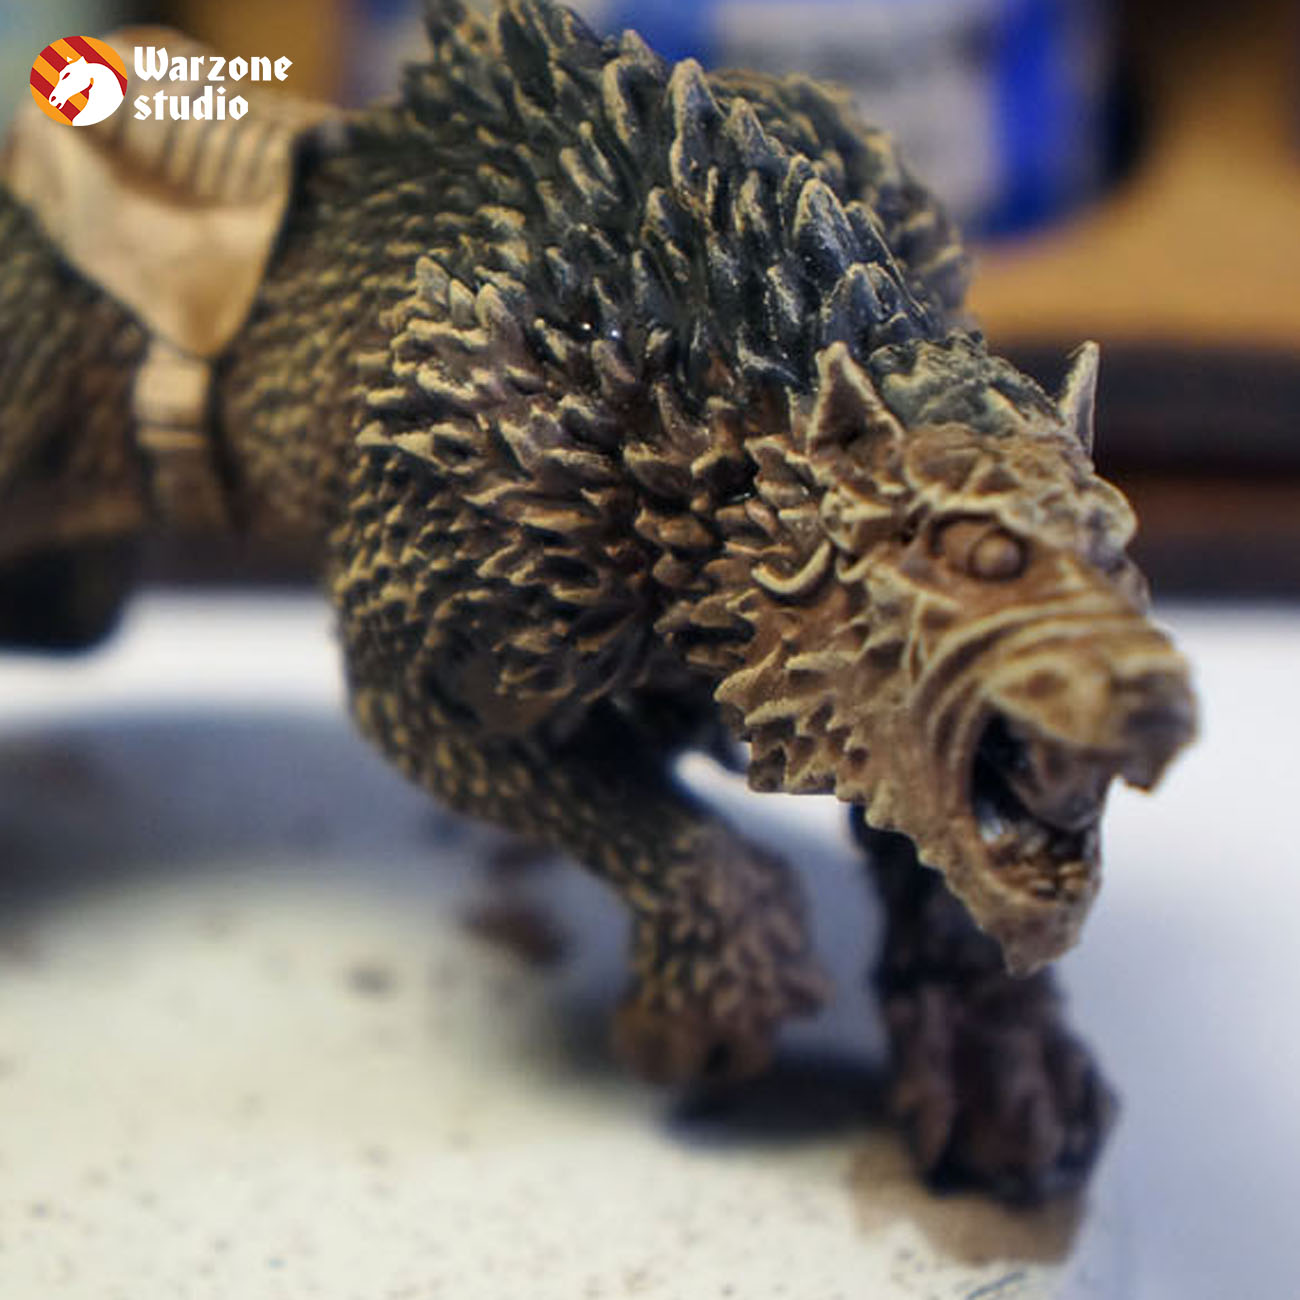
Now we need to join all these shades into one solid fur. Use some kind of bone colour - they fit in most cases. For example, Karak Stone. Now drybrush all the fur with it.
Next step for the consolidation is wash - again, the colour depends only on your imagination. We used Agrax Earthshade here.
After the wash dries, you need to repeat drybrush, but this time focus on the upper parts like muscles and folds - this will give you the maximm fur volume.
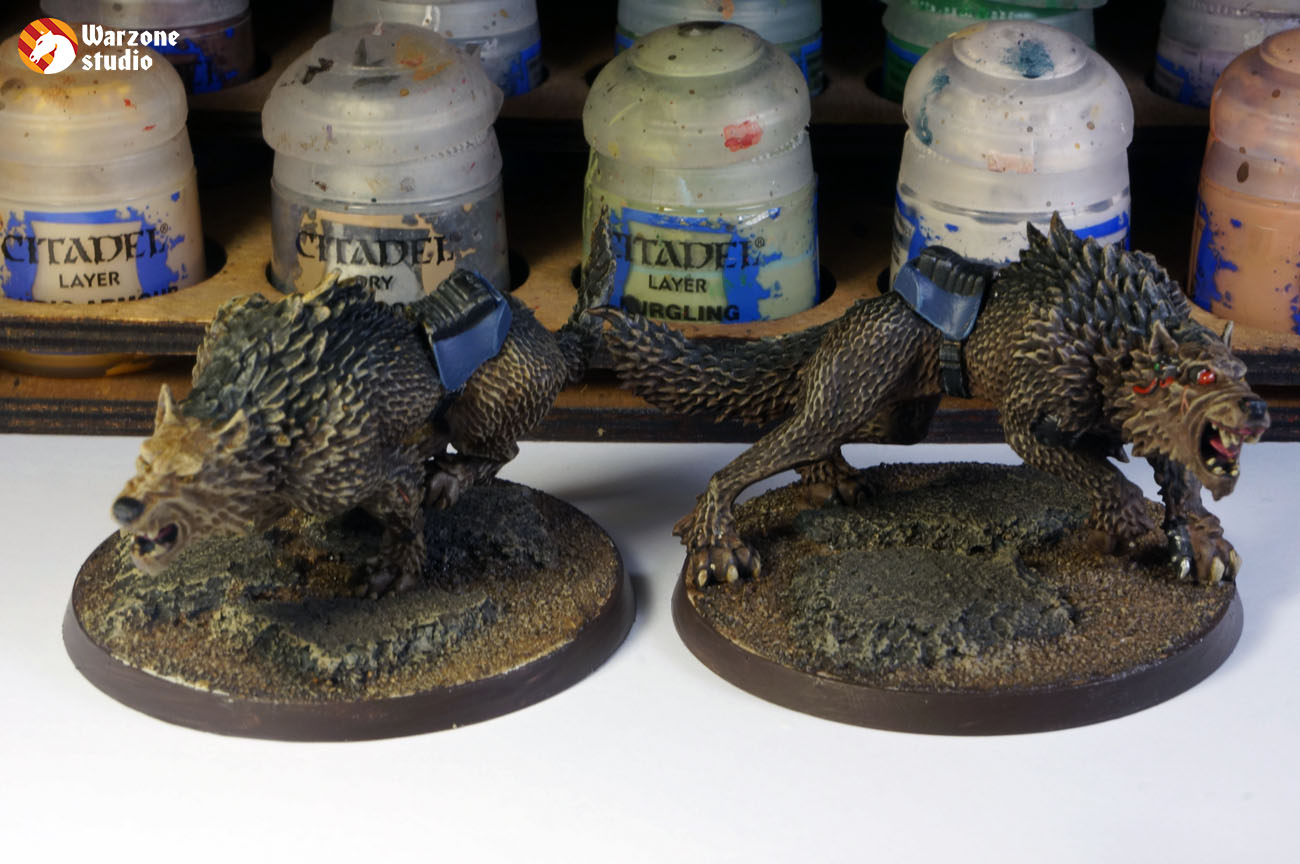
Harold likes his new coat. Now you can finish all the non-fur details of the model.
If you are making several animals from the same squad, you can experiment with different paints on one of the steps - by just choosing another wash, you can make a different animal, but of the same kin. Try it!
Find out more in our blog:
http://warzone40k.com/fur-paint


