Switch Theme:

Menhirs for the gaming table - a tutorial on D&B  [RSS] Share on facebook Share on Twitter Submit to Reddit
»
Author Message
Advert


Forum adverts like this one are shown to any user who is not logged in. Join us by filling out a tiny 3 field form and you will get your own, free, dakka user account which gives a good range of benefits to you:
  • No adverts like this in the forums anymore.
  • Times and dates in your local timezone.
  • Full tracking of what you have read so you can skip to your first unread post, easily see what has changed since you last logged in, and easily see what is new at a glance.
  • Email notifications for threads you want to watch closely.
  • Being a part of the oldest wargaming community on the net.
If you are already a member then feel free to login now.


Made in de
Basecoated Black


Auckland

Dear all,

after a fairly long hiatus I got back into writing tutorials:

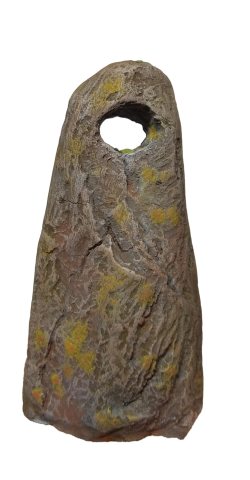
I start with a short one on menhirs. The process is pretty straight forward.

Menhirs for the gaming table.

Basically you shape a rough menhir shape out of XPS, cover it in filler and work it while it is wet. Painting it is also fairly easy: Grey basecoat, drybrush and pigment wash. The only new thing I did was adding yellow lichen.

All the menhirs are magnetised, so that I can fit them on my modular gaming boards.

Hope this is of interest to some on here.


Usually I take a scenic shot to complement the tutorials. I will retake it again later, as I had only my trusty Smartphone camera at hand. That said I do like the 'light breaking through a clearing' atmosphere.


Forum Index » Painting & Modeling Tutorials
Go to: