
- by Iain Wilson
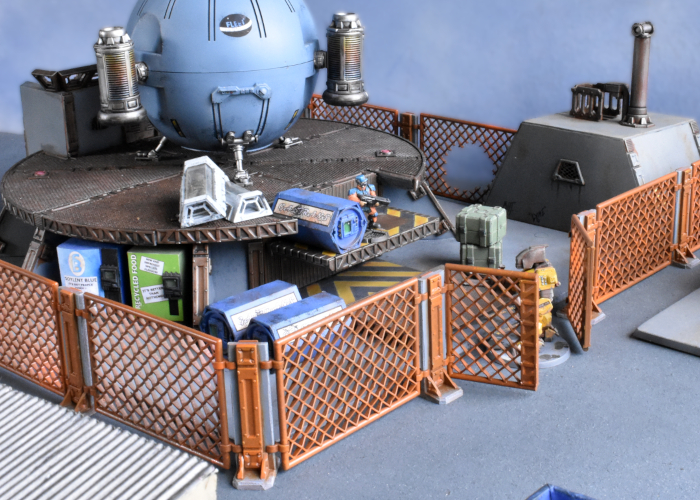
Fences can provide an interesting extra dimension to miniature battlefields, as they block movement without necessarily also blocking line of site. This can force some tactical decisions around model placement and movement around the table. In this week's article, I'm sharing a quick and easy way to make some fences for your table.
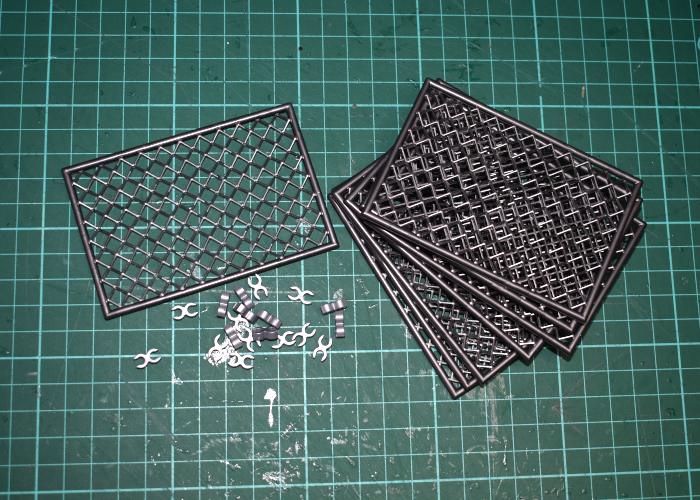
I came across these Lego-compatible fence pieces on AliExpress completely by accident, and thought they seemed ideal for gaming. They come as a pack of fence sections, and join together with separate clip pieces, and they're a nice, dark metallic grey colour. So for the
really quick and easy version, you could just take these, clip a bunch of them together and plonk them on the table as-is and call the job a good-un.
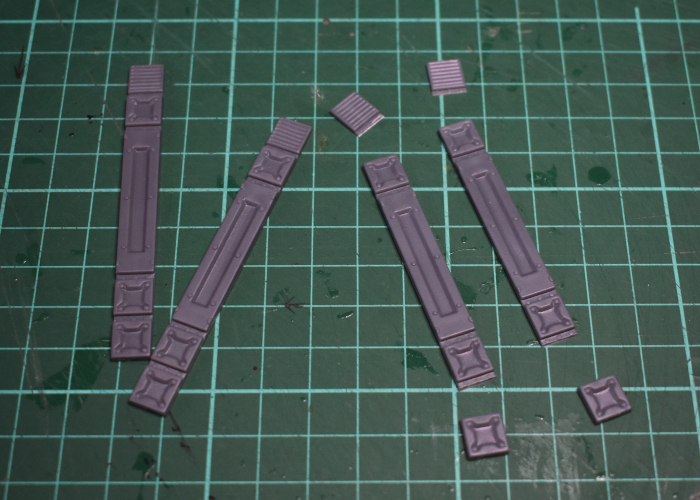
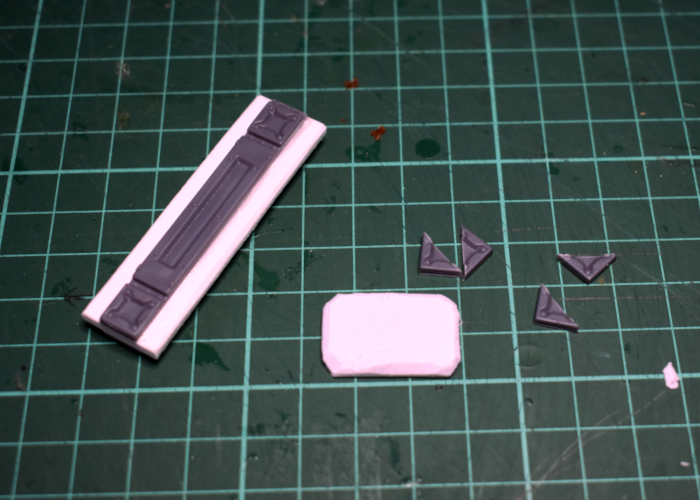
I wanted to fit them in with my existing terrain a little better, though, so I grabbed a couple of Maelstrom's Edge terrain sprues and set to work. I started by trimming up some reinforcing struts to about the same height as the fence panels by cutting off the top and bottom segments.
Then I took some 3mm foamed PVC and cut strips the same height as the struts, with about 4mm extra width either side - as a happy coincidence, this was the same width as two of the struts, so laying the struts side-by-side on the PVC served as a handy cutting guide.
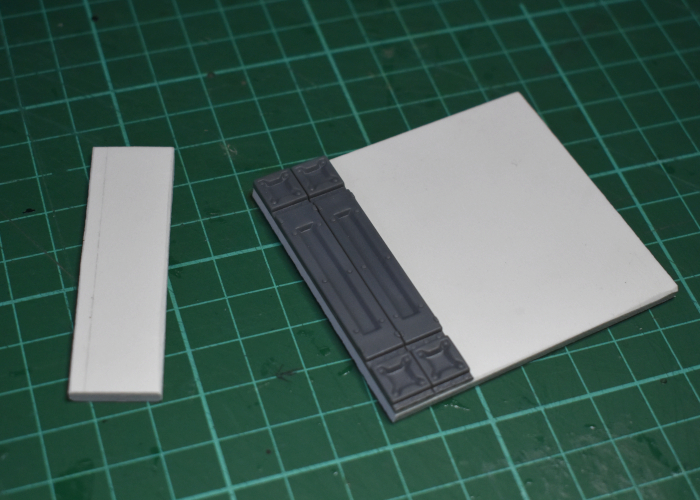
I glued the struts in place on either side of the PVC strips to form reinforced fence posts, and then cut some shorter strips to serve as bases for the posts. The bottom segment removed from the struts, cut in half diagonally, made some perfect supports to strengthen the attachment between post and base.
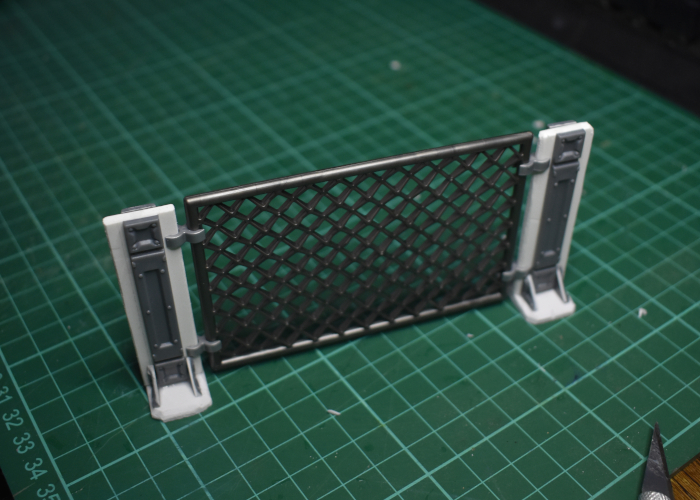
With everything glued together, the clips for the fence pieces slot snugly onto the PVC and it all stands up nicely.
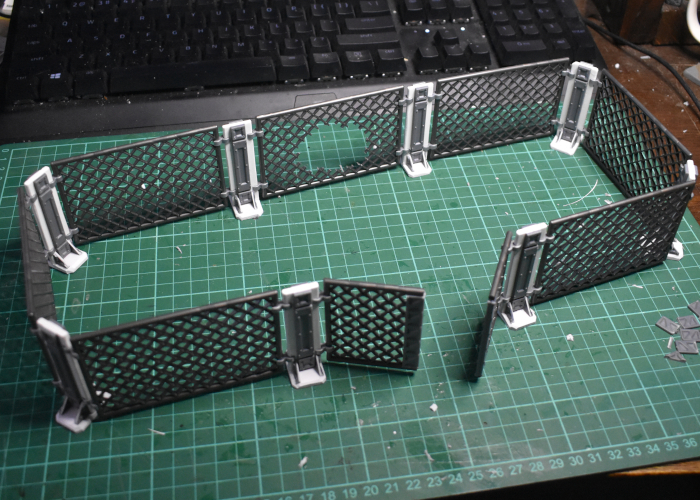
I made a bunch of posts, and for good measure cut one of the fence segments in half and attached some more reinforcing struts on the inner sections to make a two-part gate. The whole thing slots together and by twisting the holding clips can go around corners into whatever configuration is needed.
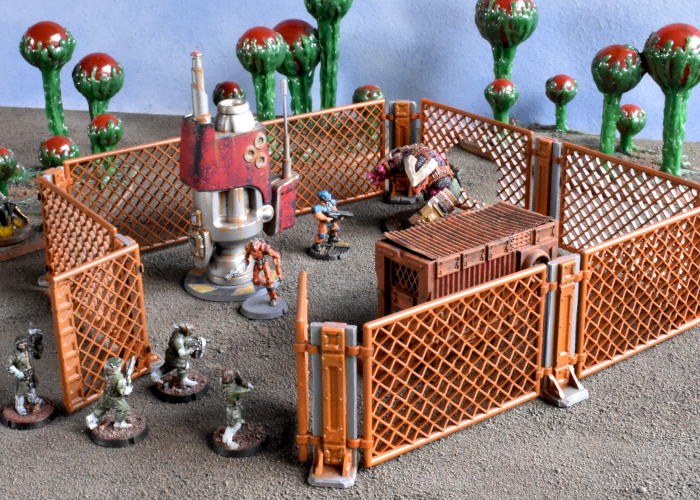
With a quick coat of rusty paint (Vallejo Beasty Brown spray with some splotchy spray of Tamiya Pure Orange and a light drybrush with Army Painter Fire Lizard) and some grey for the PVC parts (Army Painter Uniform Grey with a drybrush of white and some Vallejo Beasty Brown drybrushed into the creases) the fence is ready for the table!
To build your own fence of chainlinked doom, you can pick up the terrain sprues along with the rest of the Maelstrom's Edge range from the webstore
here.
What are you working on? We would love to see your models and terrain in the
Comm Guild Facebook group!
For other building ideas, modeling tutorials, army spotlights and conversion walkthroughs, check out the Hobby section of the Maelstrom's Edge website
here. And while you're there, grab a copy of the
Maelstrom's Edge V2 Beta rules!


