Experiment – Game Two
War & Conquest (W&C). I pretty much used the same units and figures as before, ended up with about 2500 points, though the Saracens had about 50 more points. The set up was pretty much the same as the first game. The object of the experiment was to compare rules systems, so I tried to keep the armies and tactics as similar as possible between games.
One issue was the size of the units. In Soldiers of God (SoG), units are based on stands (2 cavalry or 4 infantry, based 2x2) and come in small (2 stands), medium (3) or large (4). One result of that is an SoG medium size unit is kind of small for W&C.
So here are the army lists:
Crusaders:
Warrior king with Lionheart & personal standard
Noble with personal standard
Captain
2 Units of Holy Order knights (6 figs each)
2 units of knights (one French, one English: 8 figs each)
3 units of mounted sergeants (French(8), English (8), Western Europe (7) called MMA below)
2 units of Turcopoles (6 each)
2 units of crossbows (12 figs each)
1 unit of foot sergeants (12)
Saracens:
Sultan w/ Drummer
2 x Amirs
Royal Mamluks (8)
Mamluks (8)
3 units of Ghulams (8,6,6)
2 units of Tribal cavalry (8 ea.)
4 units of Turcoman horse archers (6 ea. I’ll just call these horse archers to avoid confusion with the Crusader Turcopoles)
1 unit of guard spears (12)
3 combined units of levy spears and archers (each unit of 12 & 12; referred to by their flag color black, red, blue)
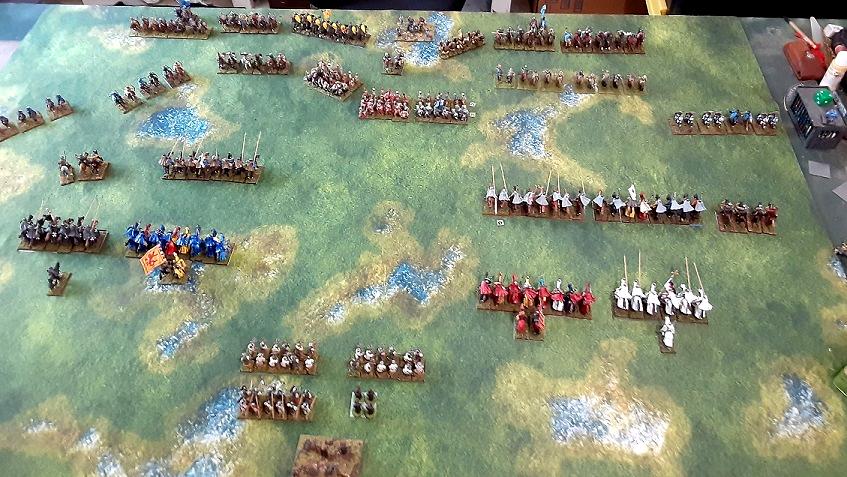
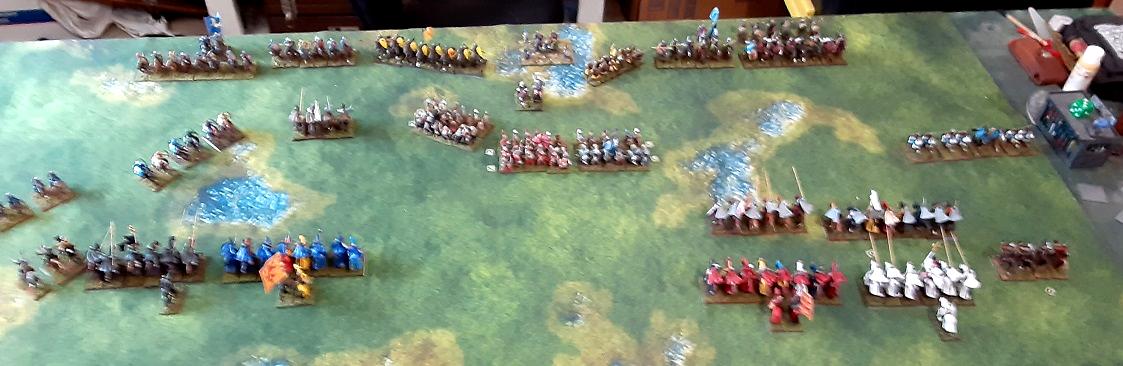
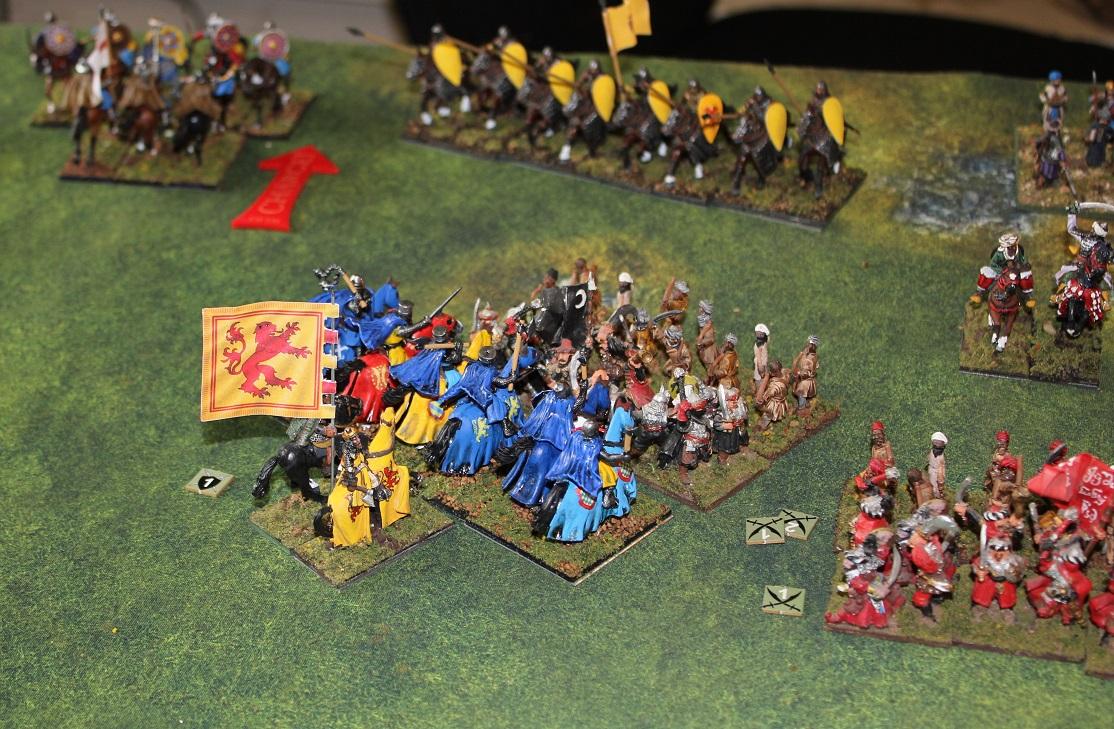
The Saracens formed up with their infantry in the center, with guards in reserve. The cavalry was split evenly between the two flanks.
The Crusaders also formed with infantry in the center and cavalry divided between the flanks: one Turcopole and two French units on left, the others on the right. The crusaders put the Turcopoles and mounted sergeants in the front rank, with the knights and holy orders behind. The idea was to save them from being shot up too much by Saracen archery and have them available for a breakthrough. Time will tell whether this was a mistake.
Never start a game without one

Startup from Crusader point of view

Turn 1: Crusaders use a SIP to gain initiative
Crusaders: Advance quickly, hoping to make contact before taking too many casualties from all the Saracen bows. Crossbows inflict a couple of kills to the enemy combined infantry formations.
Saracens: Content to stand and shoot. Tribal horse and horse archers hit the two Crusader Turcopoles hard – causing each one 3 casualties.
Turn 2: Saracen Initiative
Saracens: Still content to stand and shoot. Mostly not all that effective, but the did cause 3 kills to French MAA on the Crusader left (passed morale)
Crusaders:
Tired of being pin-cushions, the French MAA charge the horse archers; they fire and flee, without effect, but roll too high on flee and leave the board.
Likewise, on the right, the English MAA charge the horse archers opposite, with the same result. The Western Europe MAA charge the other unit of horse archers; another ineffective fire and flee, but this time they stay on the board. They also rally later.
The knights and holy orders continue to advance behind the respective MAA.
In the shooting phase, the two Turcopoles shoot ineffectively. The crossbows have better luck, causing a combined total of 5 kills to the Saracen combined infantry.
Turn 3: Crusader Initiative
Crusaders:
On the left, in danger of being surrounded, the French MAA charge a unit of Ghulams, who counter-charge. The Hospitallers charge the last unit of horse archers, they fire ineffectively and then do not flee far enough, as they are contacted and dissolve.
Shooting: The Turcopoles continue their shooting futility. The two crossbow units cause five more kills on the enemy infantry.
Combat: The French MAA fight the Ghulams; no casualties, thanks to a very good armor save by the Ghulams (saving 4/5 on a 5+). The French win, but the Ghulams stay.
Saracens:
On their right, not wanting to receive their charge, a unit of Ghulams charge the Hospitallers. Too close to counter charge, the Hospitallers hold. On the left, Ghulams charge the English & Western Europe MAA, both are able to counter charge.
Shooting: The two units of tribal horse (one on each flank) cause enough kills to cause both units of Turcopoles to disperse. The black unit of levy infantry fire a deadly volley into the French knights – killing three. The reds & blues fail to wound the crossbows.
Combat: Crusader armor fails to work as advertised
On the left, one unit of Ghulams kills 3 Hospitallers (only 1/5 on a 4+ save), but suffer 2. The faith of the hospitallers keeps them in the battle. The second unit of Ghulams gives up a narrow victory to the French MAA (thanks to a 2/5 armor save on a 3+), but stay.
On the Crusader right, the English & Western European MAA fight the Mamluks and Ghulams to a draw, but do cause a wound to the wing commander.
Turn 4: Both sides use a SIP, but initiative remains with the crusaders.
Crusader:
On the left, the French knights charge the black infantry – they must hold as there was no time to stand and shoot.
Shooting: the crossbows continue to cause kills to enemy infantry blocks (4).
Lots of combat:
Ghulams v Hospitallers, no casualties either side, the Ghulams have momentum. Hospitaller faith keeps them in the fight.
French MAA v. Ghulams – thanks to a 4/4 armor save, Ghulams stay in fight.
French knights v. Black infantry – Knights overrun them, but pursue too far, exposing a flank. This does cause the red infantry to break however.
On the right: Armor saves aplenty – as the English and Western MAA continue their duels with Mamluks and Ghulams.
Saracens:
In the center, the guard cavalry is able to charge the French knights in the flank. On the left, the tribal horse and the last unit of horse archers advance to harass the Templars.
Shooting: tribal horse and hrse archers take out 2 templars – they pass morale
Combat:
On the Saracen right: Ghulams defeat and overrun the few surviving Hospitallers – not even their faith could save them.
The French MAA defeat a unit of Ghulams and overrun them, but pursuit takes them off board.
The guard cavalry just defeat the French knights, their faith keeps them from routing, but they dissipate just the same – taking the wing commander with them.
On the Saracen left, the English MAA have defeated the Ghulams, but a half-hearted pursuit allows them to escape. The Western MAA and the Mamlukes continue to be locked in combat, though the Mamlukes have clear momentum.
The Crusader left has completely collapsed; they are pushing hard on the right, but the Saracens are holding. Things are stable in the center, but the crossbows have few targets.
Turn 5: Saracen initiative

Saracens
The guard infantry is able to charge the English MAA in the flank. Right flank units advance towards the center rear to challenge the crossbows.
Shooting: tribal cavalry and horse archers ineffective v. Templars
Combat: Western MAA are being pressed hard by the Mamluks, but they fight on. Remarkably, the English MAA stay on in spite of being flanked by foot guards.
Crusaders:
Not much they can do. The Templars turn to face the tribal cavalry that has been harassing them. The crossbows turn to face the approaching threat to their left.
Combat: The English MAA finally break under pressure from the guard foot to their flank. To add insult to injury, they are overrun (how embarrassing).
The Western MAA and the Mamluks continue their see-saw battle.
Turn 6: Richard uses his last SIP to win initiative.
Templars charge the horse archers, who flee off the side edge. Richard and his English knights finally get in the game and charge the blue infantry- they will stand & fight.
Combat: Richard easily defeats and overruns the blues, but a lackluster pursuit keeps them from reaching the previously routed reds, who are milling about in the center.
The Western MAA and the Mamluks continue to fight inconclusively.
Saracens:
They decide to avoid further casualties and stay put. The guard cavalry would have liked to have a go at Richard and the English knights – but the routing reds blocked the way.
Victory to the Saracens.
One day I’ll learn. I don’t know how many times I have to learn this lesson, but it seems like keeping the best troops in reserve waiting for a breakthrough never works for me. Although it did work for the Saracens and their guards this time. Perhaps if I had the heavy knights in the front row and the MAA in the second line, things would have turned out differently.
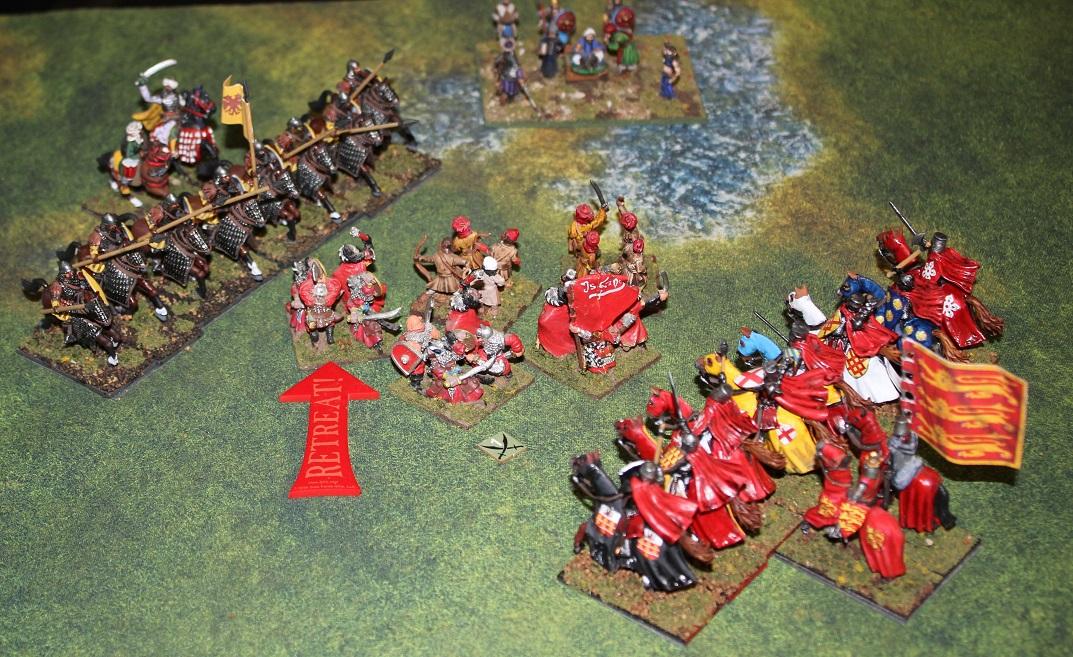
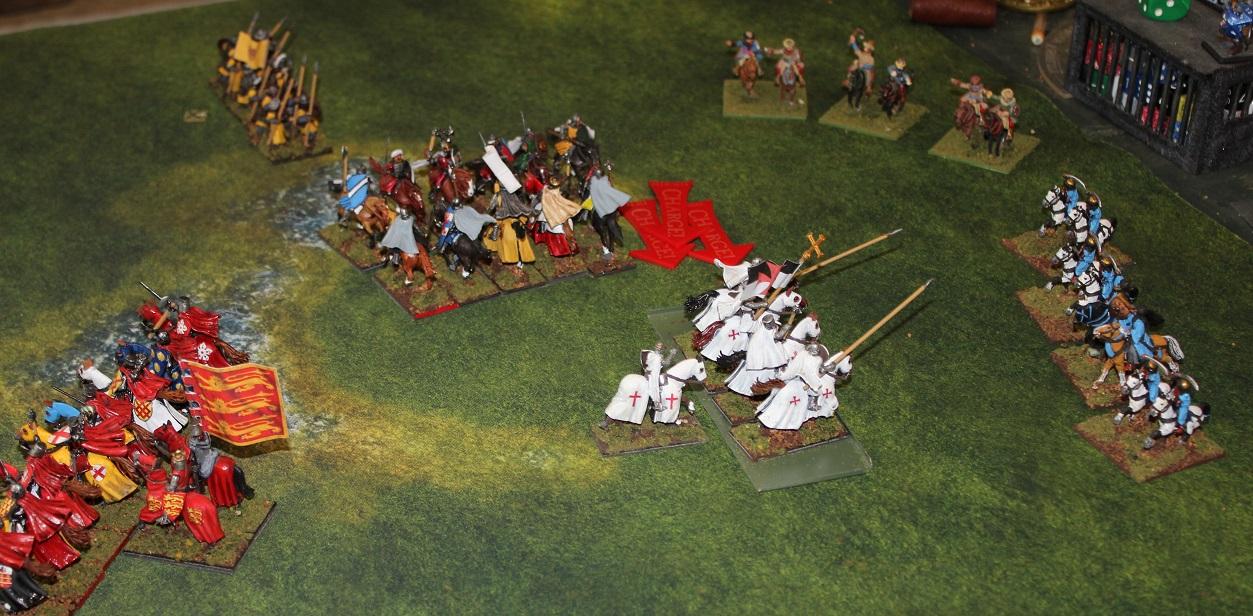
And here are some action shots:
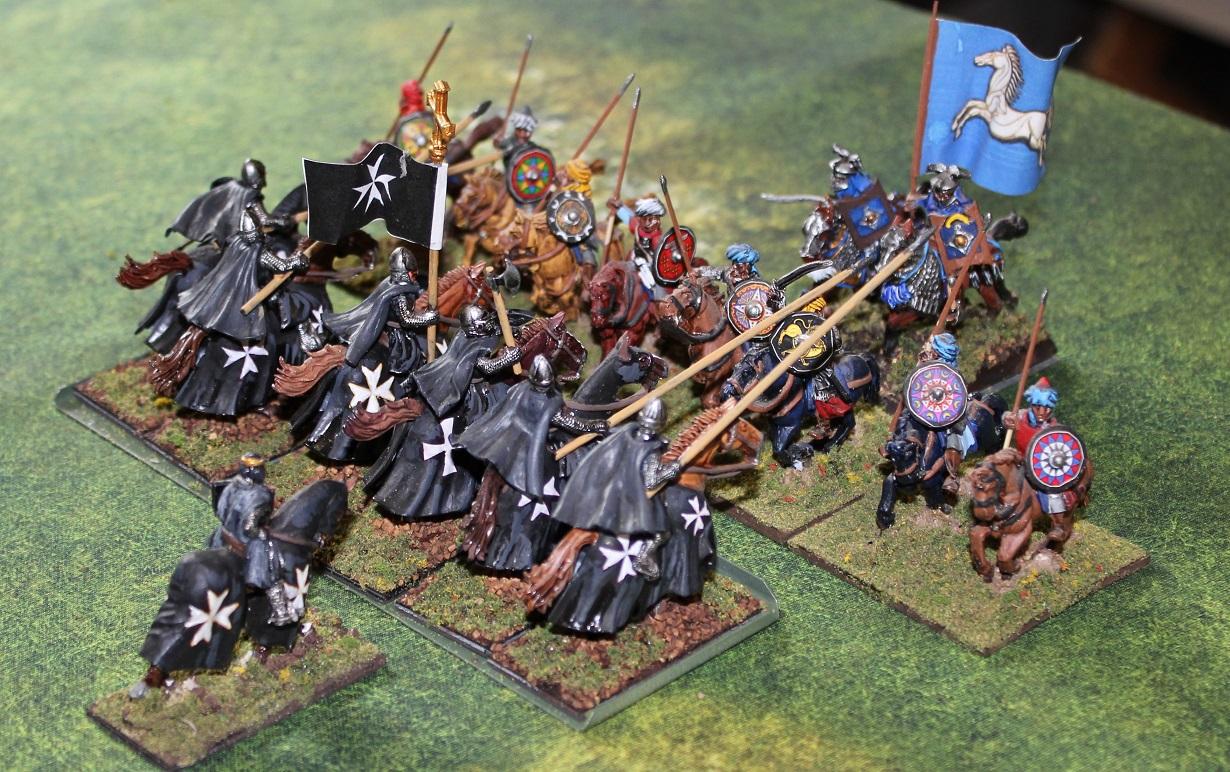
Knights of the Hospital attack some Ghulams
French knights lead by a Scottish King? (because I like the figure and can't paint Fleur
de lis)
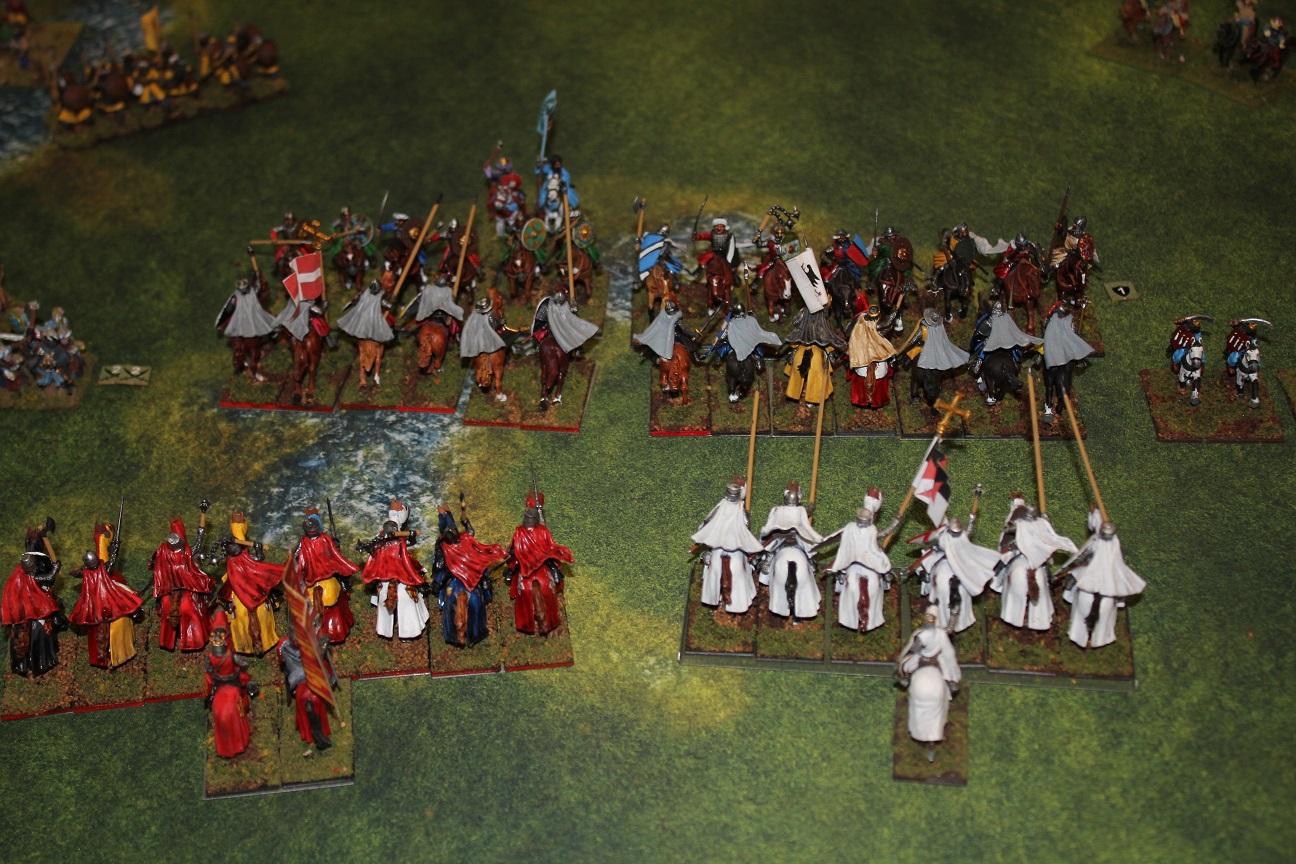
Action on the Crusader right
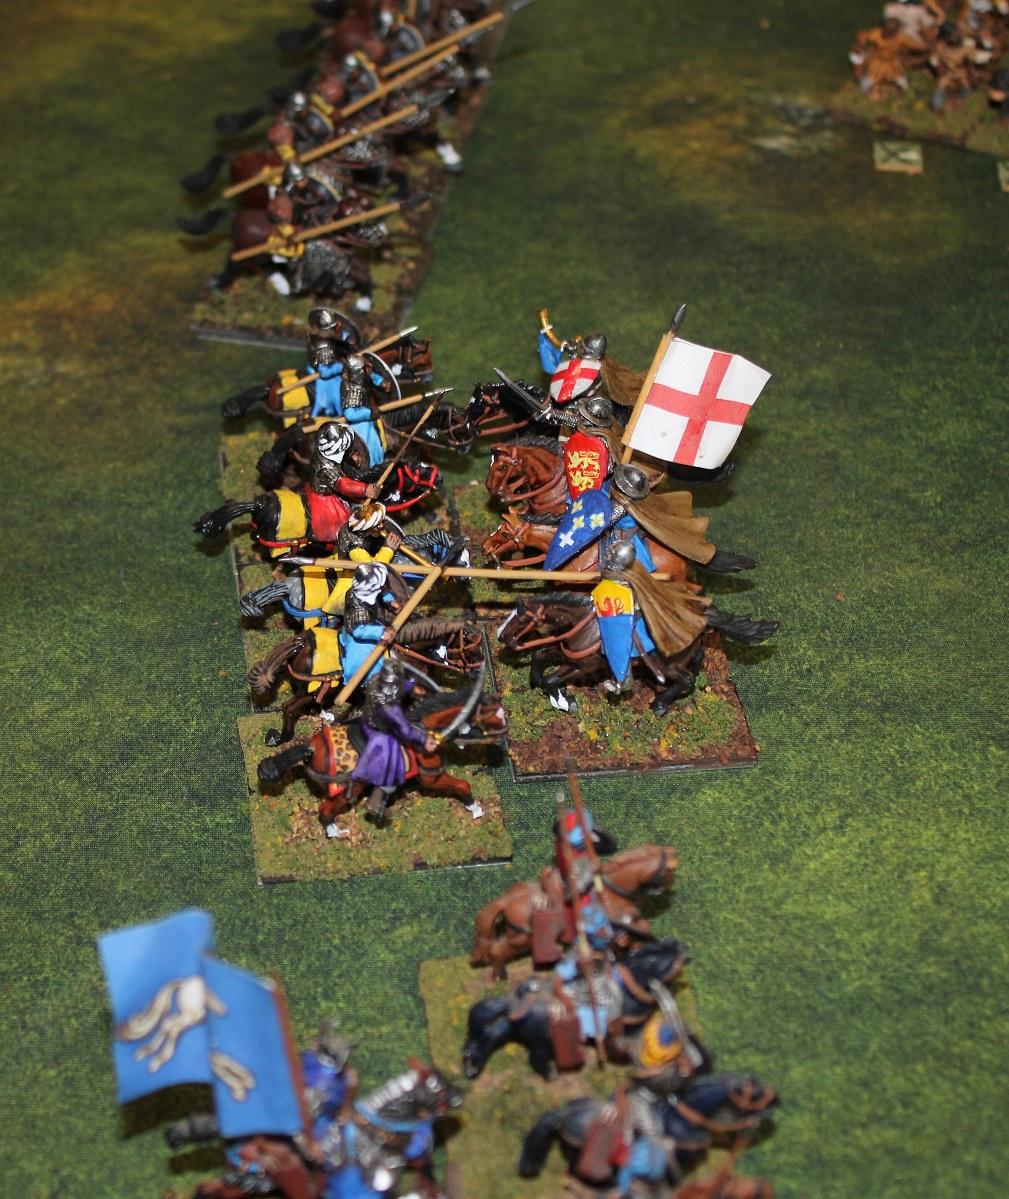
French men-at-arms charge in spite of numbers
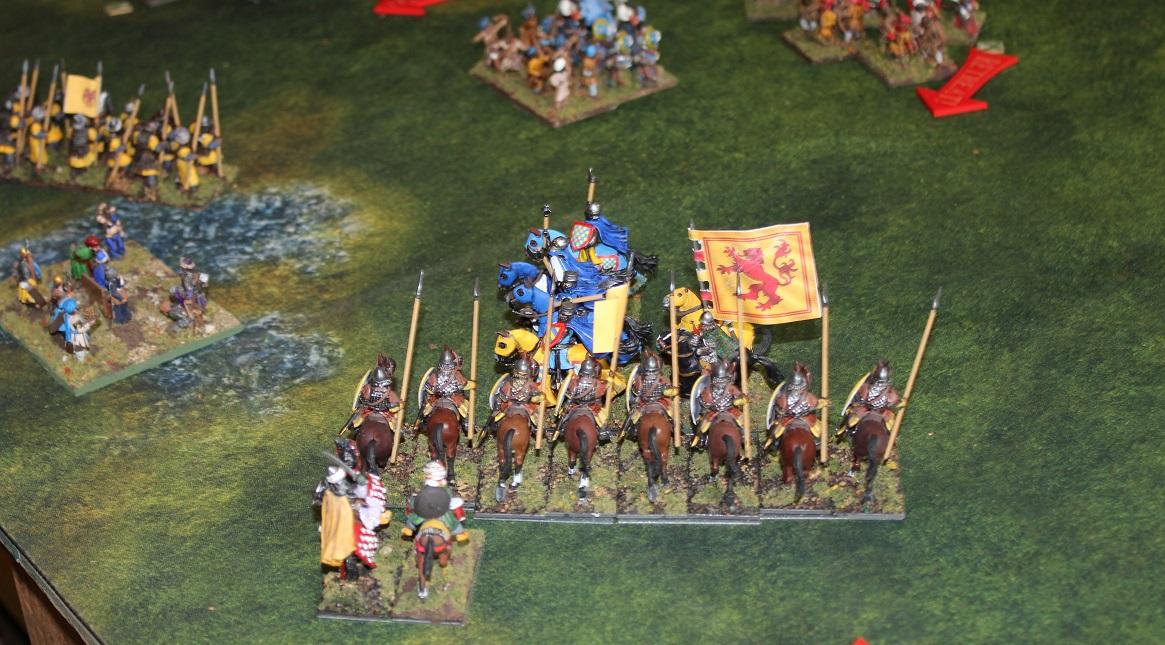
French knights and their wing commander flanked by Saladin's Guards
Templars, tired of being pin-cushions, turn to face their tormentors
Will you stupid peasants get out of the way!