...by insaniak]
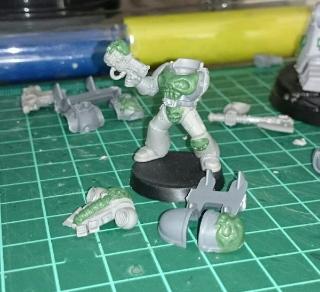
Skulls.
Every miniature needs a good supply. But I've noticed in recent years that GW have become somewhat slack with the provision of skulls on some of their miniatures. Some miniatures feature only a couple of them, and the occasional extremely unfortunate sculpt will have none at all.
Well, now you can fix that. By following this tutorial, you can load your miniatures up with skulls until the skull throne itself turns green with envy.
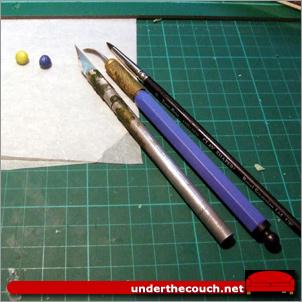
First off: Tools. You'll need putty (obviously), your sculpting tool of choice (shown here are a standard sculpting tool and a wax carver, which has a rubber tip that is just perfect for green stuff work where you don't need particularly hard edges) and a hobby knife. A cup of water is also handy for dipping your tools before working the putty.
You can sculpt these in place on the miniature, or sculpt onto a flat surface and then glue it in place on the miniature once it is set, although this works best if you're gluing onto flat surfaces - for curved or irregular surfaces, I would go with sculpting in place.
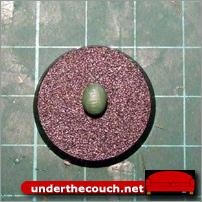
So, Step 1:
Roll a small ball of mixed putty into an egg shape.
Obviously, the amount of putty you'll need will depend on the size of the skull you want. You might want to experiment on some scrap bases or plasticard to get the hang of sizes and shapes before trying to sculpt directly onto your miniatures.
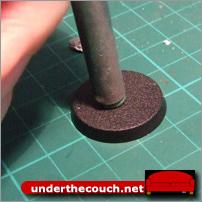
Step 2:
Use the flat bottom of your hobby knife (or something similar, if your hobby knife doesn't have a flat end) to press the putty down into a flattish oval.
Step 3:
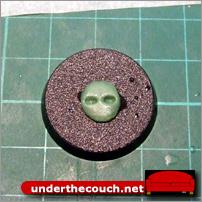
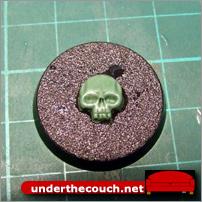
Use the rounded end of the sculpting tool to press two oval eye sockets into the putty, about halfway up the oval.
Step 4:
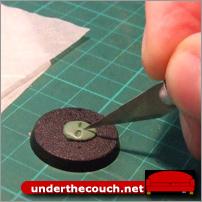
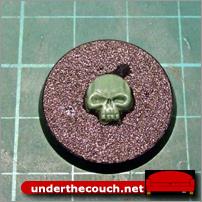
Grab your hobby knife, and cut two vertical nasal slits by pushing the tip of the blade slightly into the putty just below the eys and pushing it upwards towards the top of the oval. This should create a slit in the putty and raise a ridge (the top of the nasal cavity) between the eyes.
Step 5:
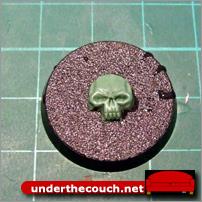
Cut horizontal lines right through the putty underneath each eye socket, extending in about a third of the way across the oval.
Step 6:
From the inner end of these cuts, cut vertically down to the bottom of the oval.
Step 7:
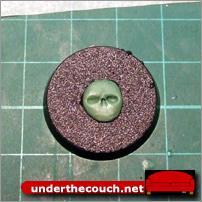
The small triangles on either side can then be pulled away with the tip of the hobby knife. You now have a top jaw.
Then, cut horizontally along the bottom of the oval to trim the jaw down to the length you want it to be. This can vary, depending on how you want the skull to look. A more stylised or bestial skull might have a very long jaw, whilst a more human skull would have a shorter one.
Step 8:
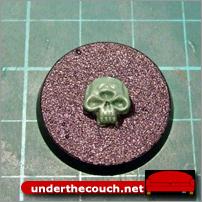
Take the knife again, and cut small vertical nicks into the bottom of the jaw to form the teeth. I generally use three nicks (one in the centre, then one each halfway across on either side) but you can use as many as you want, depending on how many teeth you want on there.
Step 9:
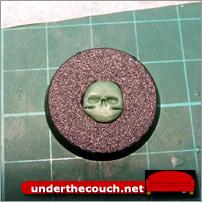
Take your sculpting tool, and laying it sideways, impress a vertical indent running up each side of the skull above the eyes. Then round off the cheekbones by pressing in the corners left by your horizontal cuts before.
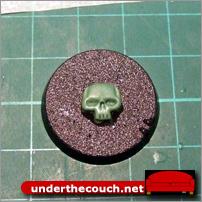
At this point, you have a basic skull. If you're after something relatively stylised and decorative, you can leave it there. Or, you can tweak it a little...
Step 10:
Using the hobby knife, cut small slits into the putty along the top of each tooth to give them a little more definition. You can also add ridges above the nose, or at the corners of the cheeks using the tip of the knife.
Step 11:
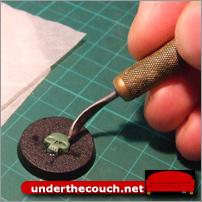
You can lengthen the skull slightly if necessary by rolling a wax carver upwards along the skull while applying gentle pressure, or by pulling the putty upwards with the back of a metal sculpting tool.
Step 12:
The eyes can be reshaped to give the skull a slightly different expression, or to make it look more nasty, by pushing the edges of the sockets in or out with the tip of a sculpting tool.
Step 13:
The teeth can be sharpened by pushing in their lower edges with the tip of your knife, creating a slim triangle shape.
Step 14:
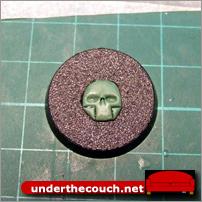
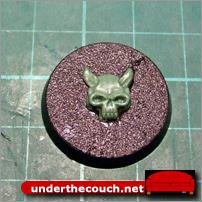
Or you can make it more bestial or demonic, by adding extra eye sockets, horns, longer teeth... or whatever else you can come up with. You could also add eyeballs by letting the skull set, and then pushing small balls of putty into the sockets with the top of a sculpting tool and then smoothing them down.
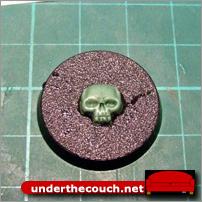
And that's about it. Take some time to practice, and soon you will be able to festoon your models with skullz to your heart's content.
Article from my P&M Tutorial thread here: http://www.dakkadakka.com/dakkaforum/posts/list/238793.page
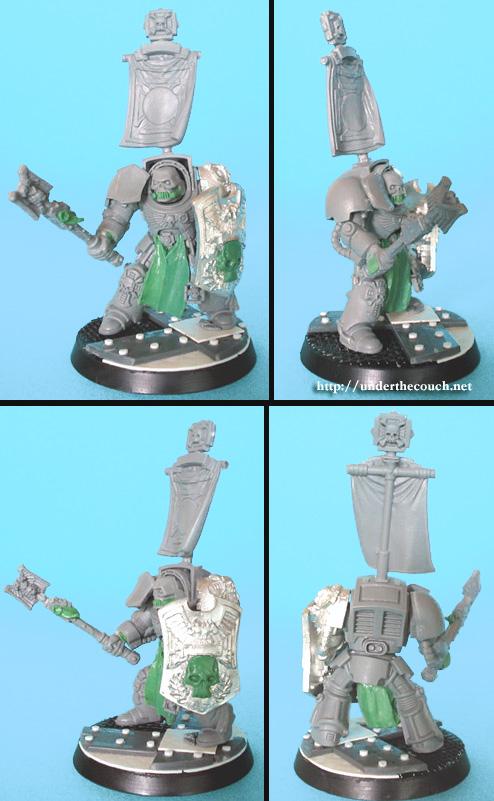
Some more hot skull action: