So, as some of you may know, I love my space and naval games! This means that I have a lot of minis that use flying bases, and this poses some problems with storage and transport. First, models with permanently attached stands tend to take up more room in whatever transport system you use. Second, the stems of the bases are prone to breaking if not handled correctly.
In the past, I've used a home-brew method for making removable bases that involves barrel clasps from the jewelry isle of Walmart and brass tubing. You can see a tutorial for this method over at Starhsip Combat News here:
http://www.star-ranger.com/BasingMinis.htm
Now, this method definitely works, but it does have its drawbacks; it is fidly, the threads of the clasps don't always match, and the materials can be hard to work with. So, I've been on the look-out for a new basing solution, and along came Corsec Engineering (
http://www.corseceng.com/) with their Omni-Stand system. I got an early batch of them last Friday, and spent some time yesterday playing around with them. How do they work? Lets take a look!
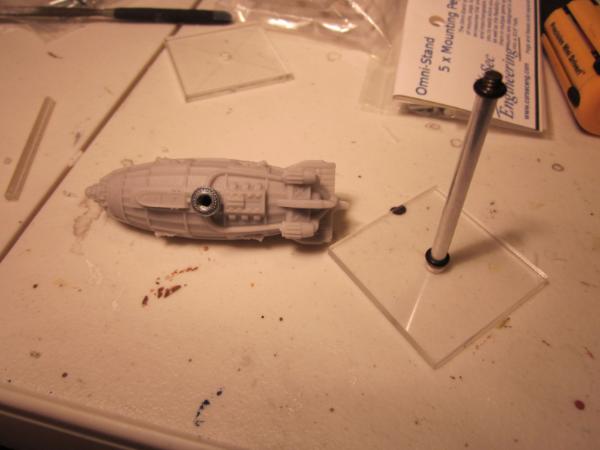
First, the system consists of bases that have a small threaded insert, a vertical post that is threaded on both ends, and a small cap that is threaded on the inside and designed to be attached to a mini. The info on the bags of parts state that the threaded insterts for the minis are designed for a 3/16" hole. Now, the holes that come in most minis are quite a bit smaller than this, so the holes will need to be widened. I did this in a couple of steps, as you can see here:

Once the hole is drilled, I attached the threaded cap with a bit of
CA:
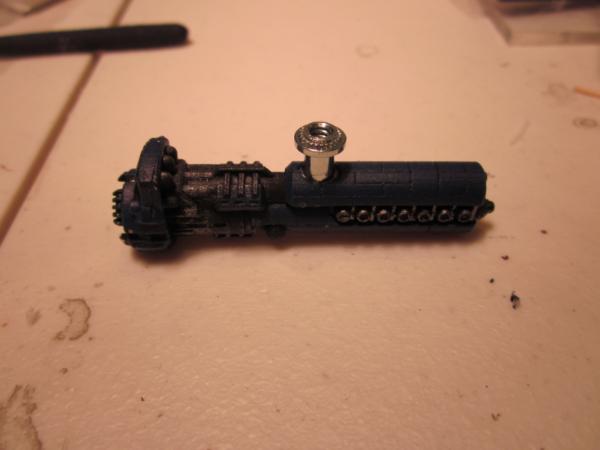
Now that that was done, the mini was ready to be attached to its base:
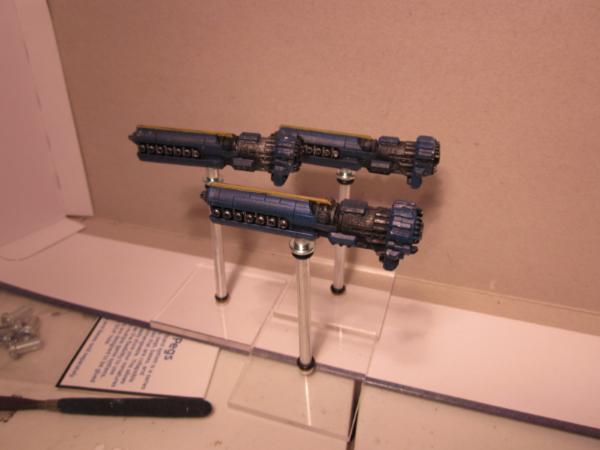
Overall, this process took about 5 minutes! Very quick and easy. The small black rings you see on the vertical posts are rubber O-rings, and they help keep the mini pointed in the direction you want. This is a major improvement over the older Barrel Clasp method, where the threaded components had to be glued in just the right spot in order for the mini to face forward on its stand.
A couple of things I did note:
-With metal minis, such as
DW bombers, the hole that already exists needs to be widened out to 3/16" to allow the threaded attachment to attach properly. It is impossible to drill the hole very deep due to the thinness of the model, but widening out a shallow hole will increase the surface area of the joint and improve adhesion.
-In softer resin minis, like the Prussian airship below, a 3/16" hole can be bored deeper, but results in a loose fit for the threaded connector. I found it was actually preferable to drill a 5/32" hole, as this made the connector a tight press-fit. Apparently, there is enough "give" in the softer resin to pull this off.
All in all, I am very happy with my investment in this basing system. It is well-made, versatile, easy to install, and based on my initial impressions, will stand up to a lot of use quite well!


