i have been a member on tis site for a while now, and i decided that i should give something back to everyone.
so, i figured i'd do a thing on how i did up my shadowsword kit.
this is mty first tutorial type of thing so i would love to have you all give me some feedback
it has been pointed out that i should get into the resaon for this;
i love my huge tanks (i ahve 6 baneblade class superheavies now) however i dont like to run the tanks with just the one main weapon. so i have magnetized and worked through the bitz of nearly all my superheavies so that they are all interchangable and i can try out different configurations
i hope you will enjoy the knowledge that i am willing to share with everyong here
(oh, if this is the wrong place for this i will gladly move it where ever it should be)
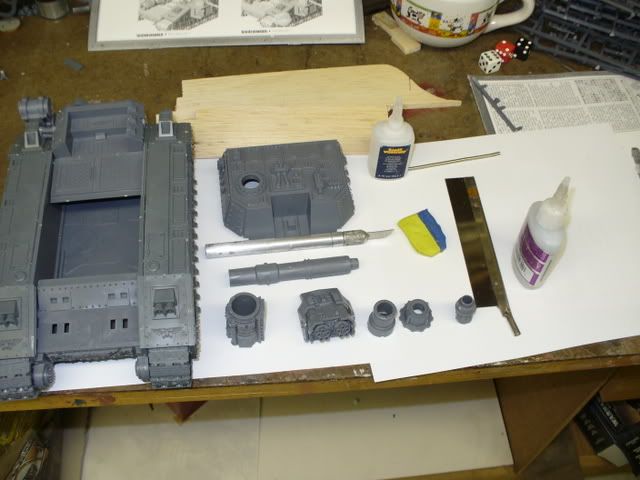
so; the tool and equipment i use for a project like this;
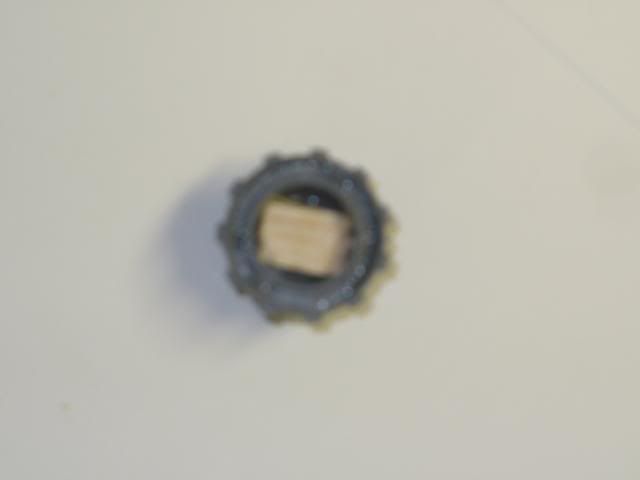
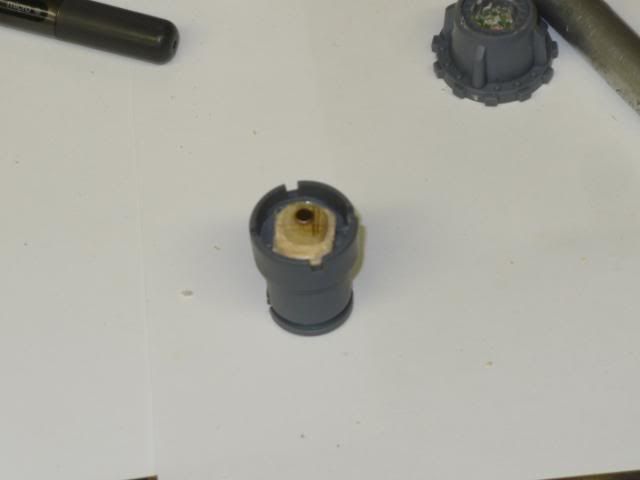
you will want to place your first magnet inside what is the BANEHAMMER barrel
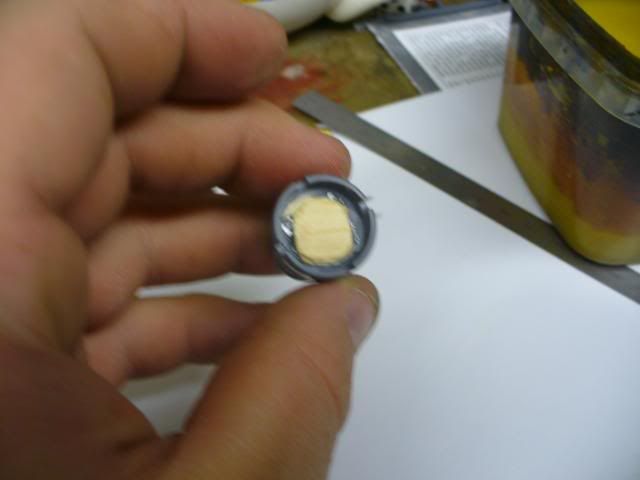
start with a plug of wood (or plasticard or anything else really) at the inside base of the barrel
the first pieces can be assembled as normal AFTER THIS!!
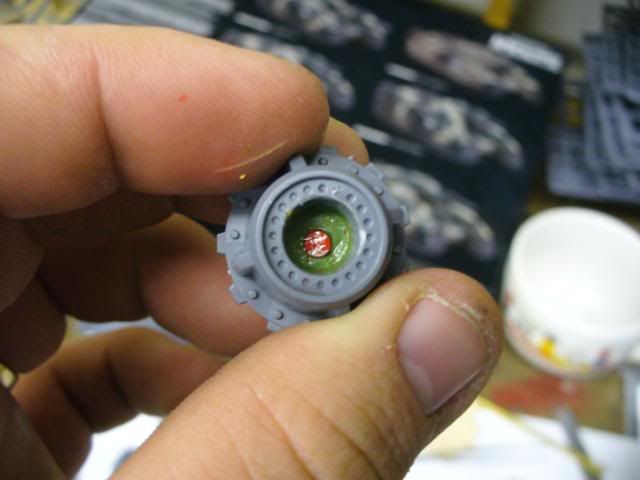
you will want to take some Green Stuff and fill the first three milimeters of the barrel
this is where you will place the main magnet. MAKE A POINT ON KNOWING IS
IT IS NORTH OR SOUTH!!
(I use paint on the north polarity to tell the differance)
next you want to take the STORMSWORD BARREL
!!NOTE!! this part is fairly tricky
take the barrel halves and glue them together. next you want to take some building material (wood or plasticard is best) i use aircraft balsa for all my smaller projects,
you want to build up the interior where the barrel meets the banehammer barrel.
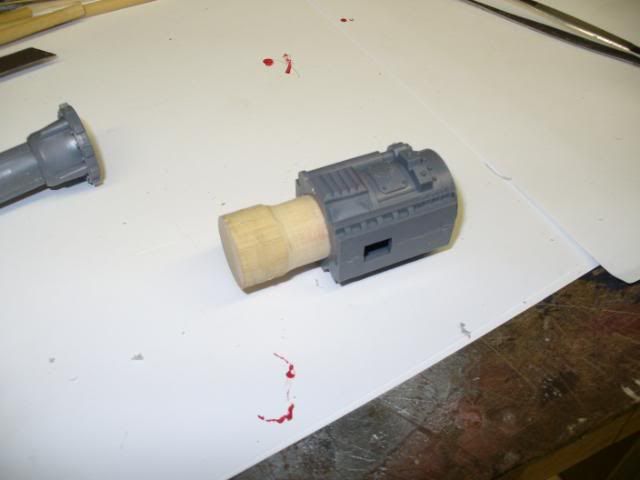
now you want to take a dowell rod that is just going to slide in and out of the of the banehammer barrel.
you want to use a dowell that is just under 3/4 of an inch and a segement that is just under 2.5 milimeters long
ATTACH A MAGNET
TO THIS WITH A POLARITY OPPOSITE THAT OF THE ONE THAT IS IN THE BANEHAMMER
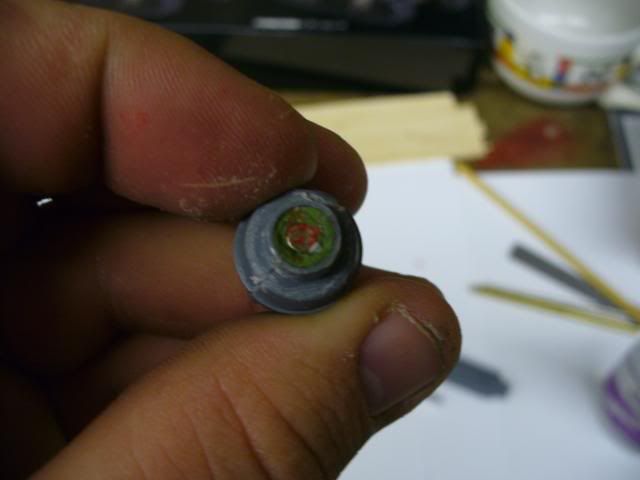
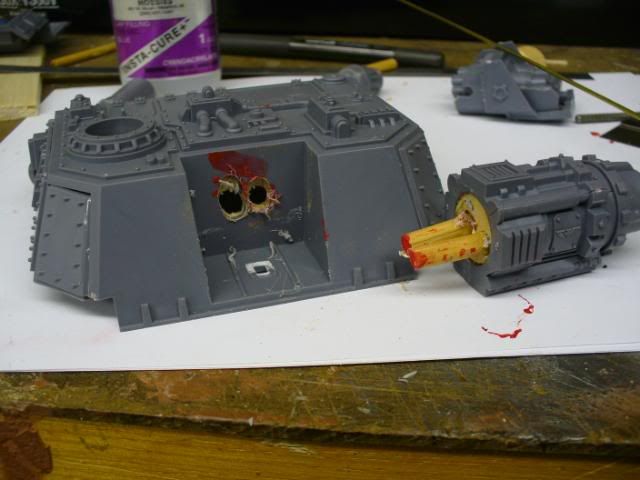
next you want the DOOMHAMMER BARREL
place a wad of green stuff in the barrel and add a magnet of the OPPOSITE POLARITY OF THE BANEHAMMER BARREL MAGNET.
NOW
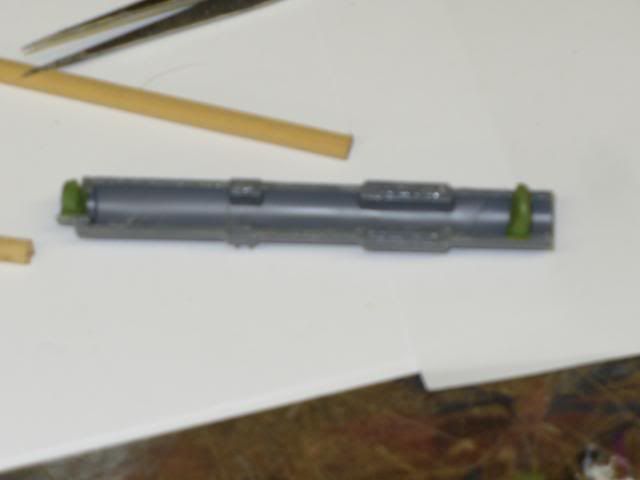
WE DO THE BIG MAIN GUN
use the same technique for the narrow portion of the barrel as you just used for the doomhammer.
the the same thing for the wide end as well, however place the green stuff a little down the barrel so that the shadowsword cannon tip can be placed at the end.
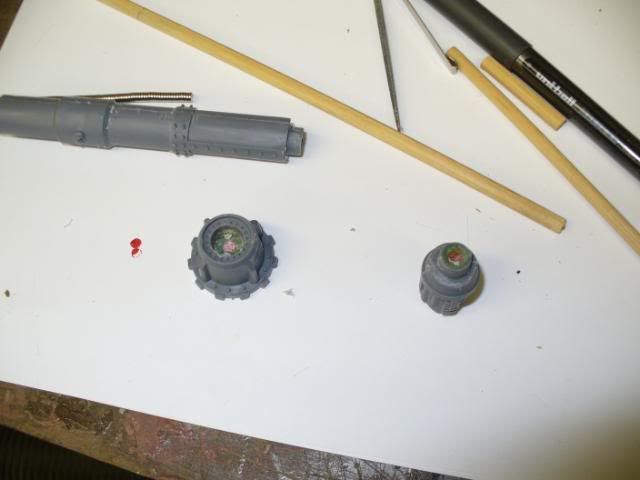
now for the important part;
MAKE CERTAIN THAT THE MAGNETS YOU PLACE IN EACH END OF THE BARREL ARE GOING
TO CONECT CORRECTLY
TO THE BARRELS THAT WILL ATTACH
TO THEM.
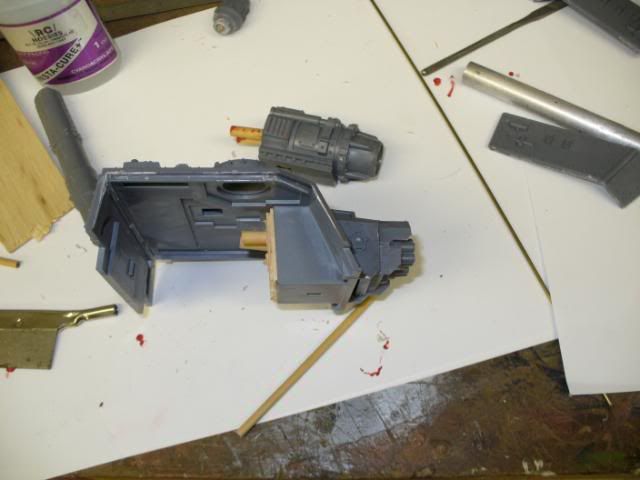
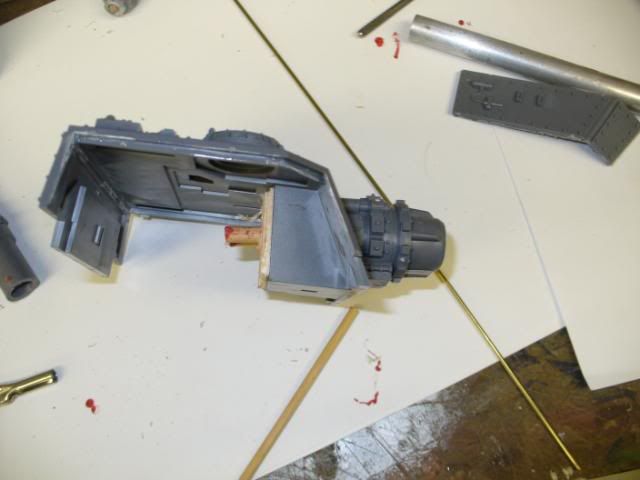
NOW FOR THE MAIN GUN ATTACHENTS;
as you assemble the main segment set a peiece of formed wood or plasticard in the hole so that is is blocked off at the back. i ran a dowell into it after having sanded it down a bit so it would properly fit. the dowell works very well for this.
you are going to run two pins into the material you used
ot plug the hole in the main section. and run those pins through the turret of the tank.
for the STROMLORD GUNS
assemble them as normal, however put two smaller holes in the back for pins [img][http://i263.photobucket.com/albums/ii145/daungli/P1010937.jpg/img]
place coresponding holes in the front panel of the turret
every should now be set and ready to go.
next time i will walk you through how to build a light up plasma blastgun for the stormblade

glory to the emperor!!!

