Everyone in this hobby eventually comes to the same point whether they be a newcomer or hardened veteran.
“How do I store and carry my miniatures from point A to point B without damaging my investment?”
With all due respect to Sabol, Battle Foam, and the other fine suppliers of army protectors/transports, it can be a bit out of budget for some gamers to afford these products. Or, if you’re like me, you just want a challenge to see if you can make something to do the job. In the following tutorial I will show you a relatively cheap and easy way to create your own case.
Supplies used in this tutorial:
Case
Foam
Copper pipe couplings
Adhesive
Sharpening tool
Ruler
Sharpie
Craft knife
THE CASE
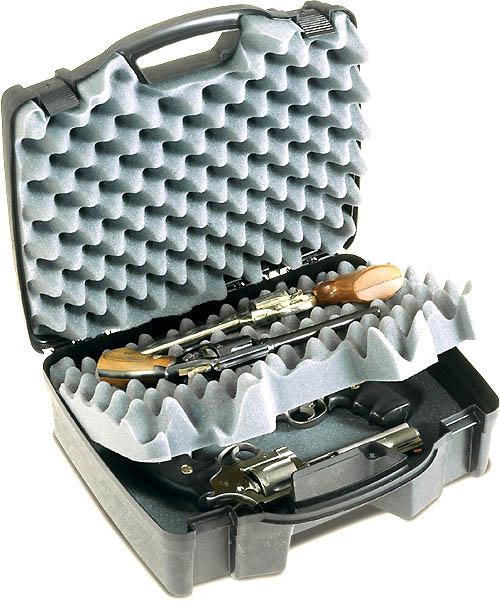
The case I use is a Plano 1404-02 four pistol carrying case. These ran $9.95 each from Wal-mart. You have to go to the firearms section to find. They are durable, lockable and come with 2 layers of 1-1/2” eggcrate foam and 1 layer of 1-1/4” pick-n-pull. I picked up 6 of these over a three month period. Although, you can use any case you come across. I’ve seen some pretty cool looking cases that would work from Harbor Freight, Canada Tire, and other discount sites. The case you decide to use is not important. Whatever you come up with and are happy with will work for your transport.
 THE FOAM
While looking for foam I came across an ebay auction from a company out of Troy, Michigan. Here is their ebay store:
http://stores.ebay.com/Foam-N-More-Upholstery-Inc_Mix-Upholstery-Foam_W0QQcolZ4QQdirZ1QQfsubZ12QQftidZ2QQtZkm
They also have a regular website:
http://www.foamandupholstery.com/
As you can see, the pricing is pretty good but shipping can get a little expensive. You may be able to find foam locally.
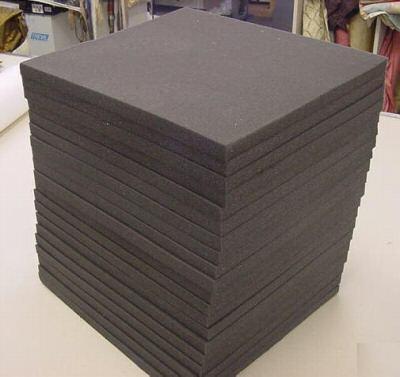
I purchased one of the offcut lots they had. I paid $23.00 ($10.95 for foam, $12.00 shipping) for 15 pieces of 16”x18”x1” charcoal, high density packing foam. The foam I received has a layer of rubbery skin on one side. At first I saw this as a problem but, as I will explain further on, this came to be a good thing. You will need a bottom to your foam trays so you need to also purchase a thin (1/4” or thinner) piece of foam sized up for the size of project you intend to do. If you plan on making three trays that are 12”x10” you need enough bottom foam to make 3 12”x10” bottoms. If you plan ahead and purchase the thickness of foam you need you don’t have to layer it like I did. When I first started gathering the supplies for this project I didn’t think ahead and got the 1” thick foam. It’s kind of a pain to have to layer your foam to the desired thickness.
ADHESIVE
You need something to glue foam together. I have used PVA glue but it tends to get brittle and can cause problems when cutting. I have opted for the spray on foam adhesive. Make sure to read the instructions on the can.
 COPPER PIPE COUPLINGS
You can find copper pipe and couplings at any DIY hardware store. They range from ¼” to 2”. The thing to remember about pipe is the measurement is the inner diameter (
ID). Copper tubing usually has a 1/16” wall thickness so whatever the size is you need to add 1/8” (you need to add both sides of the wall thickness) to get the outer diameter (
OD). The couplings fit over the pipe so the
ID of the coupling is the same as the
OD of the pipe. Then, you need to add the wall thickness of the coupling, usually 1/16”, to get the
OD of the coupling. Whew… math. So, for instance, a 1” pipe has an
OD of 1-1/8” so the coupling would have an
OD if 1-1/4”. Confused yet? It’s handy to take a ruler marked in millimeters to measure the couplings. I wanted to be able to accommodate 25mm and 40mm bases with 5mm of room to allow for any overhang. I needed a 30mm and 45mm
OD so I picked up 1” and 1-1/2” couplings at Sutherlands (local DIY store) for $1.29 and $1.89. They aren’t perfect but they’re pretty darn close. I also picked up a bunch of drywall for the basement but that’s another tutorial.
 SHARPENING TOOL
This is pretty self explanatory. What we need to do is put an edge on the couplings.
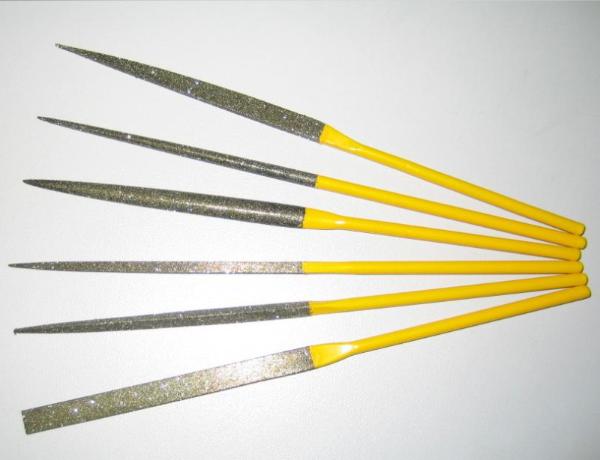
I have used a round file
A Dremel tool with the lawn mower blade sharpening attachment or drum sander

and this:
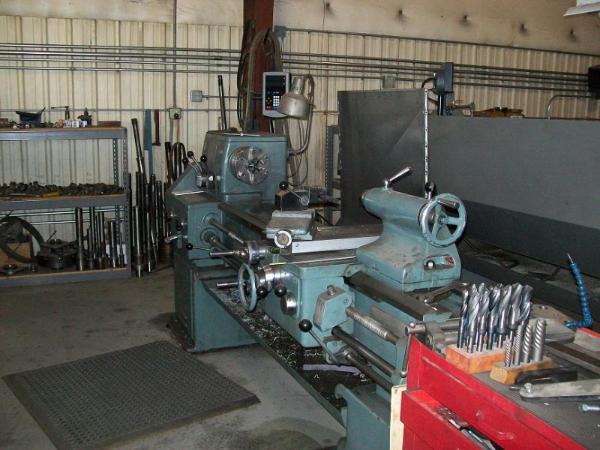
The shop I work in has a computerized lathe used for turning piston rods. While you may not have access to one of these you can still put a nice edge on the coupling with the other two tools. Copper is a soft metal so there isn’t too much to it.
TAPE MEASURE
The handy dandy tape measure.
RULER
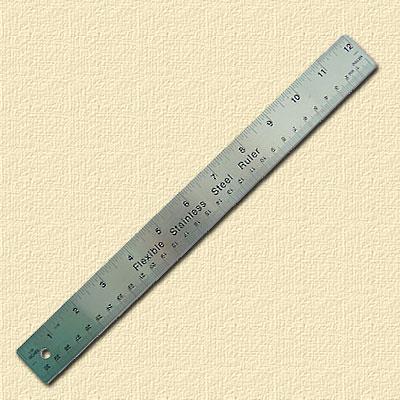
Yep. The old reliable ruler. I use a metal one with cork on the back to prevent slipping. It’s also marked in metric and imperial units. (ie: millimeters and inches)
 SHARPIE
I use the sharpie to mark out my cut and guide lines. If you have a problem with seeing lines on your finished product you can find something else to mark with.
 CRAFT KNIFE
The main idea here is SHARP. Dull blades make for poor cuts when dealing with foam. I use the extendable utility knives with the break-a-way blades found in dollar stores.
 PREPARING THE CUTTERS
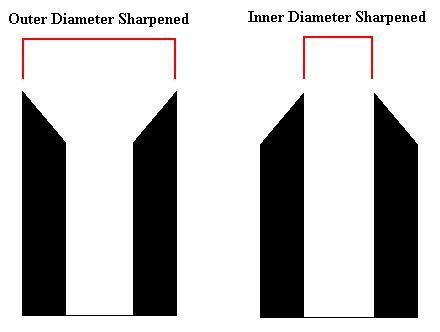
We need to give the copper couplings a nice edge to do the cutting of your foam. As stated previously you can use a few different tools to do this. There are two ways to sharpen the couplings to match your needs. You can sharpen the inner edge or the outer edge. I found that sharpening the outer edge gave me the diameters I was looking for. See the diagram below:
THE FILE
When sharpening with the file you need to pay close attention to the edge of the coupling. Try to keep a nice level cutting surface while sharpening the edges. We’re not looking for razor sharp surgery scalpals here, just a nice edge.
THE DREMEL
If your dremel came with the blade sharpener you can quickly get the edge you’re looking for although the sharpener may not fit into a smaller coupling. The drum sanding bit also comes in quite handy for putting an edge on the coupling. Once again, pay attention to keep a nice level cutting surface.
THE LATHE
If you have one of these you should probably already know how to use it.
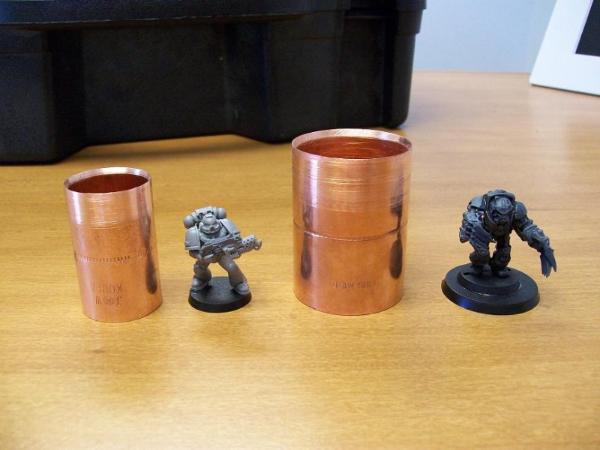
You should end up with something like this:
 THE PROJECT
Now that we have all the supplies gathered up and your cutters are ready it’s time to begin.
PREPPING THE TRAYS
Find the inside dimensions of the case you are using.
You can do this by measuring the length and width of the inner cavity. This measurement will be the size of your trays.
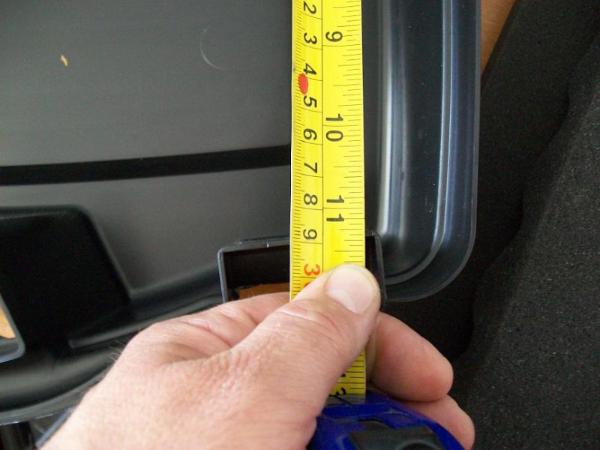
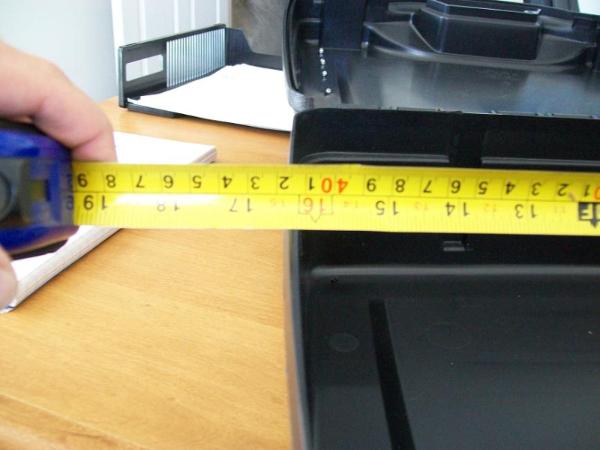
It’s easier to measure a rectangle or square case than the one I chose. If you’re case came with foam like mine you have a template for the trays.
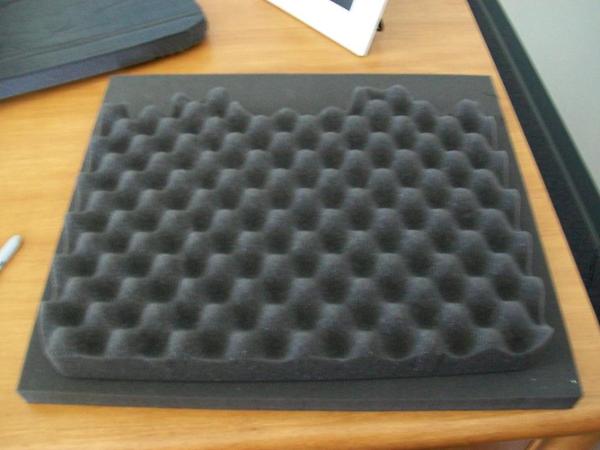
Next, you need to determine how many trays your case can hold. This would be the depth of the case plus any depth in the lid. Divide the total depth of the case by the depth of each tray. This will be the number of trays your case can hold. Remember, you will be adding a bottom to each tray so keep that in mind when adding up the total.
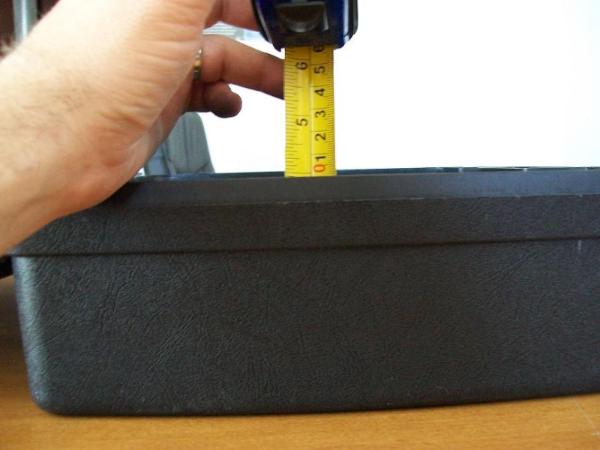
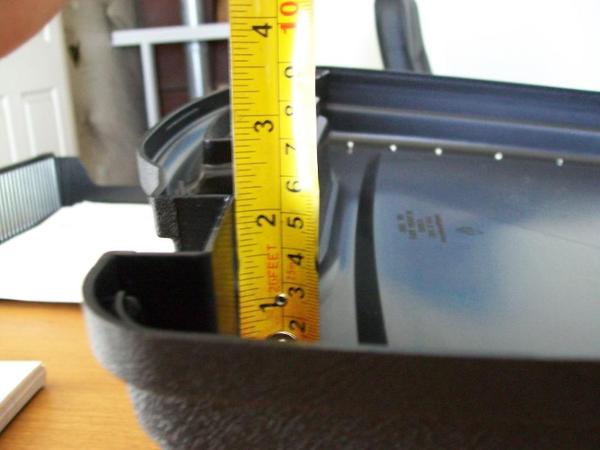
For example:
The total case depth is 6.75”
Each tray you plan on making is 2.25” (2” tray with ¼” bottom)
6.75/2.25=3
You can put 3 trays in your case.
You can now start cutting the foam to the dimensions of your case. Measure your width and length onto the foam and mark it with the sharpie. I came up with 15-7/8” x 11-1/8”.
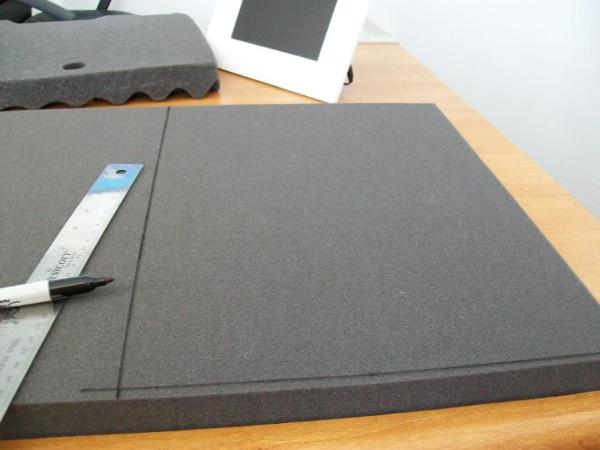
Place your ruler against the lines and firmly/smoothly cut along the ruler with your craft knife. Try to cut the foam all the way through on your first cut. Multiple cuts into foam tends to make the edges look ragged. I don’t have any pictures of the actual cutting. It’s hard to cut and hold a camera at the same time!
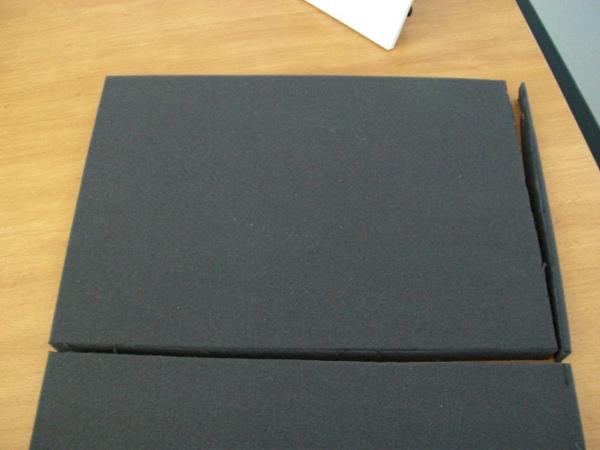
You now have a blank tray ready for cutting.
I had to make a few adjustments to the rectangle piece as my tray is rounded.
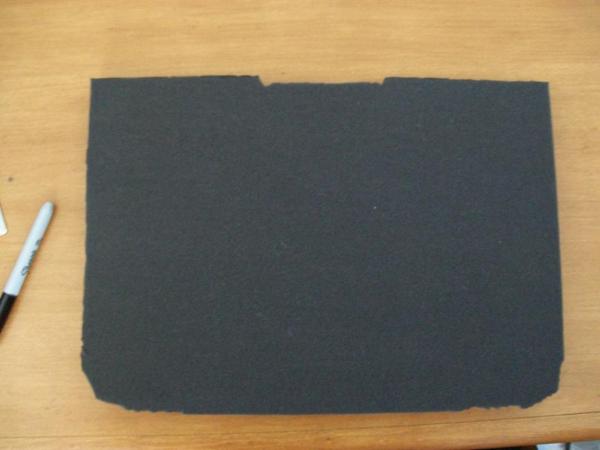 LAYERING FOAM
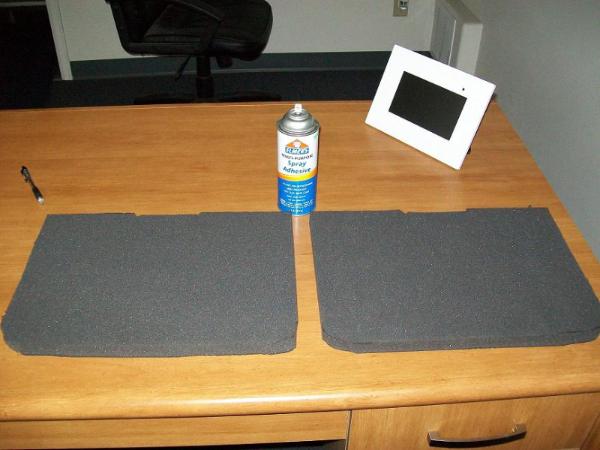
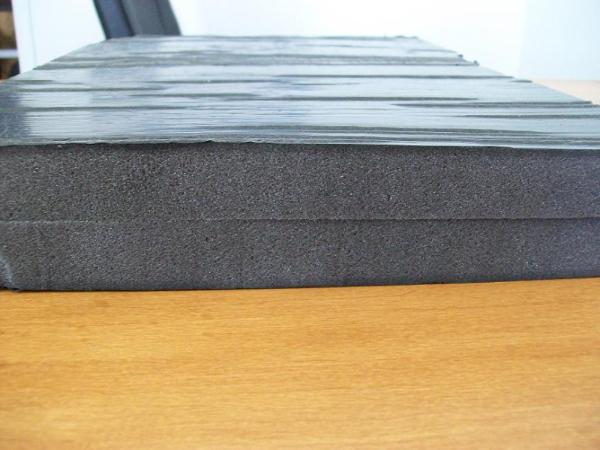
If you were like me and only bought one thickness of foam you may need to layer it to give you the needed depth. Take your blank trays and spray both bottoms with the spray adhesive. Take care when laying the foam together to line up the edges. Press down on the top layer to compress the pieces together. Let the glue dry completely. (See directions on can) You can add another layer as needed to get the proper depth.
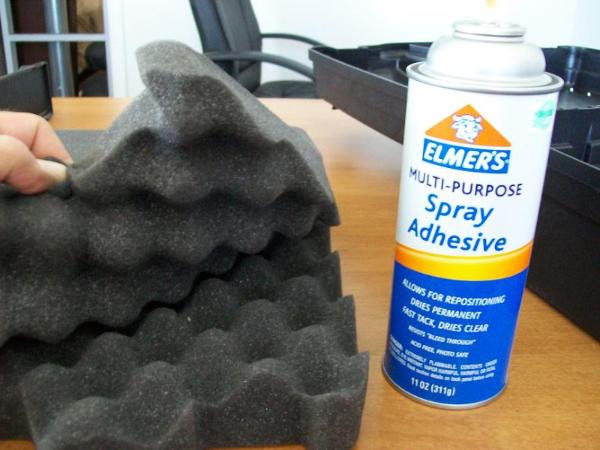
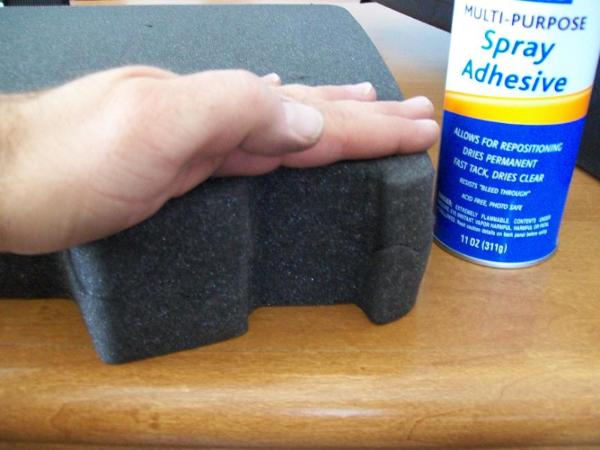
You can also glue together eggcrate foam in this way. Just spray, interlock the “teeth”, and compress.
 TRAY LAYOUT
There are a few ways to lay out the compartments on your tray. You could just start cutting out holes with your new foam cutters and try to keep a straight line. While this can be fun you can start to stray and waiste precious space. I started by making guide lines. I measured in 3/8” (8mm) from the sides of the tray and made lines to better my chances on keeping everything straight. The 3/8” keeps enough material on the outside of the tray to give it a bit of rigidity and protection.
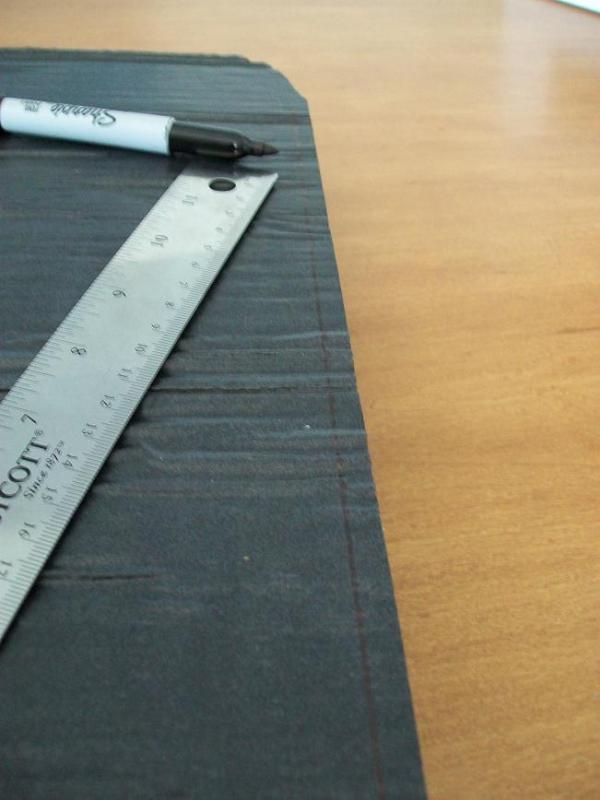
You’ll notice my top line is a bit further than 3/8” on the sides due to the recess in the middle.
Line up your cutter (30mm in this pic) on the perpendicular lines.
[
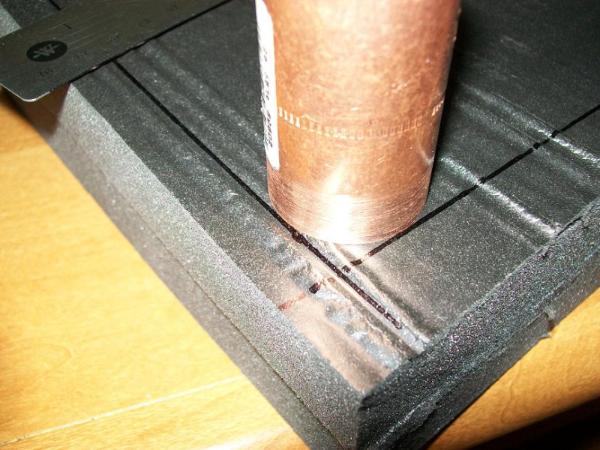
Press down while twisting the cutter. Kind of like screwing a lid onto a bottle of soda. You will get the feel of how much force to use.
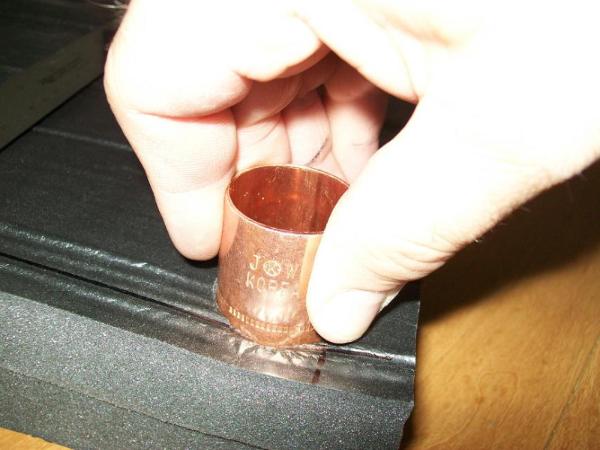
Try to keep the cutter as level as possible.
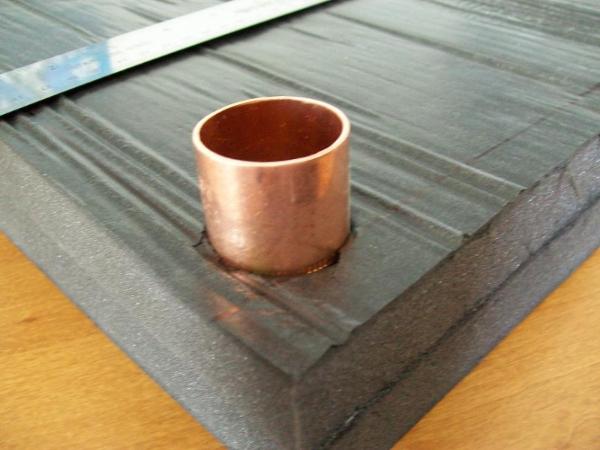
VIOLA! One 30mm compartment ready for occupancy.
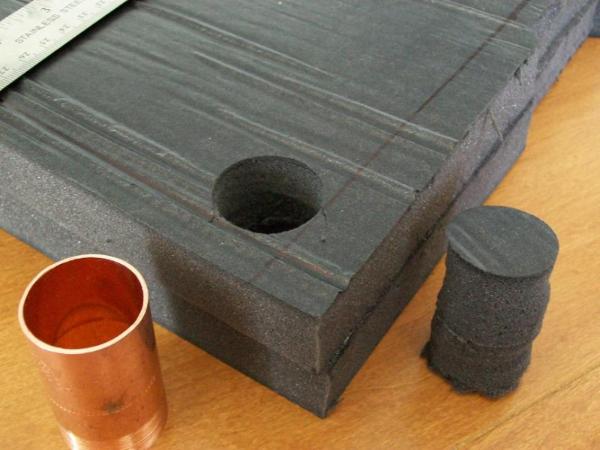
Move your cutter approximately 3/8” down the guide line and repeat process.
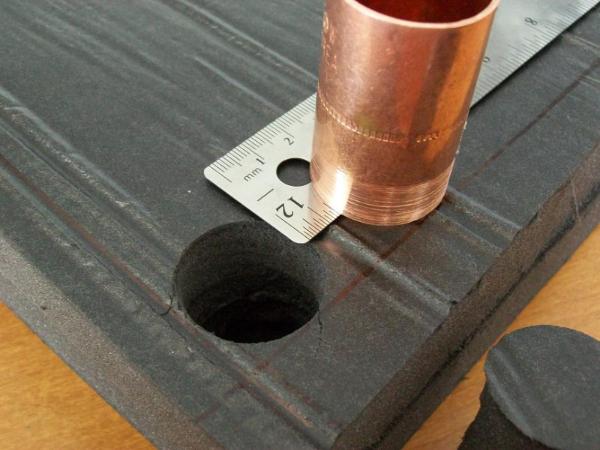
When you have completed the row get your handy ruler back out and measure and mark another guide line 3/8” from the bottom of the last row.
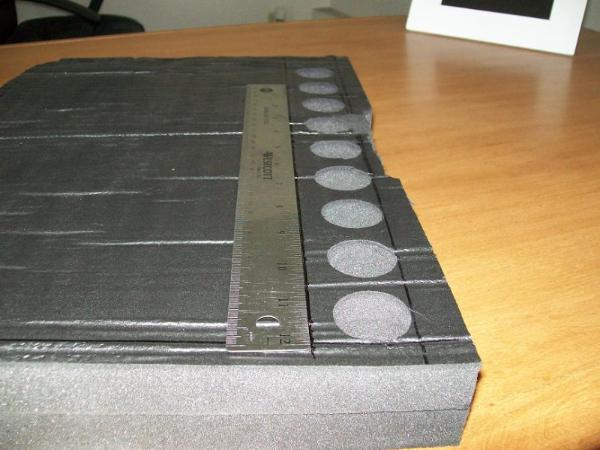

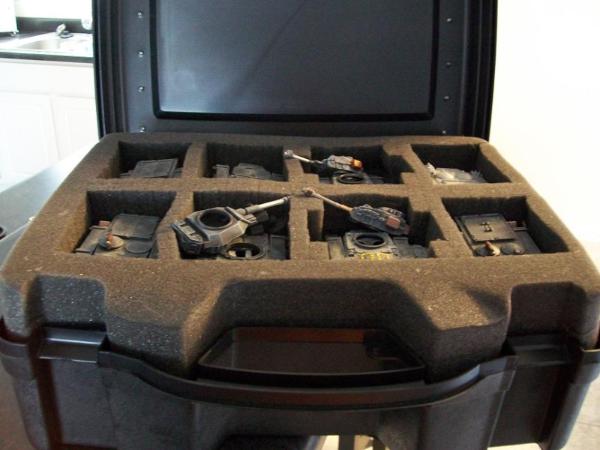
Repeat process until you have enough compartments or don’t have any room left on the tray. The rubbery skin on the foam got a little torn up from the cutting process but the foam is nice and smooth and ready for troop transporting.
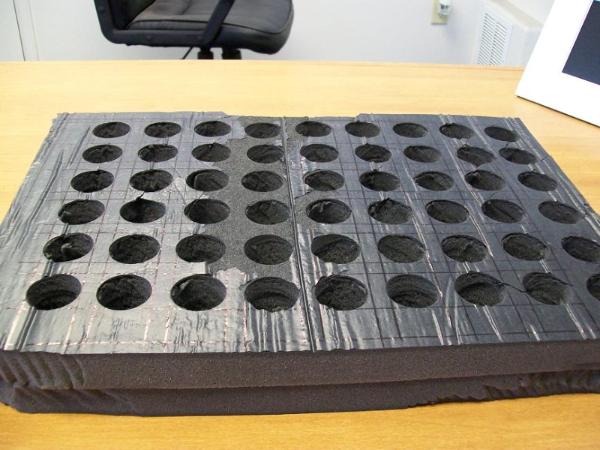

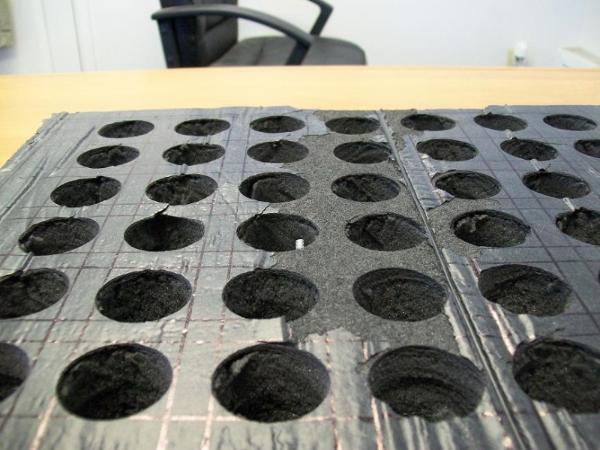
Keeping 3/8” of material between compartments keeps enough rigidity for the foam and protection for your minis. I don’t recommend going any thinner. You can mix and match compartment sizes.
EGGCRATE FOAM
You can also use eggcrate foam.
Place your cutter into one of the valleys and use the same cutting techniques as the flat foam. The eggcrate foam I have is softer than the packing foam so I had to be careful during the cutting process.
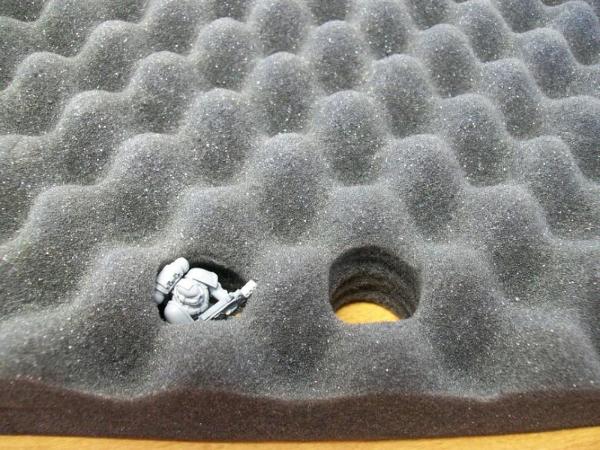 APPLYING THE BASE
Take your precut bases and glue them to the tray just like layering the foam. Spray, line up, compress.
You’ll notice my trays don’t have a base glued onto them. Remember that rubberized skin from the foam I bought? I just cut the foam down to the skin and plucked the foam circle out of the tray. Premade bases!
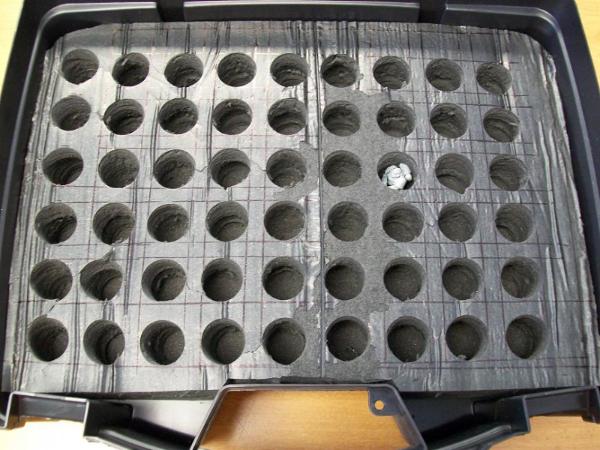
If your case has a gap between the top tray and the lid you can cut another piece of foam to use as a spacer. Just be careful to get the thickness right. You don’t want to compress the trays too much, damage can occur to your minis.
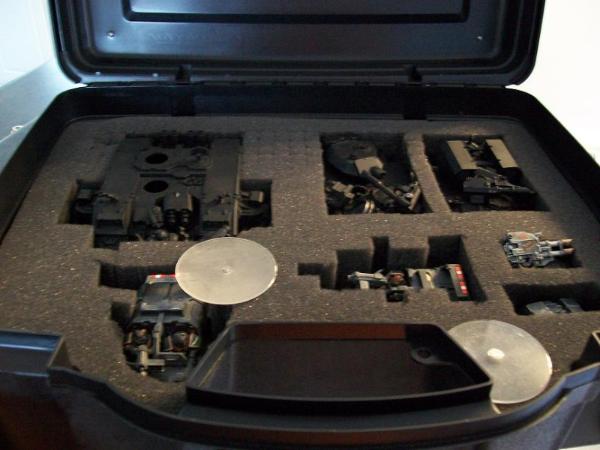
In my armour case I took two of the pick-n-pull pieces and layered them together for 2-1/2" of tray. I added an 1/8" foam for a base that I found at a craft store. Now I have a dedicated tank transport.
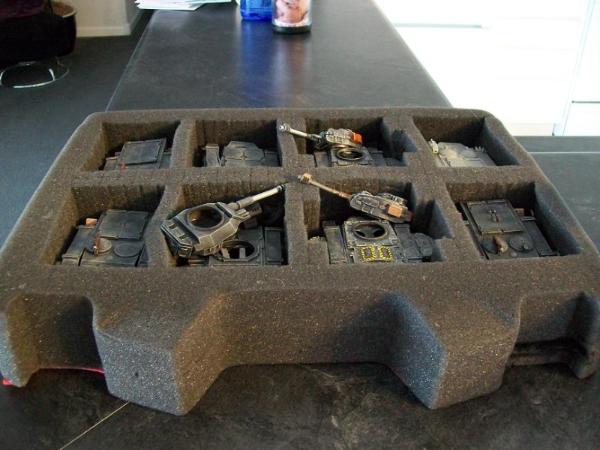
 CONNECTING CASES
This step is not required to make the cases but it’s a cool little idea I came up with.
SUPPLIES
VELCRO
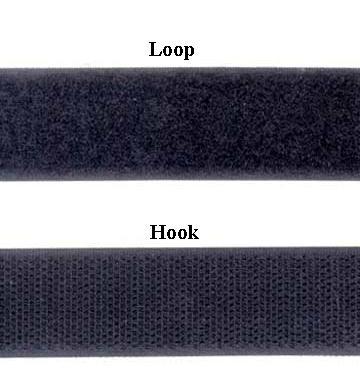
Velcro is the brand name of the hook and loop fastener that comes on kids shoes, cheap wallets, pretty much everywhere. The hook side is the plastic. The loop is the soft frayed material. I picked up a 5’ roll of self adhesive velcro at Wal-mart for $6.00. The sticky back is NOT strong enough to hold by itself for this application. The sew on velcro is cheaper but makes the mounting process harder.
 POP RIVET GUN
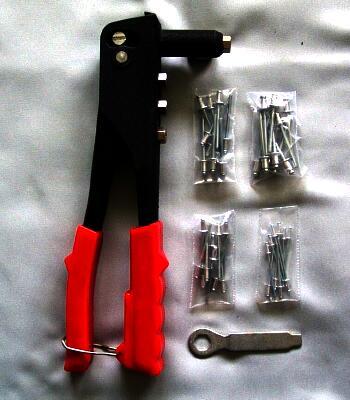
You can pick one of these up on the cheap at Harbour Freight. I believe I purchased mine for $5.00 with an assortment of pop rivets all in one package. I used this to stick the velcro to the case. Remember, the velcro sticky back is not strong enough to hold by itself.
 DRILL
DRILL
Yep. A drill.
 THE CONNECTING
Take two cases and set them lid to lid. See where they meet up to each other.
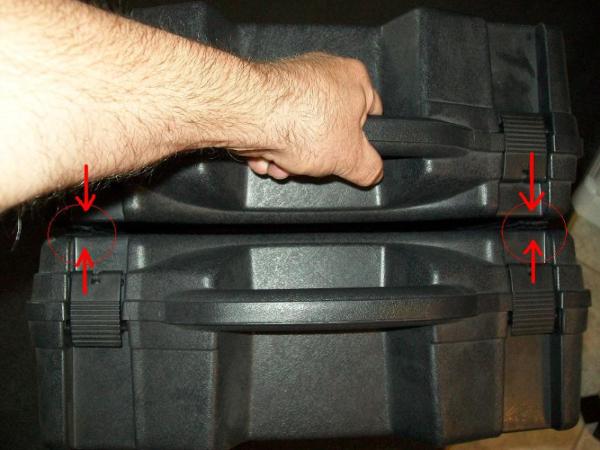
I’m sorry, but there are no “in progress” pictures for this.
Measure out a piece of velcro to the height of the connecting surface on each side of the lid. . If you don’t have a moulded guide like my case does simply measure in from the side and draw a line as a guide. The closer to the side the better.
Remove the paper backing from your velcro and attach the velcro along the guide line.
Find the largest pop rivets you have and find the proper drill bit.
Measure down 1/2” from the short edge and drill a hole through the velcro and case.
Put your pop rivet in to secure the velcro.
Move down 1-1/2” to 2” and repeat drilling and pop rivets. Repeat this until you reach the other end of the velcro. Ensure both ends are securely fastened.
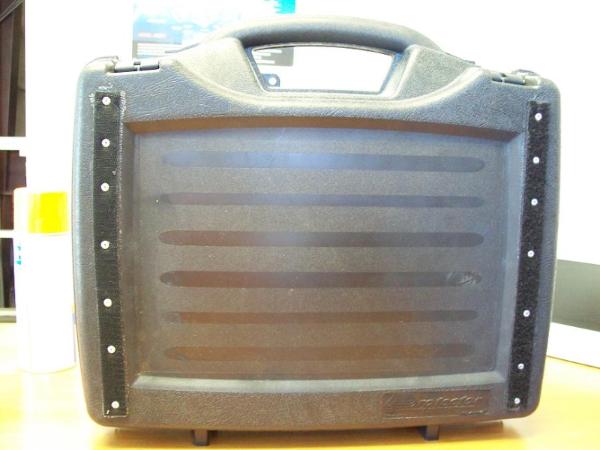
Take the matching velcro and repeat this process on the other side of the lid. It is important to use the same measurements for both guide lines. Ie: If you measure 2” from the left make sure you measure 2” from the right.
Repeat the process on the other case(s). Make sure you use the same kind of velcro on the same side of both cases. Ie: Use hook on the right and loop on the left.
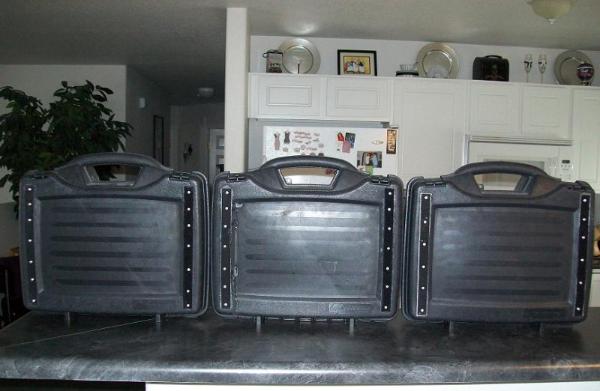
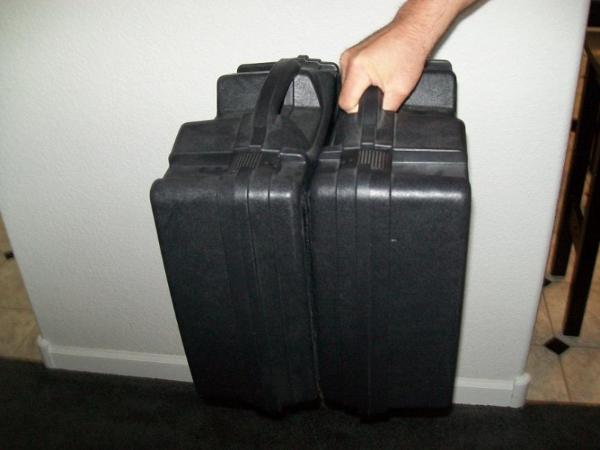
Now you can press your cases together and carry two with one hand. I have all my cases set up like this. Now I can grab my case of armour and slap it to my case of tactical marines… or my case of terminators… or my case of…. you get the picture. The velcro is pretty stong. My cases are pretty heavy when full and I haven’t had the velcro give out yet.
There you have it. I hope this was informative and useful.