Time for another green stuff tutorial!
I thought it might be useful to include a walkthrough for one of the staples of Space Marine iconography: the purity seal.
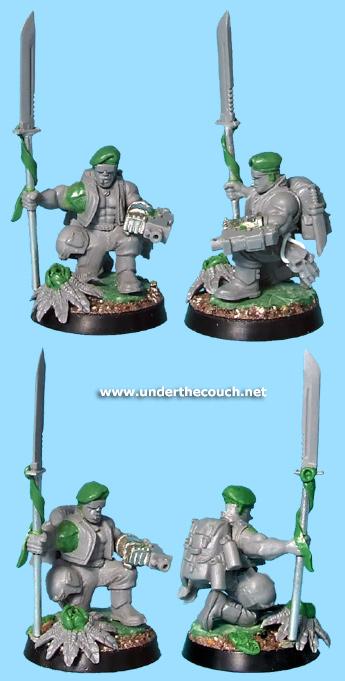
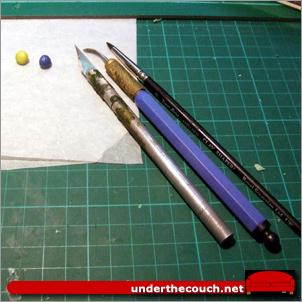
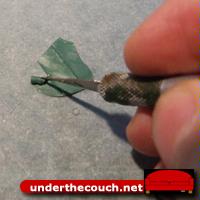
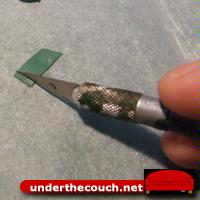
You'll need the usual array of tools: some putty, a hobby knife, a sculpting tool (pictured here are a standard metal tool and a rubber-headed colour shaper, also sometimes called a wax carver), some waxed baking paper, and obviously something to sculpt the seal onto. You can sculpt them in place on the miniature, or sculpt them onto a flat surface and then when they're set, peel them off and glue them in place.
You will also want a cup of water to dip your tools in before handling the putty. Keeping the tool head damp helps stop the putty from sticking. (You don't need to do this with the colour shaper)
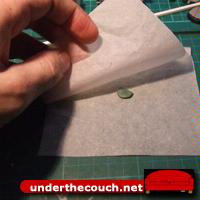
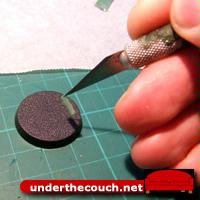
Step 1:
Place a roughly flattened blob of putty between two sheets of baking paper.

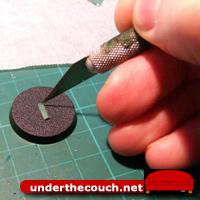
Step 2:
Roll the putty out flat by rolling the handle of the hobby knife across the top of the baking paper.
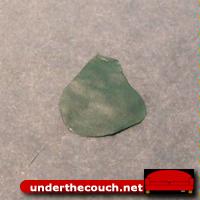
Step 3:
Carefully peel back the top layer of paper and check that the putty is flat and smooth. If it still has creases and marks, or isn't as thin as you want it yet, place the paper back over the top and give it another roll.
Step 4:
Use your knife to slice the putty into a wide strip, removing the excess from either side. The width of this strip is the length of your purity seal.
Trim one end off square as well, so you will get a nice rectangular shape for your seal.
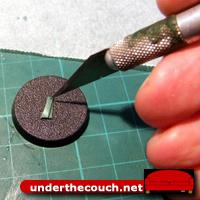
Step 5:
Cut through the putty a short way along the strip to form your rectangular seal strip. If you use the tip of the knife to carefully lift the top edge of the strip off the paper, you should then be able to pick it up by just poking your knife into the top end and carefully pulling it away from the paper.
It can sometimes be a little tricky to pull the strip off the paper. If that's the case, pushing the knife back into the cut and pulling it sideways and up (away from the rest of the putty) can pull the strip off and leave it attached to the knife blade by one side. You can then grab it with a pair of tweezers.
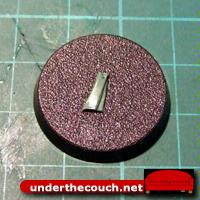
Step 6:
Push the strip into place. Only press it onto your surface at the top end. You need the bottom free so that it can be shaped later.
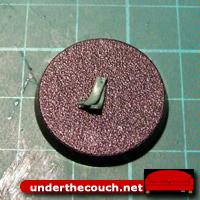
Step 7:
Repeat steps 5 and 6 to get a second strip. Lay this strip over the first at a slight angle, so that the tops of the two strips are together, and the bottom of the first strip shows at one side.
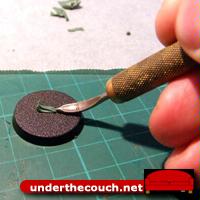
Step 8:
At this point you can shape the strips by lifting or pushing them around with your sculpting tool to simulate a waving motion from movement or breeze.
Step 9:
Flatten the tops of the strips slightly, so that you can attach the seal piece.
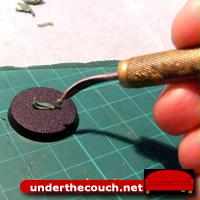

Step 10:
Roll a small ball of putty, and push it onto the tip of your sculpting tool just enough that it sticks there. Then press it into place on the top of the strip. You should wind up with a slightly flattened ball with a large dimple in the middle.
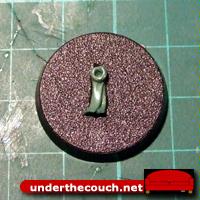
Step 11:
Use the top of the sculpting tool to widen the centre dimple by pressing down around the edges of the dimple. You should wind up with a flattish circular shape with a raised edge.
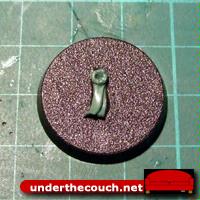
Step 12:
Finally, take your knife and score shallow cuts at random around the top of the raised edge of the seal. This simulates cracks in the wax.
And that's about it. You can alter the appearance of the seal as needed by changing the length of the strips, the size of the ball you use to form the seal, or if you want to get really carried away can even sculpt shapes into the seal's centre... a skull or aquila would be perfect.
Edit: a couple of minor tweaks for spelling and clarity...


 .
.