Continuing my lesson in thrift, I'll show you how to make a Necron Immortal out of a Warrior. As mentioned in part one of this tutorial, you'll be making significant savings by using the plastic models to supplement or replace metal ones. This conversion is a little more complicated than the last one and may take a few tries to get it right. It took me three trials to get it right, but none of the failures looked bad - just little mistakes that couldn't be corrected. Follow the steps and yours will come out great.
This tutorial will be broken down into two entries to make it more manageable and to help download the high quantity of images, not in an attempt to have multiple entries to the contest. Mods, please count both threads as one tutorial for the purposes of the Tutorial Contest!
Tools
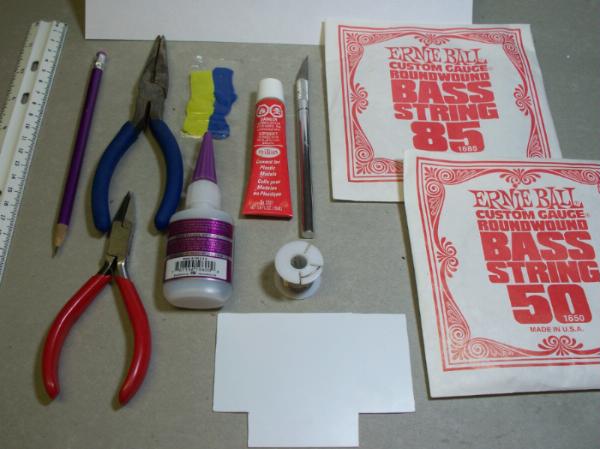
This is all the tools you'll need for the conversion. Shown here is a ruler, a pencil (sharpened to a fine point), two pairs of pliers, Greenstuff, Superglue (
CA glue), model plastic cement, craft knife, 16g or 18g Craft Wire, thin plasticard, and two different bass guitar wires (details below). You will also need the bits left over from the Flayed One Conversion, as shown in the next step. If anything else is missing it will be noted in that particular step.
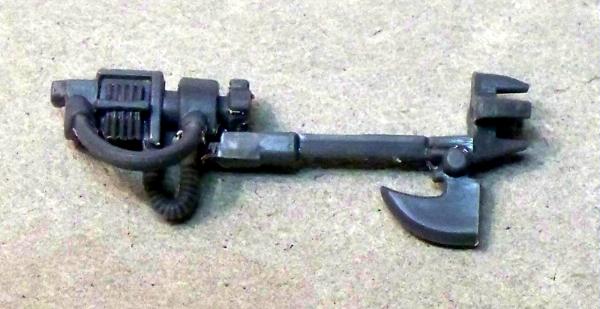
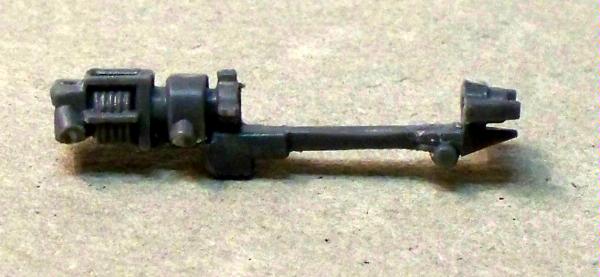
Left Over Gun Bit
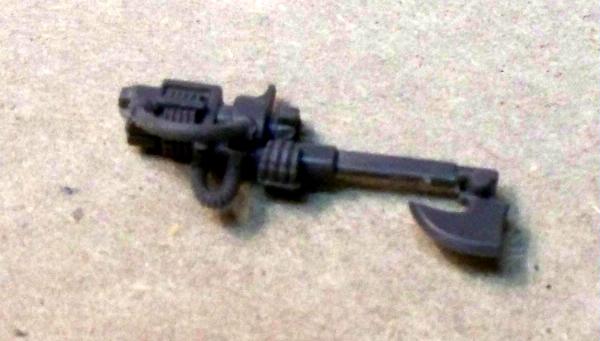
This is the left over gun bit from the Flayed One Conversion, sans the spikey end-bit - we never glued it on, but we'll still need it for the Immortal so don't throw it away!
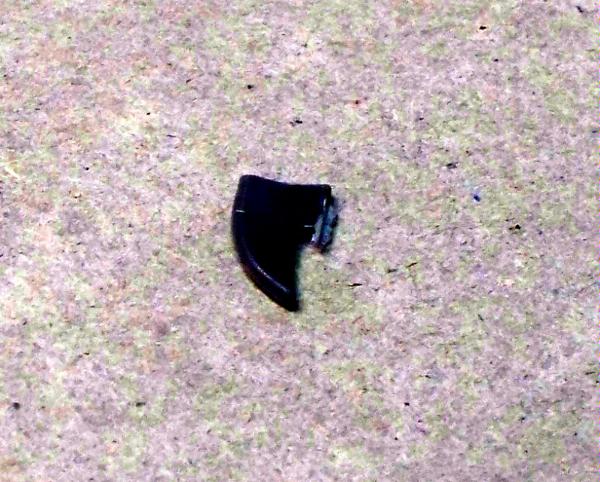
Trim the Axe
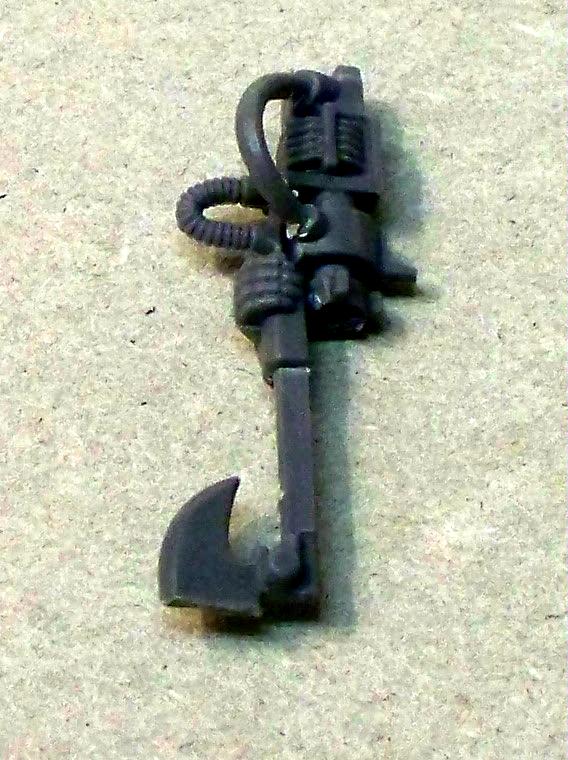
Use your craft knife to make as straight and level cut to the end of the axe bit on the bottom of the gun. The cut needs to be as flat as you can get it so you might need to use the knife to shave the cut to clean it up, the same way you'd clean a mold line.
Spikey Bit
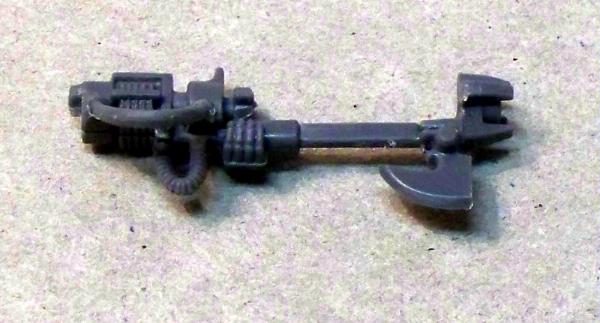
Glue on the spikey bit.
Shave Off the Hand
Use your craft knife to cut away the hand on the front and bottom of the gun. try to keep it square to match the lines of the gun.
Shave Off the Hand, part 2

Do the same for the gun in the back.
Cut Off the Hand From the Second Gun
Now, get the second gun and cut the hand off the same way you did for the first gun in the Flayed Ones tutorial. It might come away a bit messy, but we'll clean it up.
Clean the Gun
Here's the back of the gun cleaned up. Just cut away the extra bit to make it flat.
Clean the Handle Arm
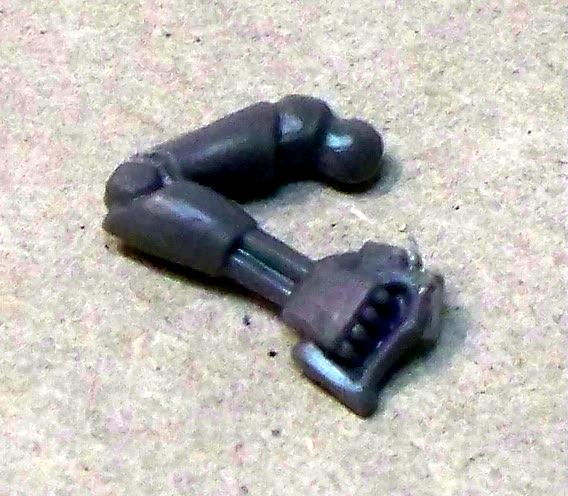
Unlike the Flayed One conversion, we want to keep the handle on this arm since the Immortal is still holding the gun. We do want to clean up the cut, however, and I like to add a bit of an angle to the cut, like this:
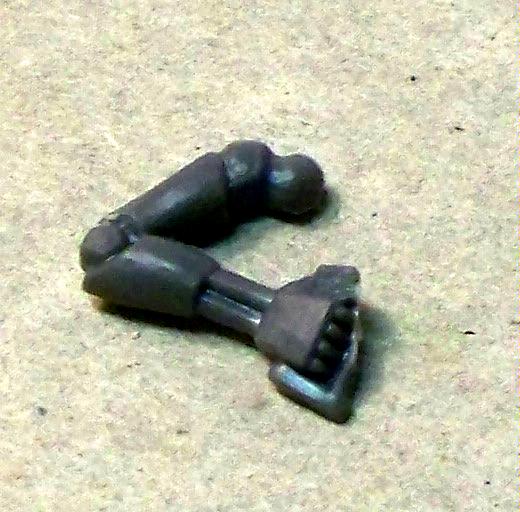
You can adjust the angle of the cut hre to change the angle that the Immortal holds it's gun. You can also cut the upper arm around the middle of the bicep and twist the shoulder ball to adjust the angle as well, but I like to do that towards the end when I'm getting the arms situated in the body to help things fit right.
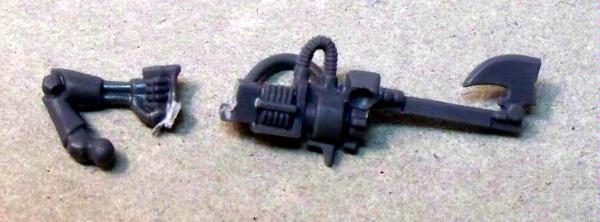
Cut Off the Axe
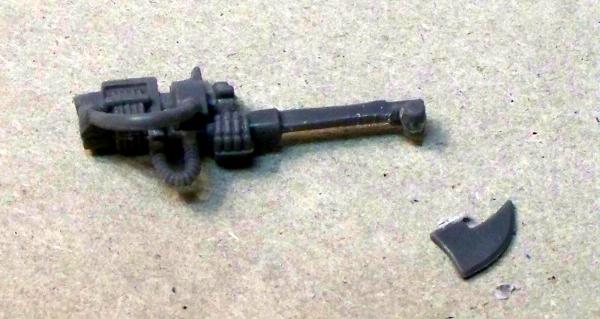
Make a straight cut to take the axe bit off. Save the axe bit! We're using this later!
Clean Up the Gun Front
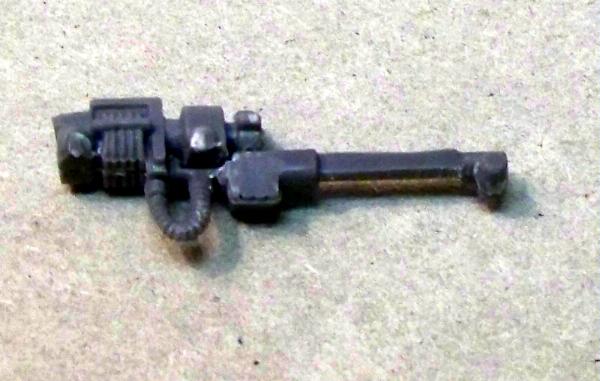
Ok, clean up the axe cut, shave off the hand, and cut away the cable. Keep it tidy!
Trim the Second Gun's Spikey Bit
My pic got corrupted somehow so I'll have to explain. In order for the guns to fit together , you'll need to cut the top spike off of the spikey bit. This is actually shown in the next pic.
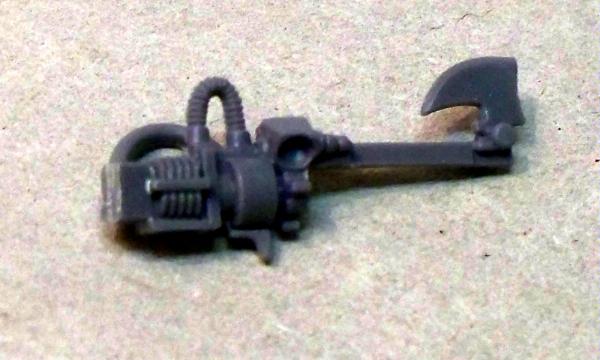
Clean Up the Gun Back and Glue on the Spikey Bit
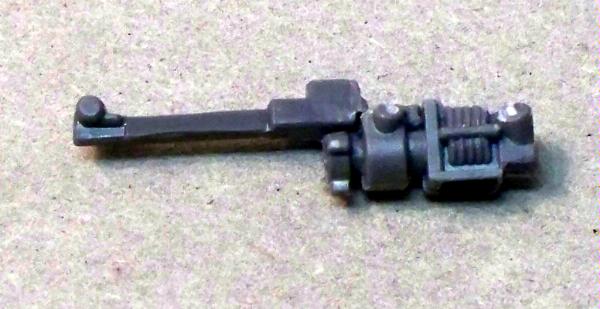
Trim off the rear cable, shave the hand away, and glue on the spikey bit. This is what you're left with:
It's going to be the top half of the gun. Set it to the side for now, we'll get back to it in just a second.
Trim the Axe Bit
First, clean up the cut where the axe was attached to the gun.
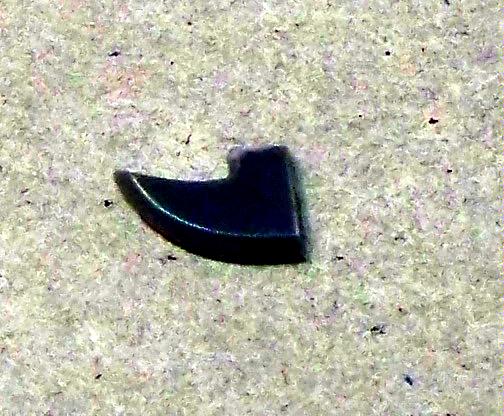
Then, cut the "front" of the axe bit off, just like you did earlier for the bit that's attached to the first gun. Again, keep the cut as flat and level as you can - we're going to attach them together and need a clean cut so things will look right.
Glue the Gun Together

Okay, I lost a few more images, but this gives you an idea of what goes where. First, glue the top and bottom guns together at the square "vents" and the spikey bits. These have solid contact points and line up perfectly. Let the glue set and then glue the arm on the top gun. The first guy I made had his arm on the bottom still and the gun covered his face - very awkward looking.
Finally, glue the two axe bits together. This can be difficult if they aren't cut properly and may not want to line up. You'll probably see a seam no matter how well they line up, but you can always use some very fine sandpaper to make it smooth.
Making the Armor, Start with Plasticard
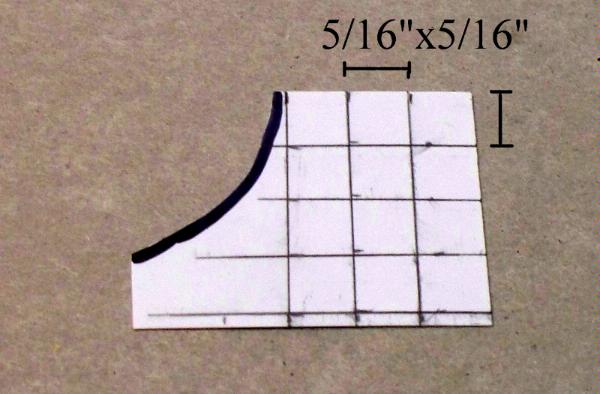
I use a small "For Sale" sign I got from my local big box store for my thin card. Using your ruler (and possibly a T-square if you like perfect measurements...) mark out a grid of 5/16" squares. You'll need 12 squares per Immortal. Doing these all at once for all the Immortals you'll be converting will make things much easier.
Making Your Cuts
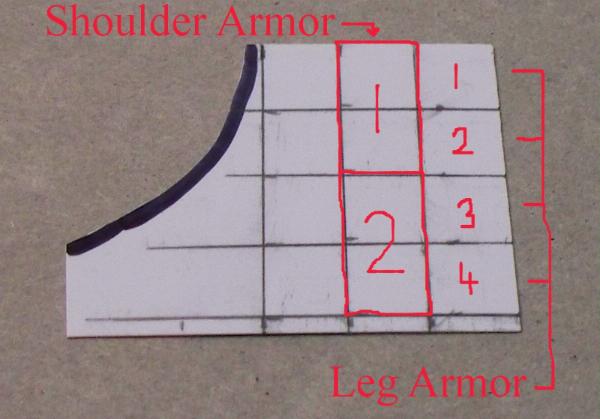
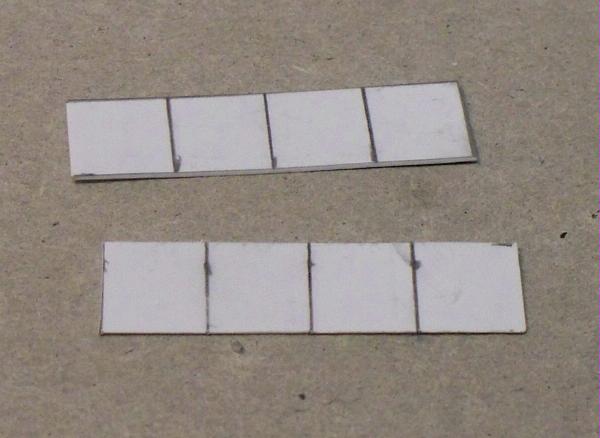
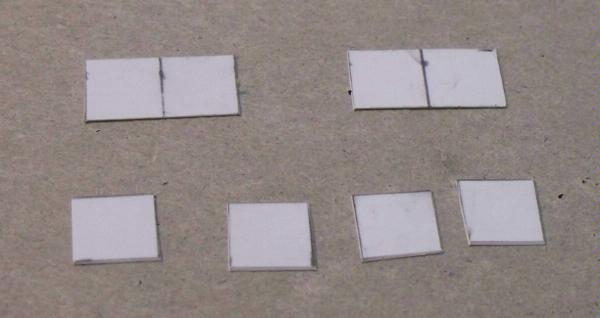
You'll need four single squares for your leg armor and two double-squares for the shoulder armor. Cut them like so:
 Shaping the Leg Armor
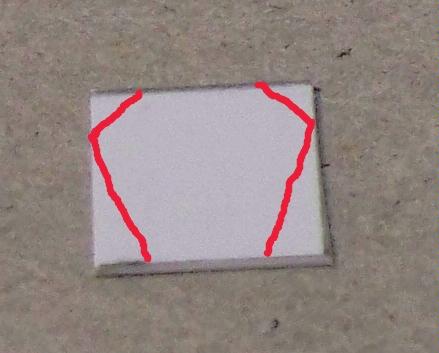
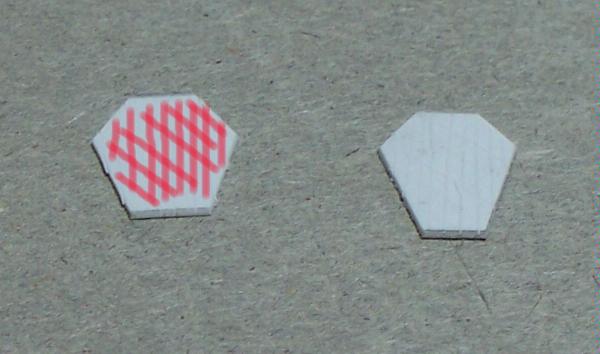
Cut the square bits along the red lines to make a kind of coffin shape for each leg armor plate. The cut points are about a quarter of the width of the square on the top and each side, as well as at the bottom. First the top:
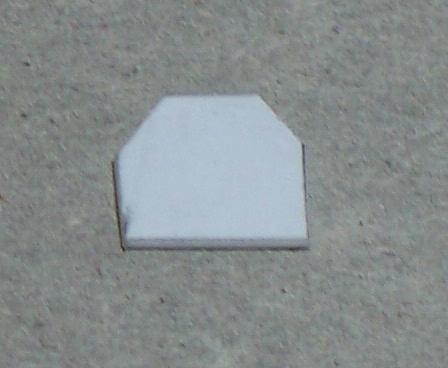
Then the bottom:
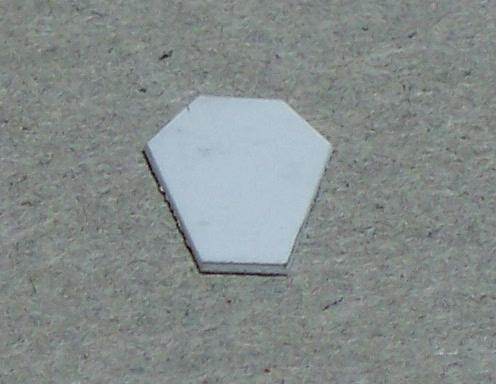
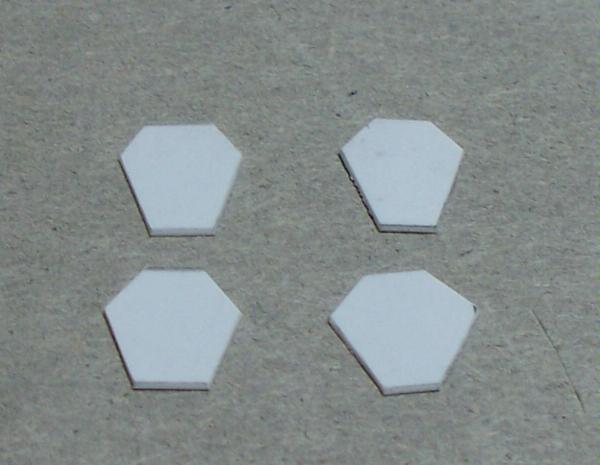
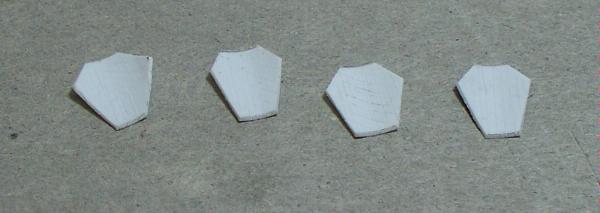
Do all four in this way. If they don't all come out even, it's okay - as long as they're pretty close no one will notice.
Scoring the Armor Plates
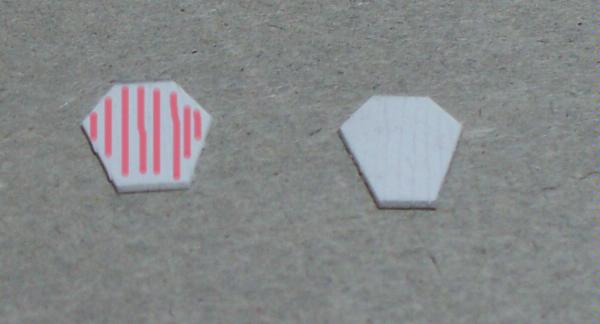
Using your hobby knife, lightly score the armor pads with verticle lines, like the red lines shown. This will do two things: one, add flexibility to the plastic to allow it to wrap around the leg of the model, and two, give the plate a bit of surface area for the glue to take hold.
Next, score the plates in a diagonal crosshatch as shown. Again, flexibility and surface area.
Roll the Armor Plates
Gently bend the armor plates to round them. I try to get the side corners to tuck in and actually make a little round of plate that I roll between my thumb and forefinger. This will help prevent the plate from peeling away from the leg when you glue it.
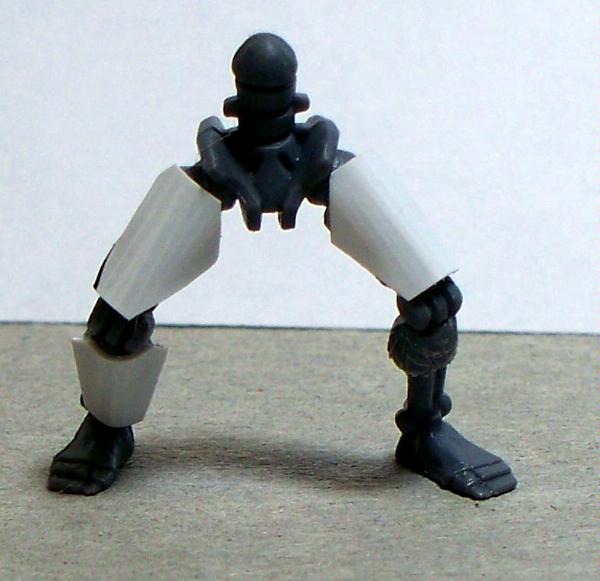
Glue the Plates on the Legs
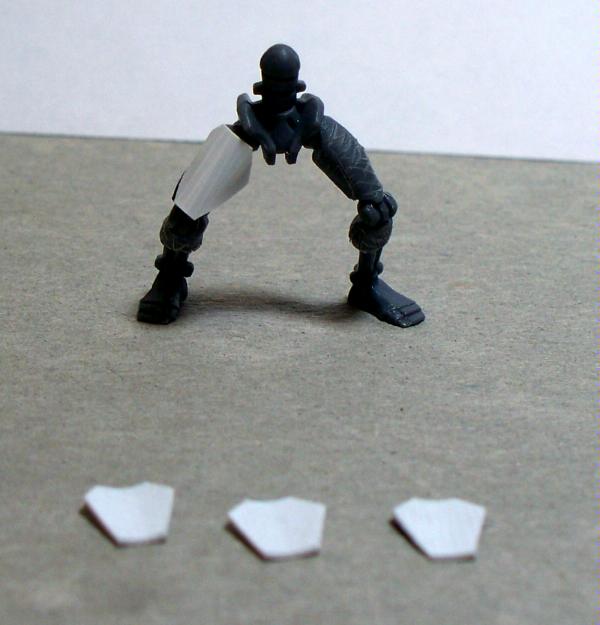
Please accept my apologies for another corrupted photo. You'll notice that the thighs and shins/calves of the model have been scored in a crosshatch as well, to help the plates stick. Make sure to do this before gluing the plates on! I start with the thighs, making sure that each plate is firmly attached and the glue is set before moving to the next plate. The edges tend to pull away (especially on the calves), but unless they stick out too far I leave them alone. The thigh plates usually stay in place pretty well.
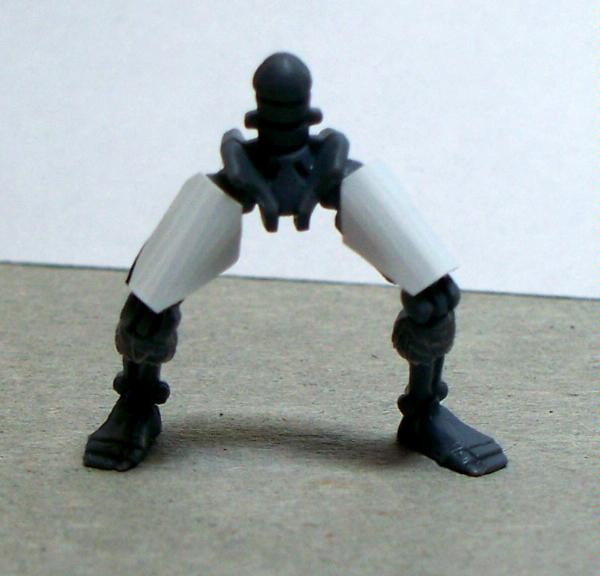
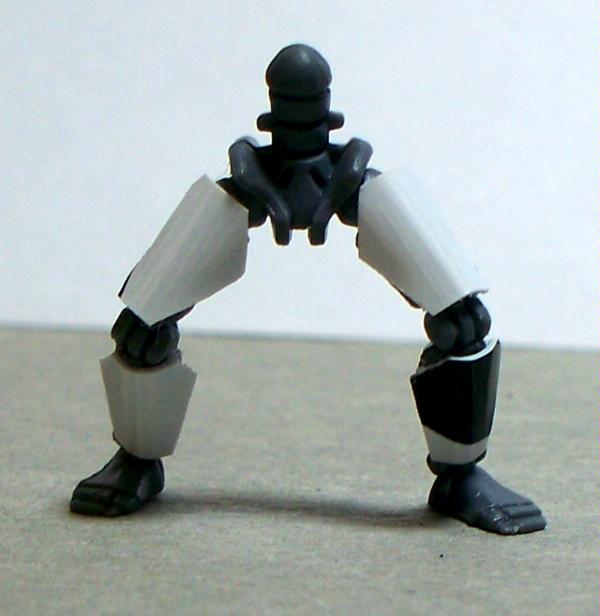
You'll notice that you can see verticle lines on the plates. The scored sides are glued to the legs but shows through a bit because this is where the plates actually bend. Unless you're really looking close, no one will notice.
On to Part 2.2
This half of the tutorial ends here.
Click Me to go on to part 2.2 to finish up!


