Ok, so I'm not going to sit here and pretend I'm the best painter in the world by any means. However, I've settled on a method of painting urban bases that I feel looks pretty good and has prompted a couple of requests for a tutorial, so here it is. Hopefully this can be helpful for some folks.
I'll try and keep the instructions short and sweet. with plenty of pictures to help.
Step 0.5 - Buy bases. If, like me, you have not the budget, talent, patience or time to create your own bases in addition to building and painting your army then buying from one of the myriad of companies selling resin bases is a great idea. I have purchased from the urban/city ranges of Base X War, Micro Art Studios (old factory, trash), Dragonforge, Iron Dog Studios, Dark Age Groundwerks and Dark Arts Miniatures. There are others out there, but these were most to my taste.
If that's not for your then just disregard and we'll go onto the first step proper.
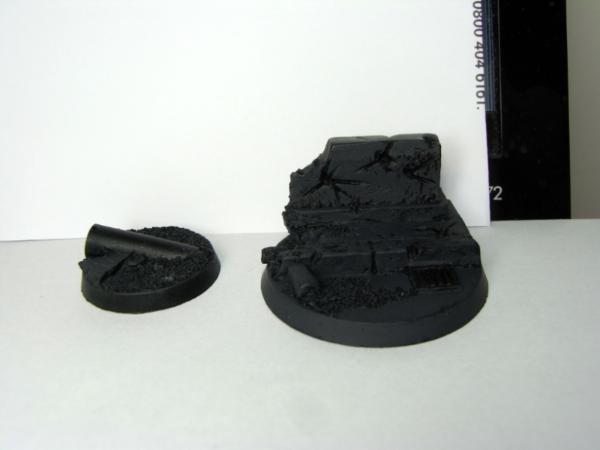
1. Prime black. No picture, not really necessary. I use cheap acryllic car spray paint, use whatever you've found works best.
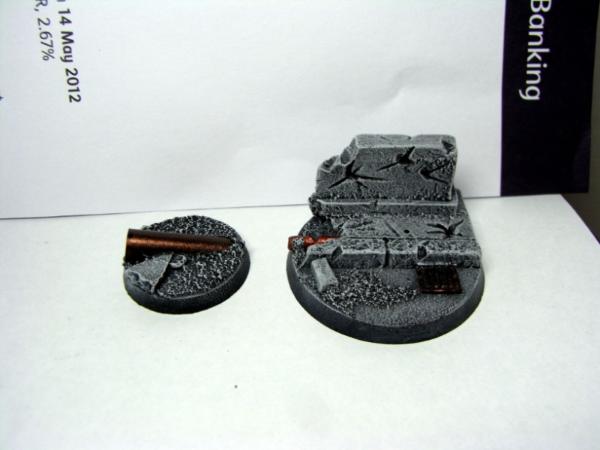
2. See the gravelly texture on the smaller base? Dry brush Vallejo Game Colour (VGC) Heavy Charcoal over any surfaces that are really textured like that. For larger flatter surfaces like the wall paint the Heavy Charcoal on taking care to leave the recesses black.
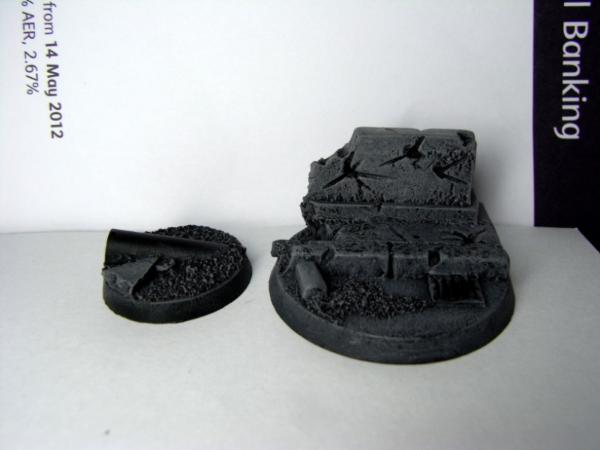
3. Do the same with a 50/50 mixture of Heavy Charcoal and VGC Cold Grey

4. Dry brush with Cold Grey. On the 40mm base you can see that I've done the whole surface of the wall segment rather than just stick to edges.
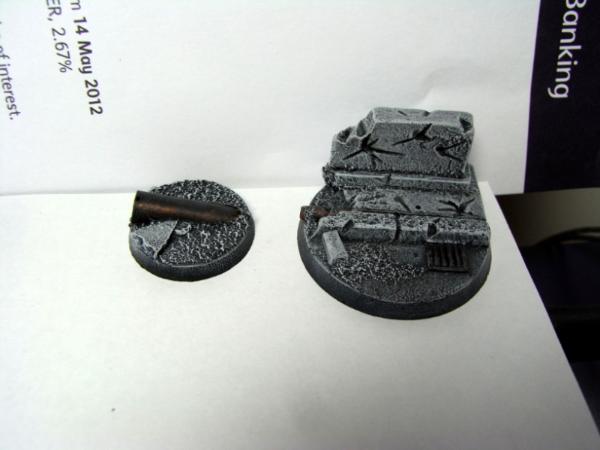
5. Dry Brush VGC Stonewall Grey.
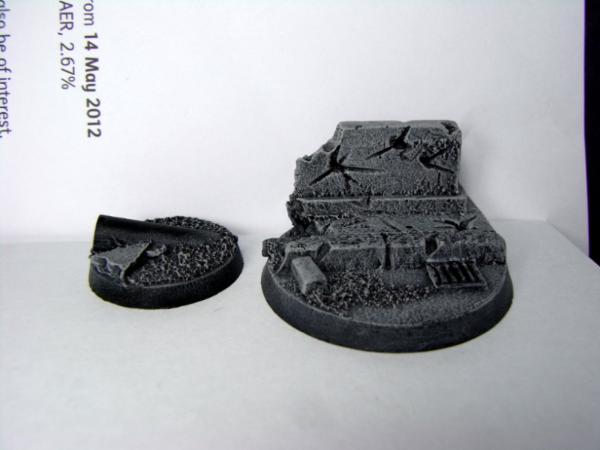
6. Dry Brush VGC Ghosty Grey.
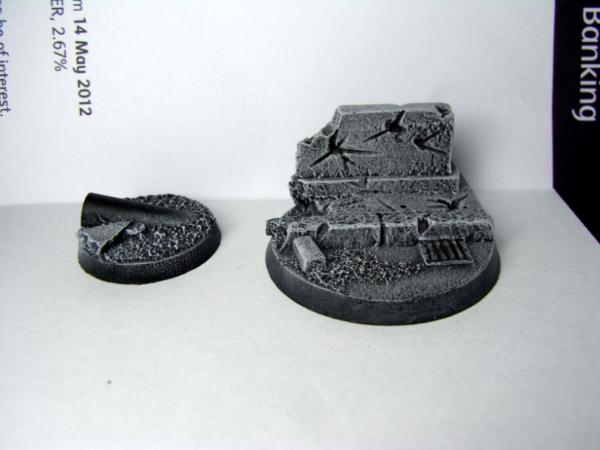
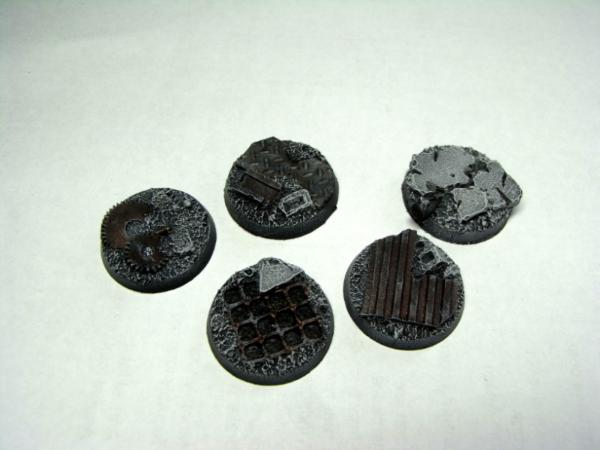
7. Extra details tend to be metallic with the bases I use. The metallics in my army are generally Boltgun Metal and Tin Bitz washed in Badab Black and it's no different here, I just 'dust' them a little bit with very light drybrushing of one or two of the greys already used. I also have Citadel Brass Scorpion and VGC Hammerhead Copper for doing other metallics when required. I tend to run a bit of Badab black over any nooks and crannies in walls, rubble and pavements to ensure they stay as dark as they ought to and to bring out the contrast in the bases' colours.
Pre /post wash and dust
Finally a few more bases done with those two
.
Like I said at the beginning, I hope this proves useful to someone at least.


