So, like many others I've started a painting and modeling blog in hopes that it will force me to work harder instead of goof off.
I started playing around 98-99, and started with a Space Wolf army. I've got about 3000 points and only half that are painted. I took a break for a few years after being stationed overseas and now i'm getting back into it. I always wanted an
IG army, so I started one of those too. I've already told myself I won't field them until they are done. There's a chance they will never get fielded, ha.
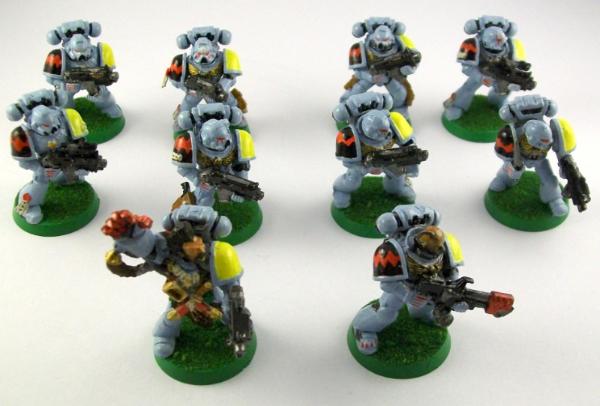
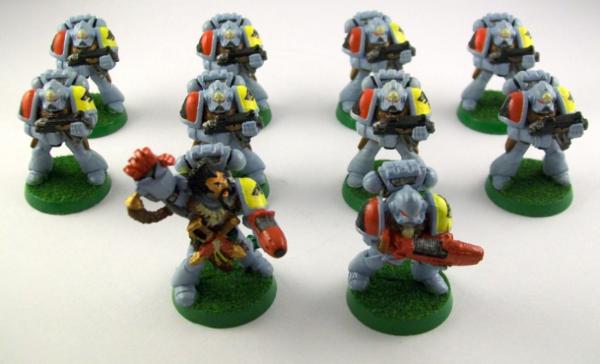
So here a few of my Space Wolves I've done in the past:
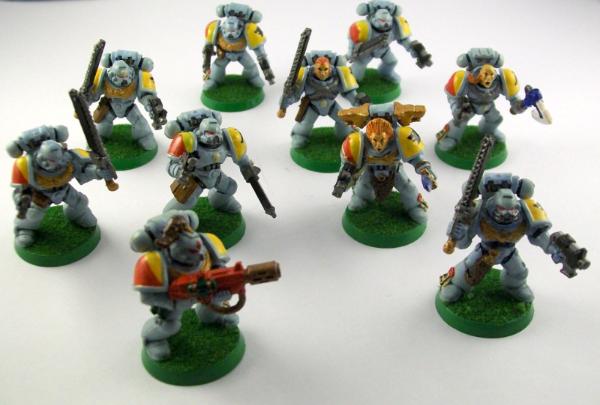
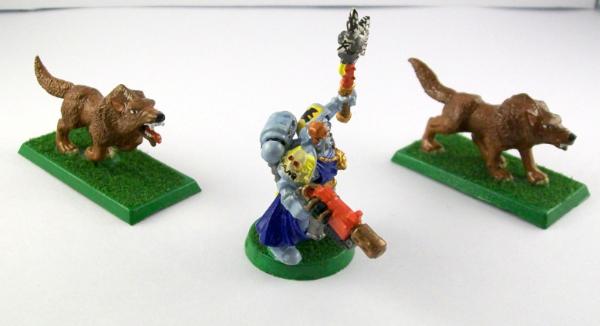
More angles for everything can be seen in my gallery.
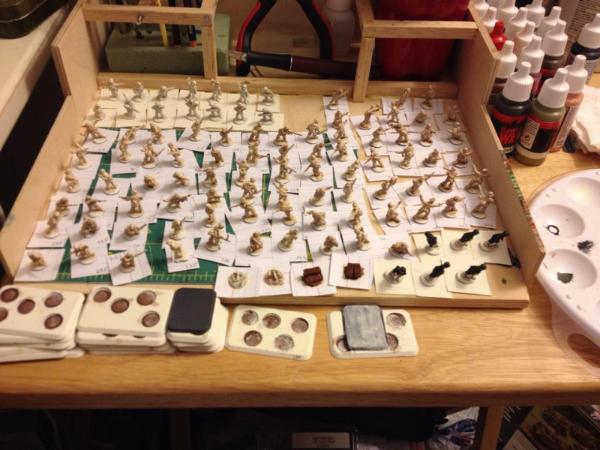
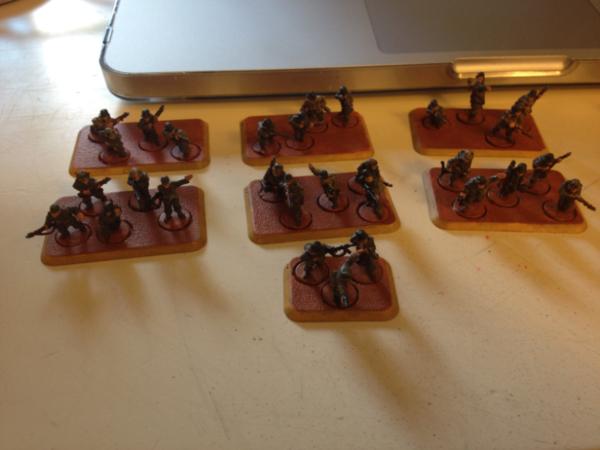
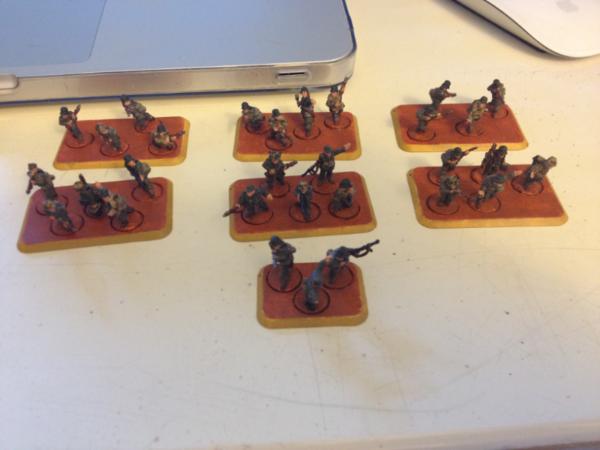
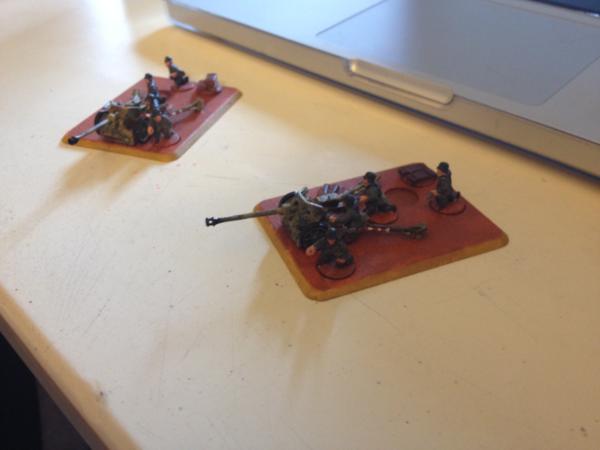
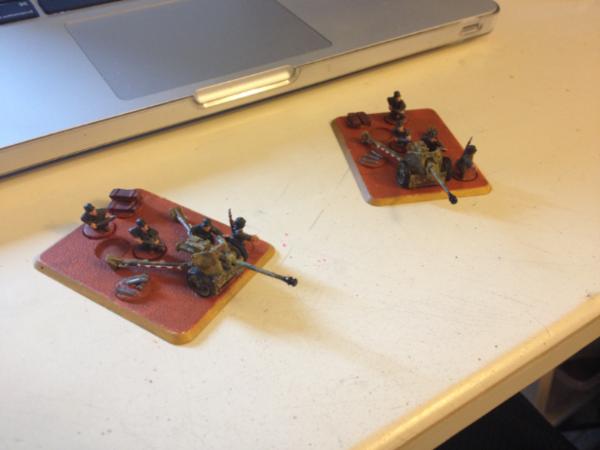
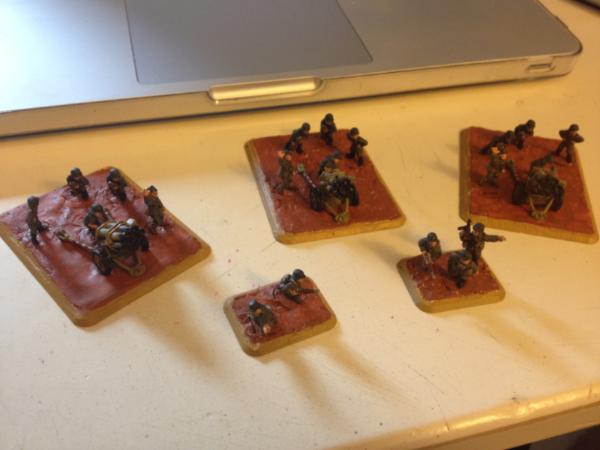
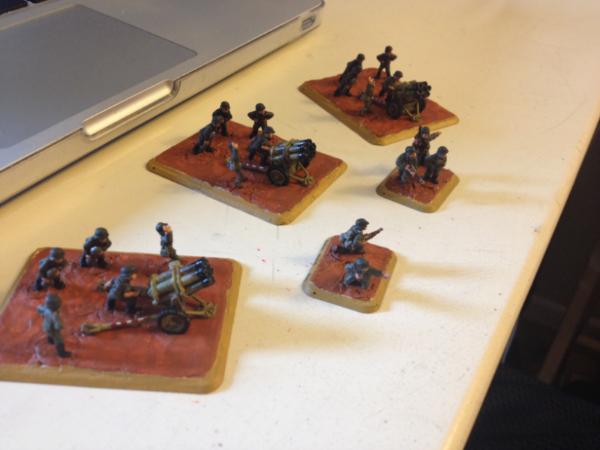
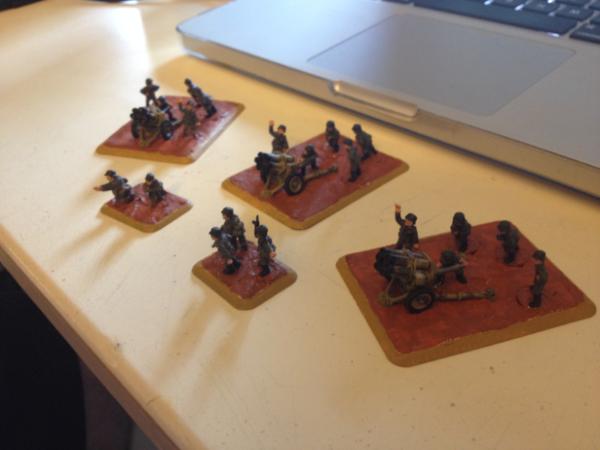
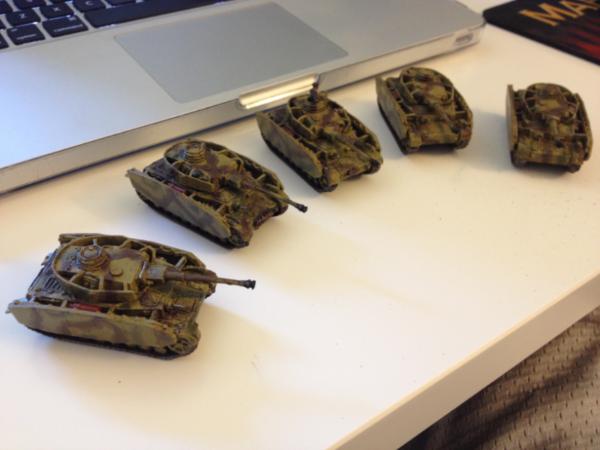
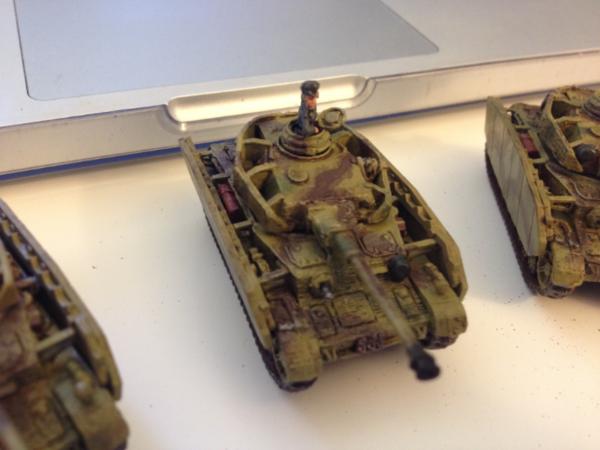
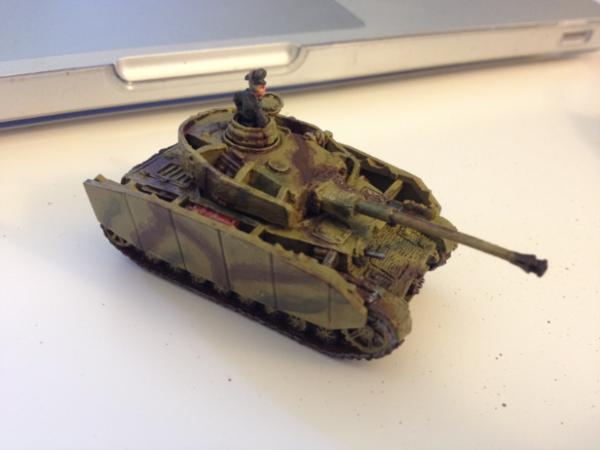
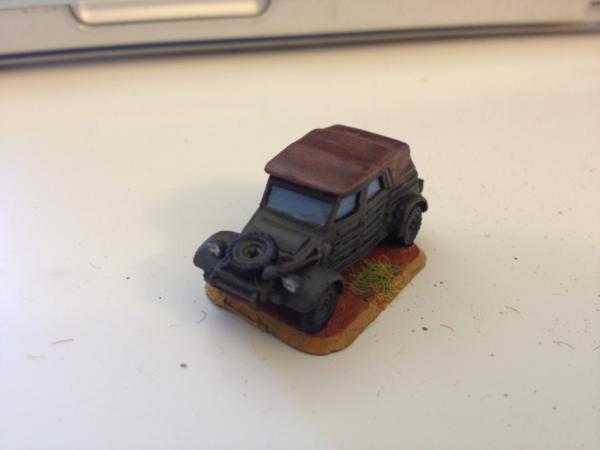
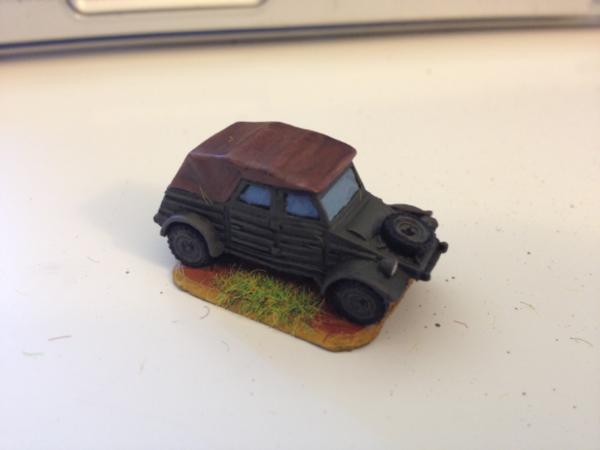
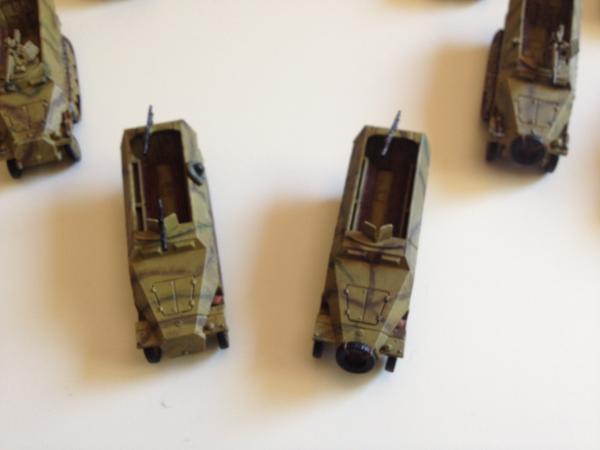
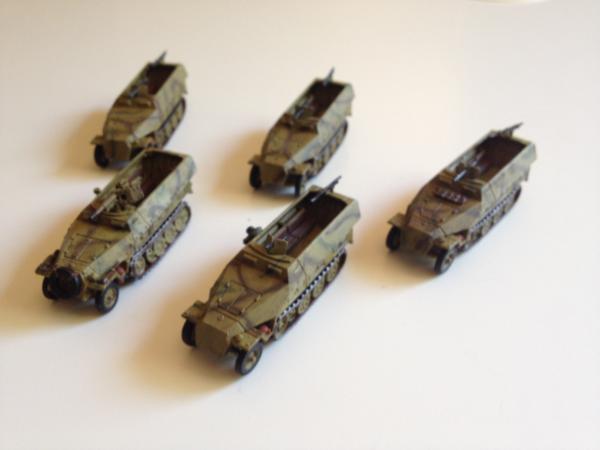
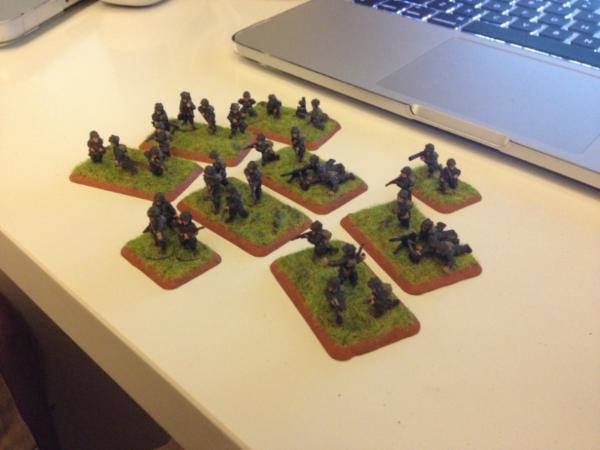
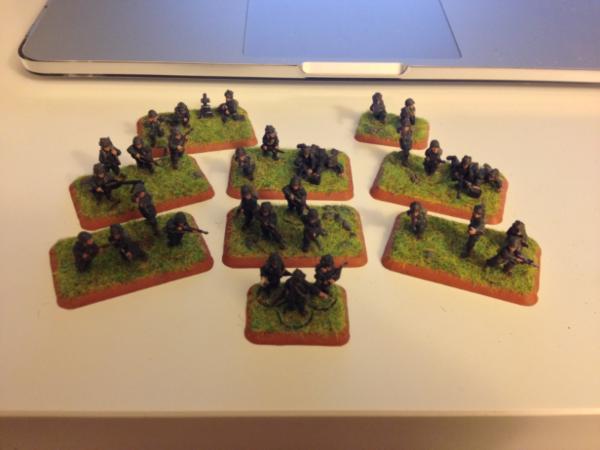
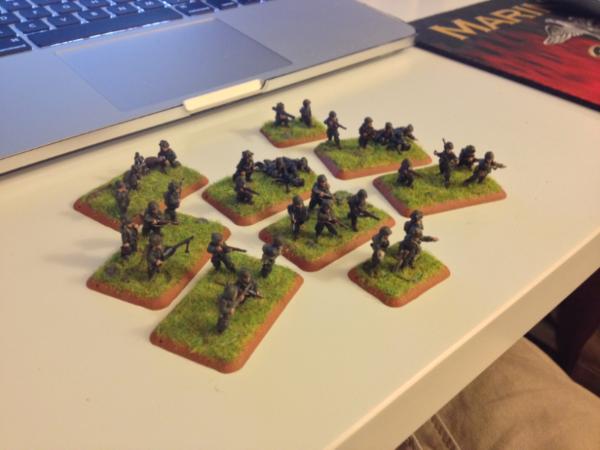
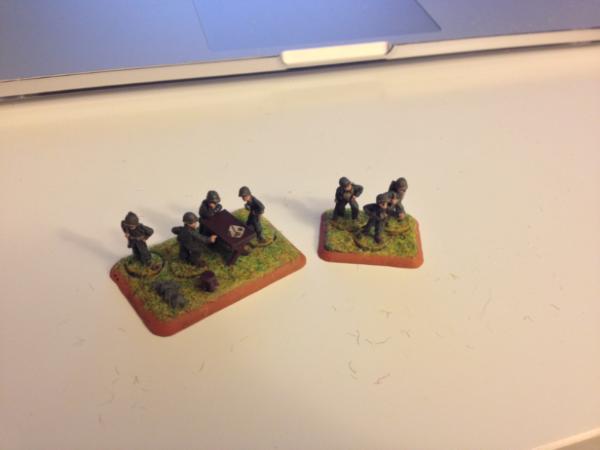
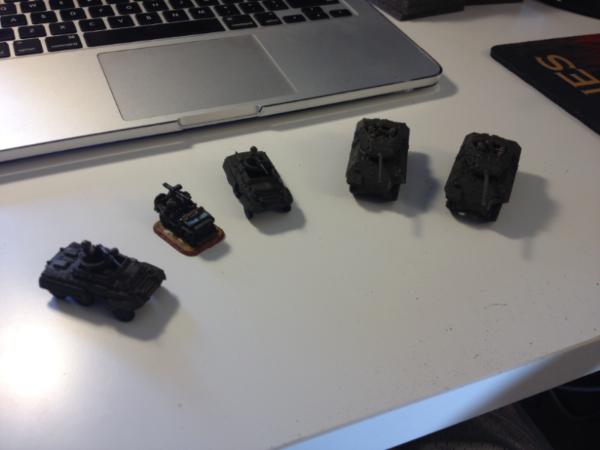
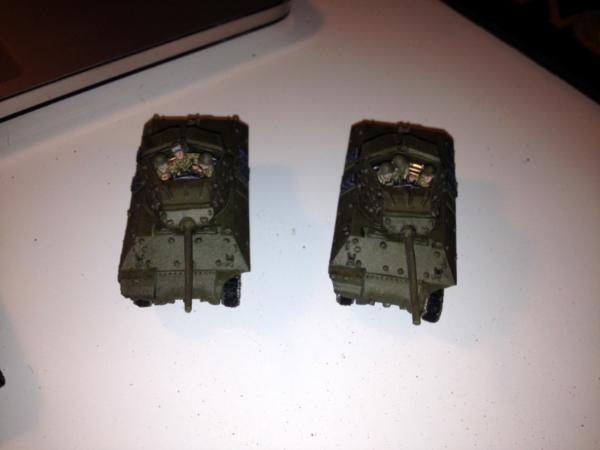
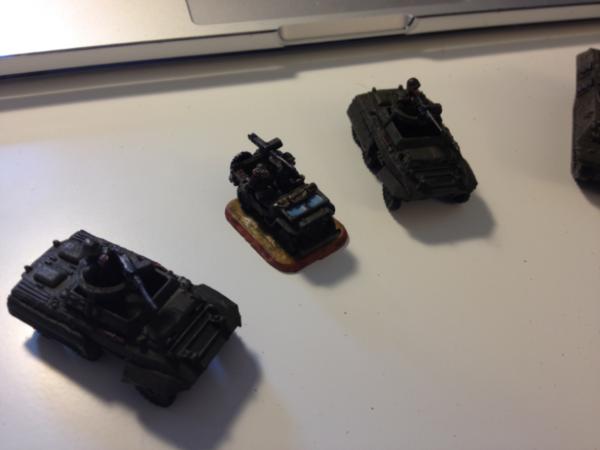
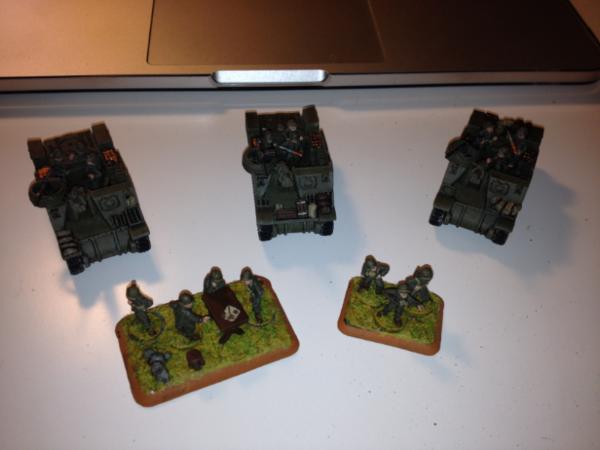
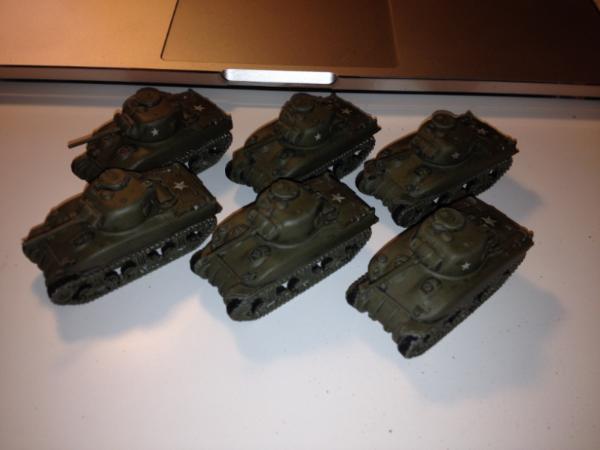
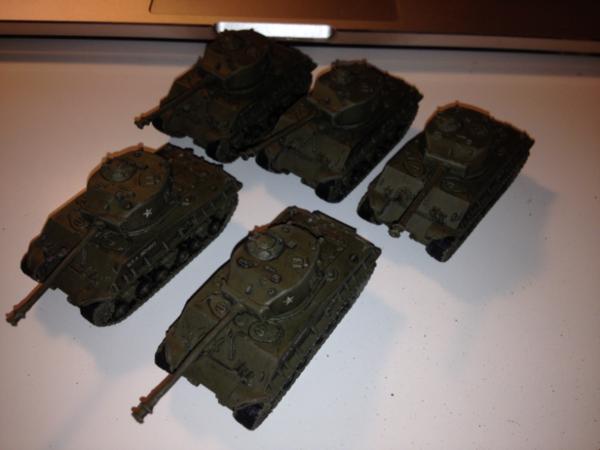
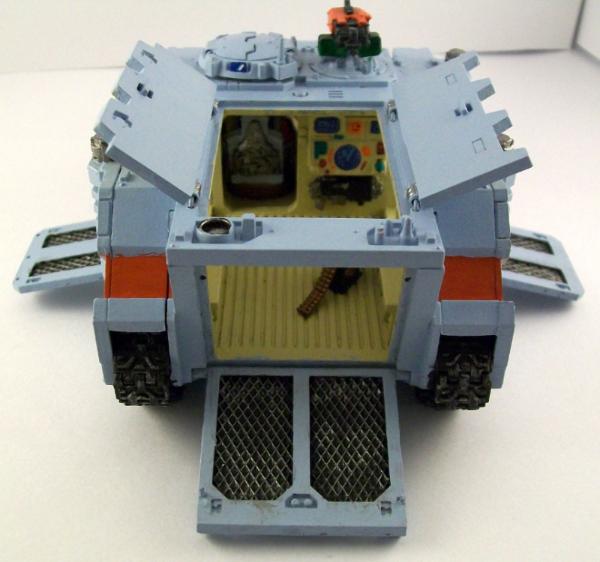
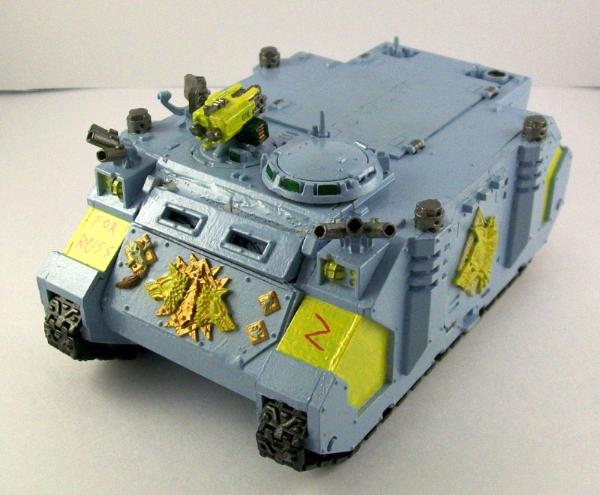
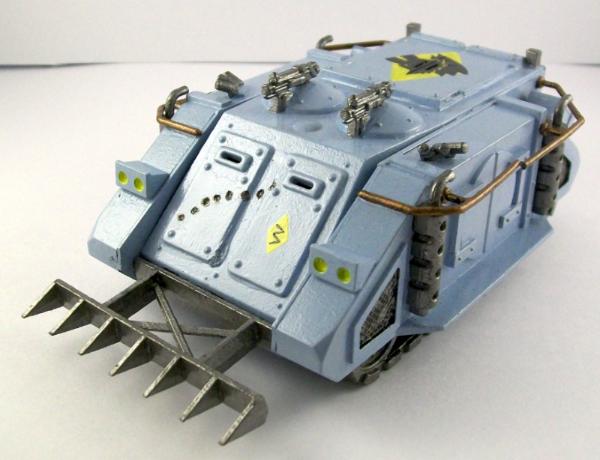
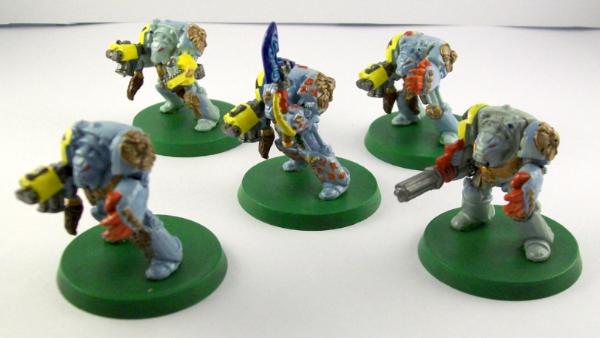
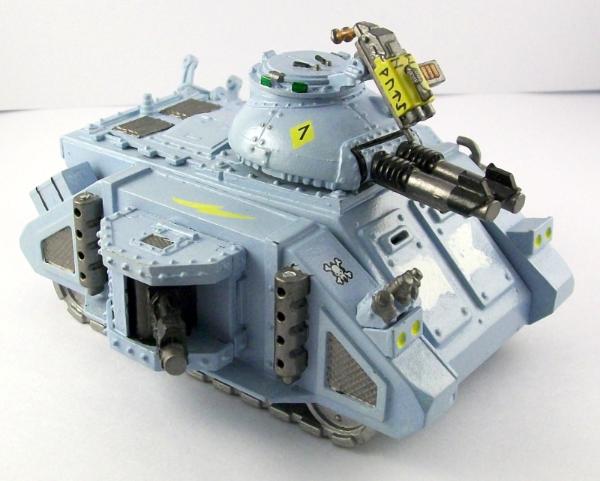
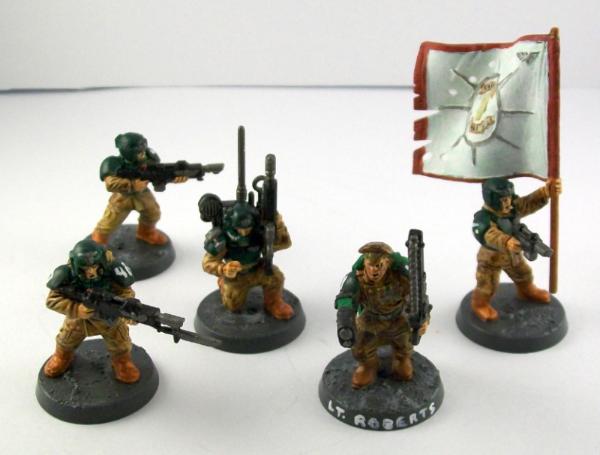
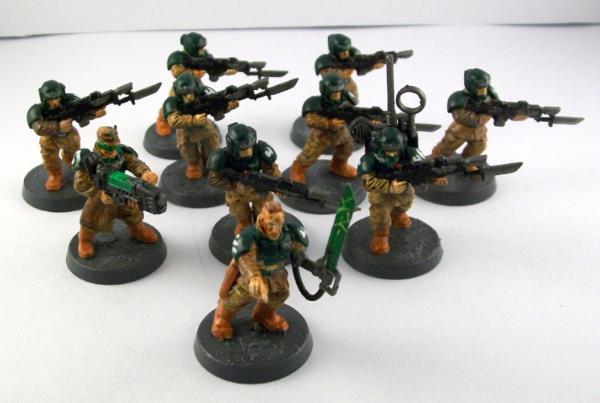
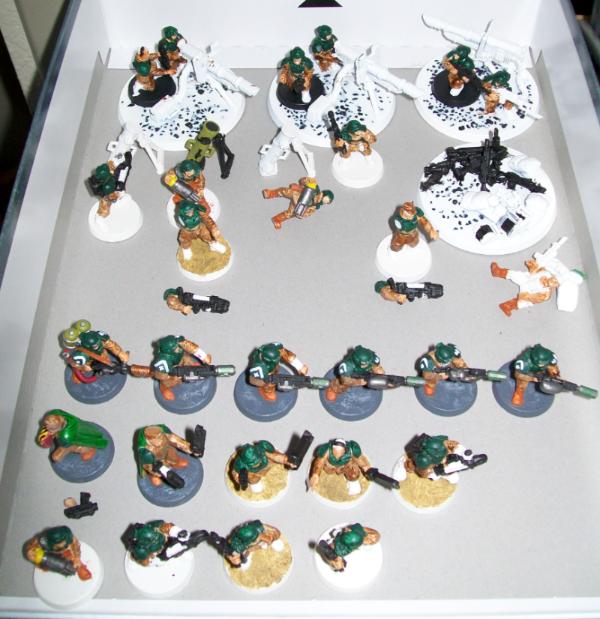
The beginnings of my Imperial Guard army, the 461st Cadian Regiment:

More pictures in my gallery.
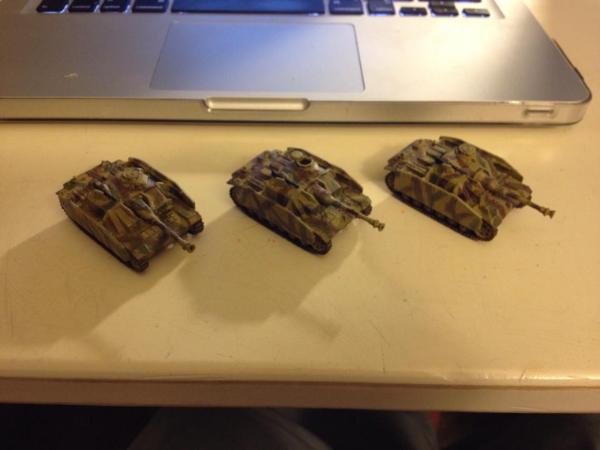
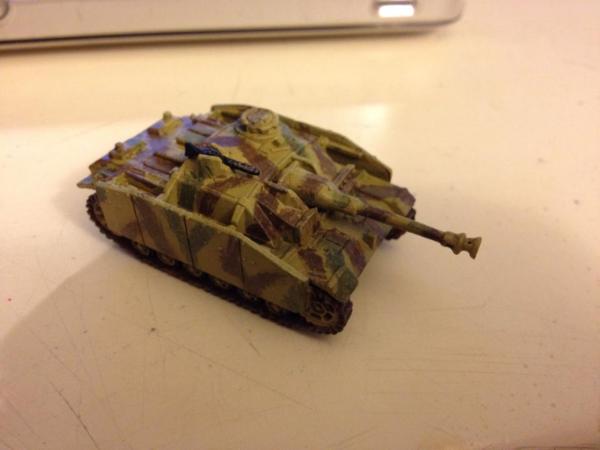
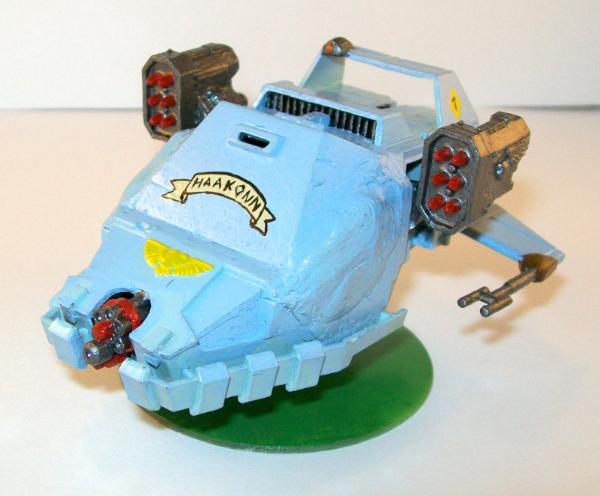
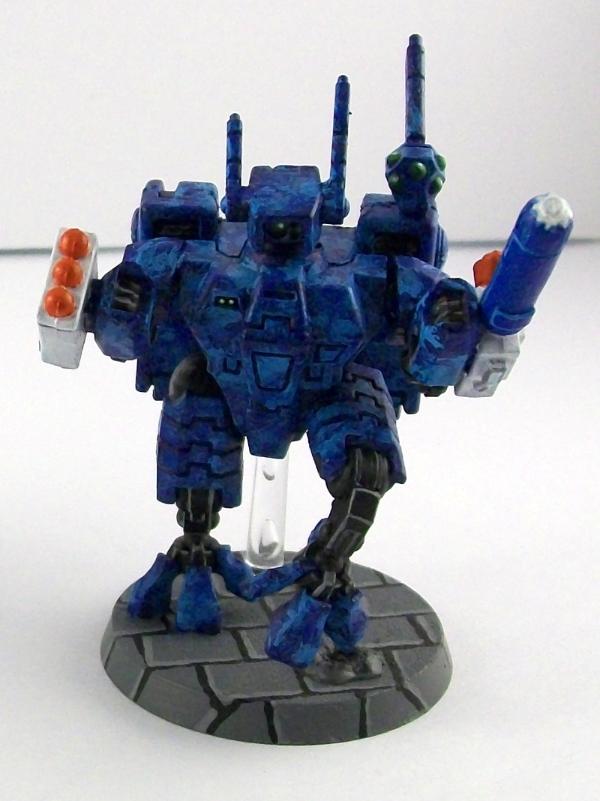
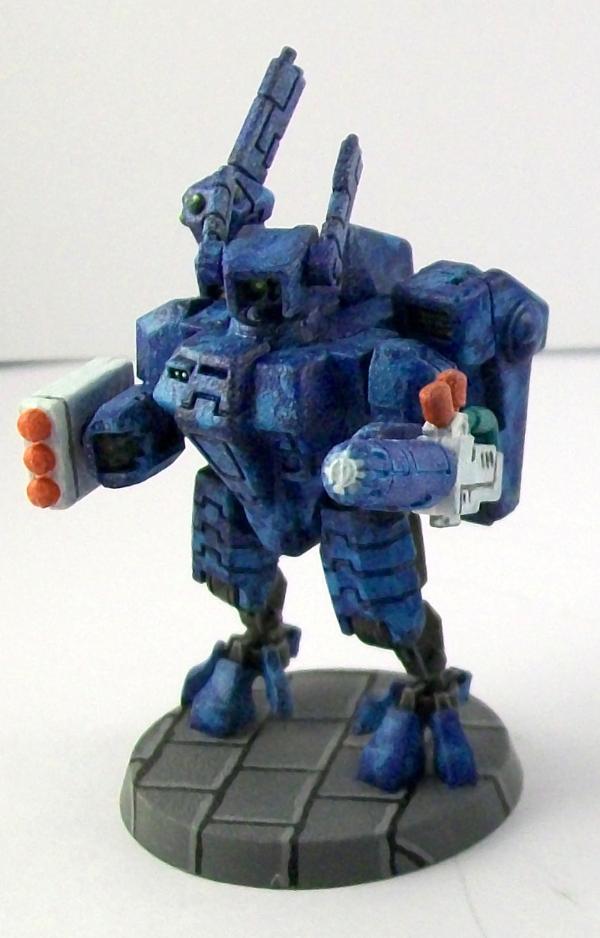
As you can see from my signature, I've got a few Tau models. Only painted these two:
Here are my game markers I made. This site was my inspiration:
http://fromthewarp.blogspot.com/2009/01/40k-counters-and-markers.html
I went to Michael's and found packs of wooden discs, smallest size was 1.5", vice the 1" suggested in the blog. This page had an actual .jpg sheet done up:
http://bloodofkittens.com/40kblogs/2012/03/07/great-ideas-vehicle-damage-markers/ so you could print out and cut out.
The problem was they were made with the same idea of 1" discs. I didn't want to have little pieces of paper glued to bigger discs, so with my power point skills, I made this:
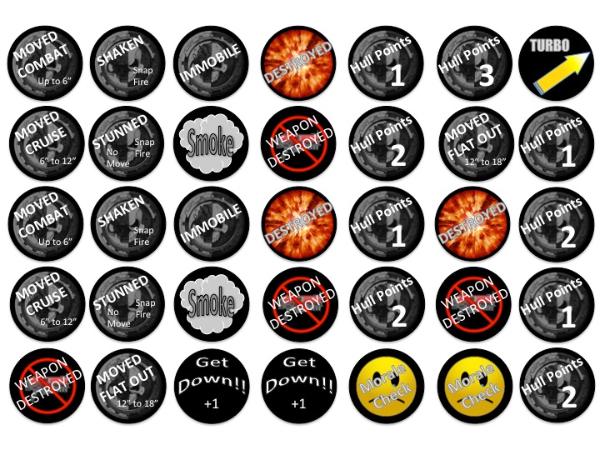
They are 1.25", so it provides a little border around the edge for the 1.5" discs. At Michael's, the bag sizes were 22 discs for 2.99, so I got three (about 10 bucks after tax) and then hit the home depot for black spray paint (4 bucks after tax). So less then 20 bucks (if you count paper and ink) I had everything I needed.
From there I pretty much followed the directions provided by the
FTW page. Sprayed all the discs black on both sides. I printed and cut out two sheets of the above picture. I used a total of 60 discs, the
HP 3 went on the back of the Turbo, and the
HP 2 on the back of
HP 1. From there, I used a brush to put regular elmar's glue on the disc, and then put the paper on. I let everything dry for about an hour (Bottle says 35 minute to dry in order to handle, over night for best bond). After dinner I went through and spread another layer of glue on top of the paper.
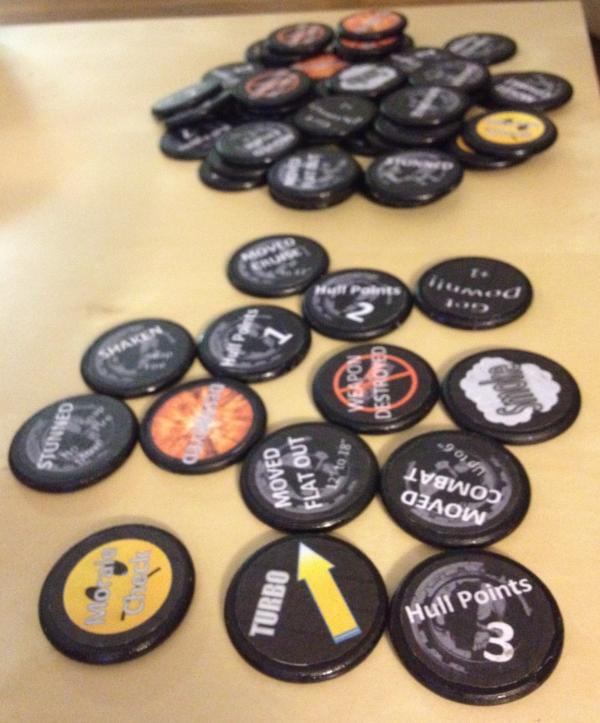
Here's my pile of markers after everything was done:
The only mistake I've seen is that on my "Move Flat Out" marker, I've got 12"-18" ... obviously this is only true if the vehicle moved cruise. So i'll just ignore that when I use the Flat Out marker ... should be obvious to everyone I think.
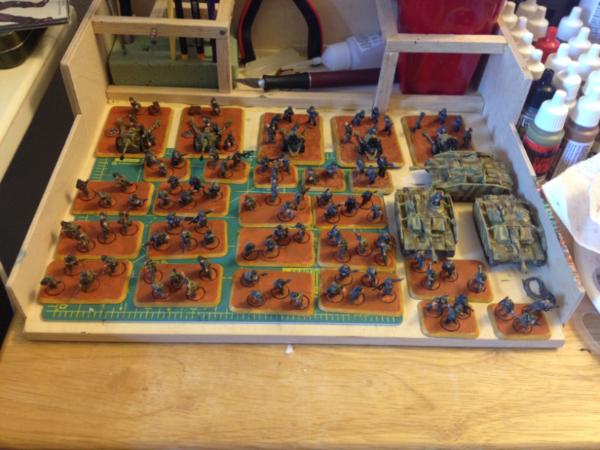
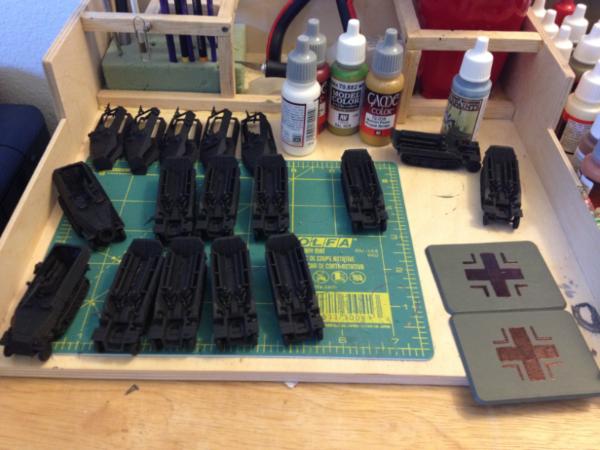
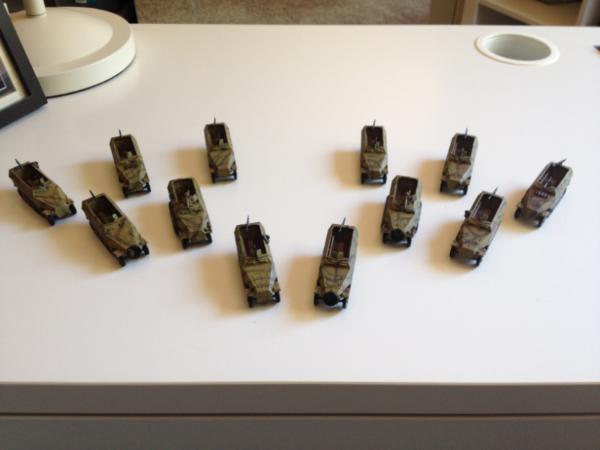
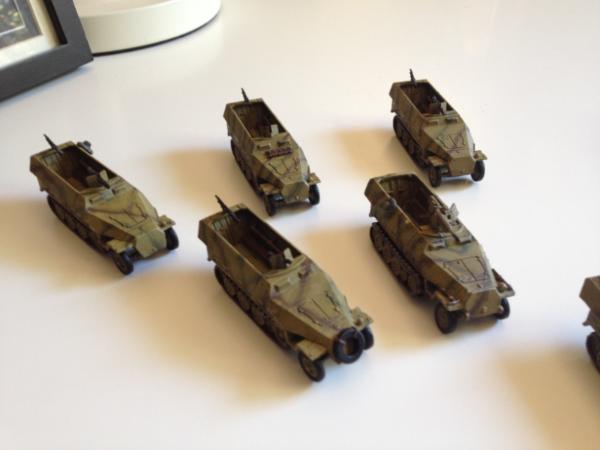
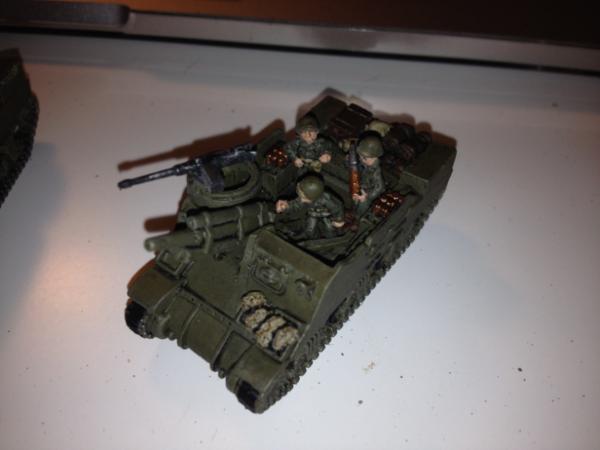
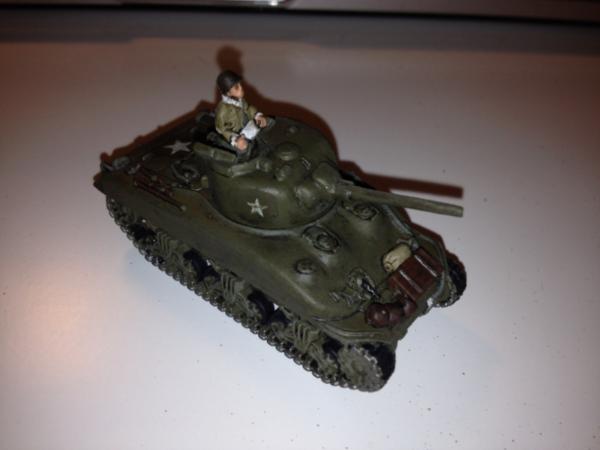
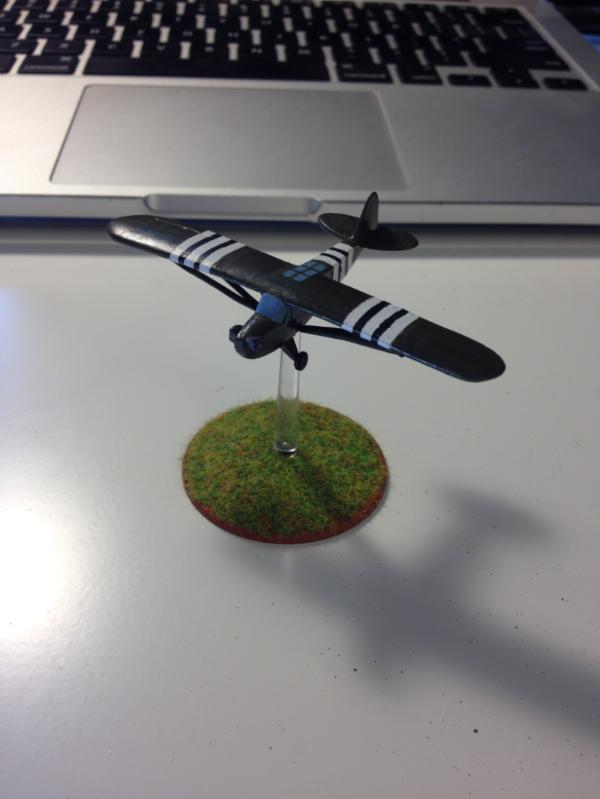
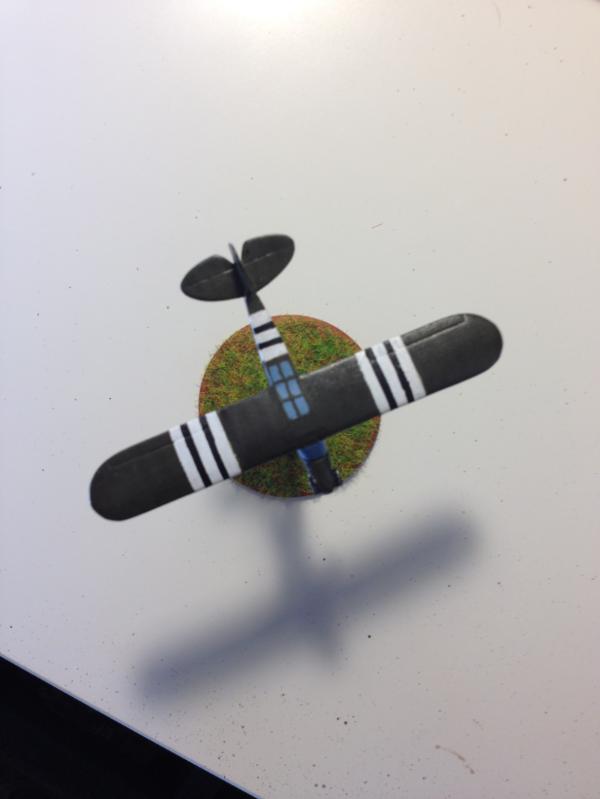
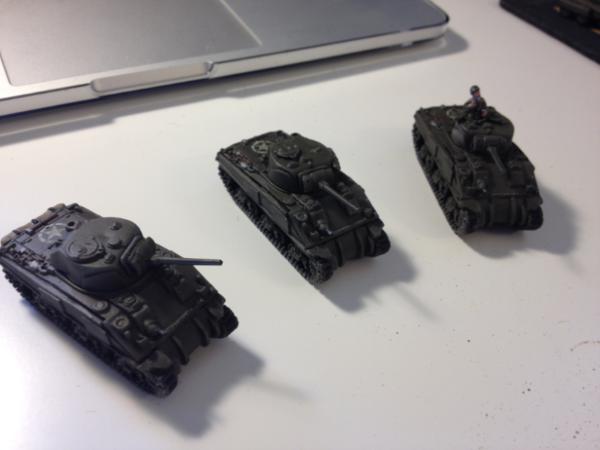
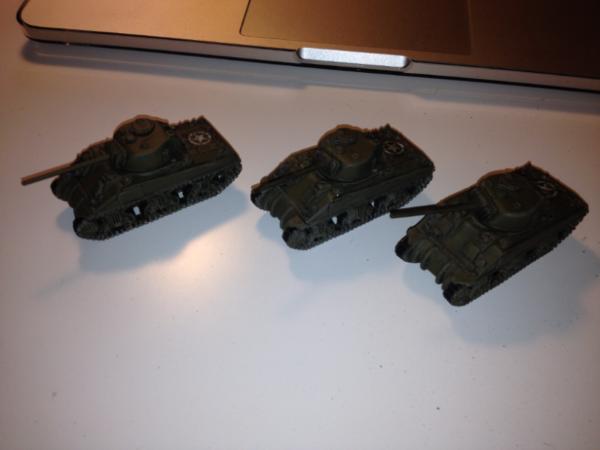
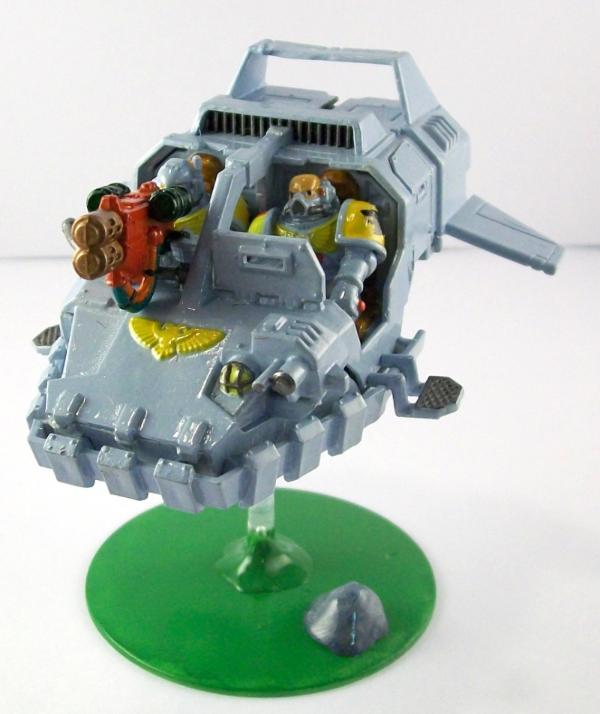
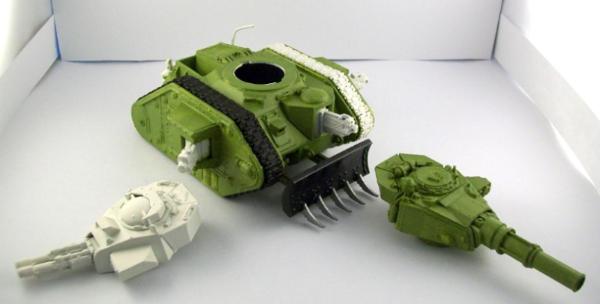
And Finally, my works in progress:
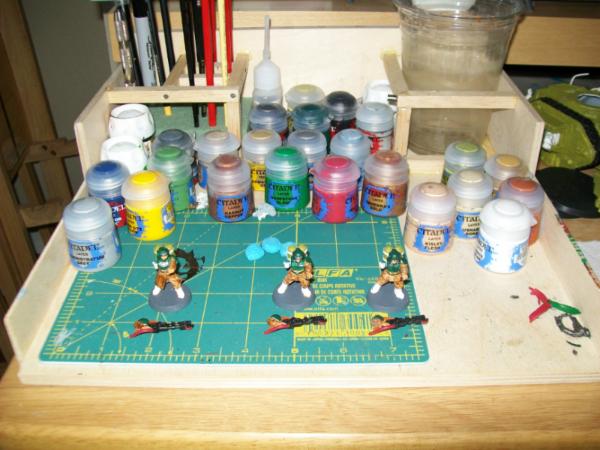
I built myself a mobile painting station and here's what it looks like, currently has 3 flamers on the line: