Hi all!
This is a wraithknight I did for a commission, and I was demanded that I make a step-by-step about it too. Pics are large, but I hope that doesn't bother you. I've yet to get a proper lightbox so all pictures are taken with whatever I could manage.
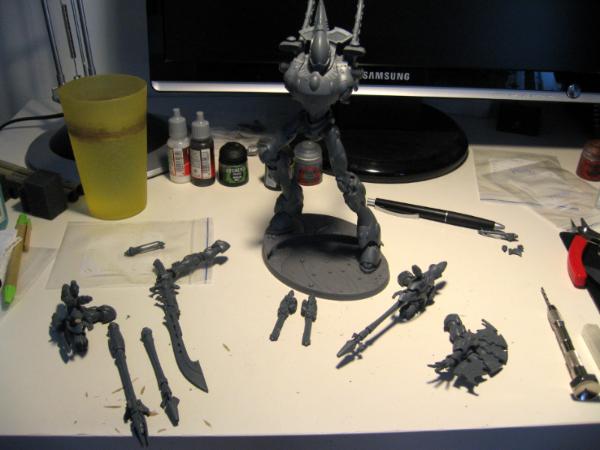
For starters, I received the Wraithknight all cleaned up, but fitting, positioning and gluing everything together(client had glued and green stuffed arms, legs and torso, which saved a lot of work from me.)
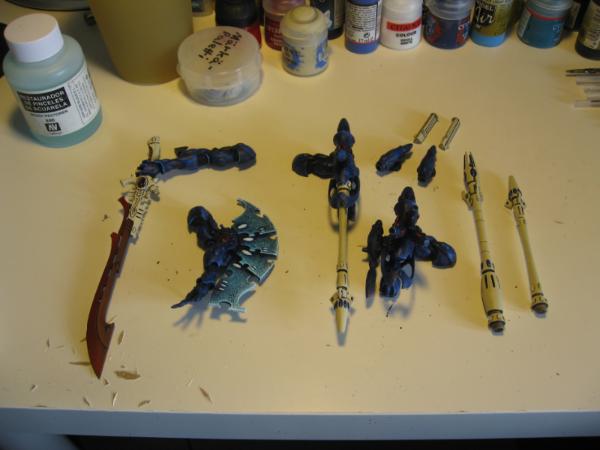
So first was assembly. I magnetised arms and all equipment. In these pictures you won't be seeing starcannons or shuriken cannons, but they're done too. I primed them with black spray.
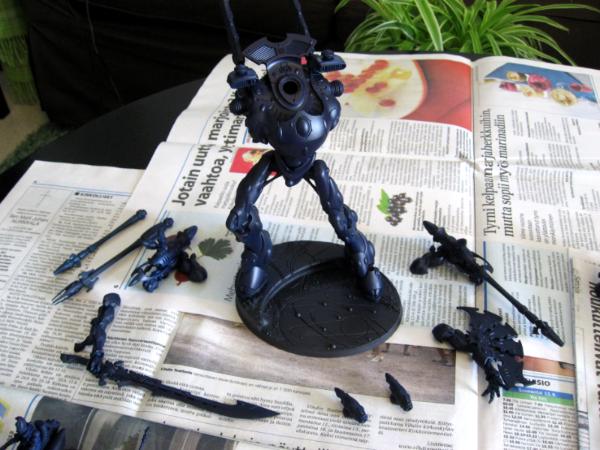
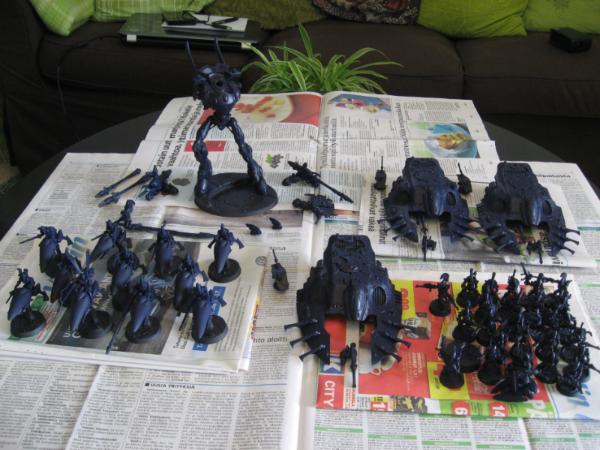
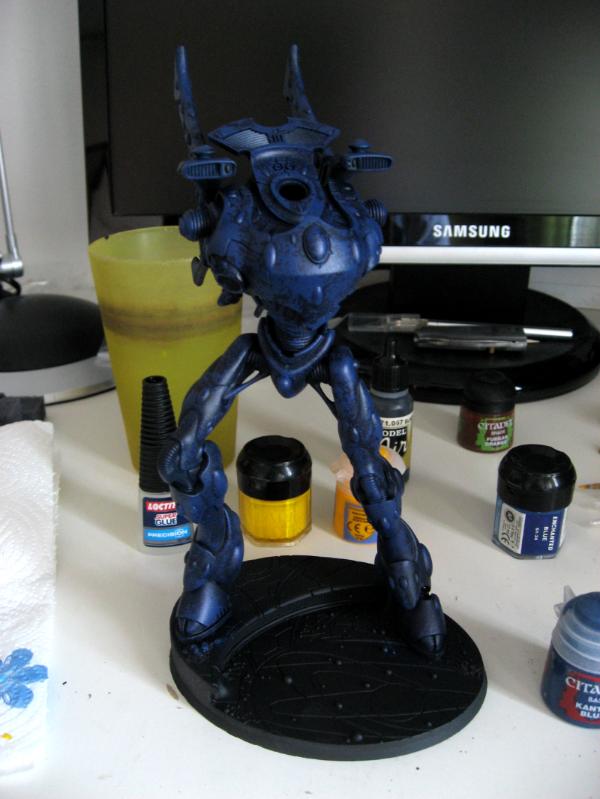
Second, I primed wraithknight and almost the whole army the client had in mind. I used airbrush and Vallejo Deep Sea Blue for basecolor.
Just the knight:
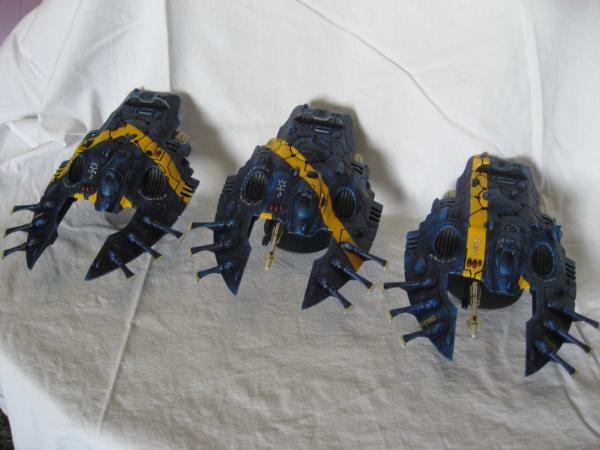
And the whole army:
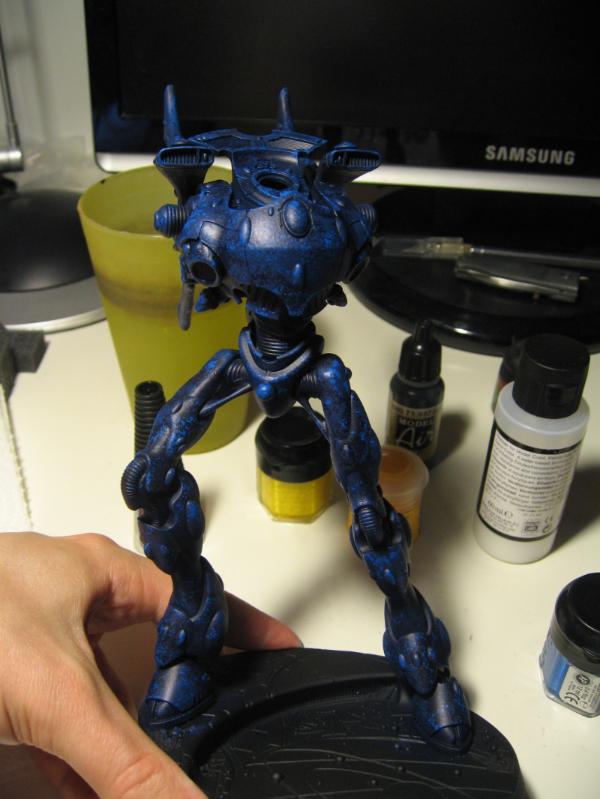
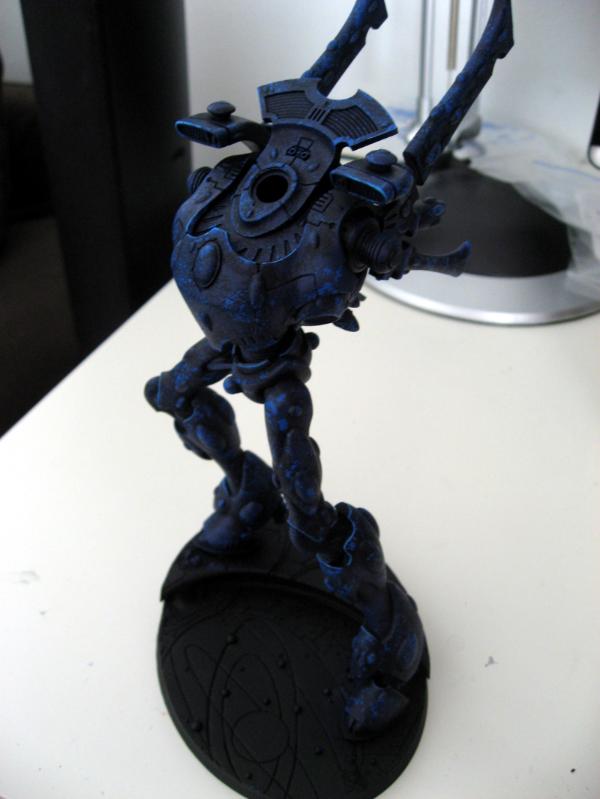
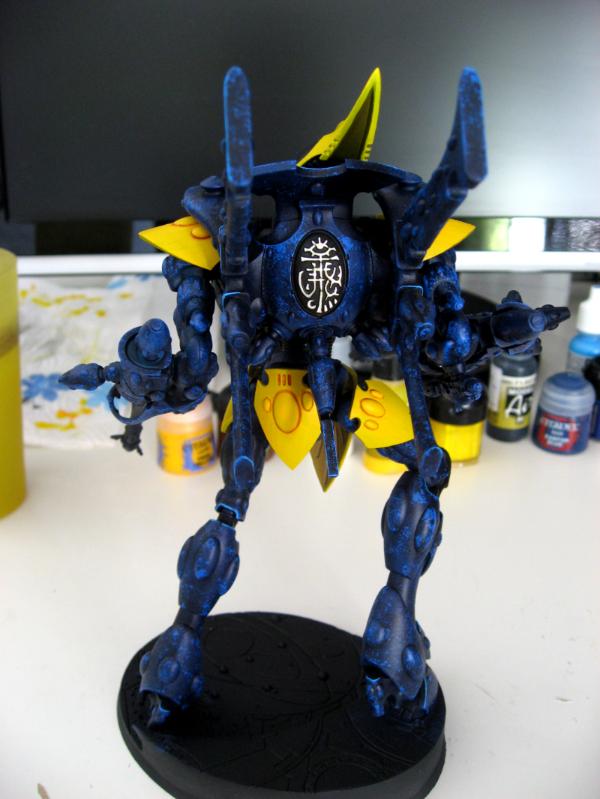
Then, using a small sponge, I used Kantor blue, and after that Enchanted blue. I think it's named Macgragge blue now? Anyway, after that I did a fine ice blue lining.
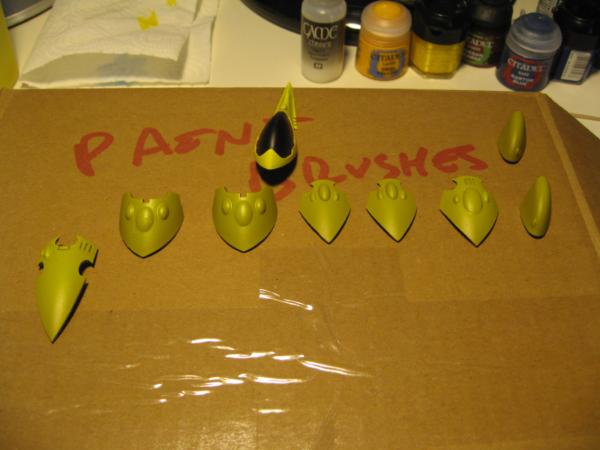
Next was to make all the yellow parts. I airbrushed with Vallejo's model air Yellow to all the parts, which were primed brown first. This was one of the most tedious work, since getting a clear yellow even to brown primer is a hard, hard work. Next time, Im going to use white primer to these. After airbrushing, I painted any edge of those "gems" and recesses with Fuegan orange shade. After that, It was a 1:1 mix of that airbrush yellow and Yriel Yellow. Why did I mix 2 almost similar yellows you ask? To get the right opacity. Yriel yellow is an easy way to get good coverage to almost any surface, on top of any colour. But it's thick. So, mixed with very, very thin airbrush colour I got a yellow, that was as bright as the airbrush yellow(slight difference between airbrush yellow and Yriel Yellow) but with better opacity. "Facemask" painted black by hand, obviously.
After airbrush:
Next, was to fit them to main model. At this point one could easily see the big picture. I wanted to make those big gems dark red and shiny.
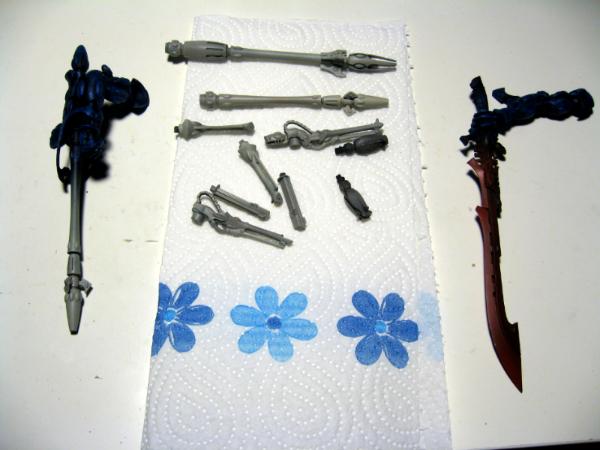
I was so proud. Before glueing everything I hand painted joints black. I wanted clear bone colour for weapons, so I wanted to make my work easier, so I airbrushed weapons with Sand (Ivory) colour, also from Vallejo's air brush set.
After that it was all hand painting from there.
I did the shield first:
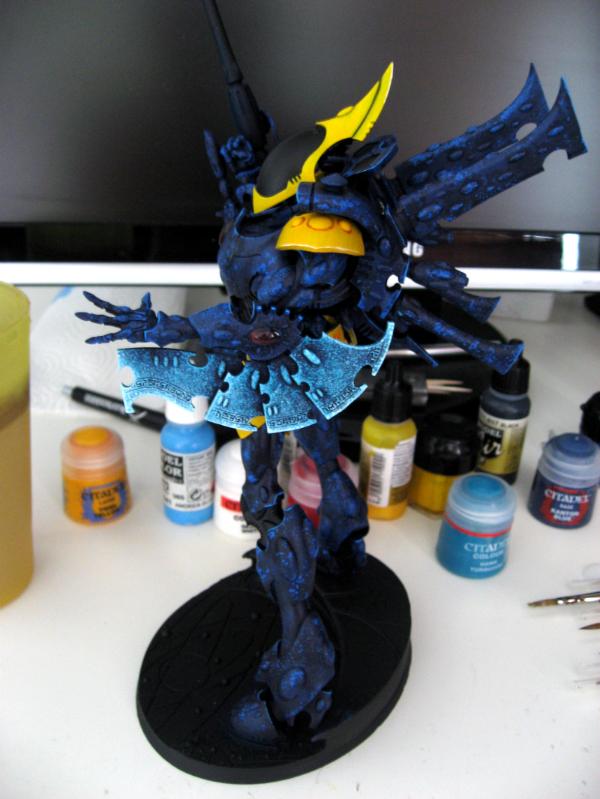
And all weapons done, big gems done dark red too. I hand painted all bony parts with screaming skull and using water palette. That way, the paint stayed thin but remained easy to paint and everything became smooth as a baby's butt. Blade was airbrushed with 2 shades of red. Dark and bright. Oh, and suncannon and wraithcannons had blue gems. Wanted something else than red ones everywhere.
Now, having all the main stuff done, the thing was almost complete. But, since I didn't want one so beautiful model go wandering about killing everything alive yet, I wanted to decorate it. Like a christmas tree! Well, almost, but not quite. I was not sure how to do that, so I tested the colour scheme and runewriting and all that to wave serpents first. I liked it, so I decided to make it all to knight as well.
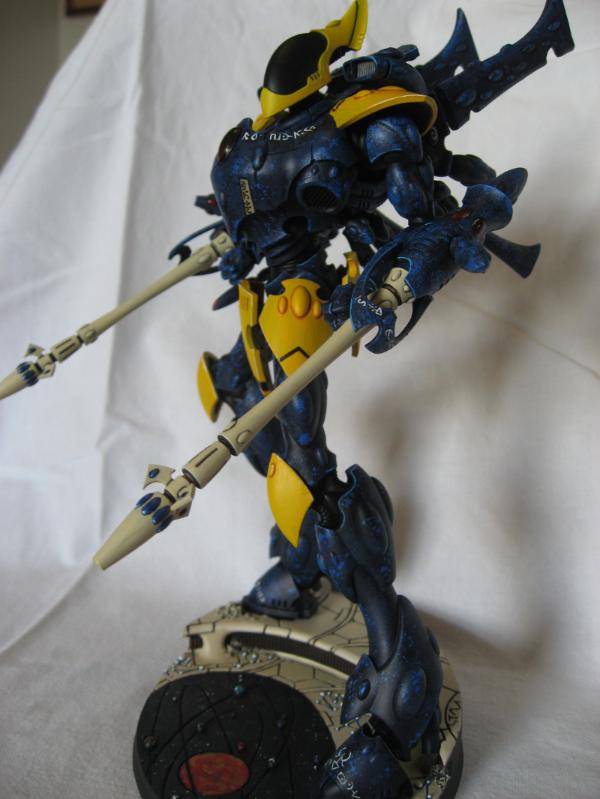
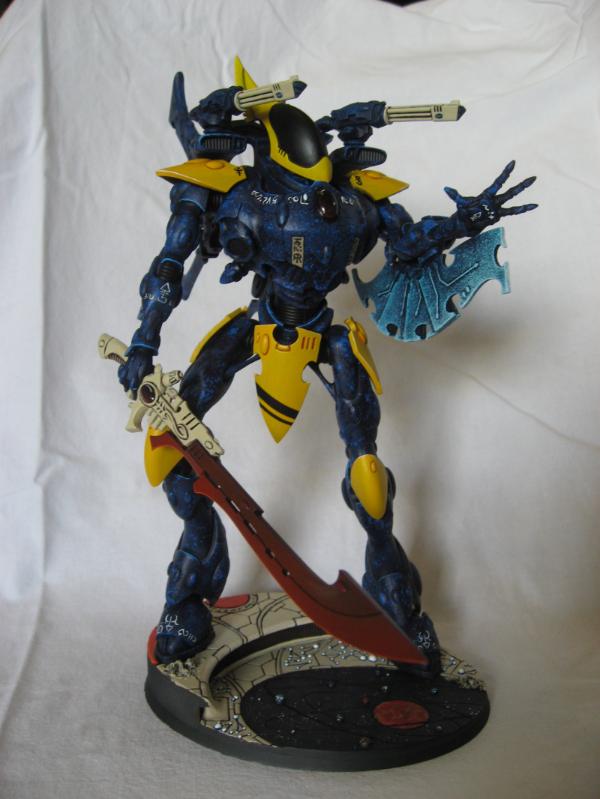
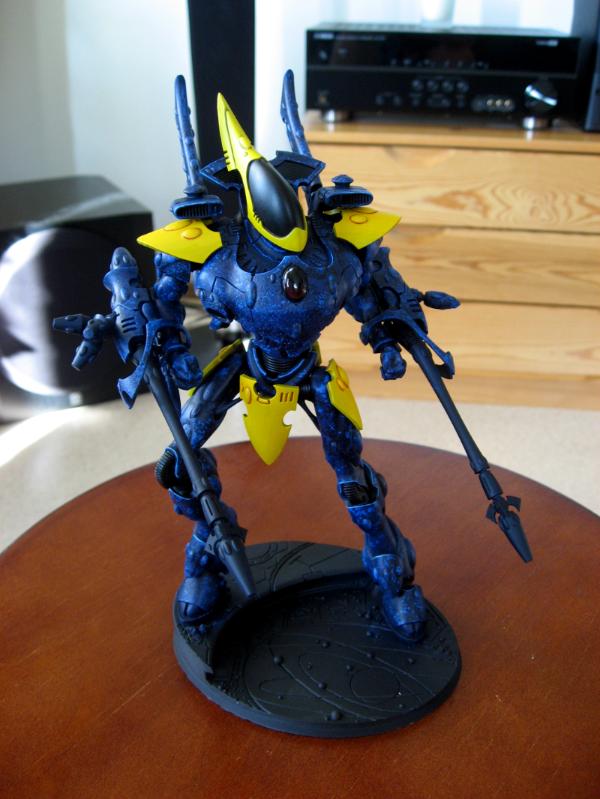
Then to knight:
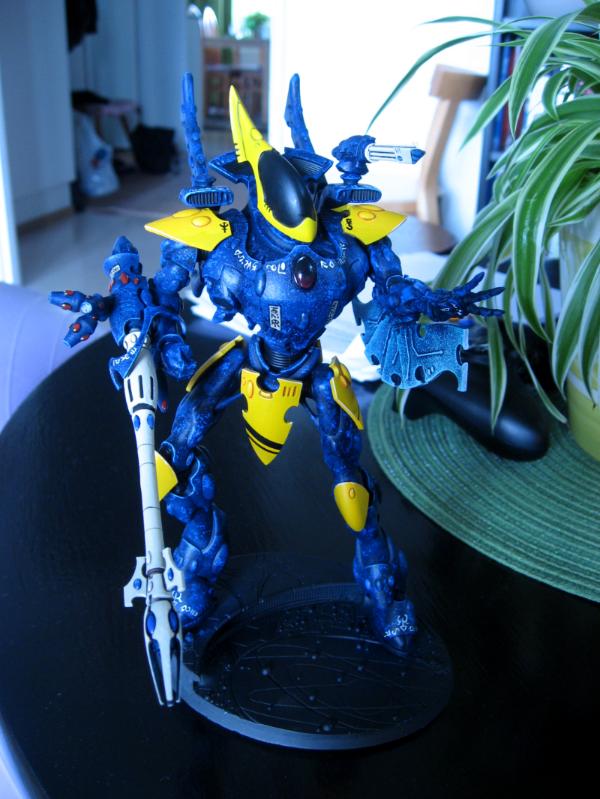
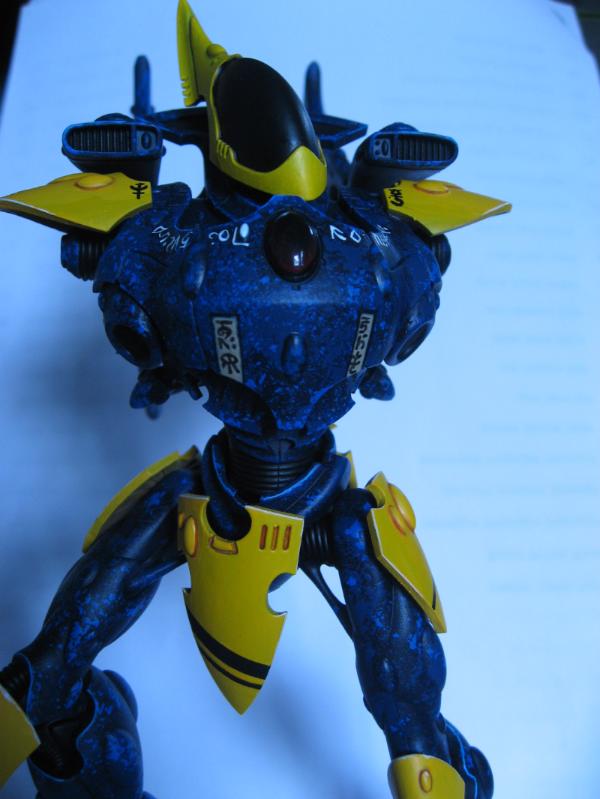
Isn't he a cute boy now isn't he? Who's a good boy? That's right, you are!
All he needed was the base. Client had ordered those fabulous resin bases, and I wanted them to be special.
First, painting those planets. It looked like it had a window or hologram on it, so I made it look like there was some sort of a window to the space. Painted deep sea blue first with a sponge, then white again with a sponge. Brushed planets all differend kinds, and everything else at the base mournfang brown.
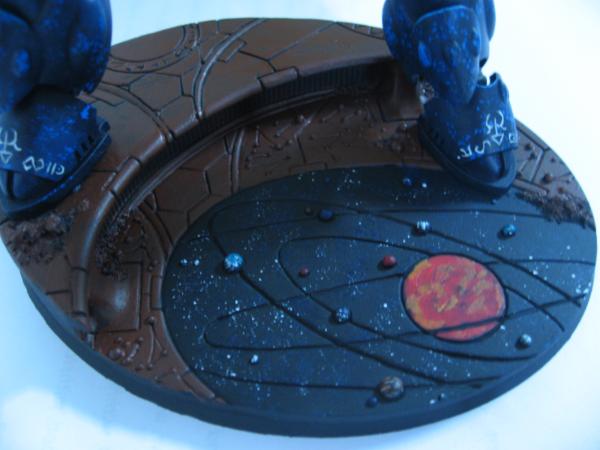
Idea I had in mind was, that is was possibly a craftworlds floor. So, dusty bone it is! With a large brush, I casually wetbrushed it with the same colour I airbrushed weapons with. Ivory Sand. At this part I wasn't even worrying about paint going into recesses. it would just look like bone dust gathering.
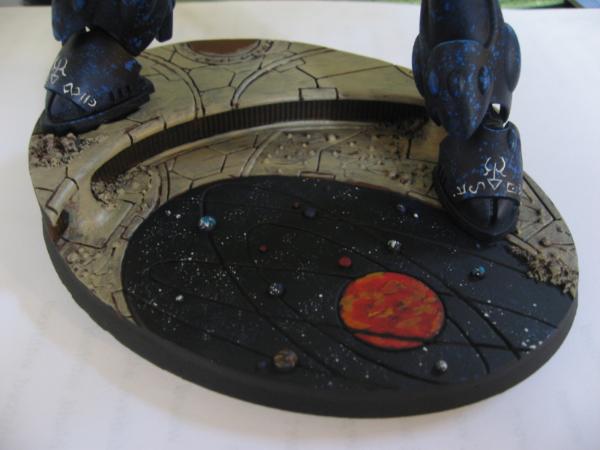
Then, with careful hand I painted plates with screaming skull, those fine lines with blue shade, and spheres with skull white.
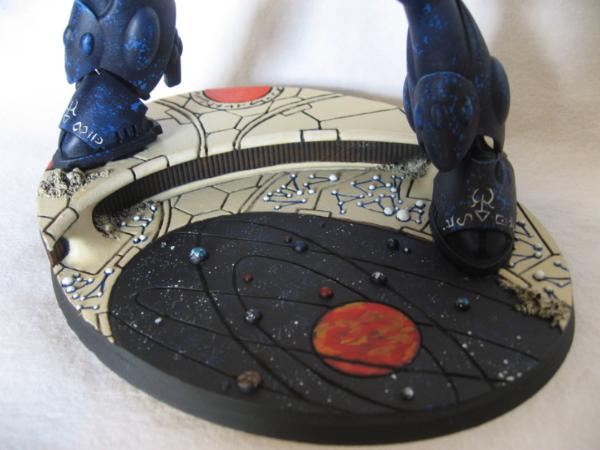
Thus, was a Alaitoc Wraithknight born. Here's the finished pics, which will go to painting showcase section too. Enjoy, and hope I inspire someone to do the same too!