Switch Theme:

Help with painting Eldar Jetbikes!  [RSS] Share on facebook Share on Twitter Submit to Reddit
»
Author Message
Advert


Forum adverts like this one are shown to any user who is not logged in. Join us by filling out a tiny 3 field form and you will get your own, free, dakka user account which gives a good range of benefits to you:
  • No adverts like this in the forums anymore.
  • Times and dates in your local timezone.
  • Full tracking of what you have read so you can skip to your first unread post, easily see what has changed since you last logged in, and easily see what is new at a glance.
  • Email notifications for threads you want to watch closely.
  • Being a part of the oldest wargaming community on the net.
If you are already a member then feel free to login now.


Made in nz
Neophyte undergoing Ritual of Detestation


Having a rage because ive been painting a guy for an hour now and he still looks like crap i just suck at painting idk why all my troops look good i just cant get jetbikes right HELP ME!!! i am trying to make mine look like the photo below but they just crash and burn.
[Thumb - jetbike.png]

   
Made in gb
Is 'Eavy Metal Calling?


UK

Any chance you could throw up a pic of what yours looks like? It'd be easier to help if we can see what you're working from.

Generally, though, there are a few good tips to bear in mind when painting large flat surfaces like this:

Thin your paints to avoid leaving rough brushmarks, and be prepared to put down several coats of thin paint rather than one thick one to get good coverage.

When it comes to the lines, get some masking tape; apply it on either side of the line you want to paint and fill in the gap, Remember, you can always go over the edges in black if you do miss a bit or go over the edges.

To get highlights on a surface like that, you'll need to use layering, which can be daunting if you've not done it before. Put simply, you mix in a slightly brighter colour and apply it to the areas that catch would the light, and then repeat the same process on those areas with an even brighter colour. This works for the black and the red if you can pull it off.


It's also worth noting that the image you posted is possibly done with an airbrush, looking at the fading and colour transitions, and matching that effect with a brush is going to be almost impossible, so if that was airbrushed, then you might want to look for other examples if you're going to try and replicate it exactly.

Hope that gives you some ideas. And as a side note, that model in the OP is really good, anyone should be proud of reaching that quality, so even if yours don't look as good as that one, even coming close to that will look good!

This message was edited 1 time. Last update was at 2014/07/02 17:37:50


Made in us
Horrific Howling Banshee


First, yes please do post a pic of your work, it will help target specific things.

Now here are mine:


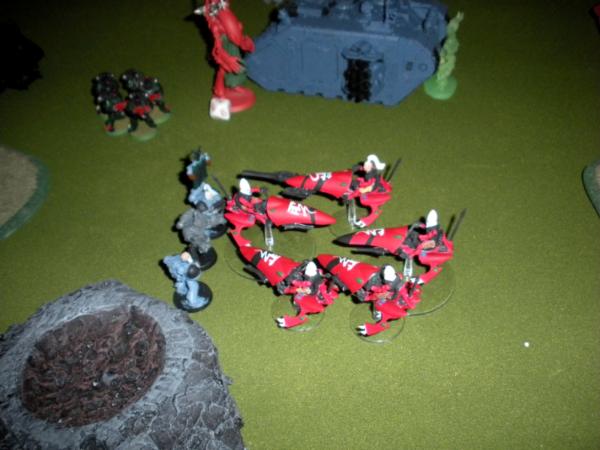
what I did the same: yes the bike itself required layering. It's about 10 coats, and I did barely any shading. It can take more. The chevrons on the hood I did with scotch tape. Put down the top and one side of the bottom. Paint it with the hood color (one coat to make a seal in case the tape isn't perfect, then a couple coats of your color. Red on black IS REALLY HARD. Paint done white or pink in there first to help the red pop. Repeat with the other leg of the chevron. I let legs dry overnight too.

Different stuff:The back fins have some light shading on them. That's a subtle and wide hard edge highlight I believe. The arms are well shaded on his but not mine. I like watering down a color one shade darker, and hitting crevices. There is a good amount of shading in general on that model, that's what makes it look so nice.

This stuff all takes time. Painting with red, an hour is nothing.
   
 
Forum Index » Painting & Modeling
Go to: