This one was a hard build.
It was a lot harder to get this right then it was to get my klaw working
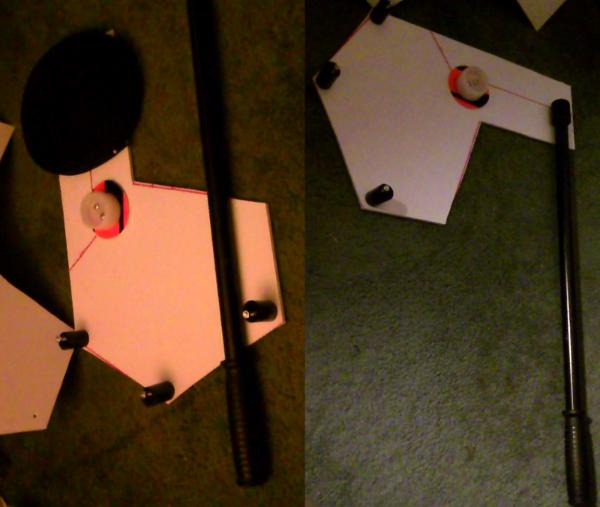
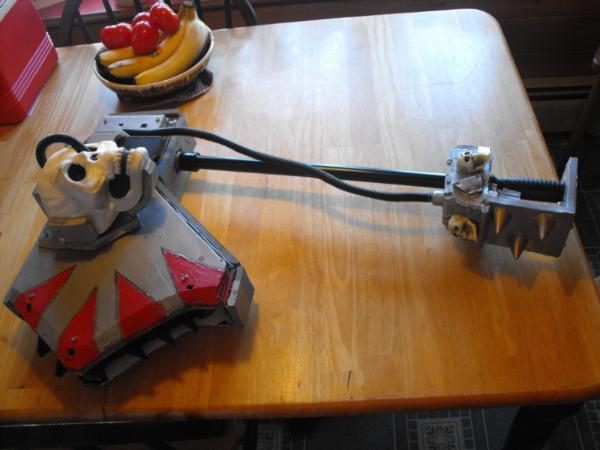
the first step was to decide on a shape. I didn't like the flat front of most chain axes I've seen so I decided on an angled blade I then sketched the shape out onto cloroplast and cut it out . I used the cores from register receipt rolls with washers for the guide. the drive wheel was mare from 2 wide mouth bottle tops with the neck rings for traction. I used the handle from an adjustable windshield scraper for my axe handle.
I used nylon strapping for the chain and sewed chain teeth to it. using an electric screw driver for the motive power I found my drive wheel could not get enough traction. I experimented with the drive while I built the rest of the axe
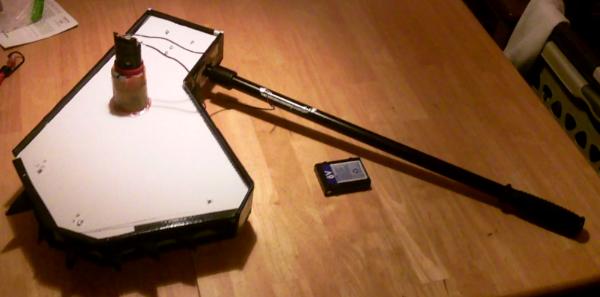
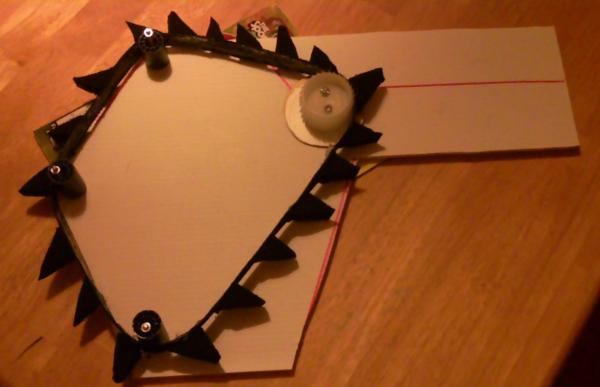
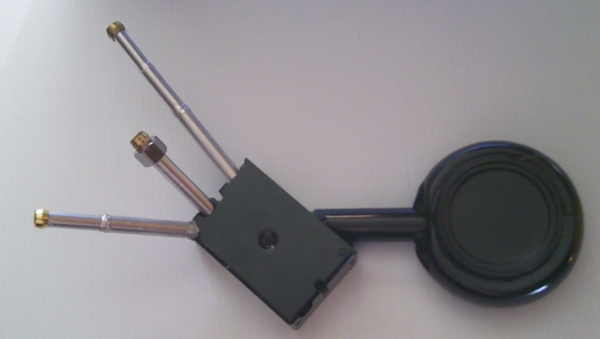
I set a small wooden block inside the head. and mounted the threaded part of the removable handle to that. I then built up the axe head framing in the drive. I removed the screwdrivers built in battery and mounted it over the drive wheel.
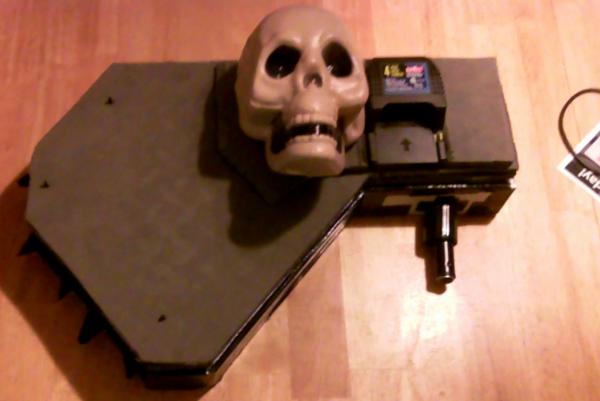
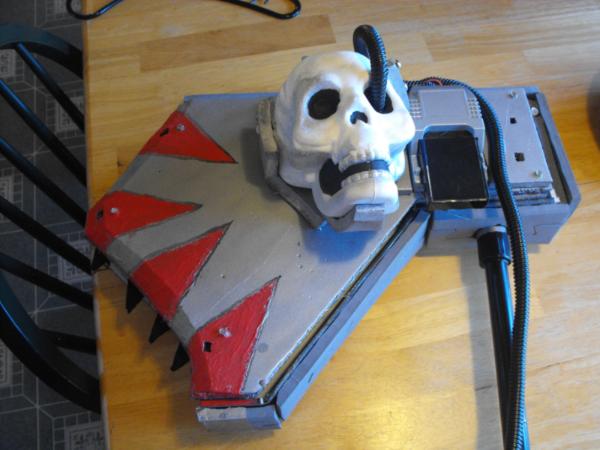
using the axe frame as a guide I added 2 layers of pva foam to each side of the axe head. I then added a third layer around the motor mount. I decided that I could use a dollar store skull as a theme appropriate cover for the motor. Now while out at a large chain store I found several rechargeable 6 volt battery packs on clearance. I used one of the chargers and rewired it as a battery mount on the axe head
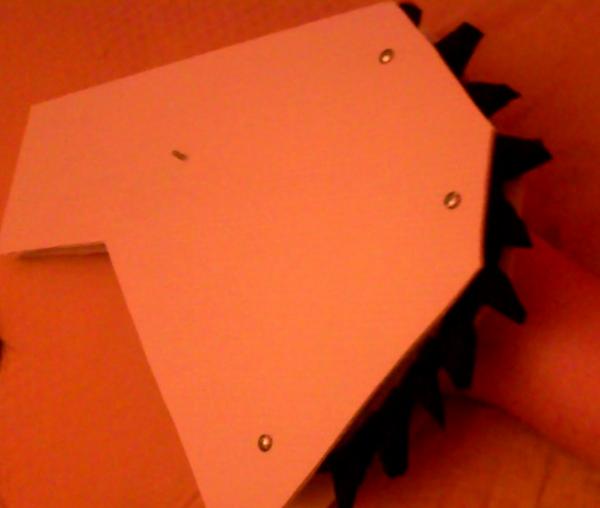
On the other side I decided to balance out the head with an engine exhaust manifold. I used a electrical work box, a travel pill case, the bottom of a large ice tea bottle and a prescription cap. for the haphazard exhaust ports I used the legs off a dollar store mini tripod extended to different lengths I cut holes into the work box and hot glued the legs into the disired pattern. I then glued all the pieces together. I also started to cut a edge into axe blade. About this time I soved my drive train issues as well. I removed the drive wheel and cut off the spiked strips, I also removed the teeth from the nylon strap. I sewed the teeth to the back of the loop side of a strip of velcro. I then hot clued the hook side around the drive wheel.
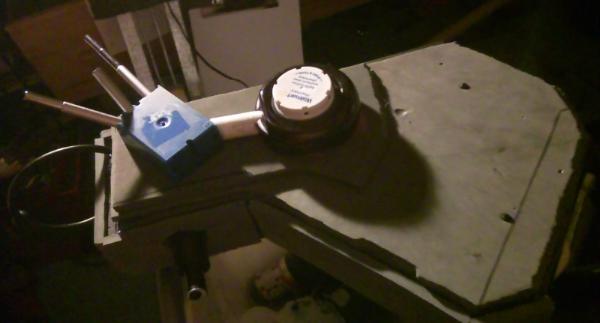
I used several pieces of scrap pva foam to build up a knuckle guard for the axe. I went for a nice blocky design... yes I do know it looks like a gas pump.
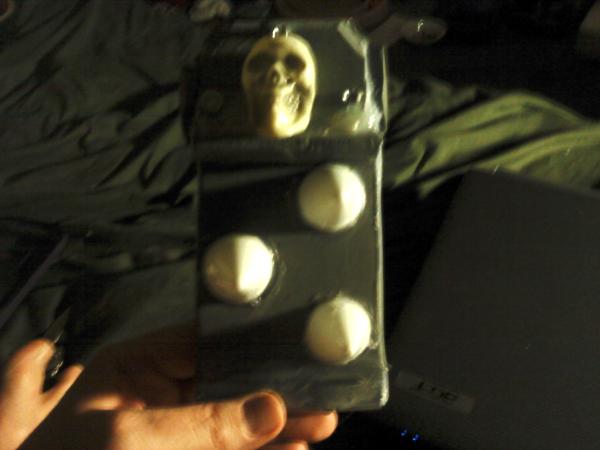
to get rid of that pump handle look I figured a few spikes and skulls would help
these cones were in with my old cake decorating supplies I took three and cut them down to fit before gluing them into place. as for the skulls.... well I have more plastic skulls then I know what to do with.
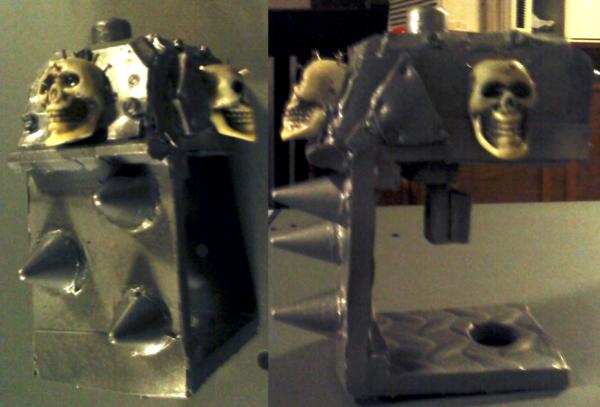
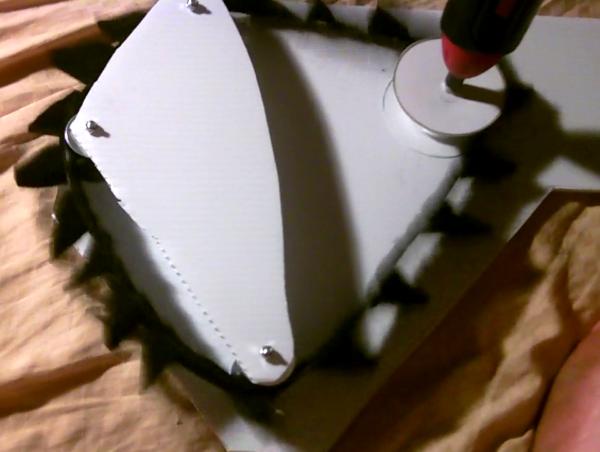
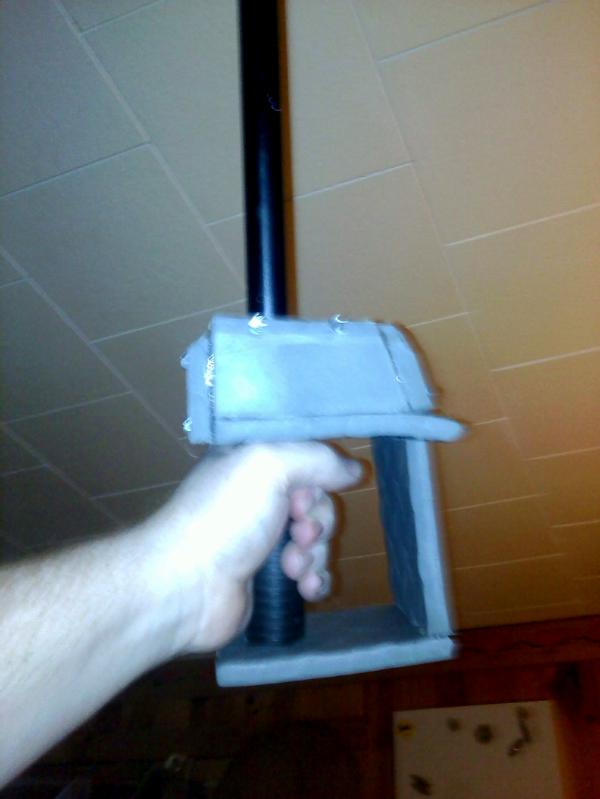
I then painted all the pieces of the axe, three coats of flat gray to all the foam pieces, one coat of silver, and then one coat of hammered iron finish. with the skulls I added a carona of brass nails around the crown.
once the paint was dry I added some painted red spikes to the axe head.
I then took the skull and painted it white for a bleached look and slapped some painted pva foam to sections for the mek of it. I wired a momentary switch button onto the handle. I ran the wires up the handle and into the motor before covering it with some wiring conduit.
Here is the axe in action
https://youtu.be/r7UTLhgIqnM
There are a few things I want to do. I need to reinforce the handle since it is a little wobbley as is I have plans on how to do so and use the reinforcment as a way to attach the axe to a harness. I also need to add the finished exhaust manifold on the other side
I also need to mount my ork fang totem to the bottom of the grip
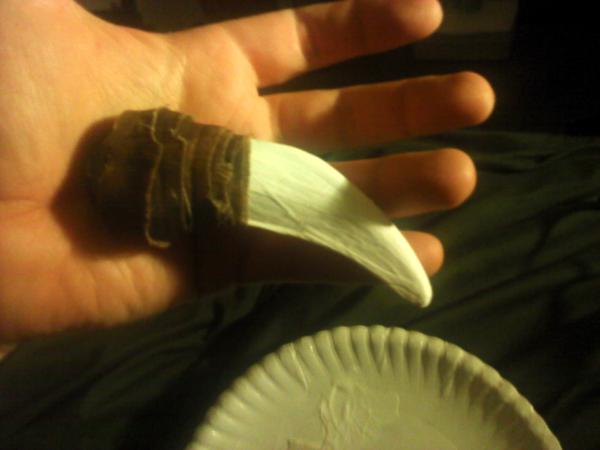
the fang was a super easy build. I used the scrap tip of one of the left over scyths I used in my techpreist project
found here
http://www.dakkadakka.com/dakkaforum/posts/list/644779.page
I used a heat gun to soften the tip and round it out I filled it with hot glue and painted it white before wrapping the end in some nice ragged brown cloth

