Greetings! Just wanted to take a few minutes and toss this out here for purpose. I'll try and do a few of these a little along for any interested in other how-to's
I've been painting on my Blood Angels honor guard/command squad of late and thought I might offer up a quick tutorial on how I paint gold. It's pretty simple, and effective, and produces a good clean gold shade in short order.
In addition to that, since I'm going to be using a helmet for the demonstration, I'll add in how I paint eye lenses as well for good measure.

Let's get started!
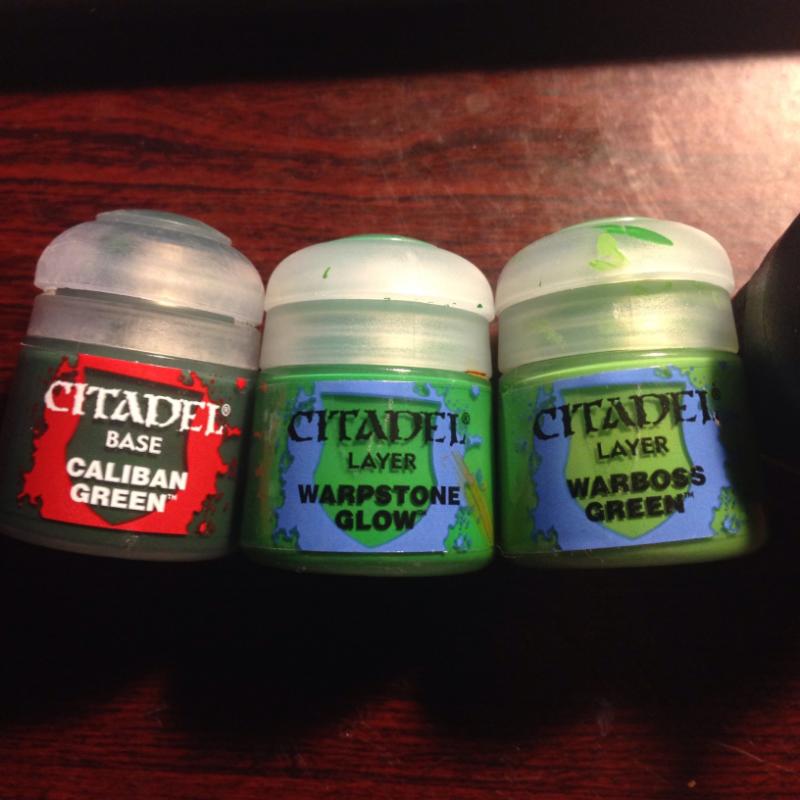
First, our colors we will be using for the helmet:
And the eye lenses:
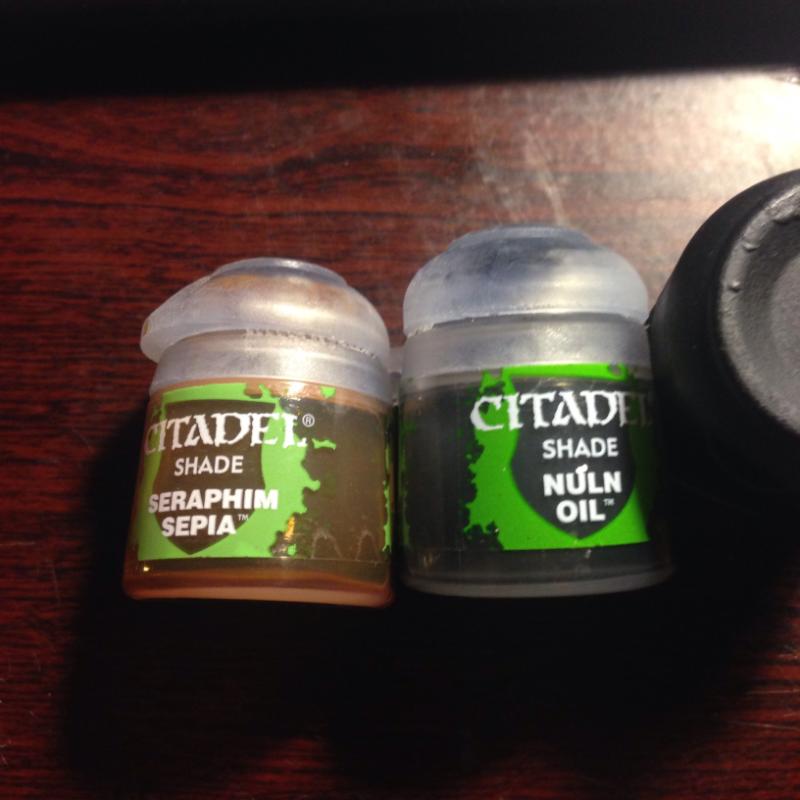
Lastly, these are the washes that will be used:
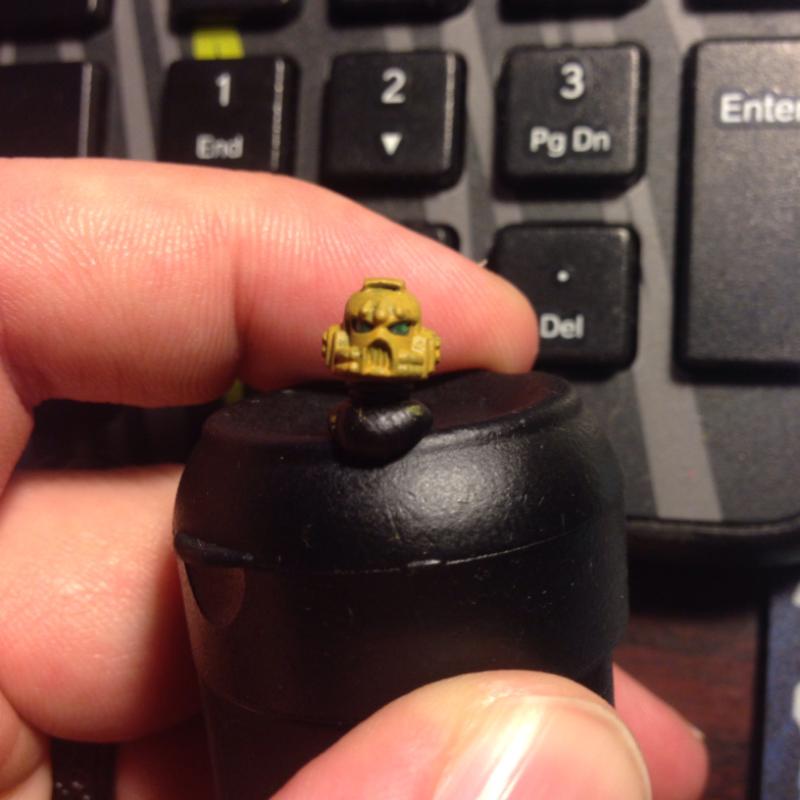
First thing's first! After laying down a good base coat of black, you'll come in with the Zamesi Desert and paint one to two thinned coats of this shade over the black basecoat. It should look something like this:
*Note* I have already laid the base coat for the eyes down in this picture, more on that in a moment!
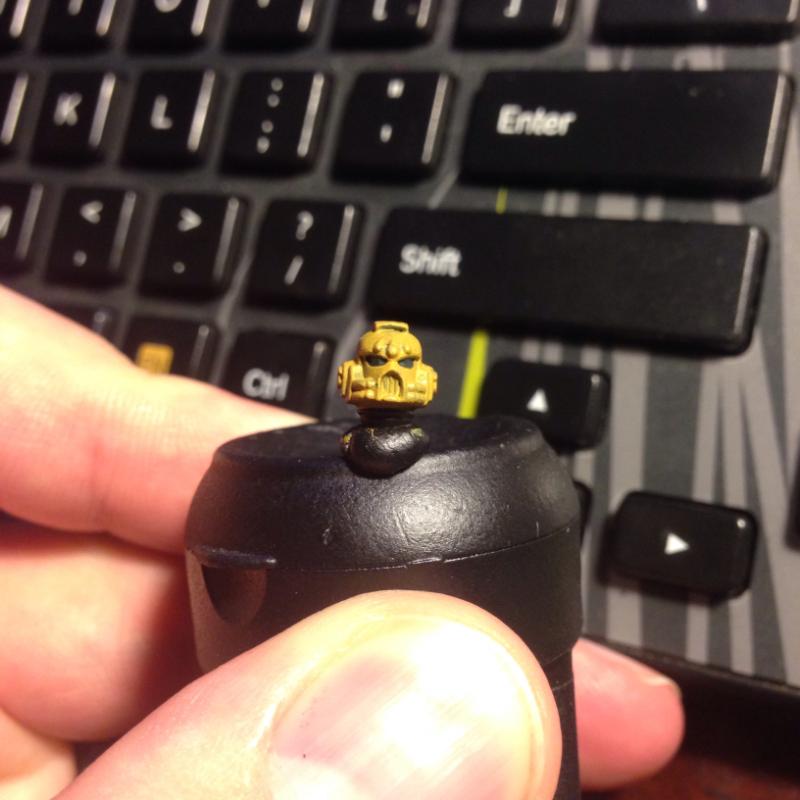
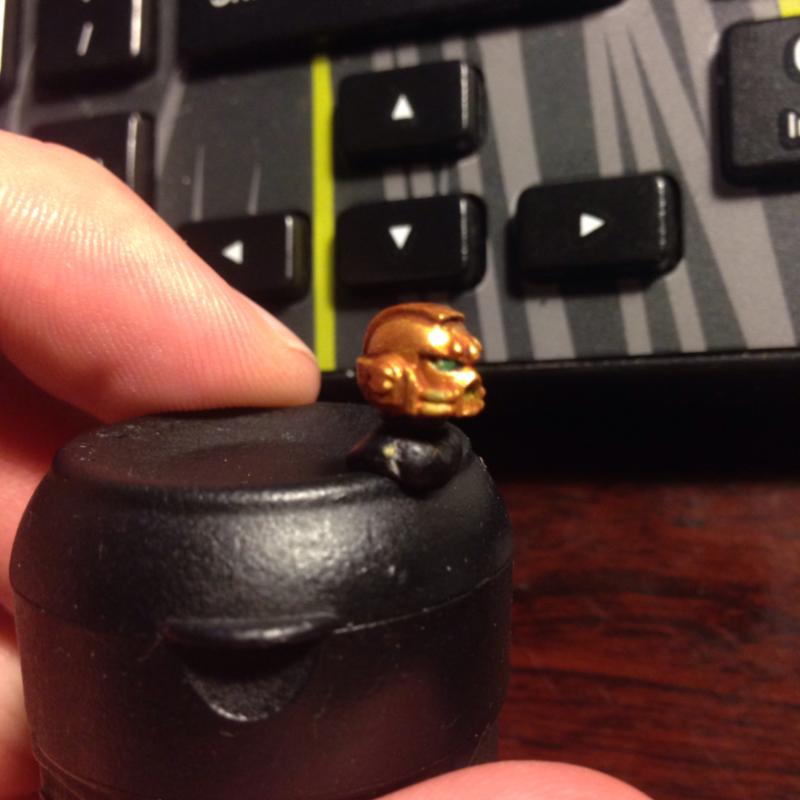
Next, we begin work on the eye lenses. As you can see above, I've gone in with the Caliban Green and filled in the eye sockets. Take the time to be careful with this, and fix any baubles with a little touch of Zamesi Desert before continuing.
After this, go in and fill the eye lens slot with a little bit of Nuln Oil. It should look like the above picture. This adds shading to the edge of the lens and helps bring out the slight recess in the lens compared to the face armor.
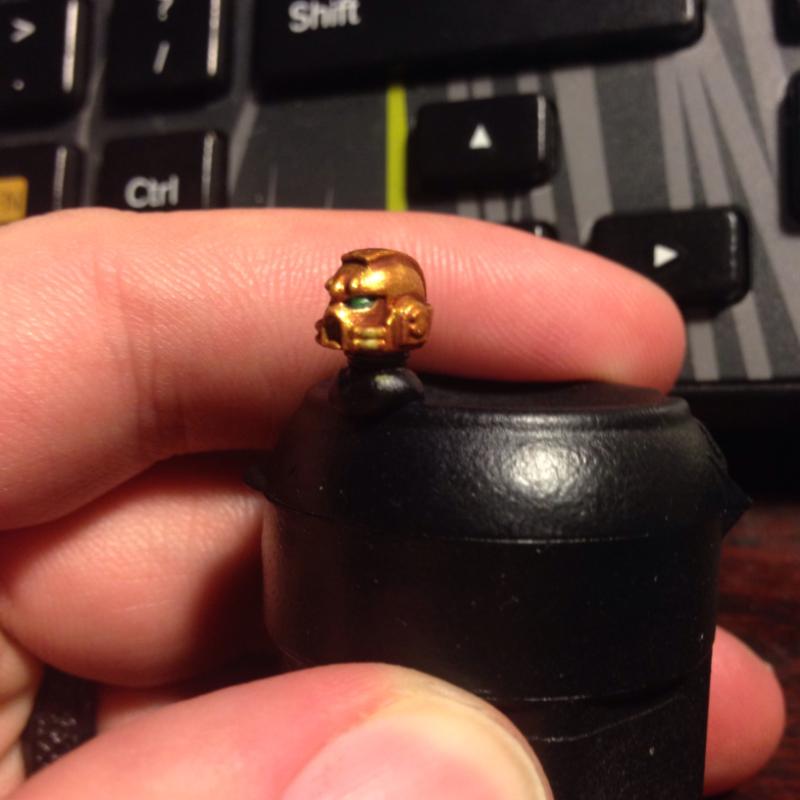
Our next step after this is to come in and on the back 50 to 60 percent of the lens, paint in some Warpstone Glow. It should look a little something like this:
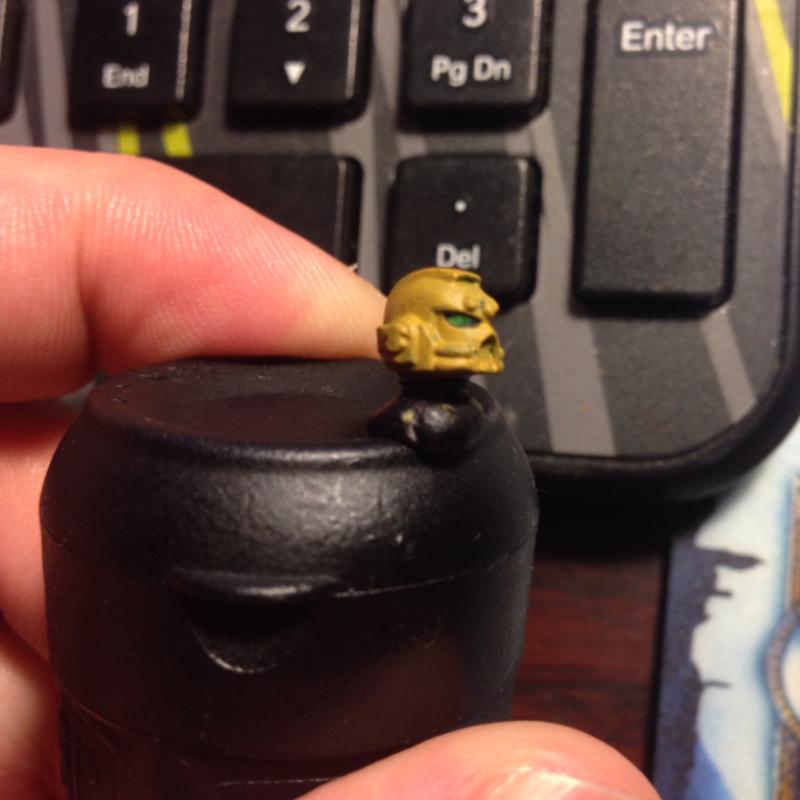
Follow this up with the final highlight color of Warboss Green in the back 20 to 30 percent of the lens. After this step, you'll do one more shot of Nuln oil in the eye socket to help ensure the recessed lens is shaded correctly. After that dries (And only after this last wash dries!), you simply come in and put a small dot of white toward the rear of the lens. I usually just go past the halfway mark and set the dot toward the top rear myself. Here's what it looks like:
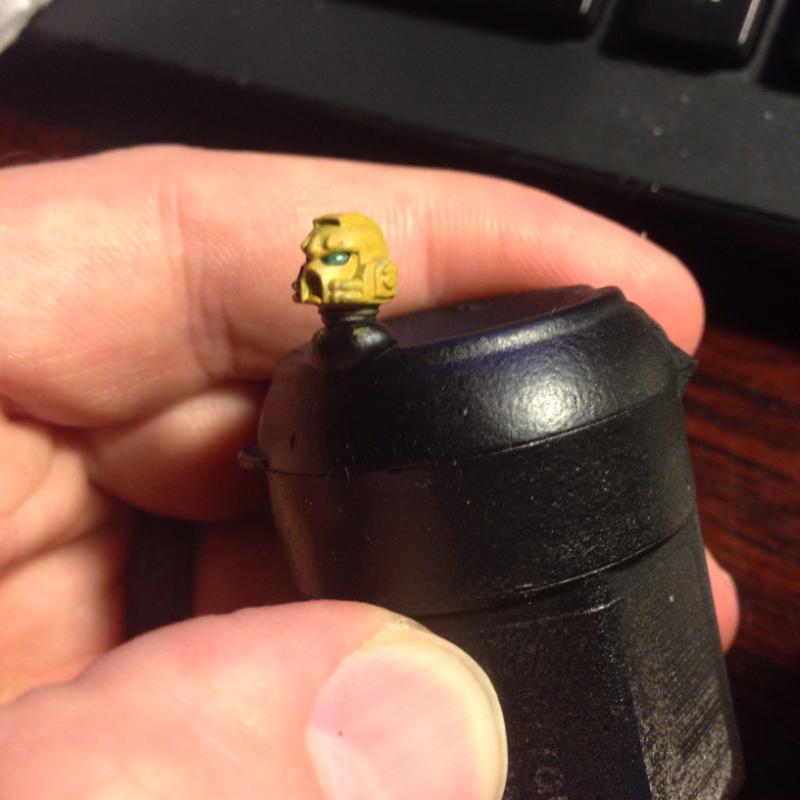
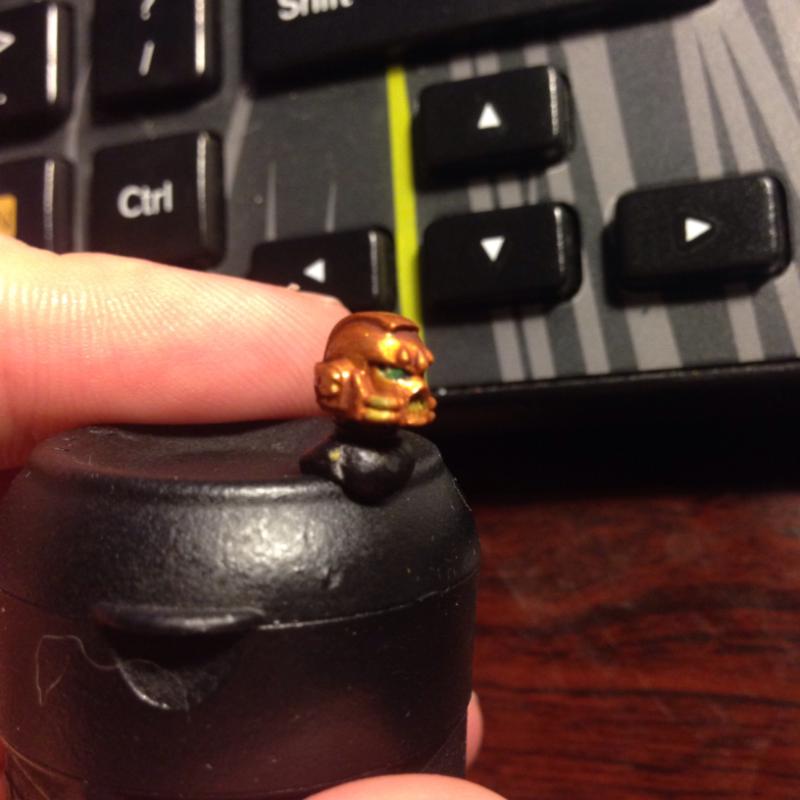
Now with that complete, we can come in and add the gold. Start with Gehenna's Gold and do one to two coats over the entire helmet, everywhere you've got Zamesi Desert painted. Be careful around the eyes obviously. Here's what it'll look like after two thinned coats.
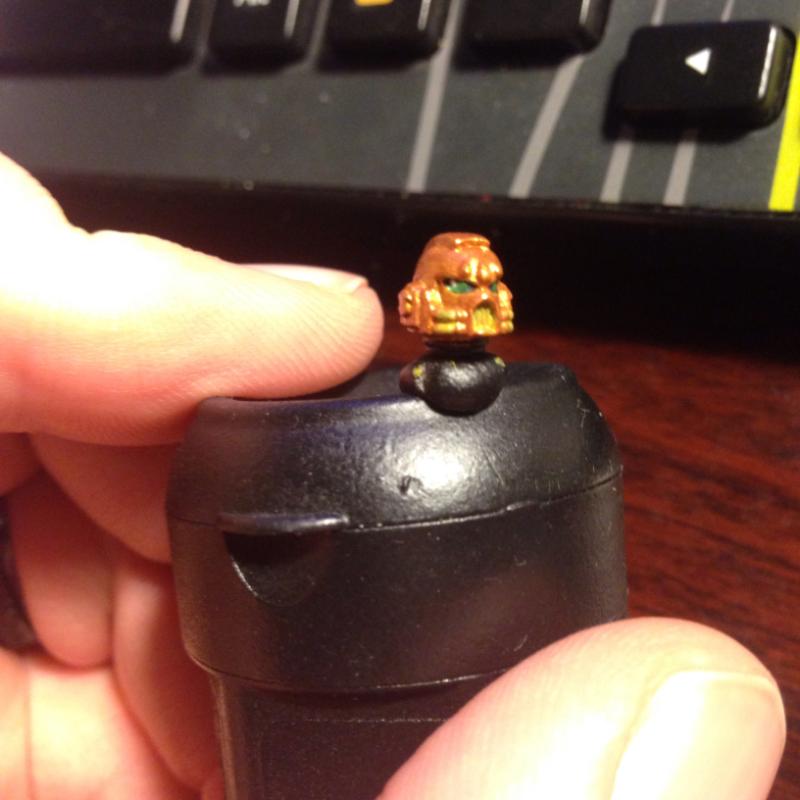
Our next step involves coming in with the Seraphim Sepia wash and hitting a good layer of it into the recesses of the gold areas. Raised portions got wash applied around them (Forehead area). Be careful with the lenses again here if painting a helmet, or other detail areas. You don't want to tint something a different shade on accident. Here's what it should look like:
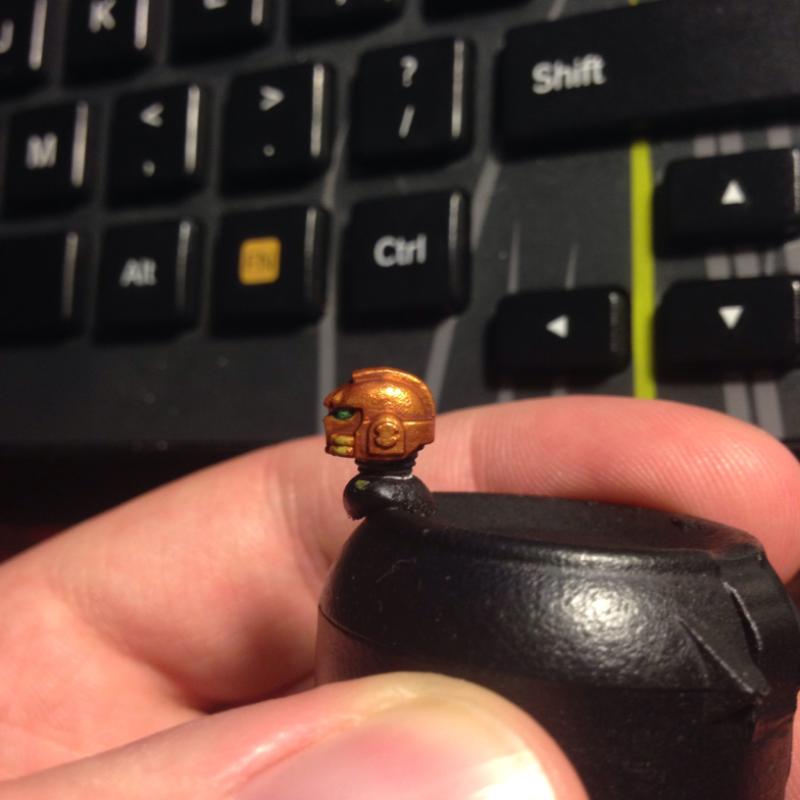
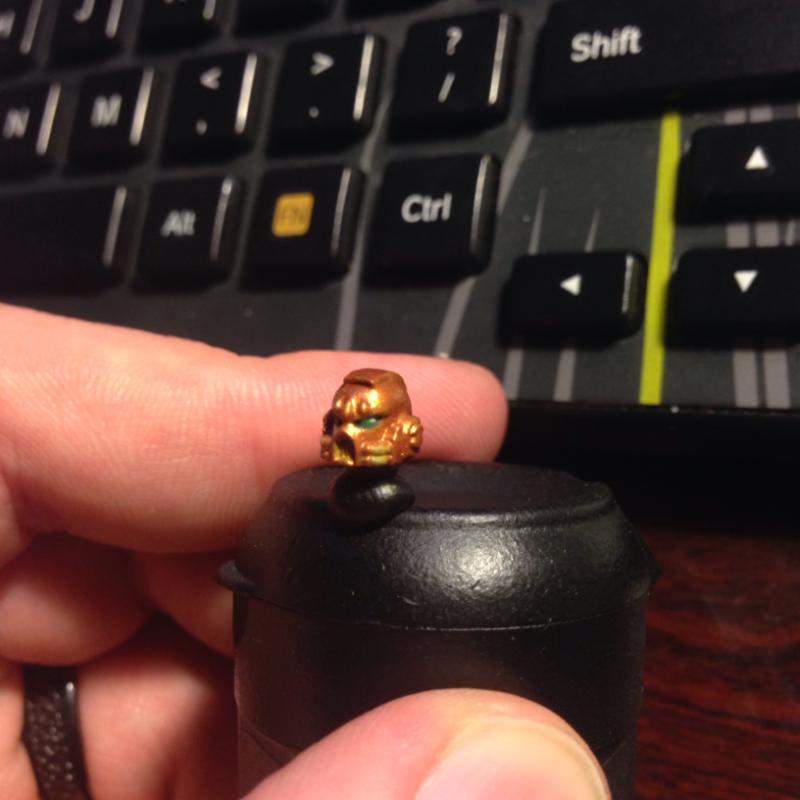
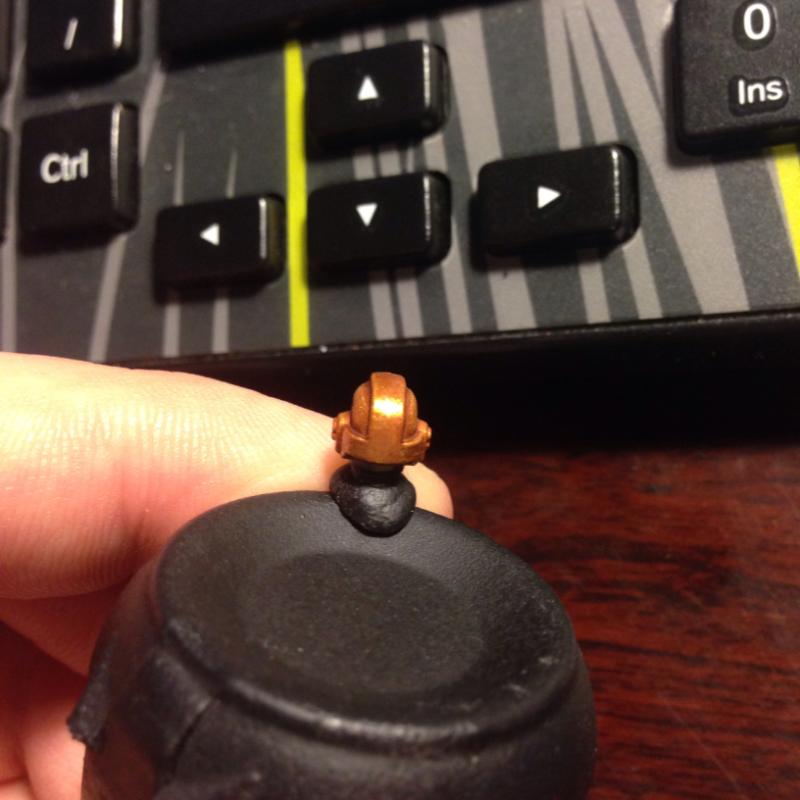
Lastly, (At least lastly for this tutorial) you'll come in with the Auric Armor Gold and hit all the high spots, leaving the recesses shaded with the Sepia. I paid special attention to the central 'ridge' and the sides of the helmet below and to the sides of it, as well as the tops of the ear and raised portion that wraps around the back of the head. A little was used as well under the eyes, and around the face grille area as well. Here's the result.
Last step would be to go in and apply any silver metallic shades to this piece (which I'm about to do) and then finish those areas off with a Nuln Oil wash.
More extreme highlighting can be achieved by using a bright silver, but I happen to like the gold at this brightness/shade without further work. However, more can be done if desired.
I hope folks find this helpful, as gold can be a bit of a trick to make look right. As with all things, your mileage may vary, but this should get you to a good, bright, tabletop standard gold if that's what you're shooting for.
Thanks for reading, and take it easy for now.
-Red__Thirst-