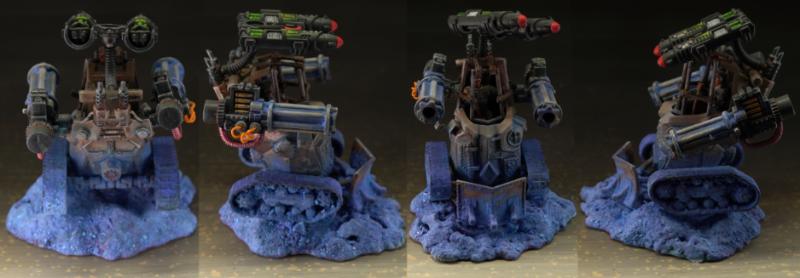
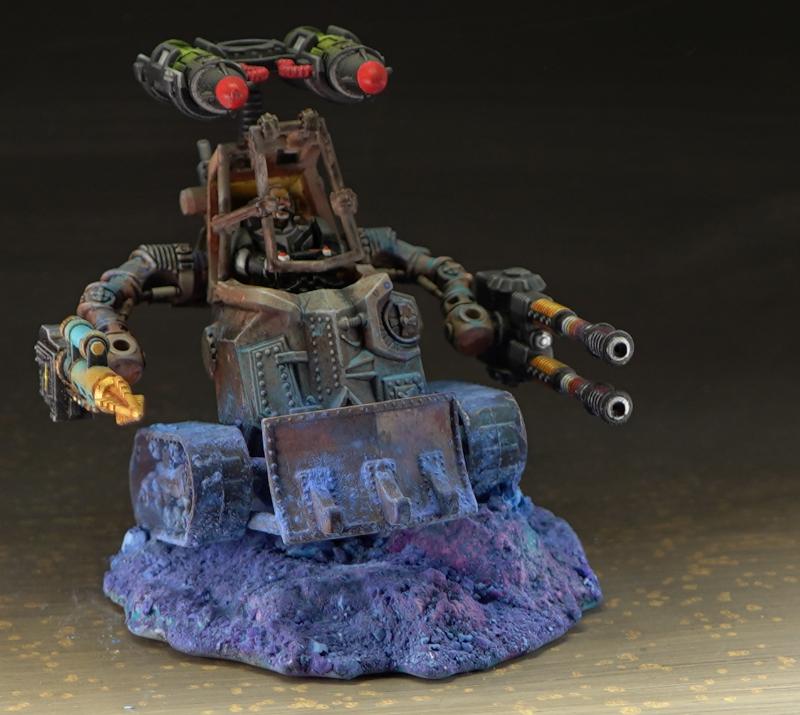
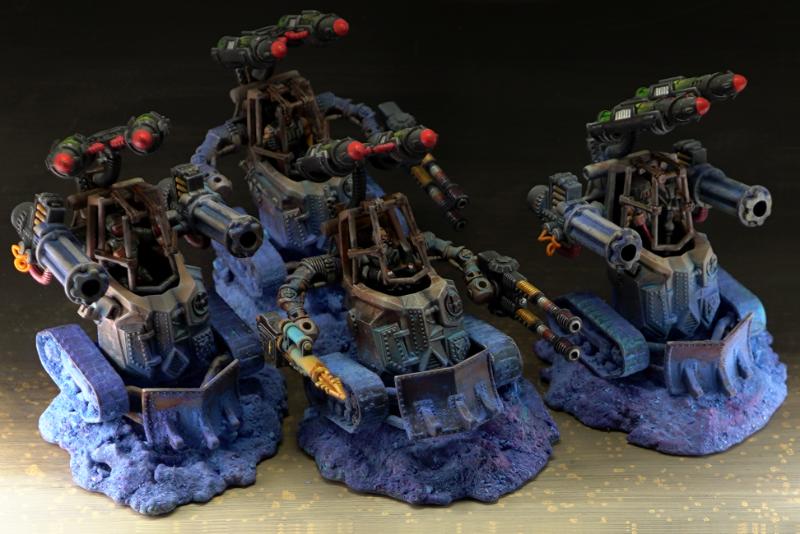
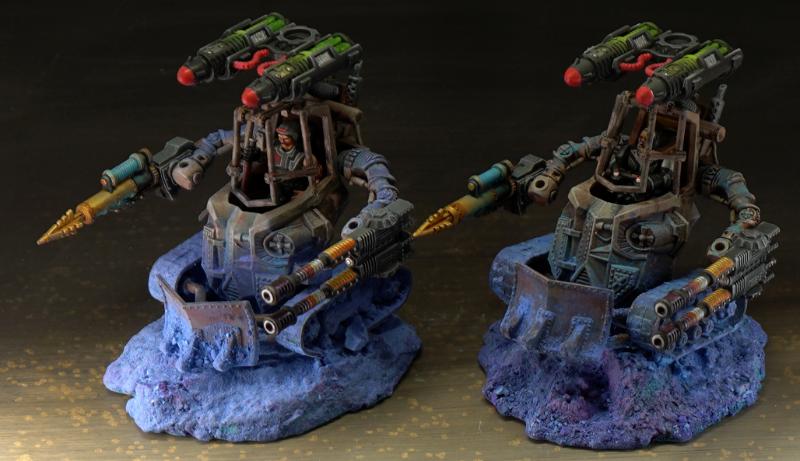
My TEHNOLOGs consolidating into one thread for maximum convenience.
Enjoy
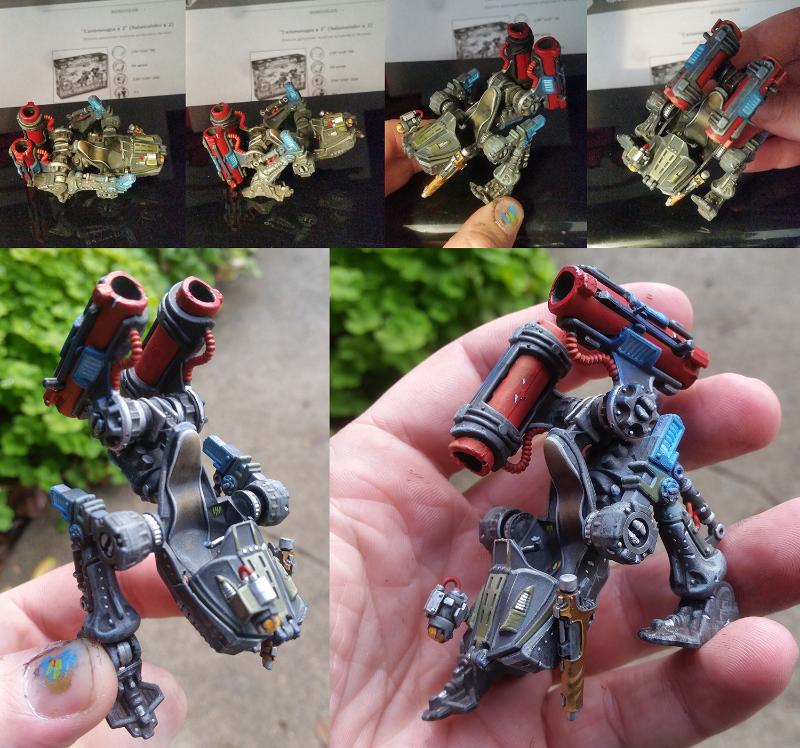

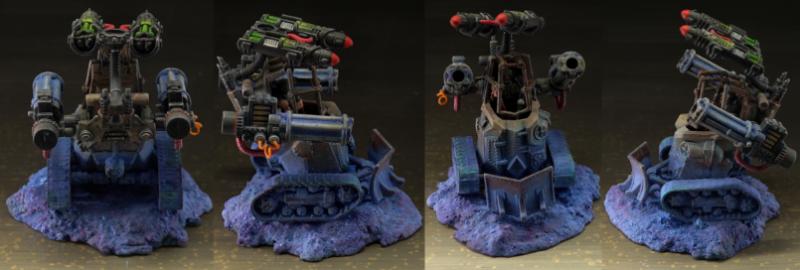
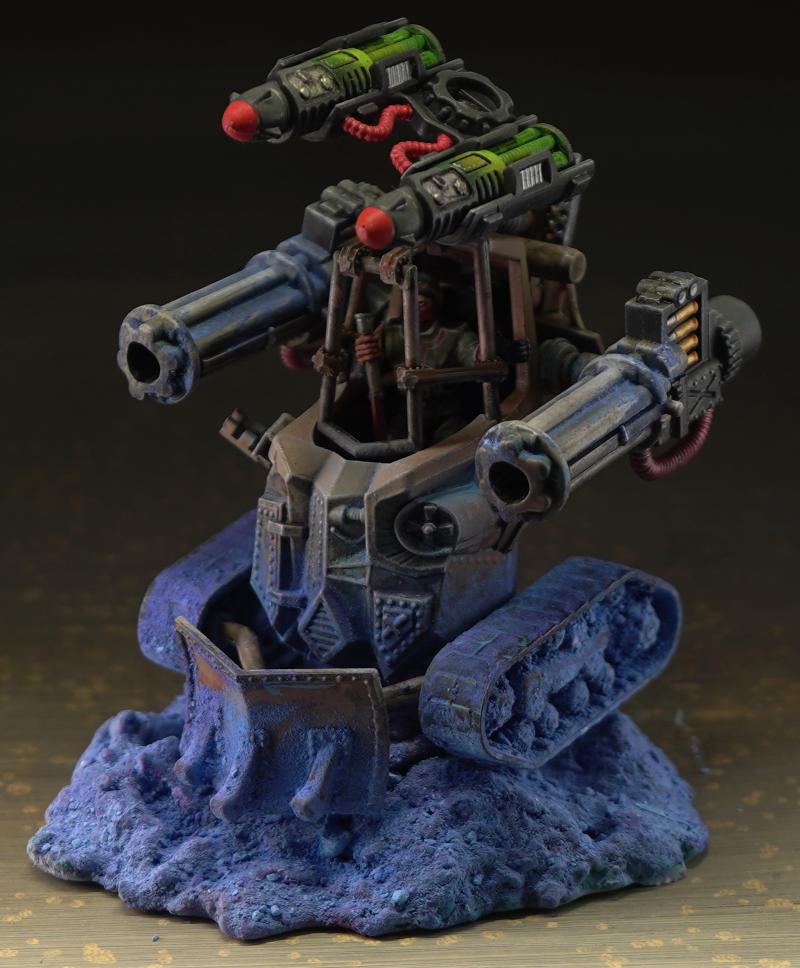
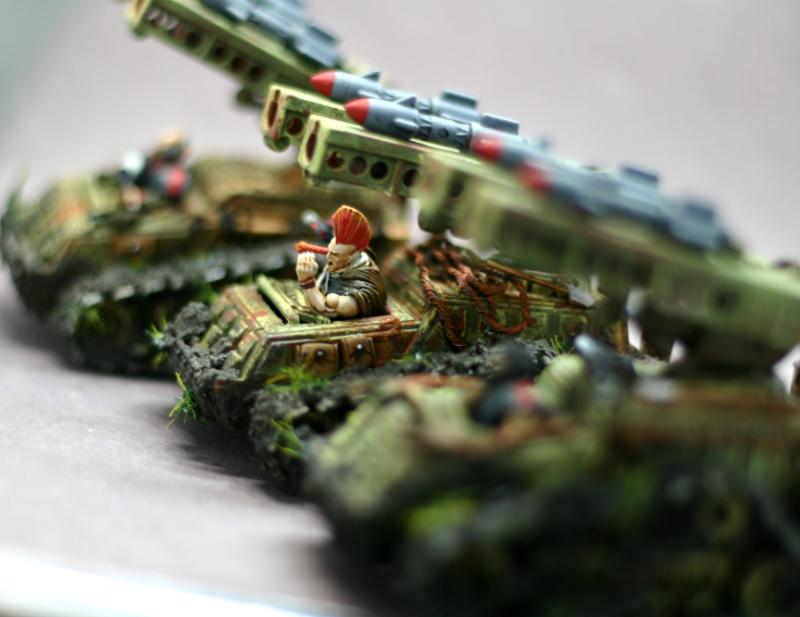
Tehnolog - Robogear - Varan - Conversion
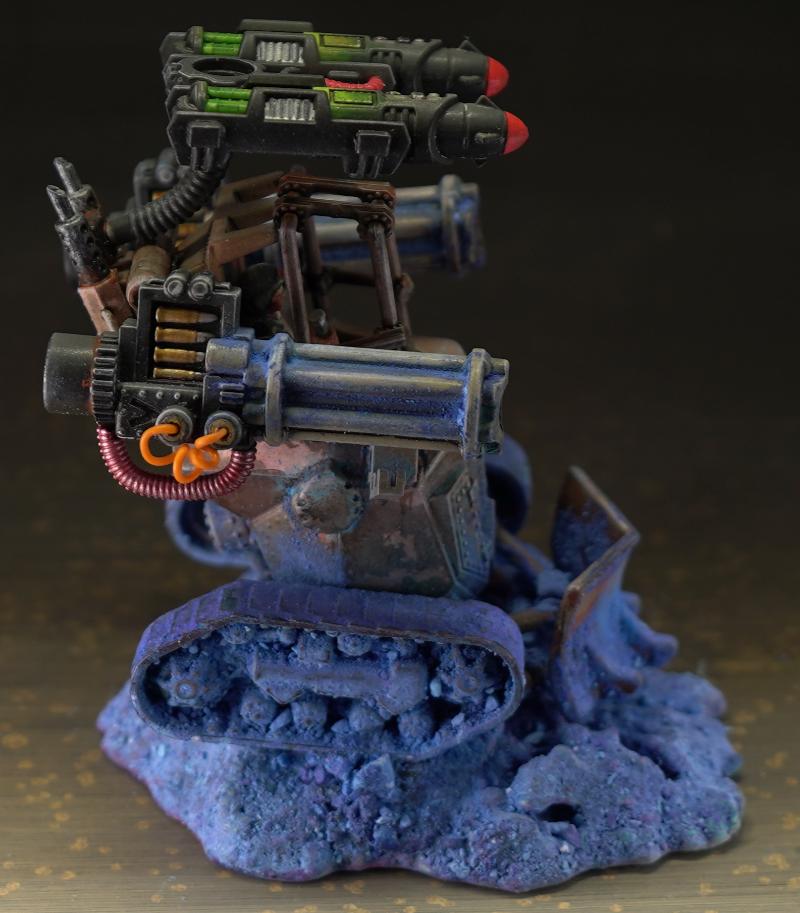
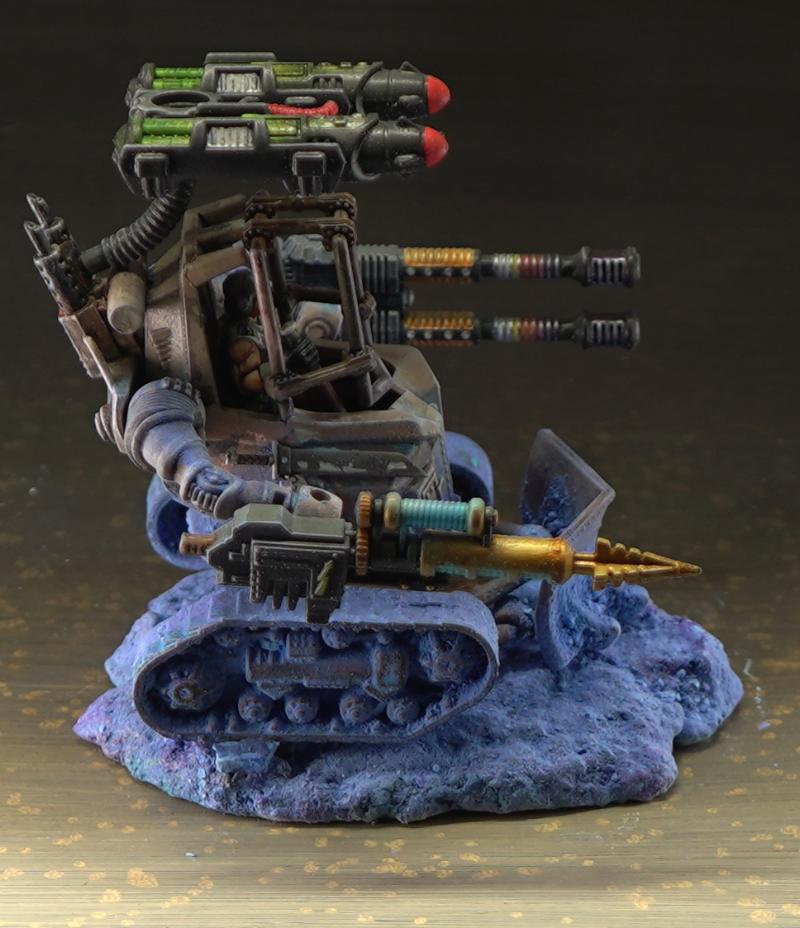
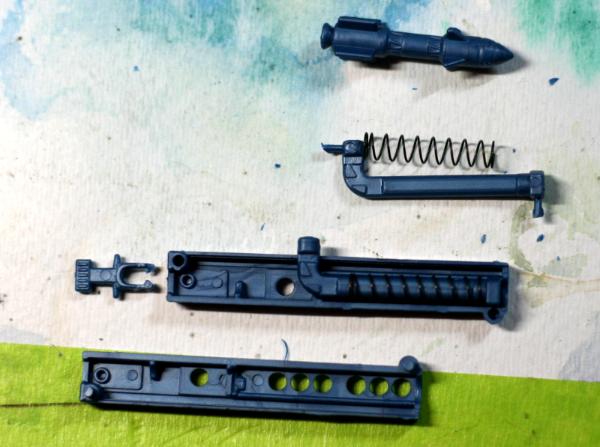
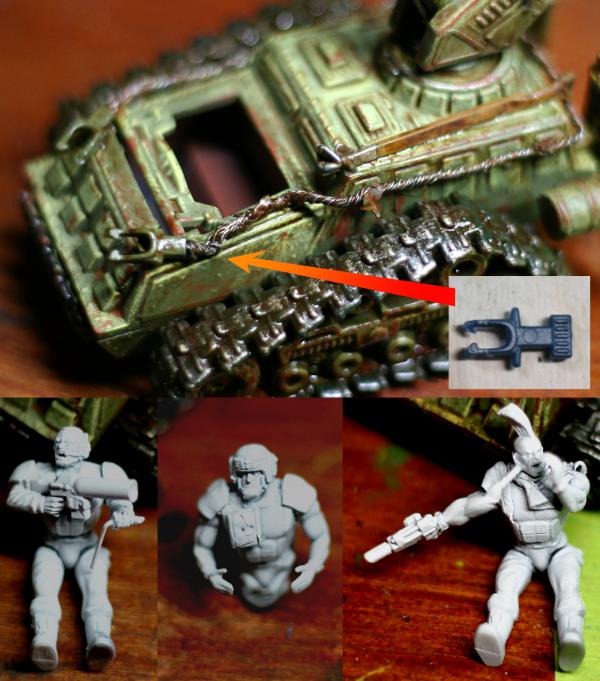
Firing mechanism that launches the missiles with the press of the trigger. Kept functional
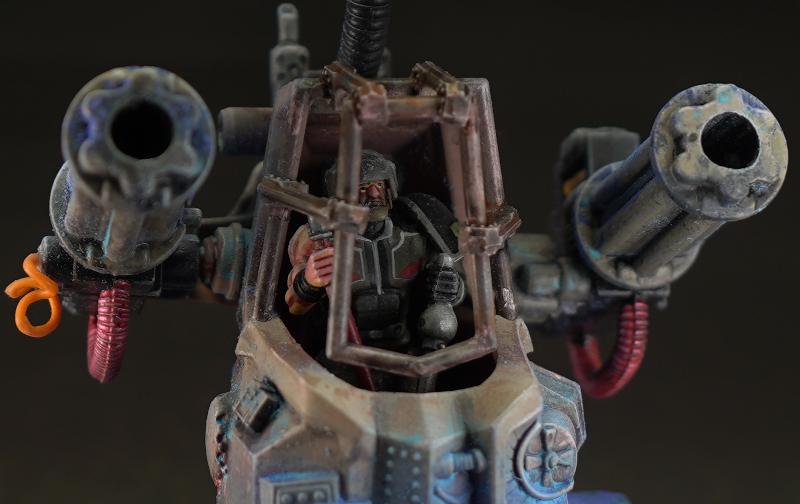
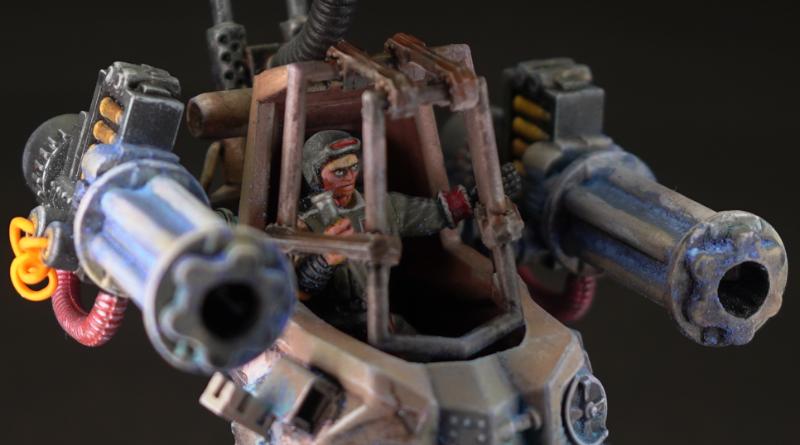
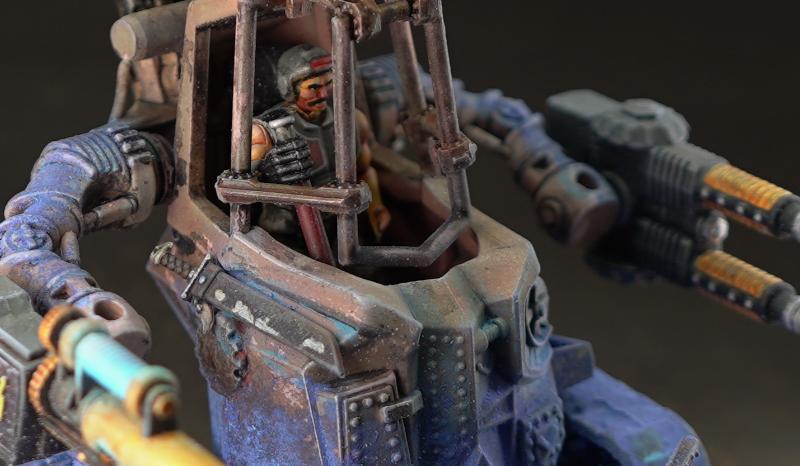
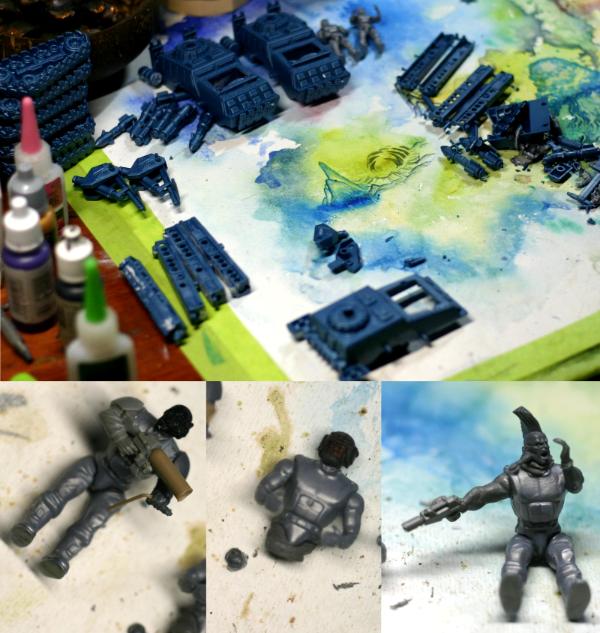
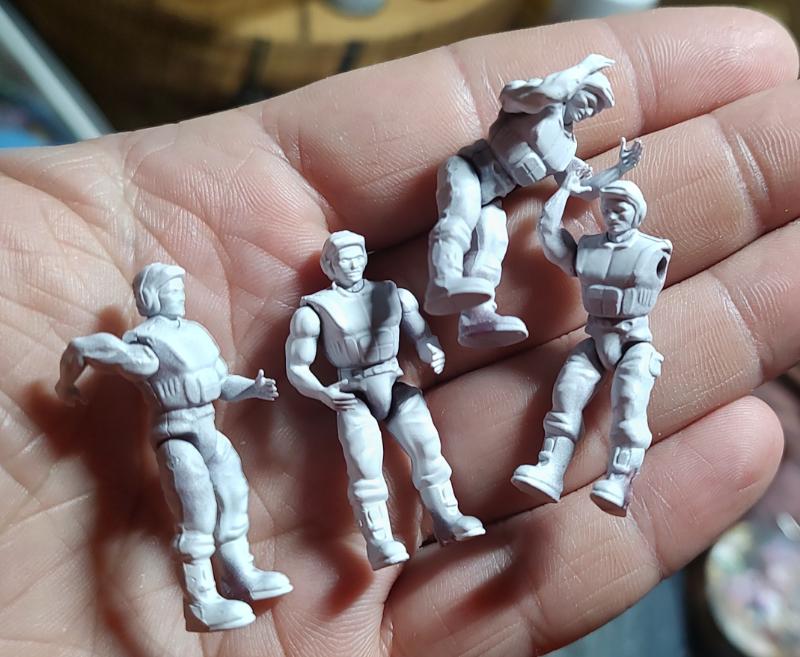
The pilots are good for a toy but not the best.
Kit came in with extra missile launching triggers that got repurposed as tow hook fittings
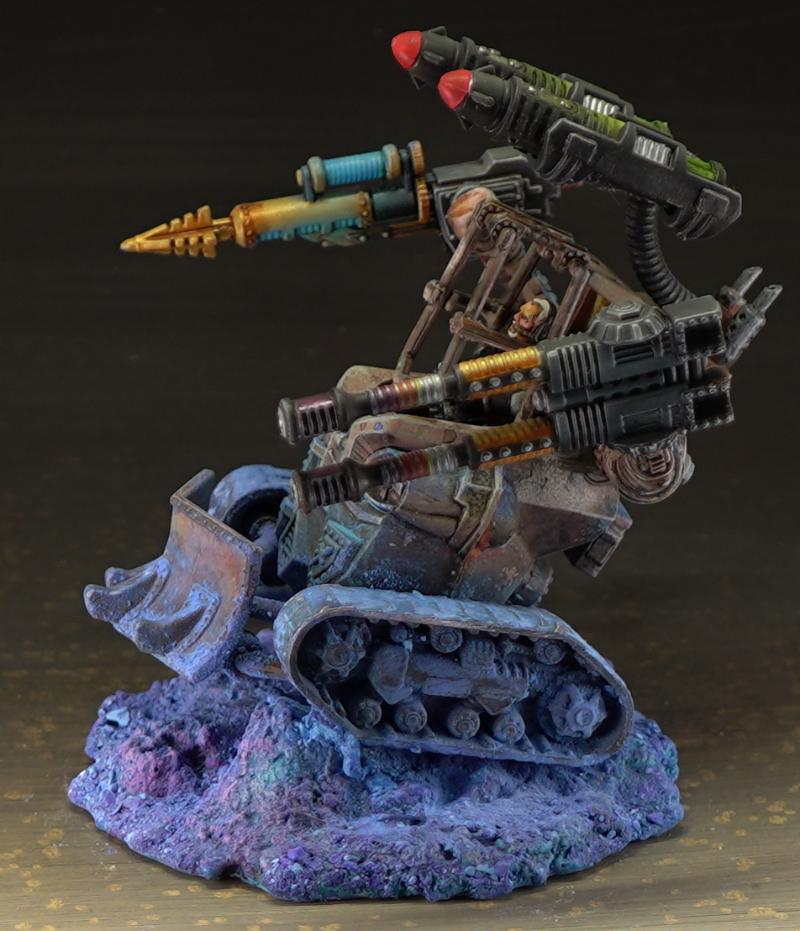
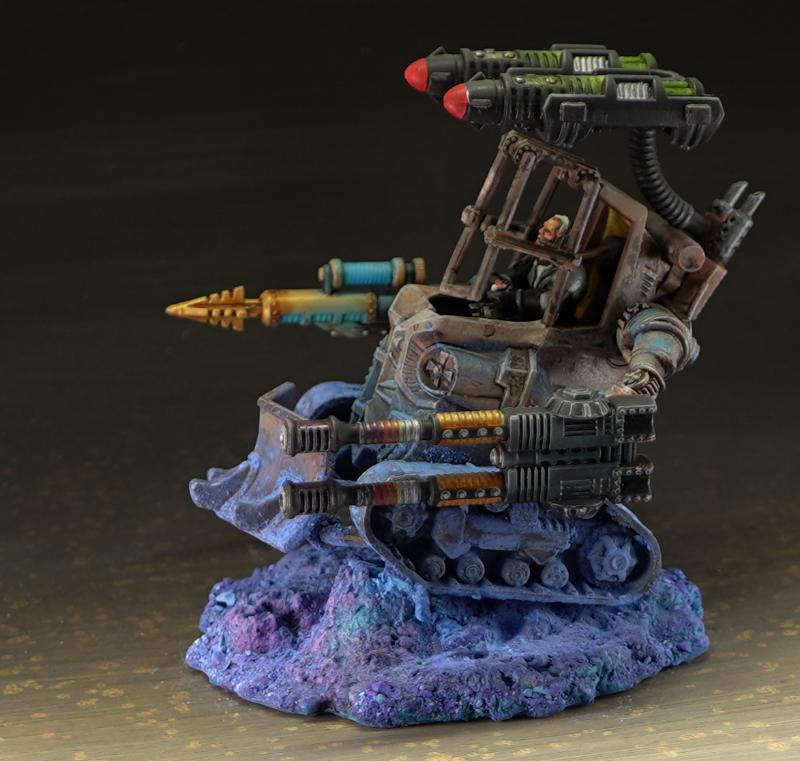
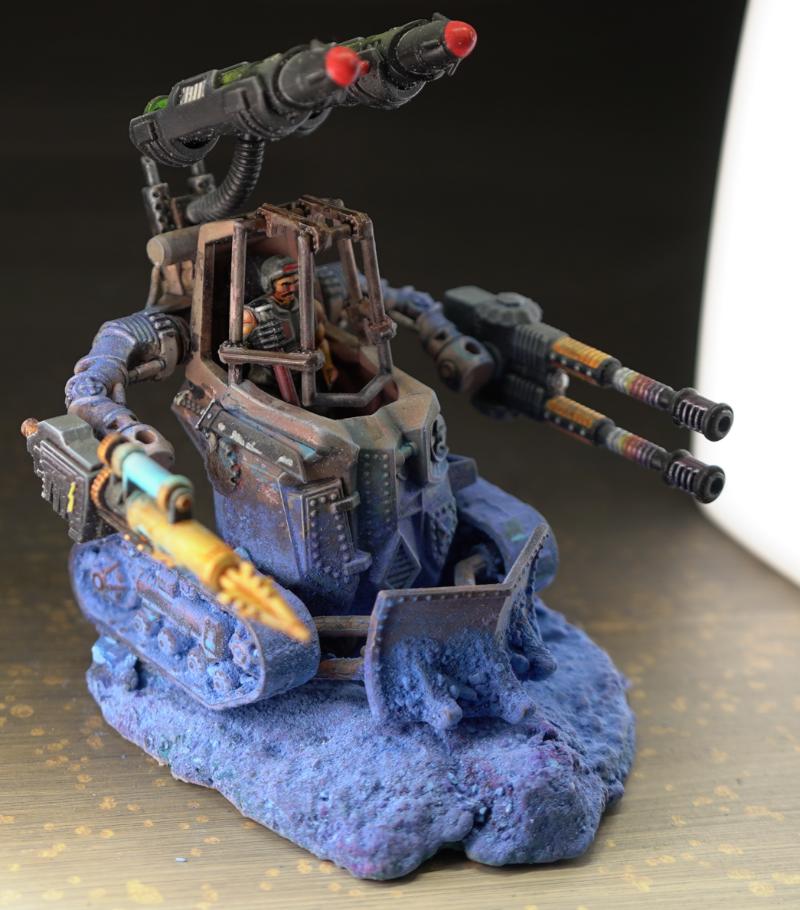
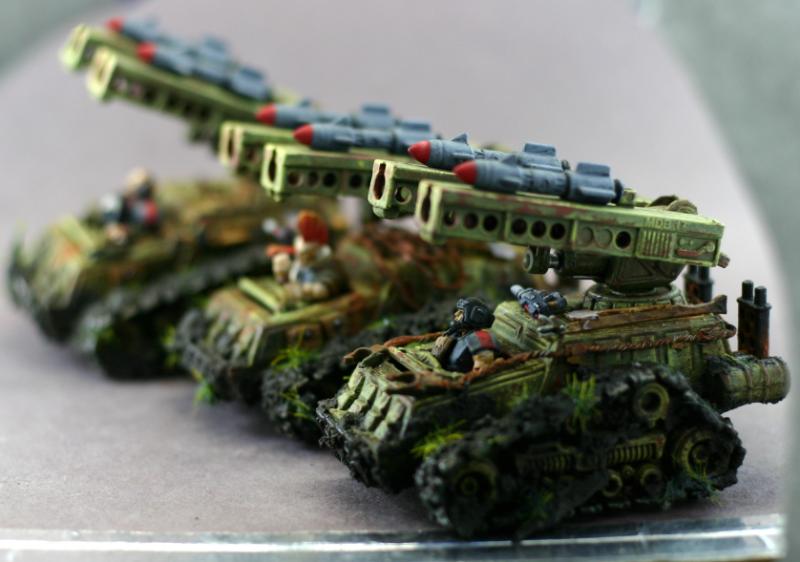
missile rack rotates 360 and goes up almost 90*

side

other side

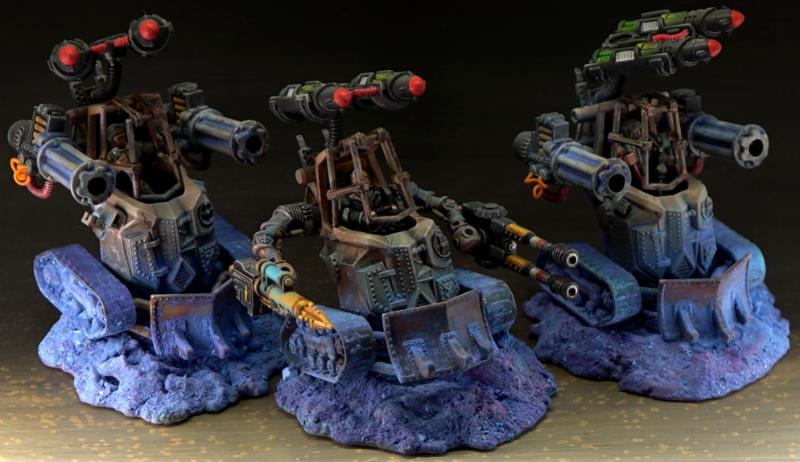
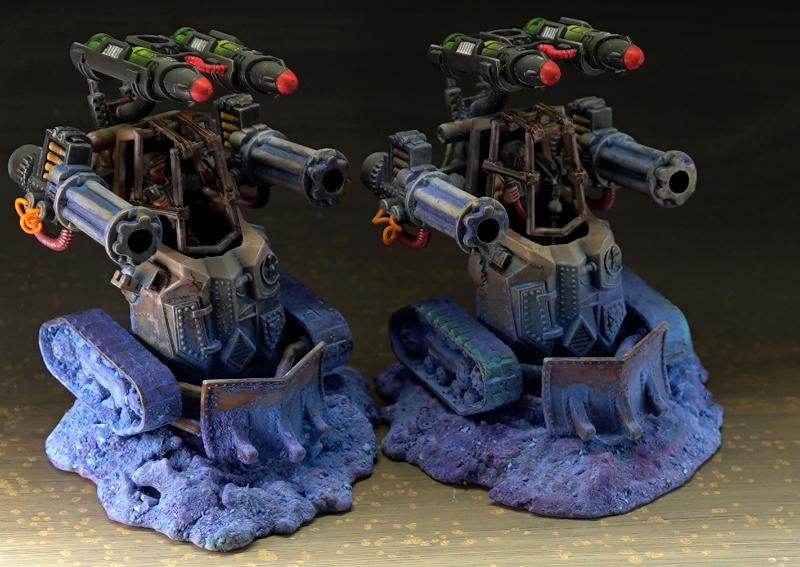
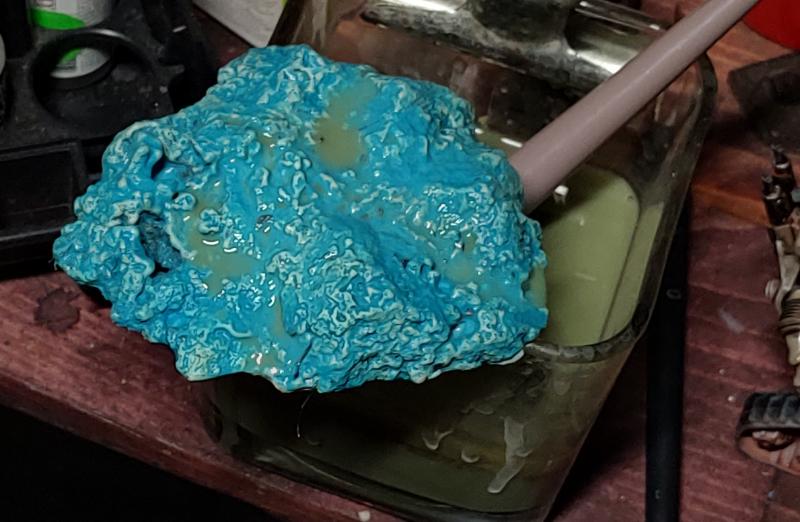
Mud is mixture of glossy Modpoge, dirt, dark gray paint, grass added later with glossy Modpoge.
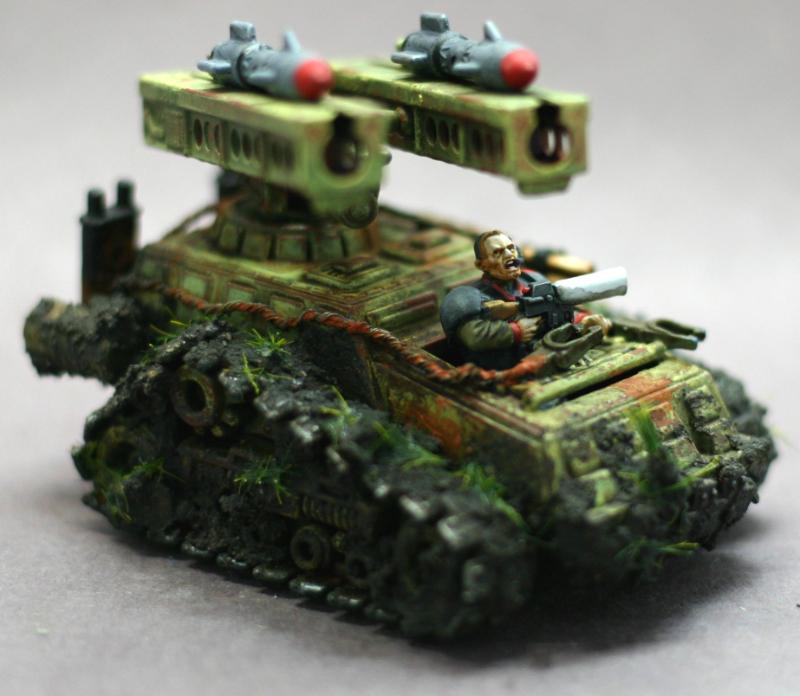
Side
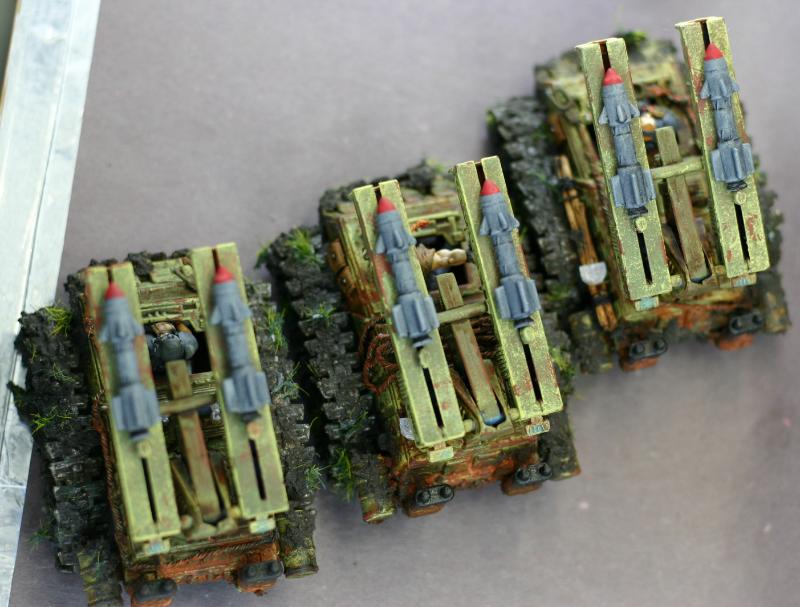
Top
Thank you for checking these out.
Dusted off old box from the Motherland of - Tehnolog Robogear
Jumping right into this because I have time! And also because got new airbrush pump and gear from harbor freight on a sale.
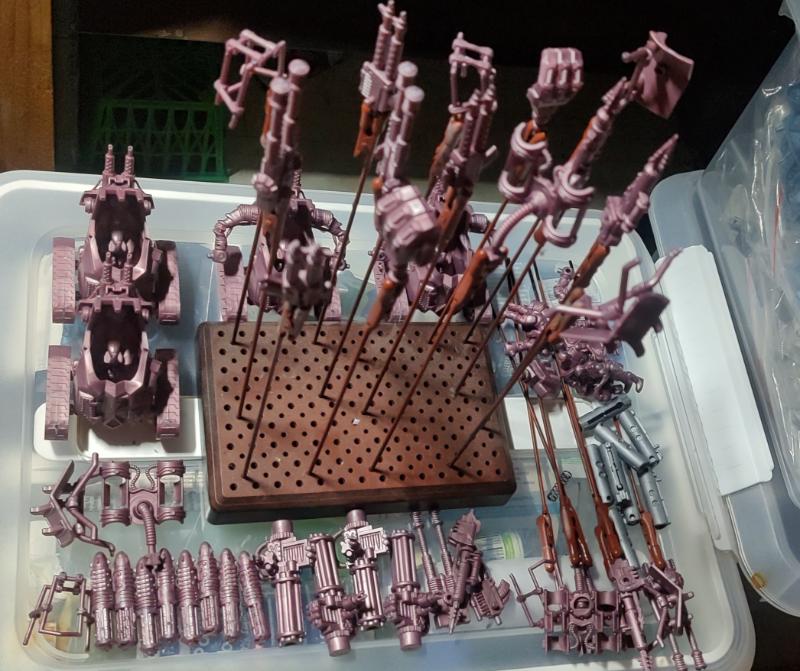
Look at all this delicious plastic!!! Back ten I got each unit for like 3, 4, or 6 bucks a piece. Now on ebay they are all waaaay overpriced, it is Polyethylene plastic after all.
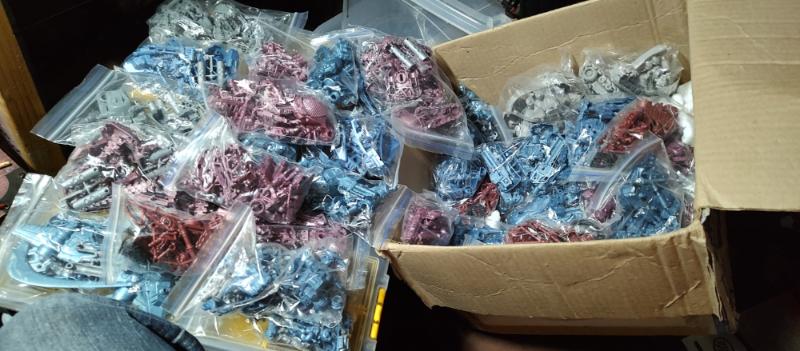
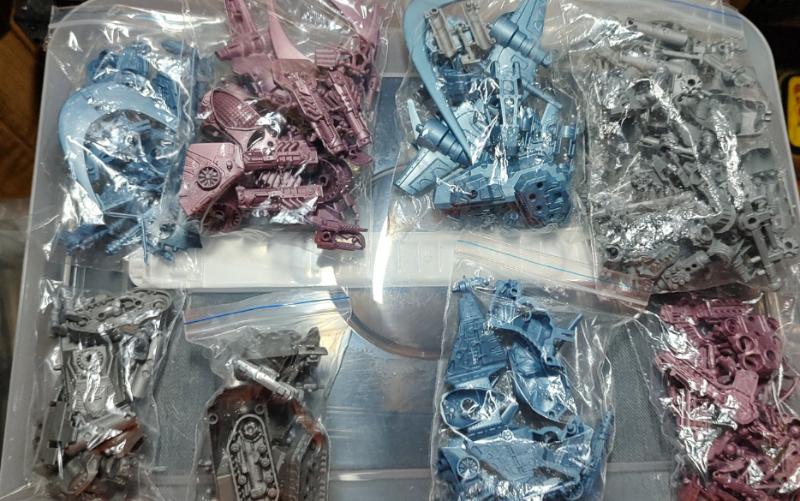
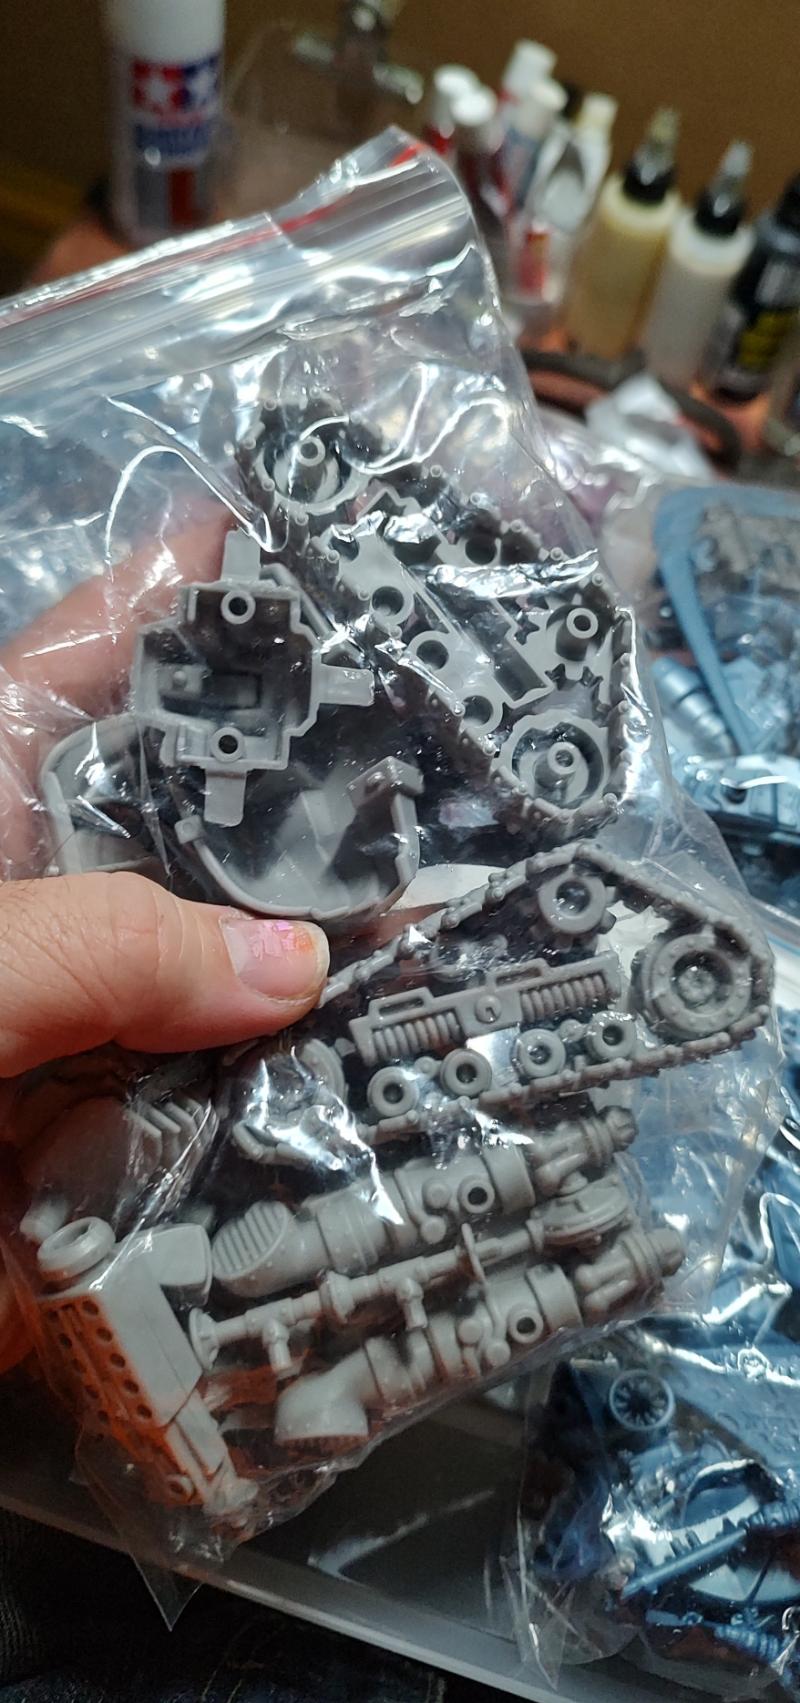
Selected the bags with most wear and holes in them.
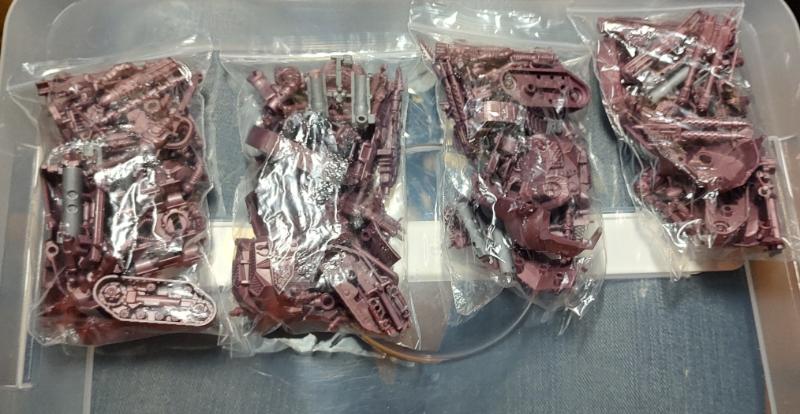
4 Demolishers it is.
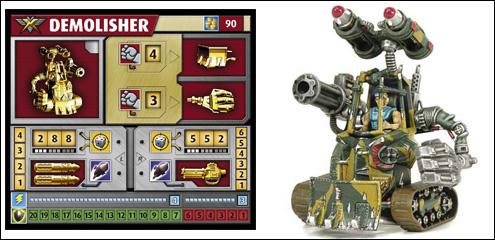
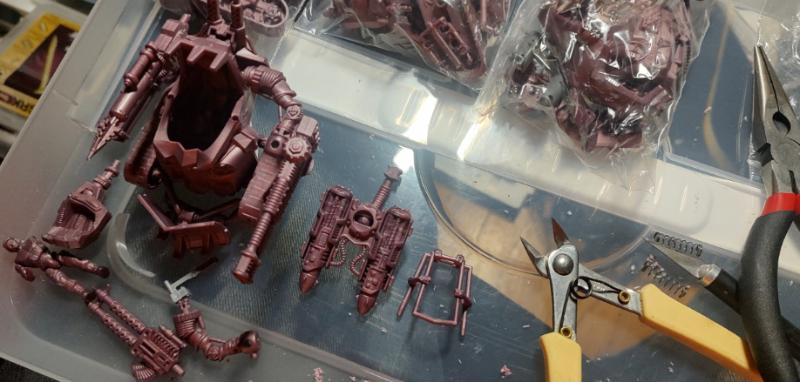
So many cool bits. These are cheap cheap Polyethylene army-men-type toys from the early 2000.
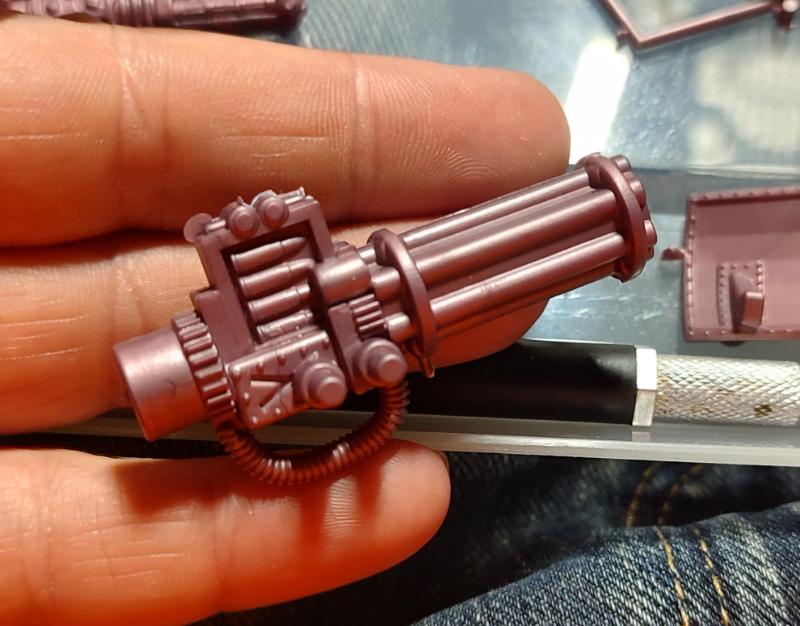
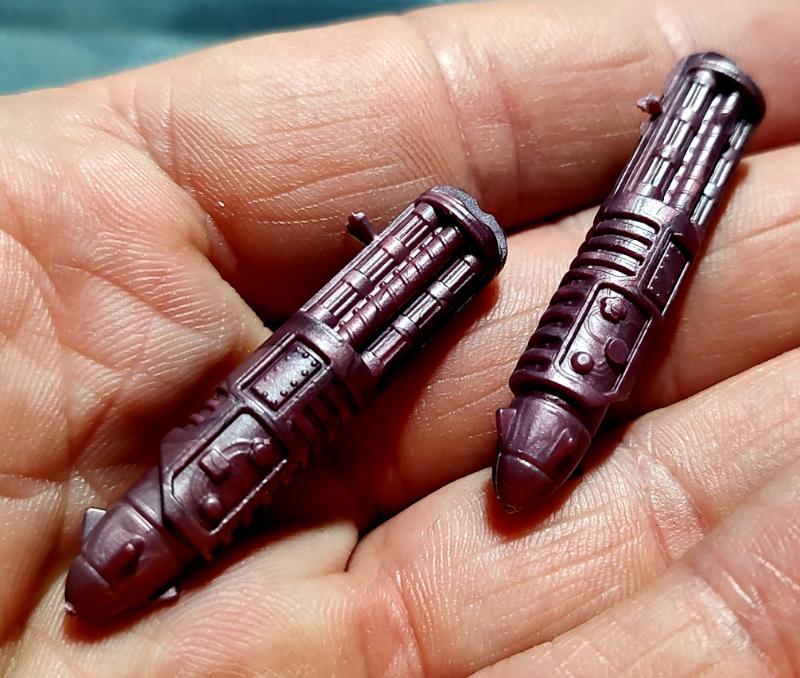
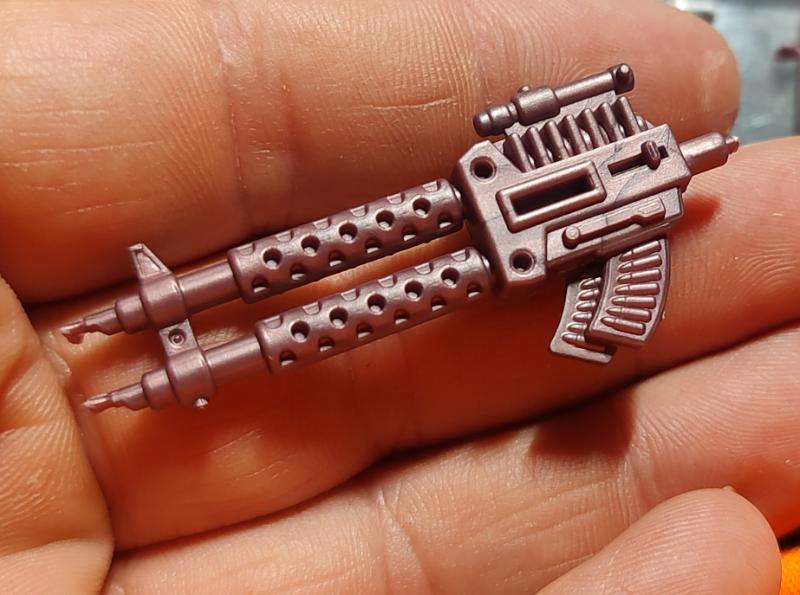
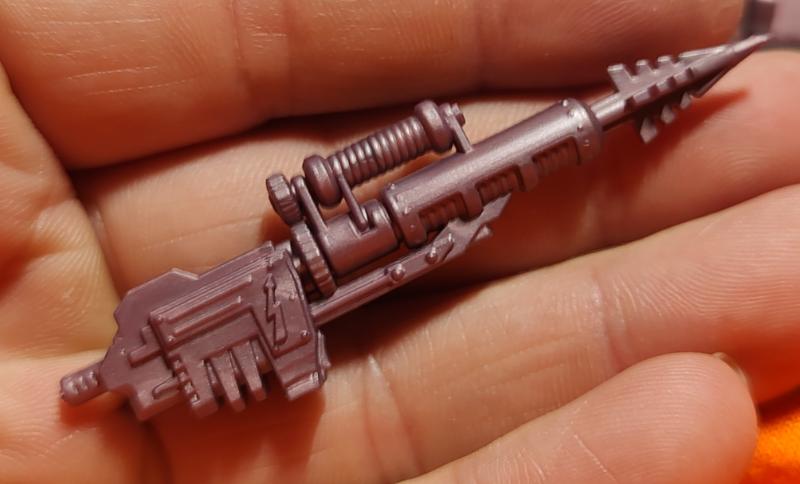
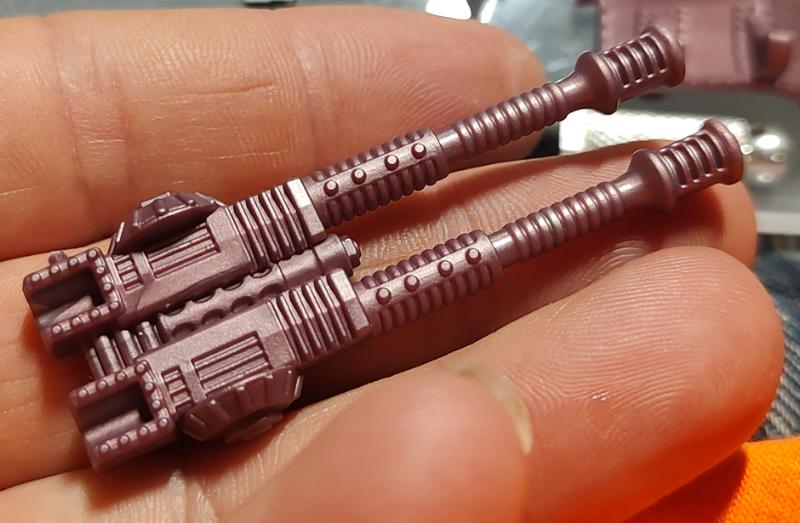
Took a while to remove mold lines, assemble, and keep intact all shooting mechanisms
The lads are not the best, however I did find enough left and right arm bits.
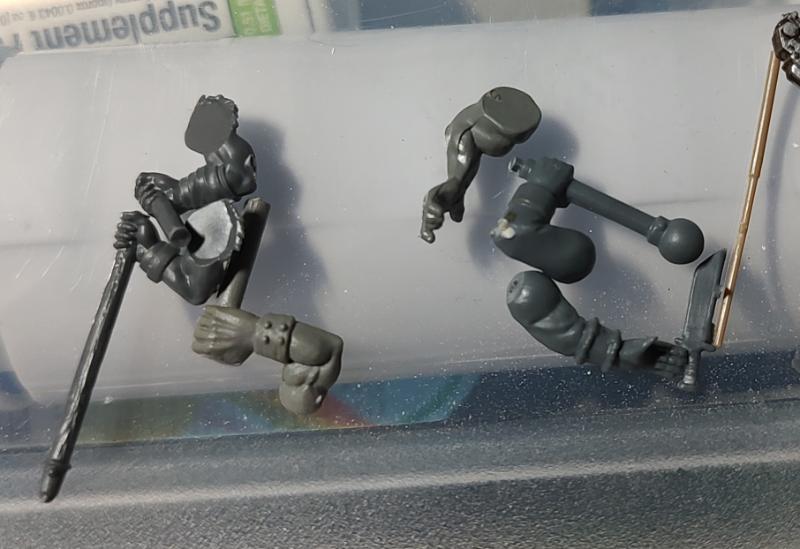
Lots of gaps
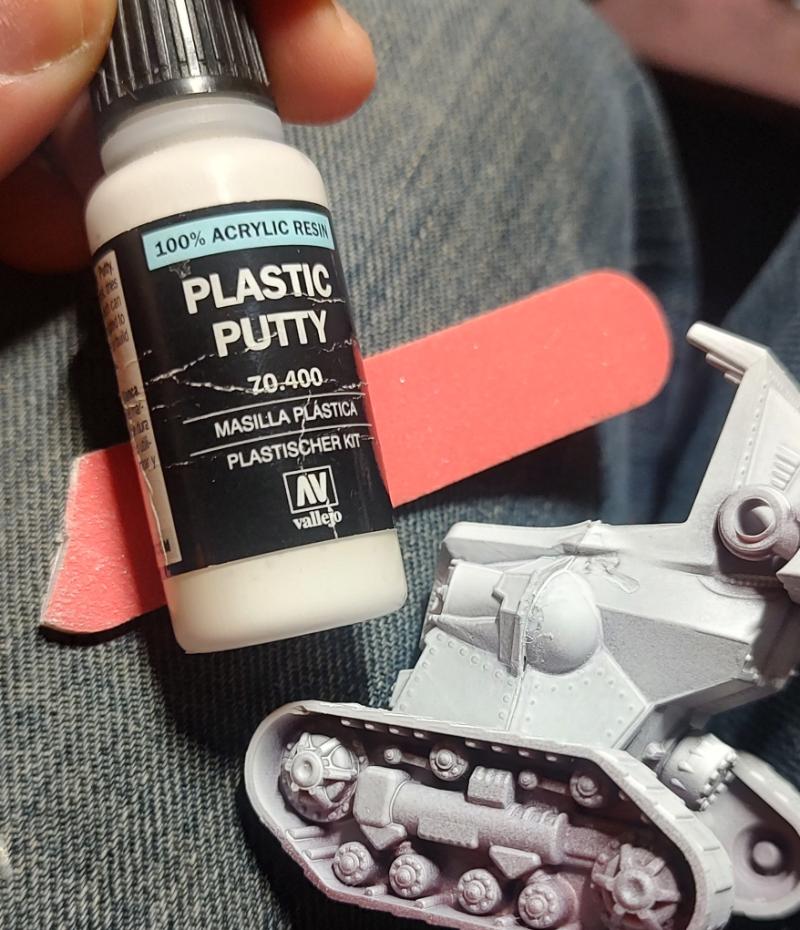
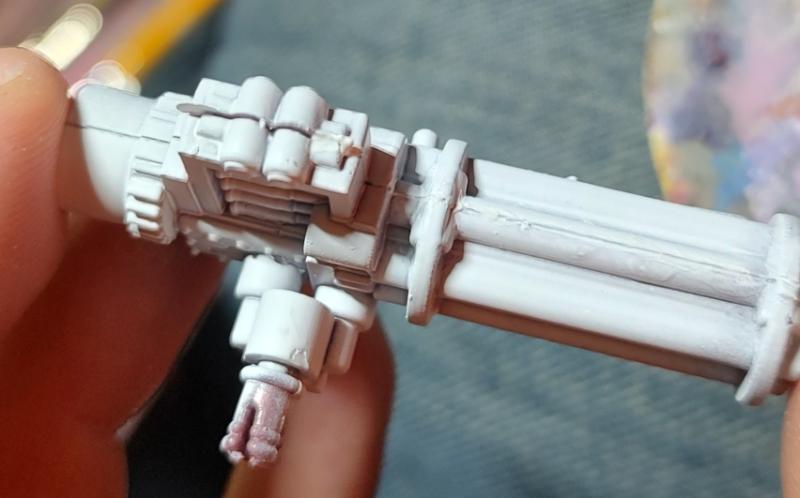
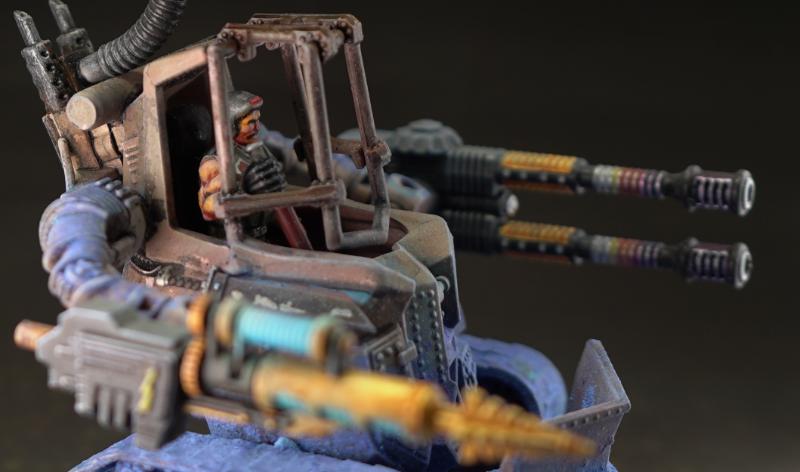
All parts snap tightly, all joins move and I will keep them that way. The gluing was not needed if only to reinforce the joints. The big guns have spring mechanism that shoots plastic projectile, and I will keep those working too. Also, ran out of the guard head bits.
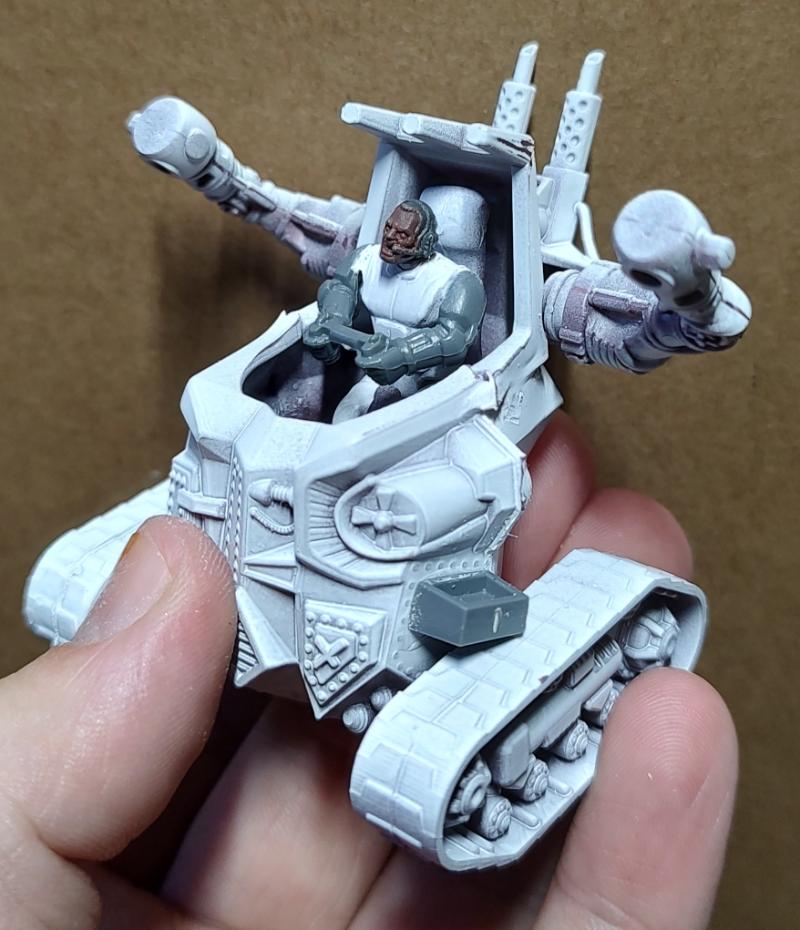
Progress.
There are two options for the overhead launch tubes. Spring powered launchers and these awesome missiles.
This gun comes only one per demolisher and goes only on one side. Flipping the attachment pins to have 2 vehicles equipped with both.
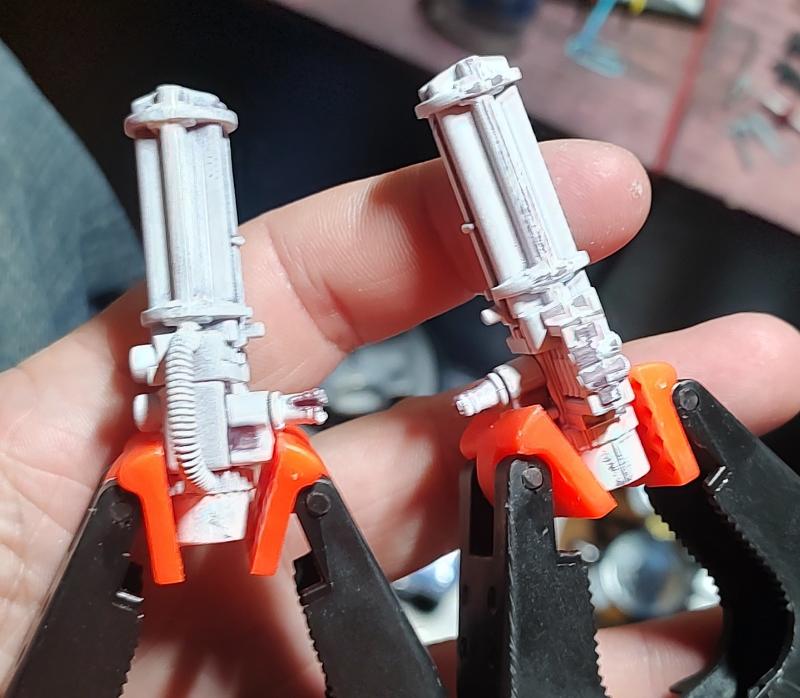
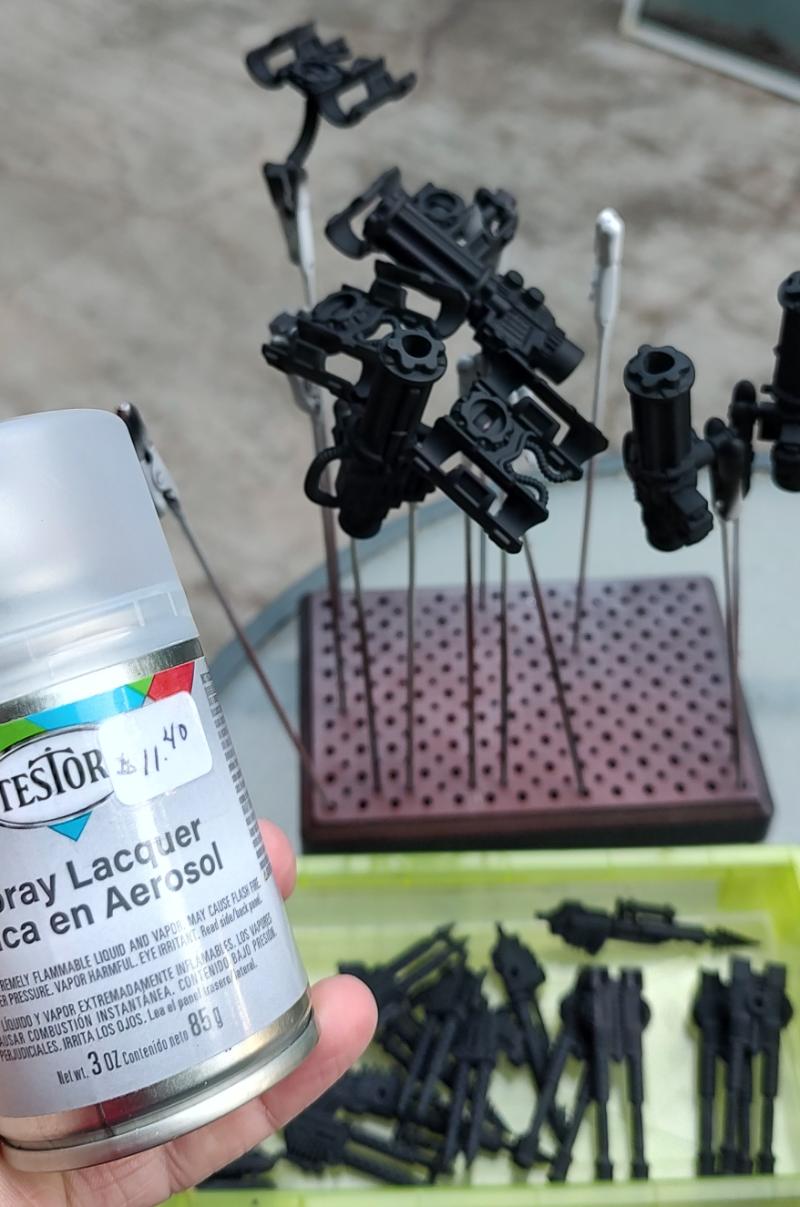
Guns are primed black and getting sealed.
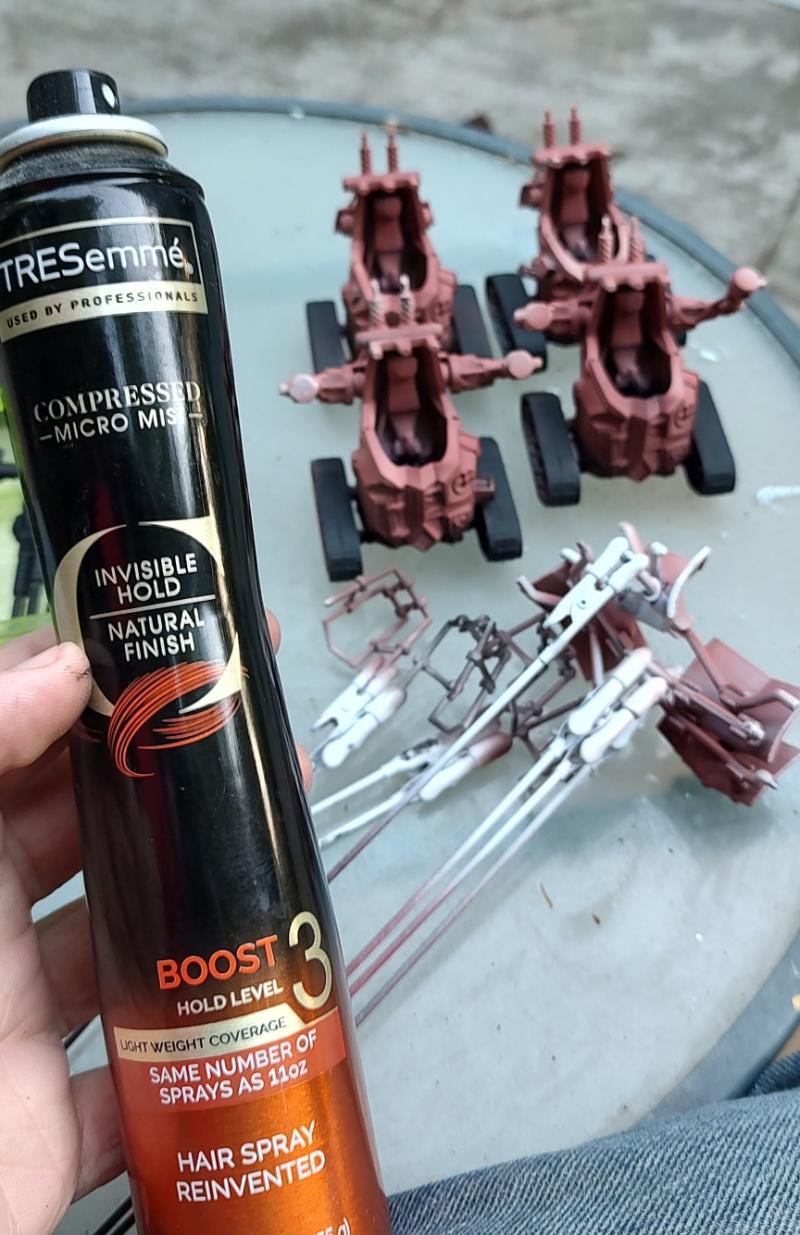
Not guns are primed red and getting hairspray.
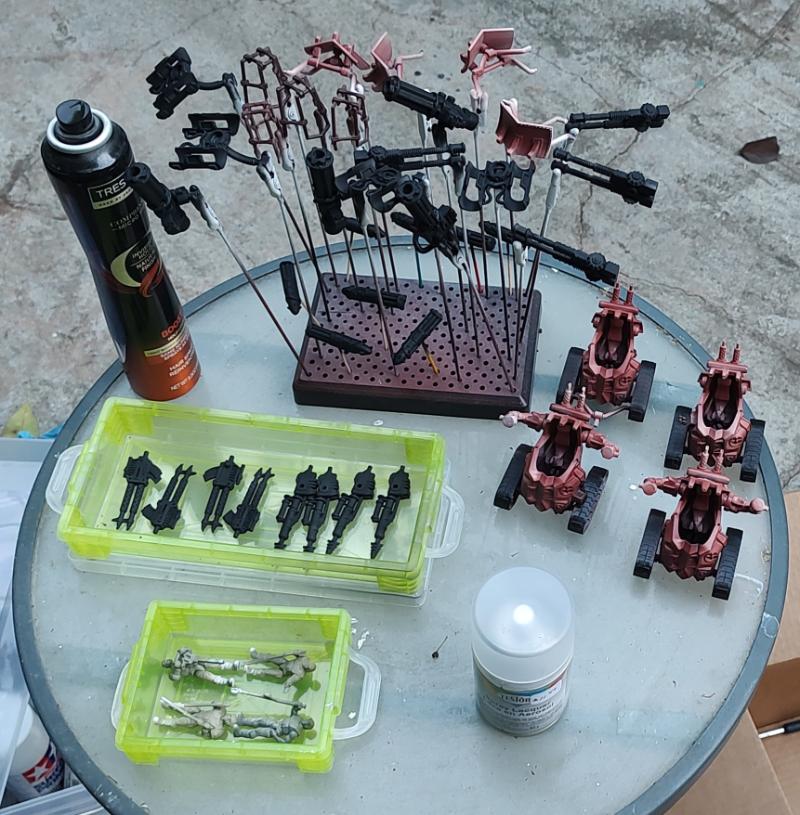
Ready for basecoat
Progress
Chippy chips
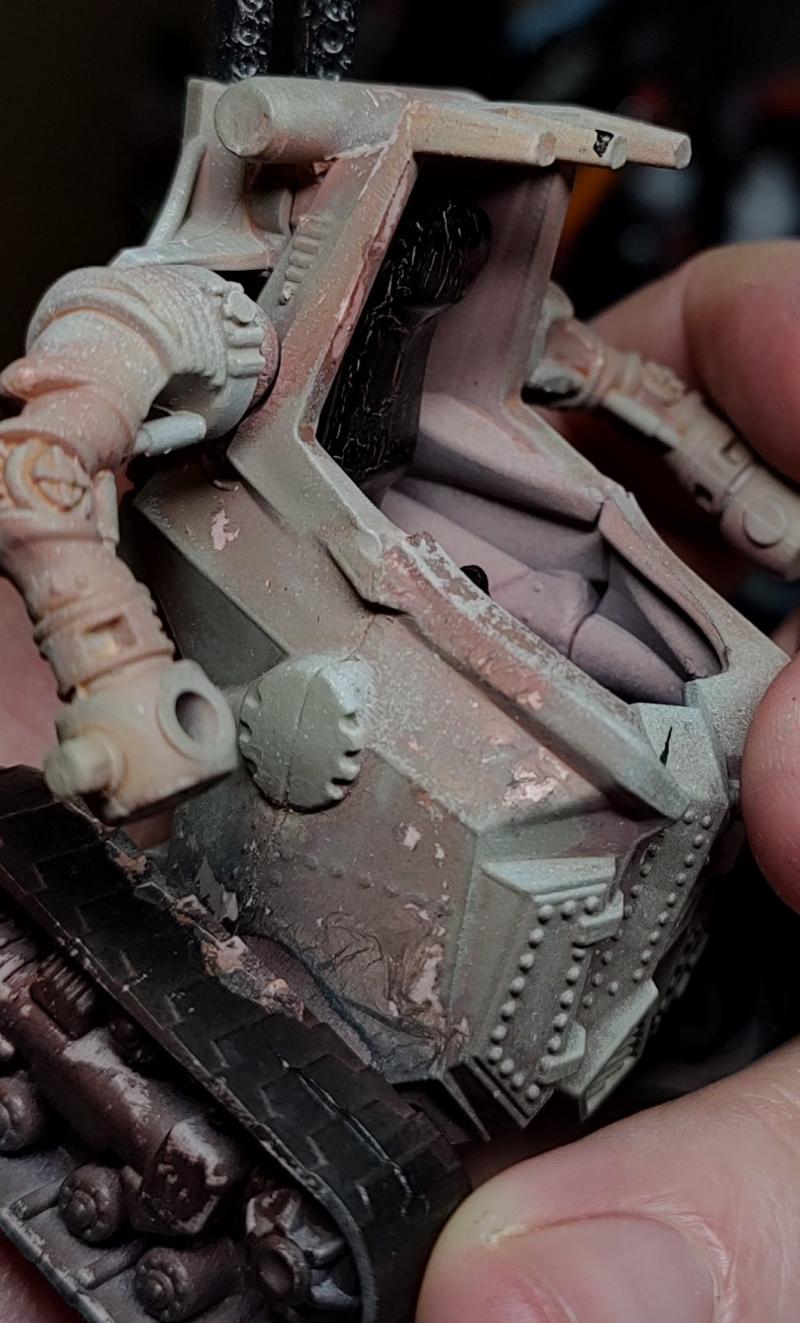
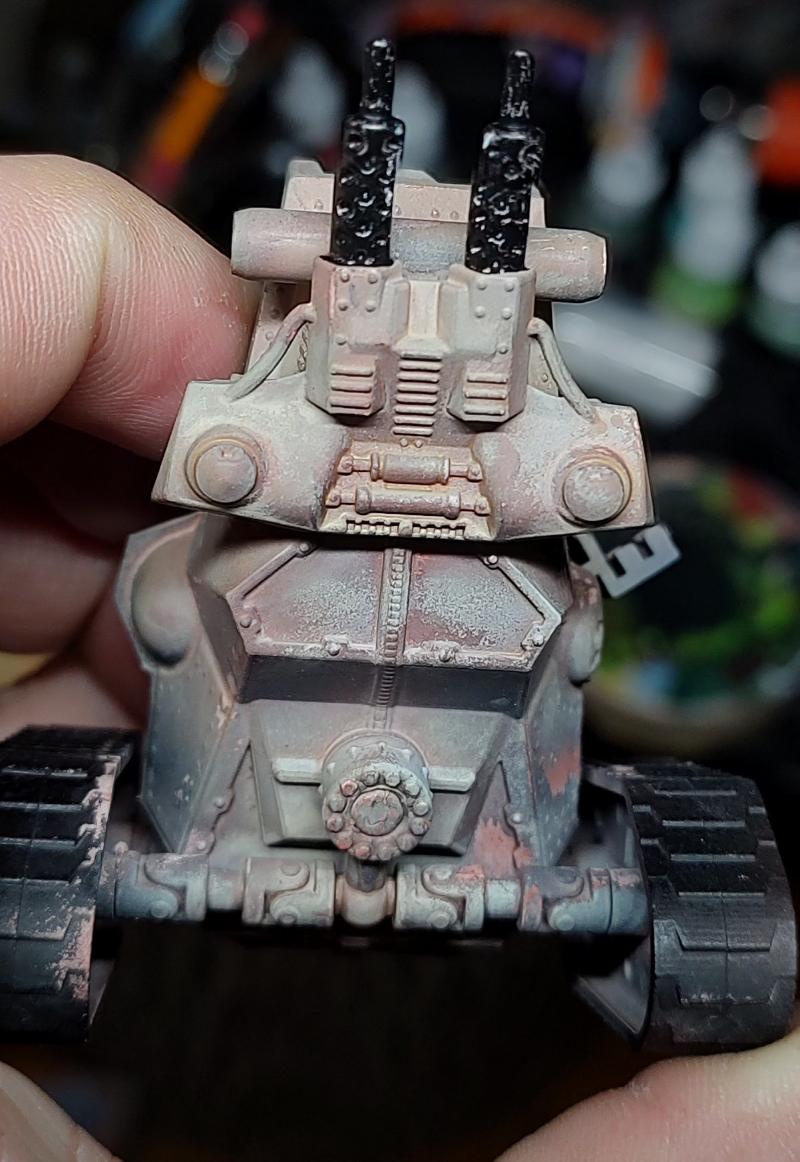
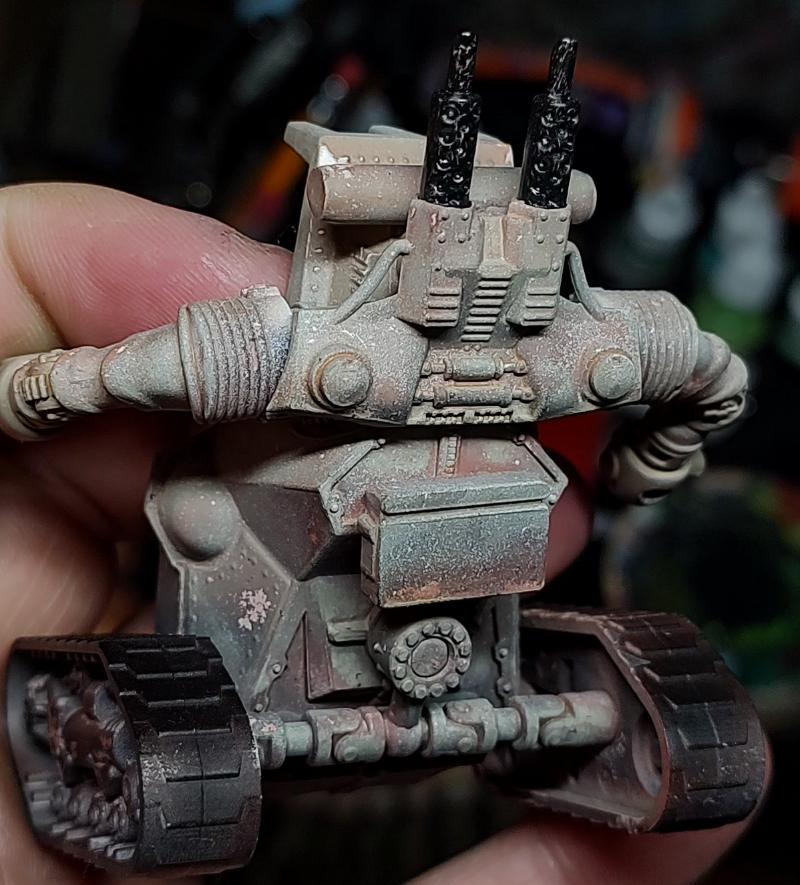
Pro tip - nearby cardboard box is a great toothpick mount system
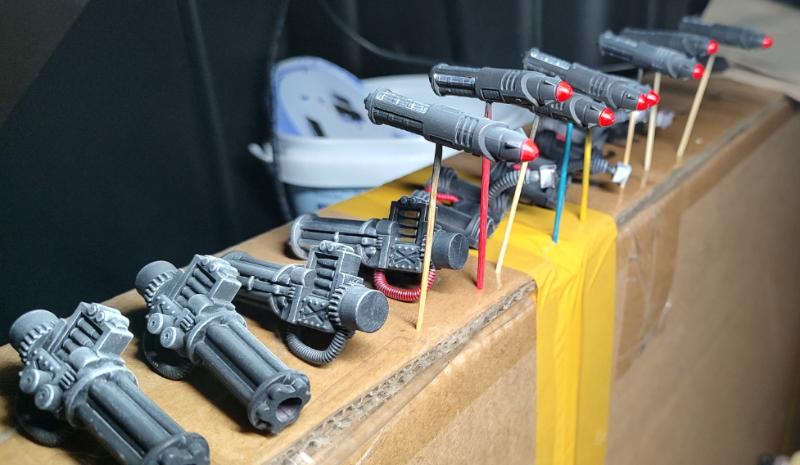
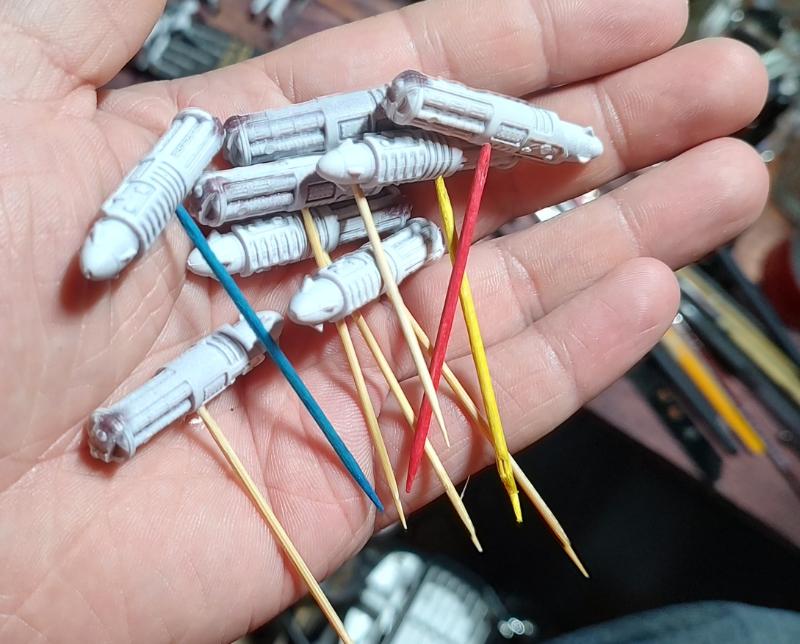
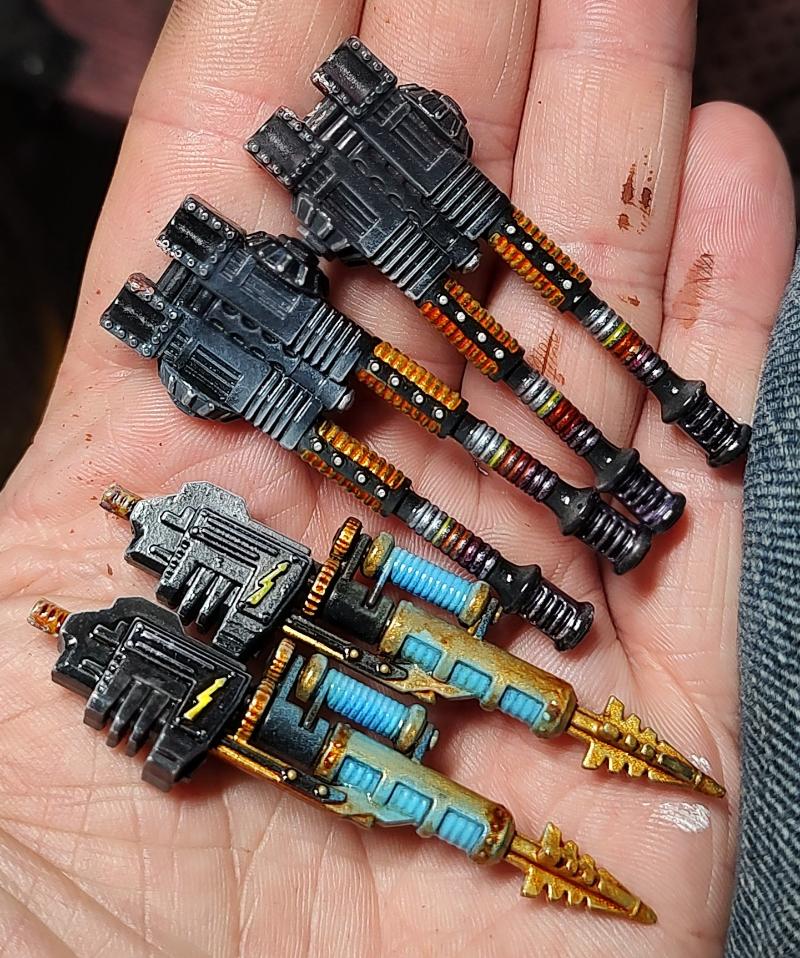
Delicious Tiberium core missiles
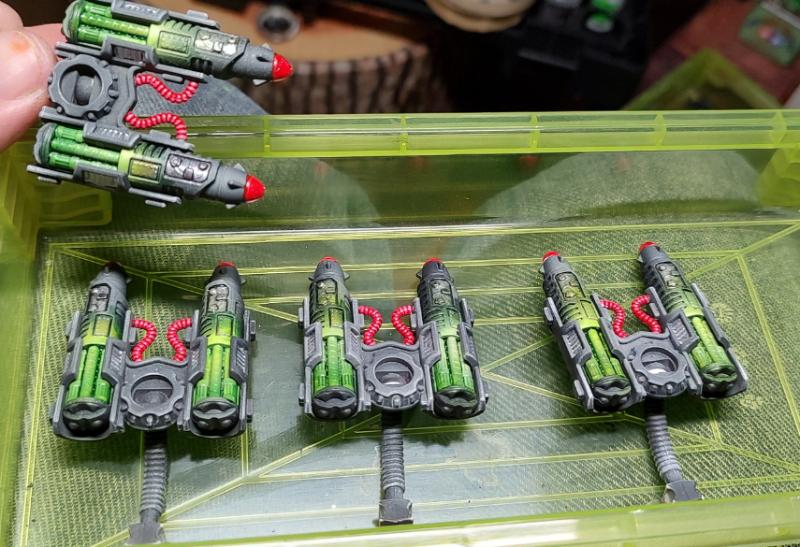
Only the top half need to be painted. I was thinking of Heavy-Metal when painting these lads.
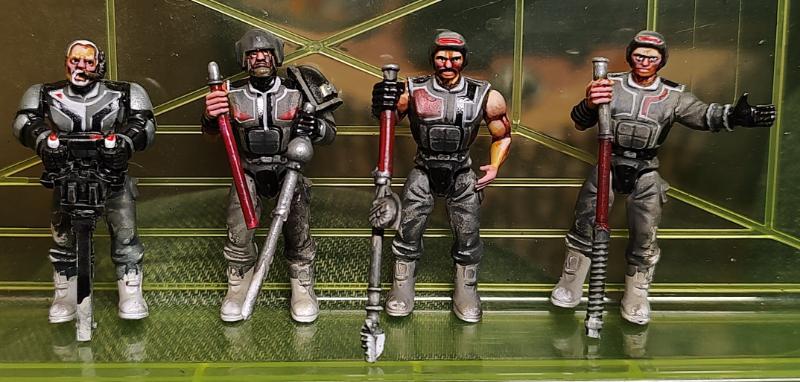
Progress
I do not have large round bases, but I have PerfectCast!
It worked for the mouselings, should work for the demolishers.
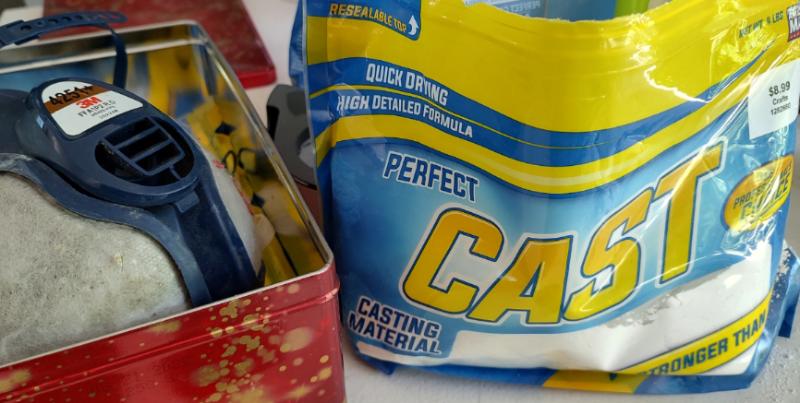
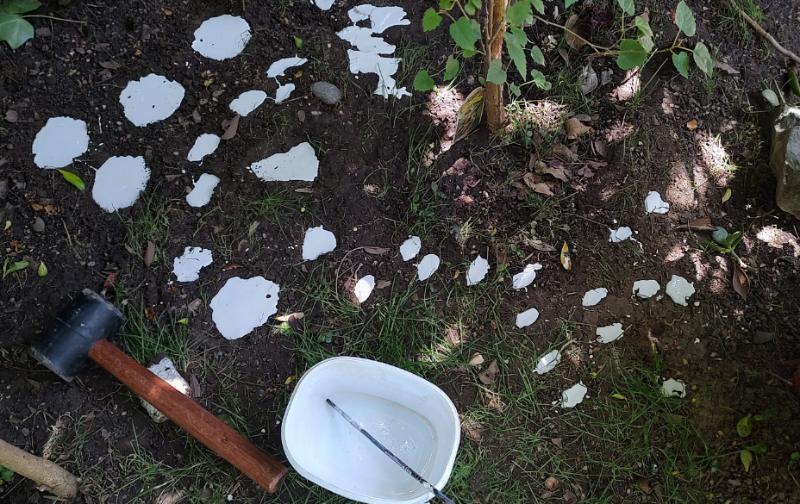
Impress rock in dirt - pour PerfectCast - wait for best bases.
Shinies, for now.
Faded pilots into shadow.
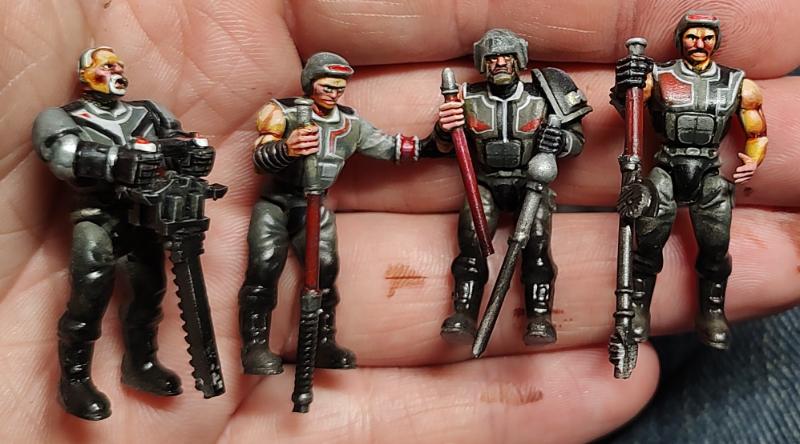
Progress
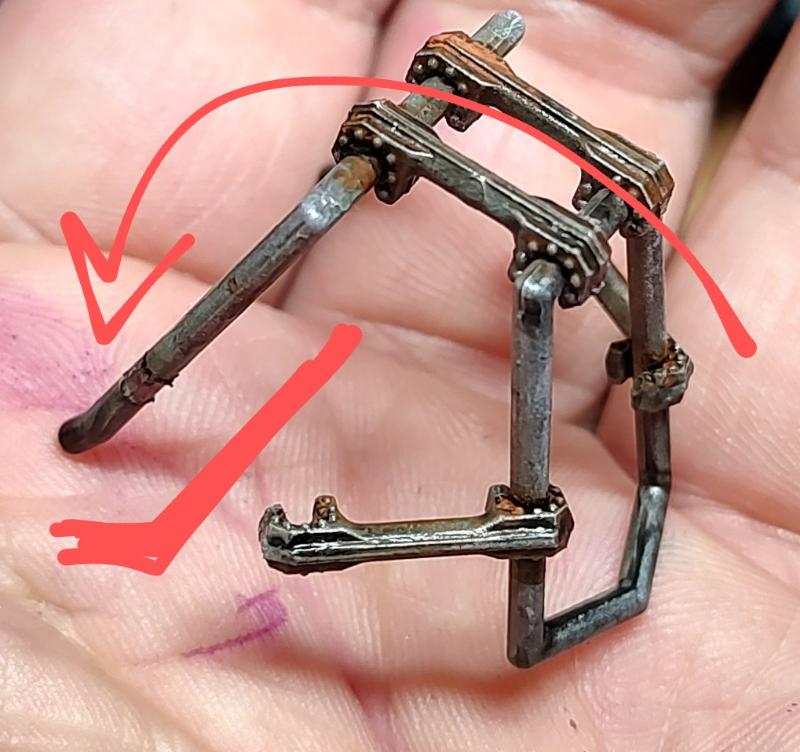
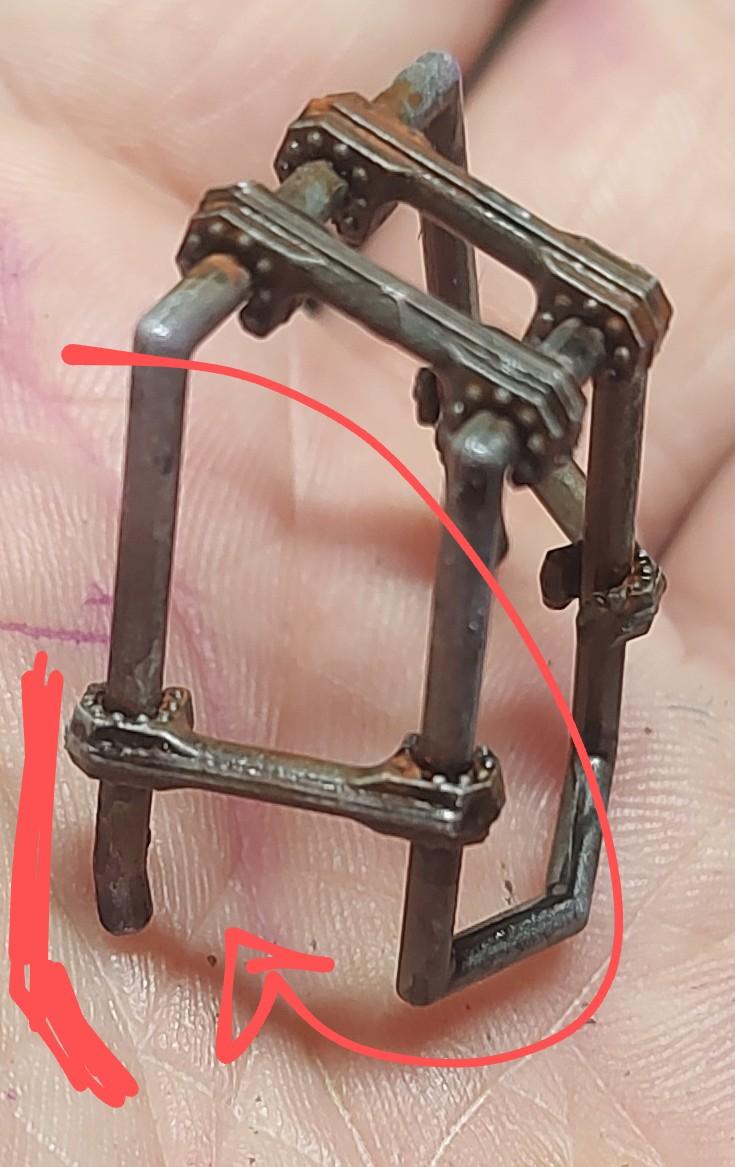
Some cage bars are put together facing the wrong way, should be facing forward, and won't fit into the slots. Because the kit is push snap and glue was not needed, the pieces are taken apart and snapped back together.
Trivial thing, but I am so happy I don't have to do extra work converting pin direction.
Bases cleaned.
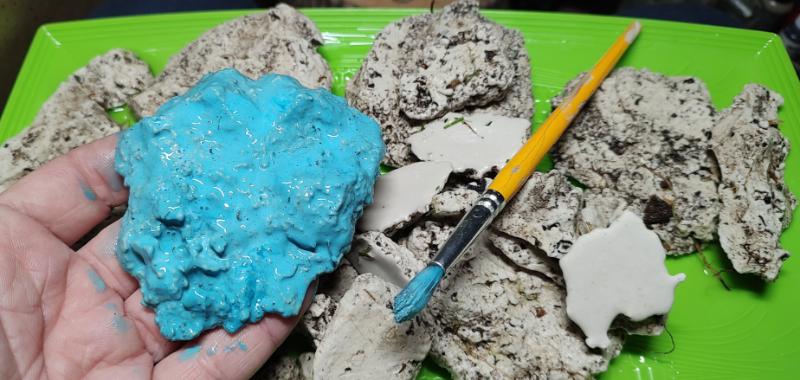
Modpodge to seal the surface, and acrylic ink is used because I want to test out new ink that I recently bought.
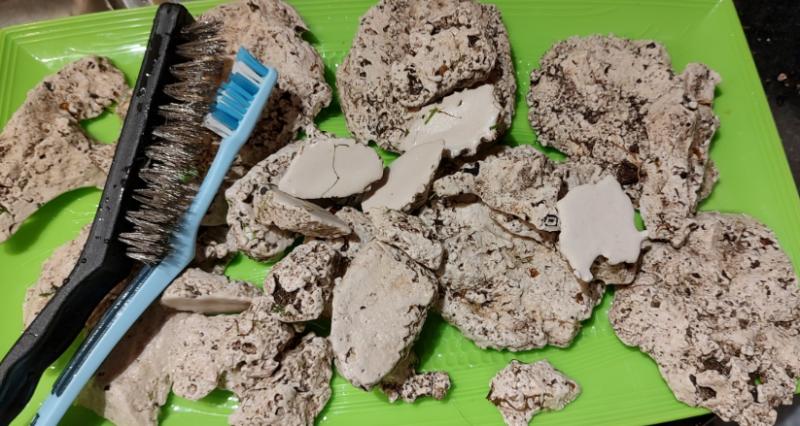
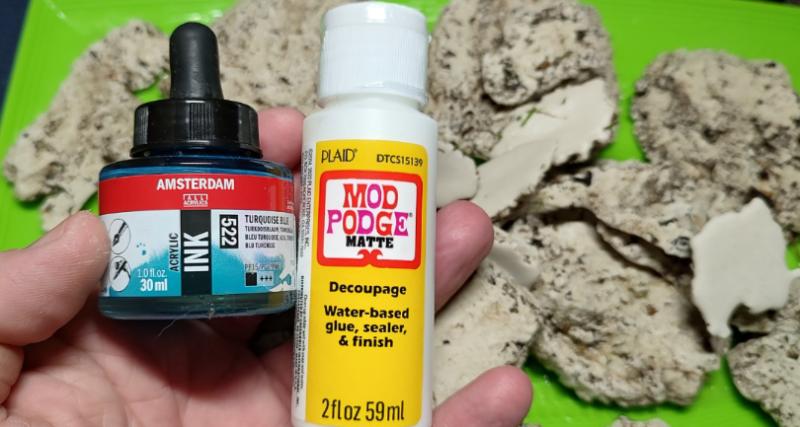
Perfection!
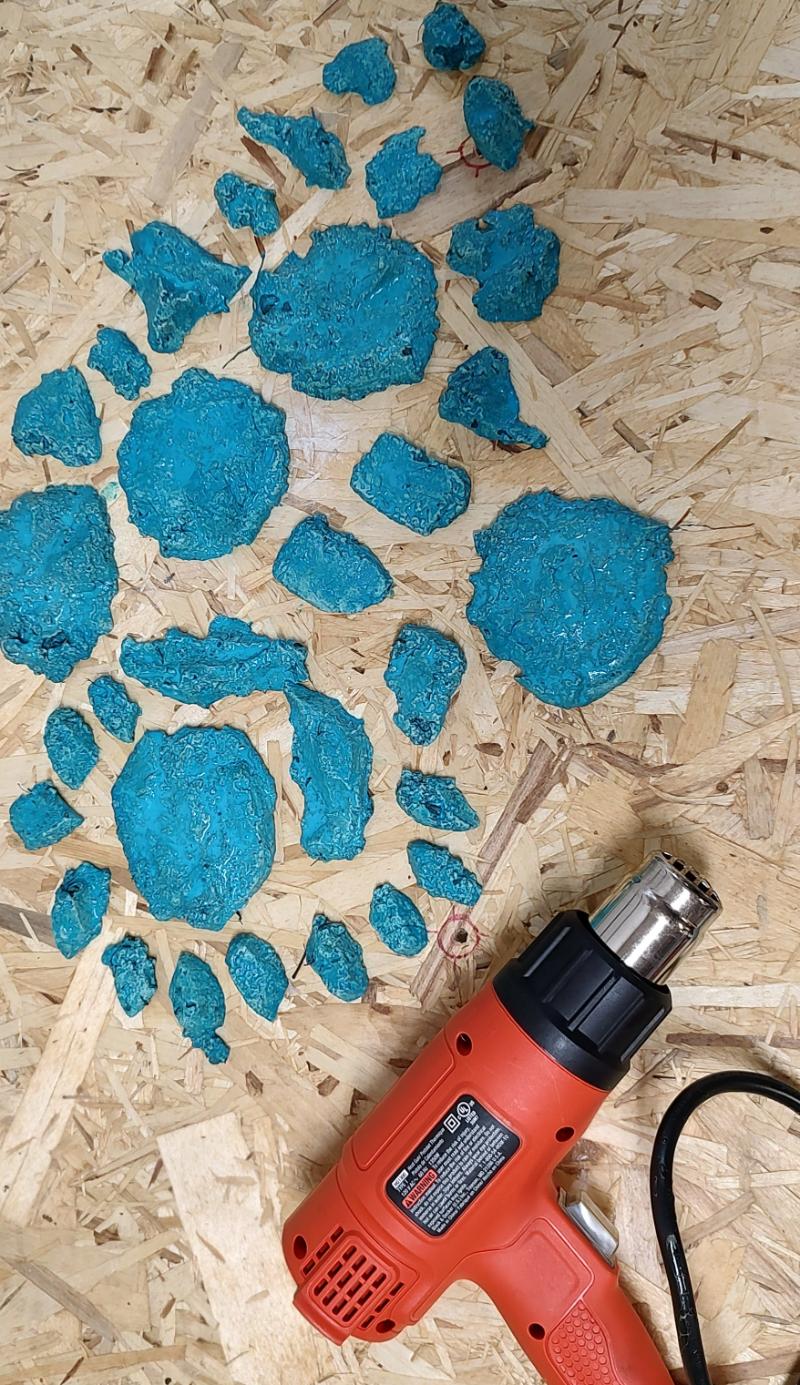
Heat gun is overkill for this, just cutting few mins of drying time so they can later be used on procresing and sharing a picture that illustrated how few minutes are saved of the drying time.
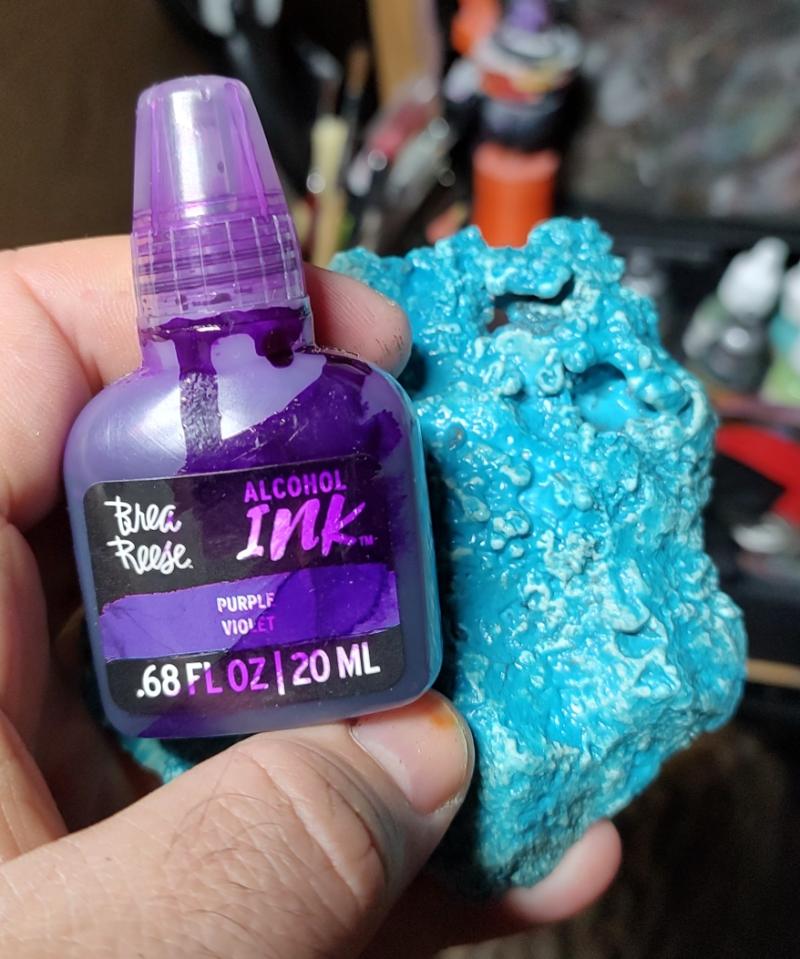
Want to test alcohol inks for this as well.
____________________________________________________
Progress
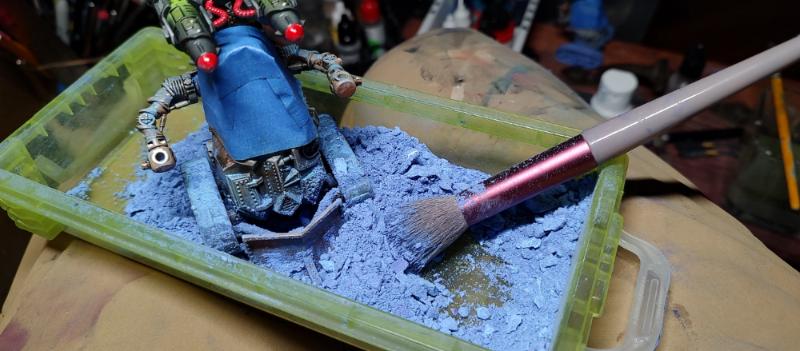
So, I like mars-red dusty pigment bases, and wanted to do a blue-dusty-pigment base for something.
And these guys are a good opportunity to do just that.
Because pigments are expensive and don't come in blue.
Because I am afraid of getting French/Italian artist pigments of possible toxicity. Although that is a suuuuuuuuuuper good deal for those who are interested
https://www.earthpigments.com/french-mineral-pigments/
Because pastels are also not cheap.
I went to local dolla store for some chalk.
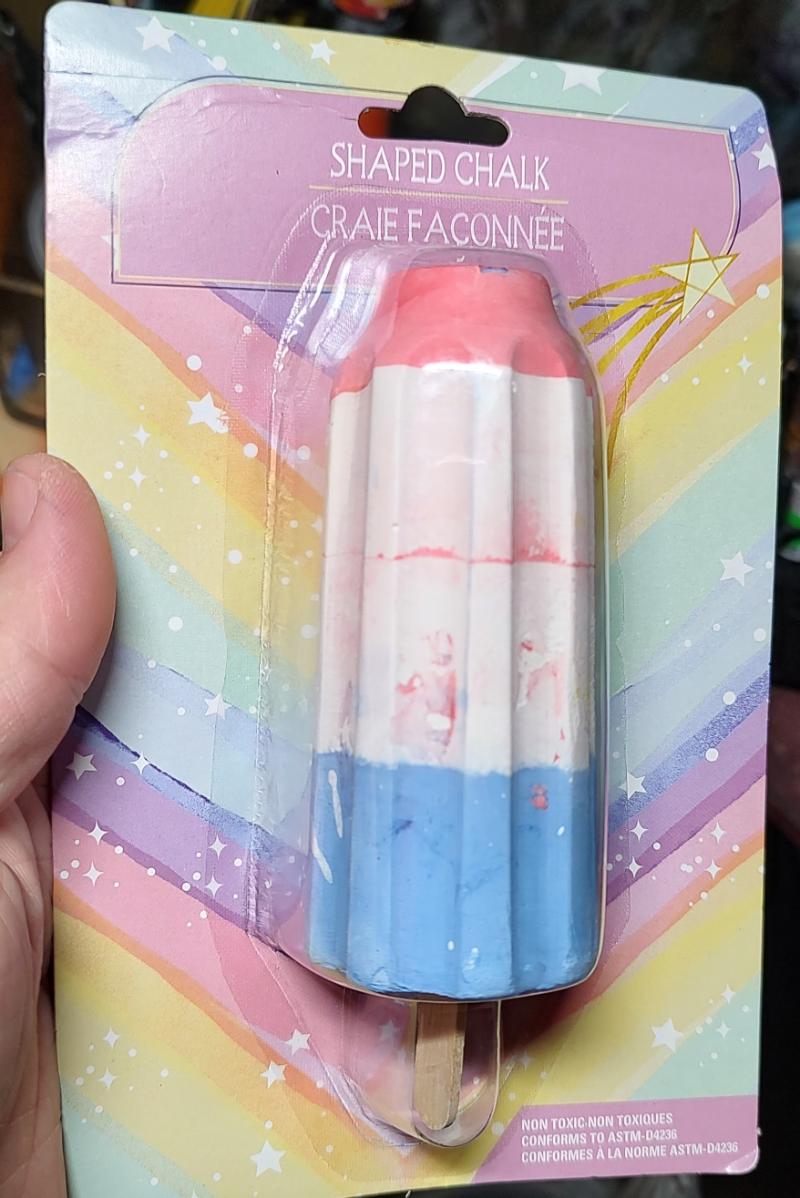
3 buks
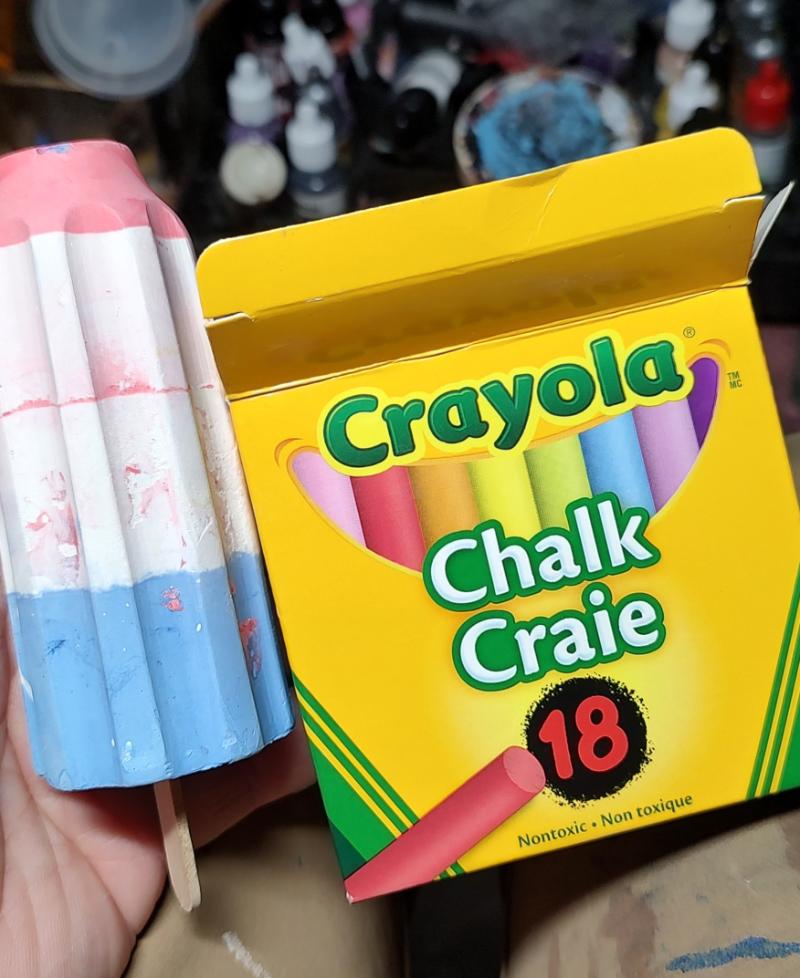
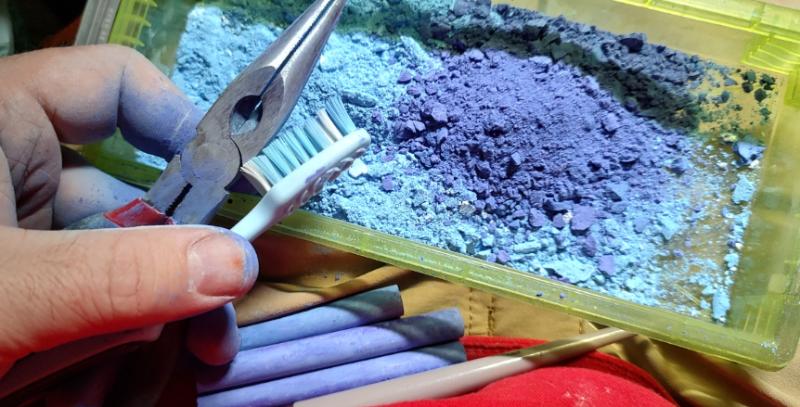
Wanted to spray glue, and tumble the model in powder. But the glue spray was too old, so I didn't get to test that out, but brushing on Modpudge and bathing the model in dust works great.
 Automatically Appended Next Post:
Bases got same Modpudge - pigment dusting. The purple alcohol inks are showing through a bit, very interesting tool, will include it into future terrain projects for sure.
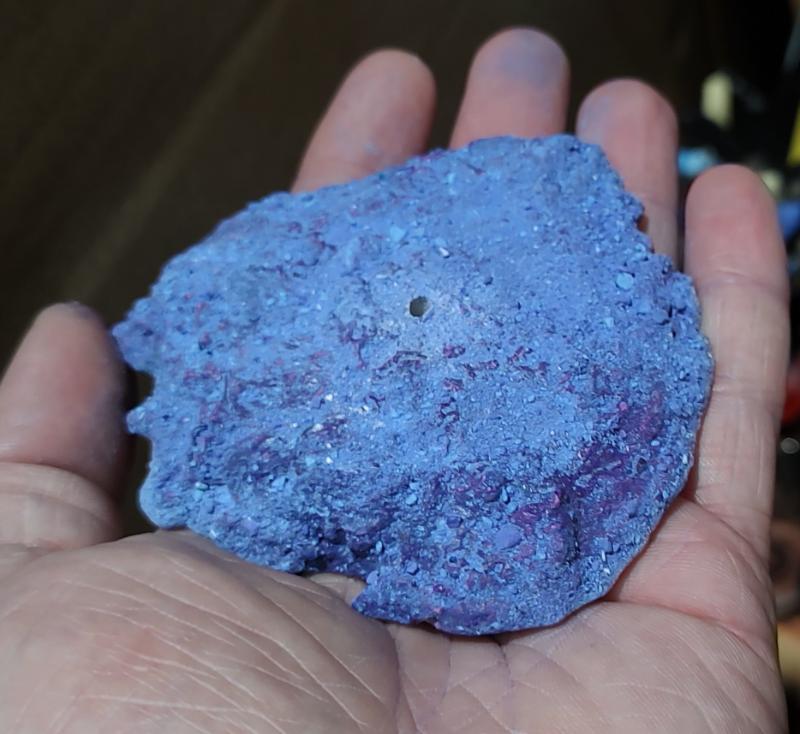
Drilled a small hole in the plaster to pin the vehicles with a small nail.
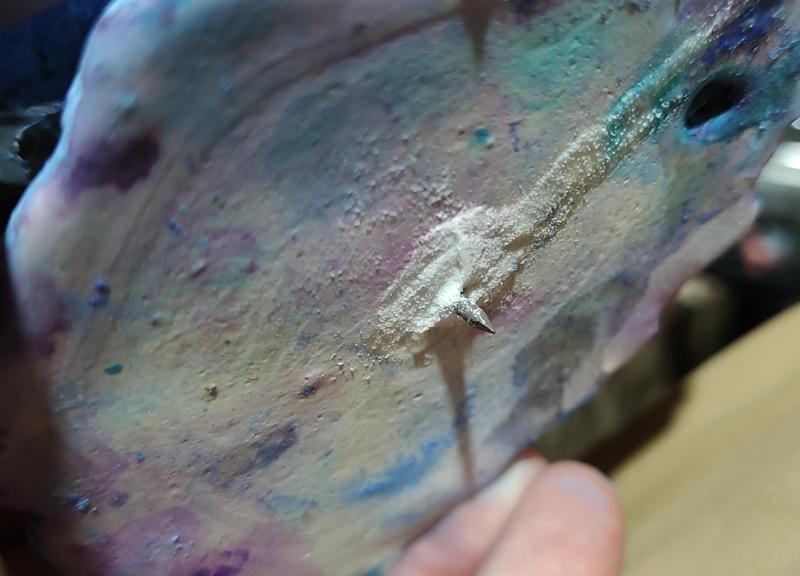
2partEpoxy curing now. I will glue in more connection points, and work on the terrain around the tracks.
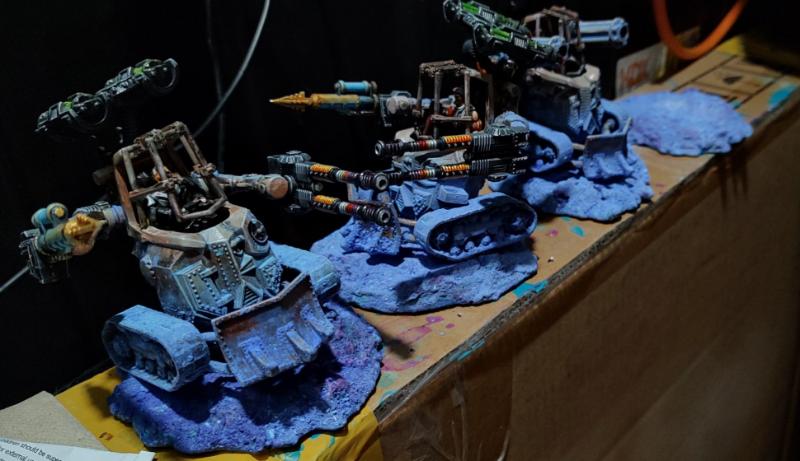 Automatically Appended Next Post:
Also
This is what the plaster bases looked like with with that alcohol ink. It dries almost instantly, and needs a bit of Iso to help it seep.
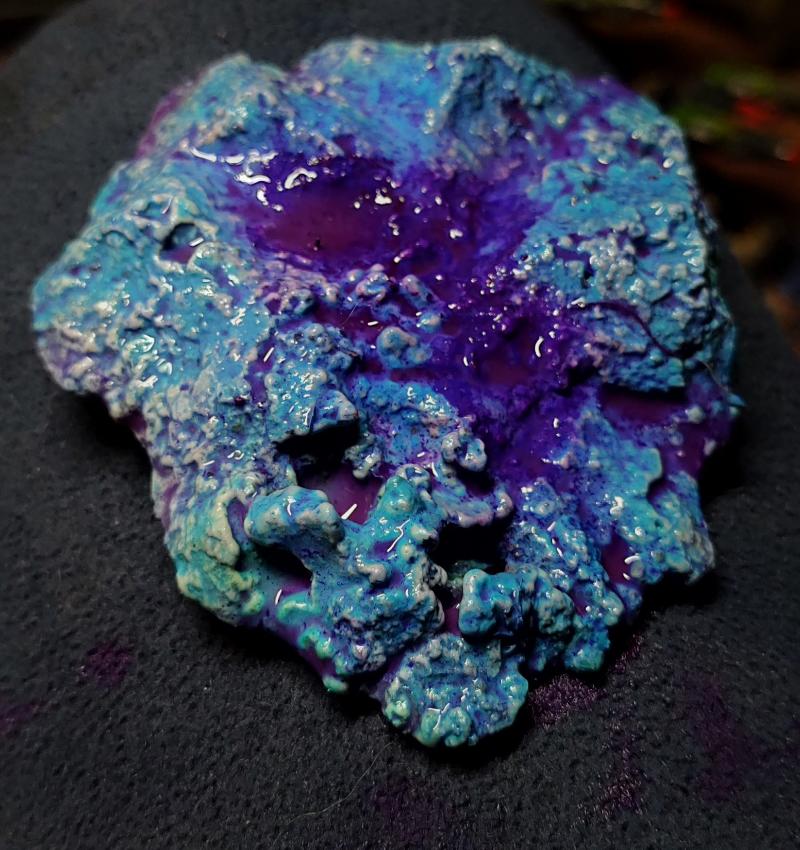
Also, I never change water during the project!
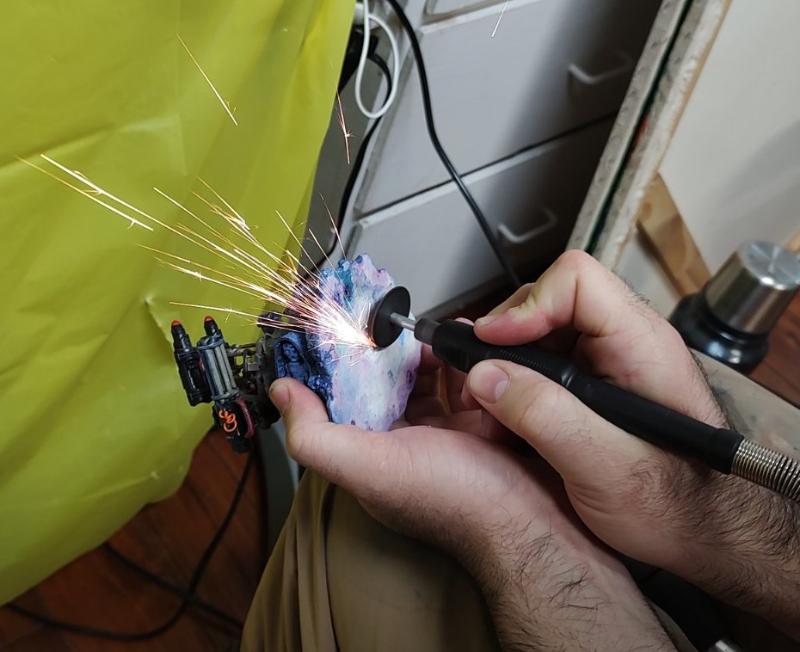
Last touch to remove nail tips.
Done
