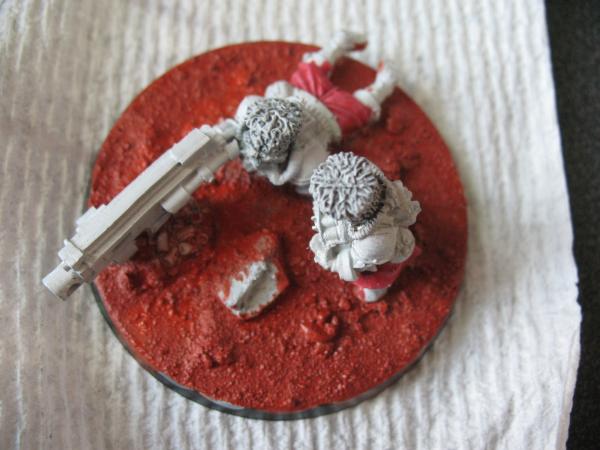
With the release of new Mechanicum minis I thought I would finally get around to posting my first tutorial and showing off what I’ve been working on at the same time. So here it is, my way of doing Martian landscape bases.
I wanted my bases to look like the Martian landscape I remember from pictures back when I was younger: red. The most recent pictures show that we were a little too aggressive with the red shading on those older pictures: the landscape is more brown and tan. But we’re already fantasizing about a computer worshipping cult thiry-eight thousand years from now, so I think we can let this slide. I also tried to capture the bright tan small rocks and slate-like rocks seen in pictures. Here is how I did it:
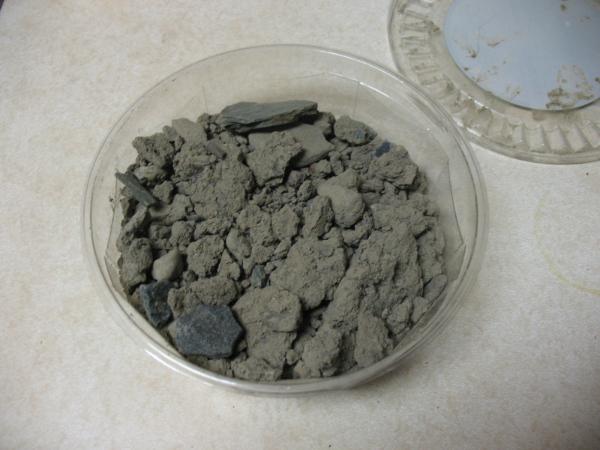
Before we paint we’ll take a detour about basing material. We need a variety of coarse and fine sands, and some slate-like rocks. What works best is dirt, and I really mean dirt here. Don’t go to the hardware store and buy playsand, or spend good money for a little baggy of slate pieces. Go outside and scoop up some dirt in whatever left over container you have (the ones that contain chocolate covered things seem to work better). I live in upstate New York, so this is what I managed to get. Admittedly the variety might be lacking if you live in Florida or somewhere else where the ground is mostly sand. Do yourself a favor and try it. If you get a good variety then you get some free basing materials and that means you can convince your wife/SO that you saved money so you can buy more toys.
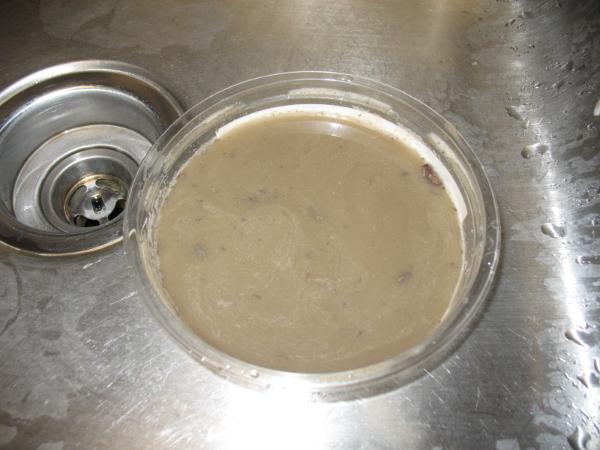
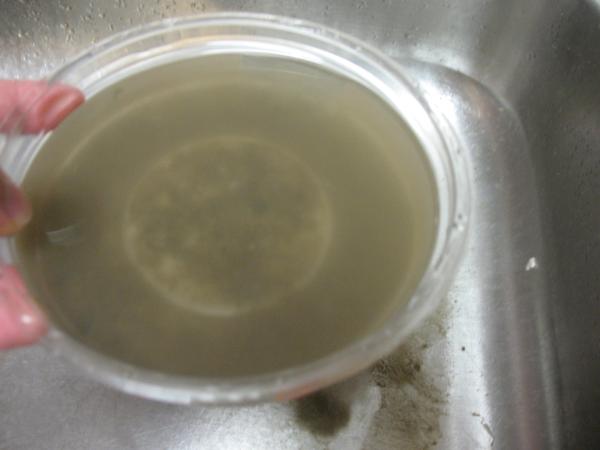
Before using dirt from the ground, you’ll want to “wash” it. Take a small amount in another container and add water. The dust and pieces of plant don’t want should float to the top, leaving the coarser material at the bottom. It’s like panning for gold, except dirt. You’ll want to do this a few times, until the water looks more clear than dirty. Clean the sink before anyone sees what you’re doing.
At this point you have plenty of basing material for bases. Here’s how I use it:
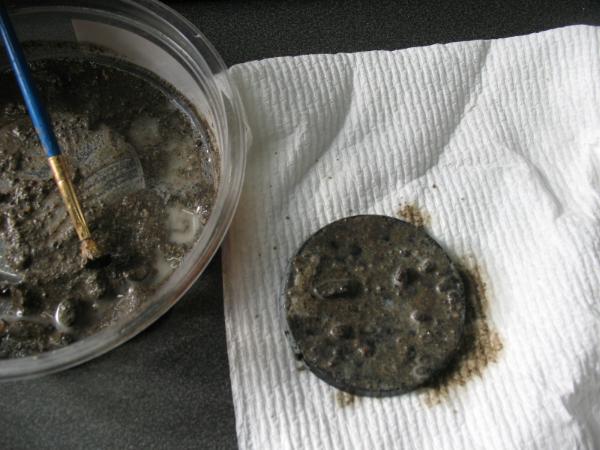
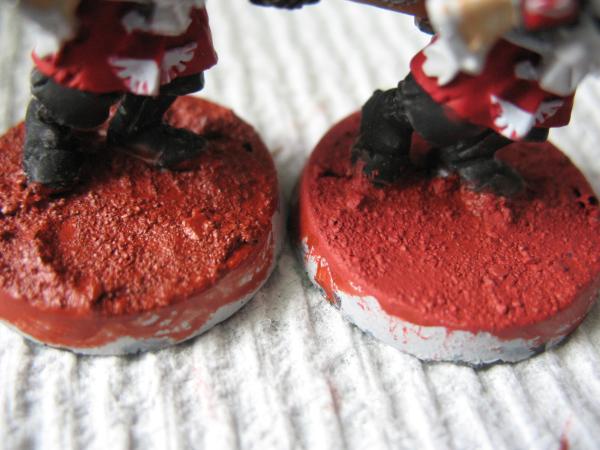
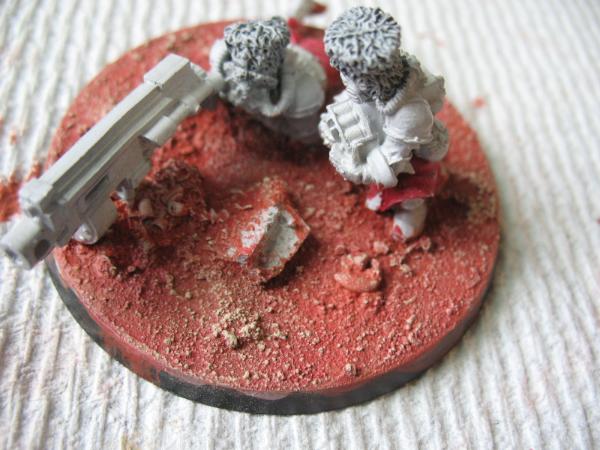
Into your dirt, mix in a bit of white glue with your least favorite brush. You want a white, cloudy, slightly watery mud consistency. Dab the mixture onto your base. Keep everything on a paper towel; you don’t want glue covered dirt on your nice desk. Less is better than more here. With too much dirt on, the base will end up looking lumpy instead of that flat, desolate, never ending nothingness look (which is what we want). With a small amount of dirt you’ll get what I showed you up above, but with more, you’ll get something more like the minis I’ll show you below. Oh and don’t worry too much about the edges getting gluey dirt on them, the dried dirt is scraped off easily with a dull, unloved, exacto blade. If a big pebble is in the way or there is too much sand in one area, it can also be scraped away when dry. Even though the dirt comes off easily when you want it to, it doesn’t fall off the base when you don’t. I’ve only had two uh-ohs, and both times were when the whole base broke in half and even then the basing material came off in a sheet that I just glued back on to the fixed base.
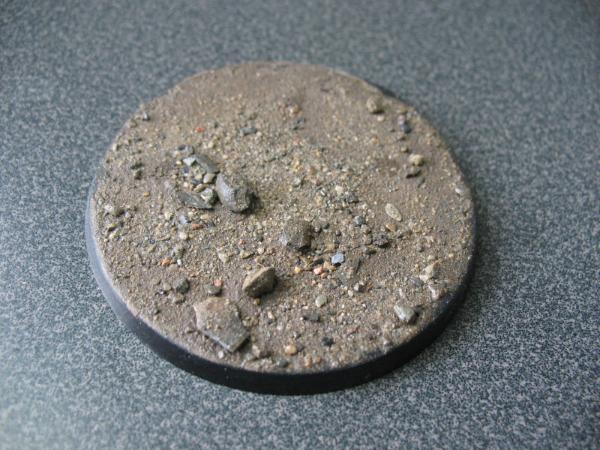
Here is a dried base ready for priming. I use Vallejo Grey Surface Primer because it’s brush-on and it works in winter. I suggest using a light color primer for this as the main color you will use here is red, which won’t go on easily with a black primer.
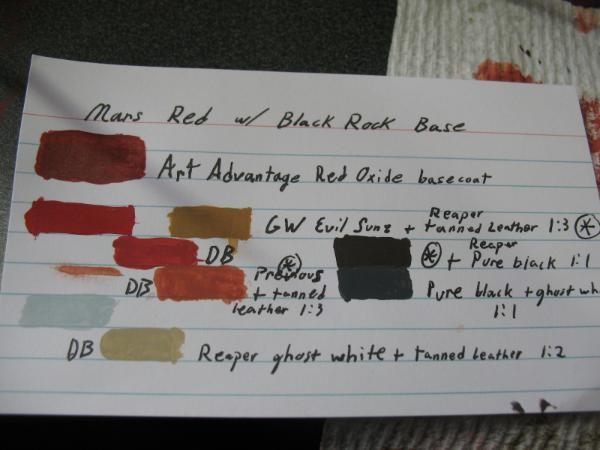
I’m going to pause here to warn everyone that I’m using paints from different companies. This is the biggest reason why I haven’t posted this tutorial yet. But this semester in school I learned something about what “best way” and “proper way” mean. When I first got into painting I learned things like “these are the best paints”, “these are the best brushes”. In school it was “the best way to implement this method is…” I finally figured out that the second best way, in all things, is usually pretty good. And going the extra mile or extra dollar to do things “right” is only a good idea on occasion. Paint is not that occasion. So use the paints you have that, the reason I used these paints is simply that I had them when I made these bases. I’m saying all this because I don’t want people to say “well I don’t have any of those paints so this is worthless to me”. Honestly you can see whatever paints you have if you can mix them to the colors I show you below. And if you think you’re bad at mixing/matching colors just try it. It’ll work.
First is the basecoat. For this I used a paint called Red Oxide by Art Advantage. I picked up this giant tube of paint for the same cost as a
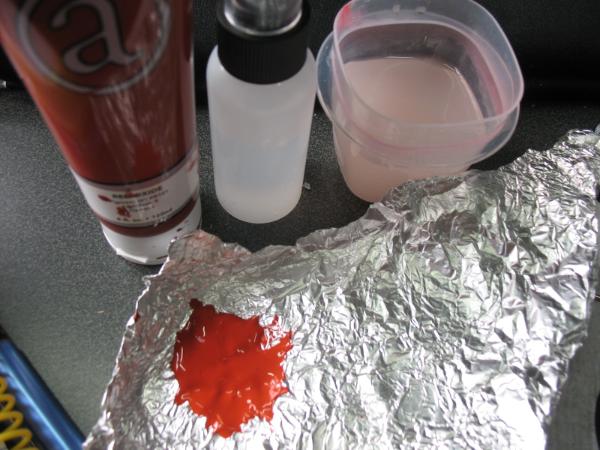
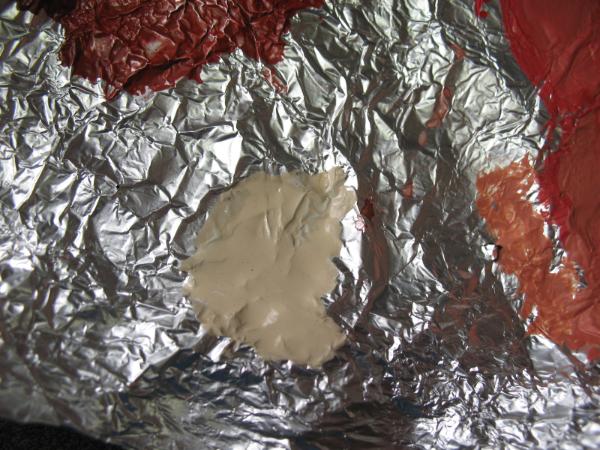
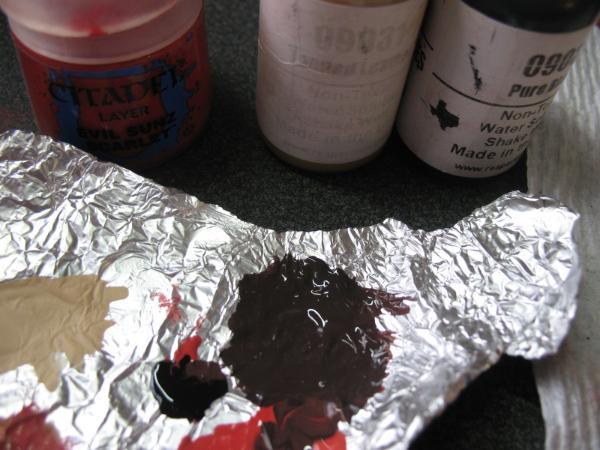
GW bottle and it’s come in handy for stuff like this. I promise I use a wet pallete normally but this whole process is quick enough that I just mix paint on aluminum foil (when you’re done throw it away for instant clean –up). Getting extra paint in this step also isn’t a problem; all it will do is even out some of the coarse sand which will imitate the finer sand we see in pictures.
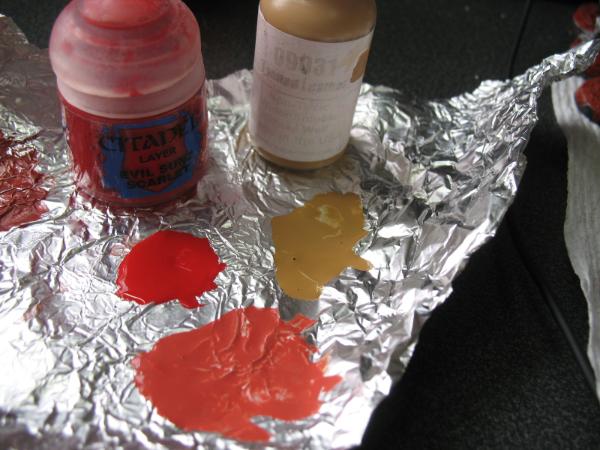
Next up is a 1:3 part mix of
GW Evil Sunz Scarlet and Reaper Tanned Leather. The result is the color shown. If you use other paints make sure you use a tan color to lighten the red instead of white or you’ll end up with pink. You can see the difference between the first and second steps here.
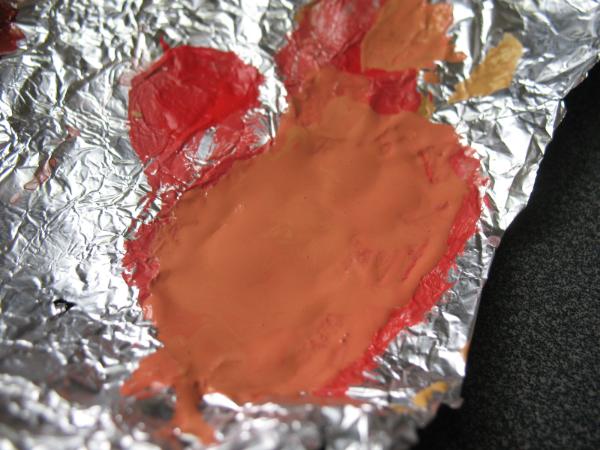

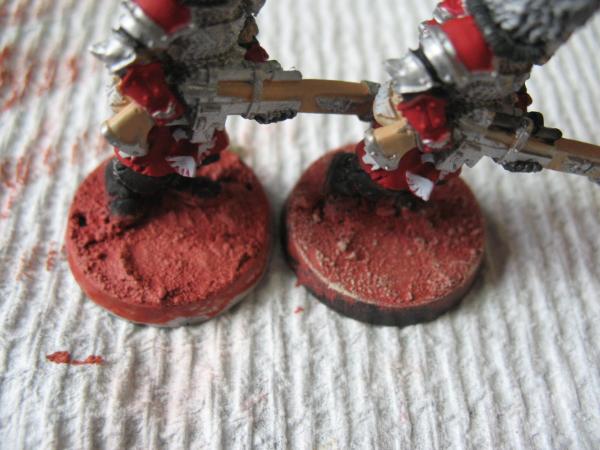
Next we mix in more Tanned Leather. This is 1/16th Evil Sunz. I like to get to this by mixing the rest of the mixture above and Tanned Leather in a 1:3 part mix again. If you have any rocks with jagged edges like the unpainted one in the middle don’t bother painting them with the red. They’ll become our black rocks later.
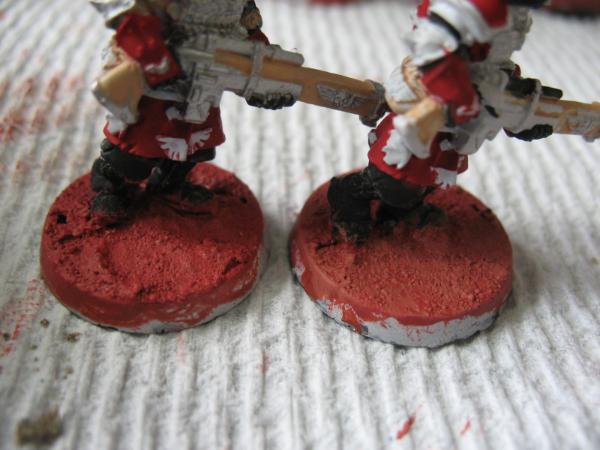
For the last drybrushing, a 1:1 mix of Reaper Tanned Leather and Reaper Ghost White. Ghost White has a bit of a blue tint to it, which works well for later one. In this case I’m just trying to use fewer paints. And hey, it looks good. Careful applying this, less is better. I think I used too much in this example. You want uneven coverage here, which makes different individual stones look brighter colored, instead of just hightlighted rocks.
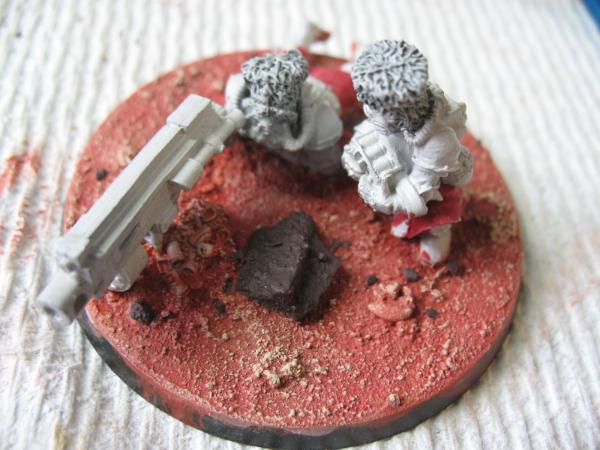
That’s it for the red, now for those black rocks. I mix more of the 1:3 Evil Sunz/Tanned Leather with an equal amount of Reaper Pure Black. Apply this to any jagged rocks you have, and a few tiny pebbles here and there to look like smaller versions of this larger rock.
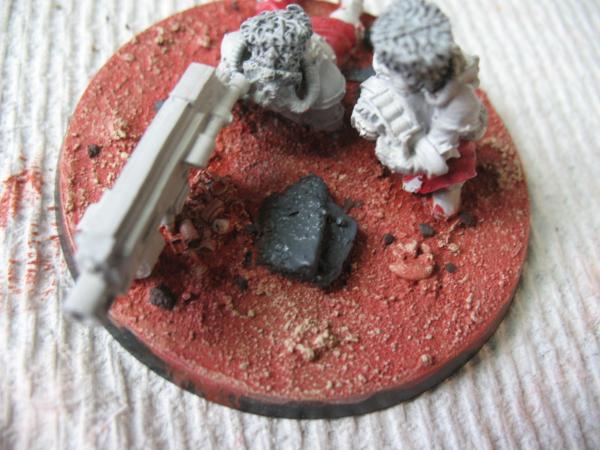
Lastly we want to highlight the tops of those black rocks. Mix two parts of your leftover black mix with one part of ghost white and apply to the tops of the rocks. You should have sudden changes in color between the sides and the top to show where the sun hits and bleaches the rock.
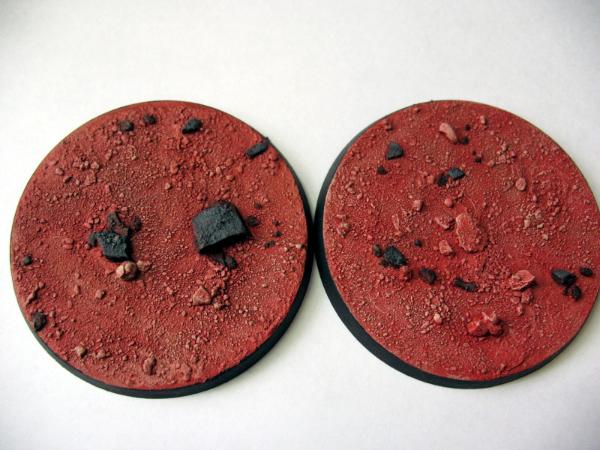
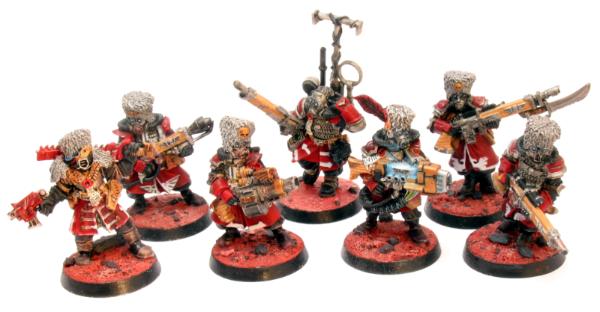
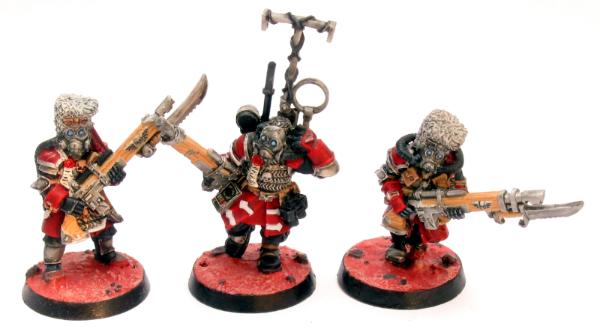
Touch up the edges of the base with black and you’re all set. This is a pretty straight forward method to get a good looking (in my opinion) base. Use the paints you have. If you have a red, a tan, a white, and a black, you can paint these bases. The dirt is free so no excuses on cost either.I try to do a bunch at once to save on time mixing paints and waiting for glue and primer to dry. Here is what I’ve managed to make with the bases. Enjoy!

One last tip I've learned from painting things: Use an index card to write down your method for quick reference later on: