This is my first Turorial, and the conversion is based on the ATV/Quadbike by Irondog. I couldn't find a step by step guide, so here is mine
I have an extensive collection of miniatures, many of them have been gifted to me, or been acquired from ebay. While some of them have proven useful. many (more than half my bikes) have ended up in a bike graveyeard of sorts as being too badly damaged to be any use in my army. I decided therefore to make use of them. After some browsing on the interwebs, i had a few ideas of what i would be doing, and set about giving the bikes in the graveyard a second chance as useful models, rather than as ending their days as battlefield detritus (where some will probably still end up).
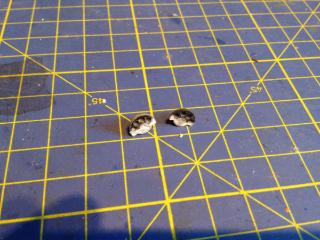
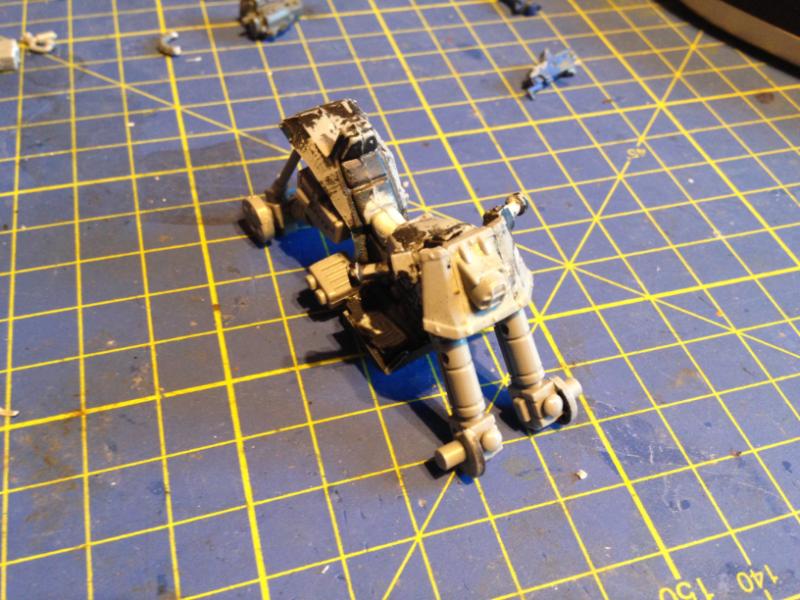
I decided to use a bike chassis where the black paint had quite literally melted into the plastic
Here is what you will need for this conversion:
1x Space Marine Bike
2x extra wheels (4 total)
2x Tau Burst Cannon
2x Tau Fusion Blaster
2x Tau Flamers
1x Tau Plasma Rifle
Multi Melta
Some other bits
Step 1
Assemble the body
Remove the front mudguards from the bike, then trim out the rear exhausts, Glue the 2 halves together and add the footrest.
Use the ends of the fusion blasters cut off during step 2 (below) as exhausts located just behind the foot rest
 Step 2
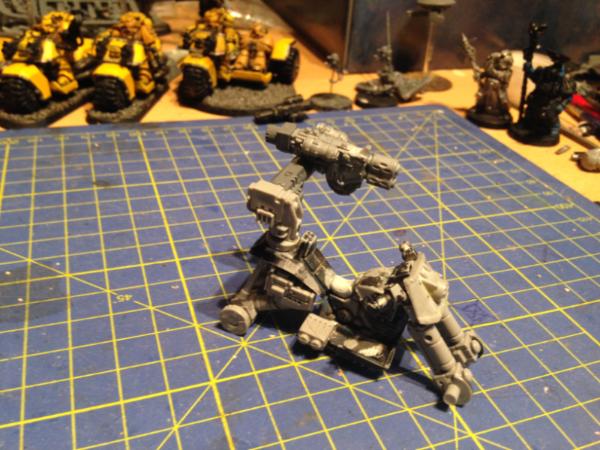
Rear Suspension.
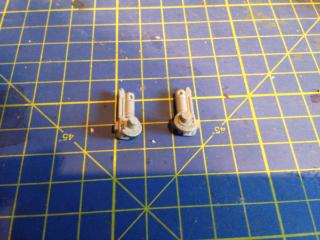
Take the Fusion Blasters and Burst cannon and cut off the barrels.
Glue them as shown,
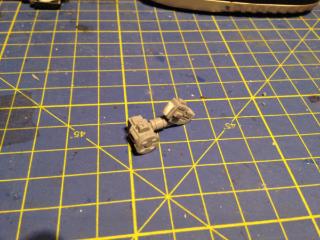
repeat for each side to give you a left and right rear wheel mounting.
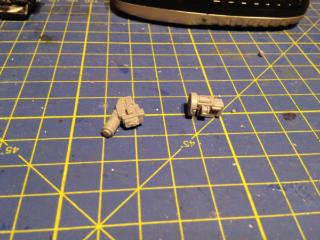
Take the plasma rifle and cut off the barrel. Glue the wheel mountings to the side as shown.
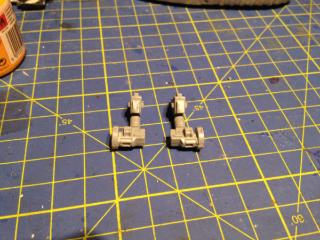
 Step 3
Front suspension.
Trim out the front wheel mountings from the previously removed mudguards
Take the flamers and trim the parts you don’t need. Glue them together as shown
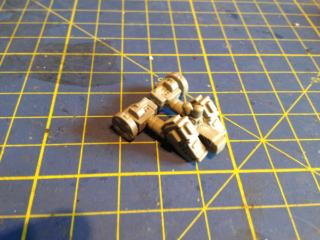
 Step 4
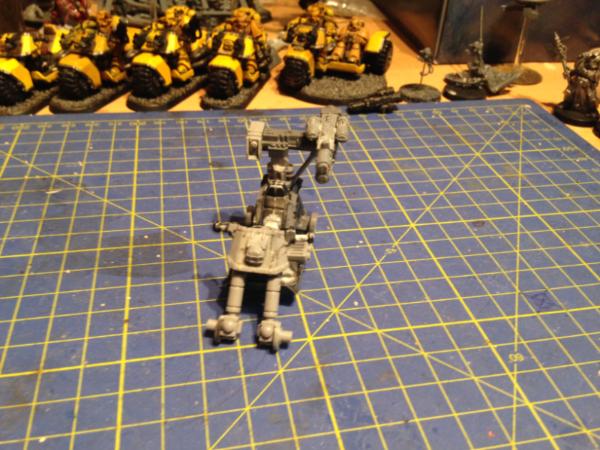
Assembly
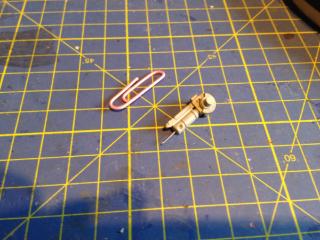
Pin the front wheel mounts to the miniature. I use paperclips for this, and you can get a box of around 200 very cheaply from the supermarket.
Then take the rear assembly and glue it to the rear, just behind the driver seat, along the centreline.
 Step 5
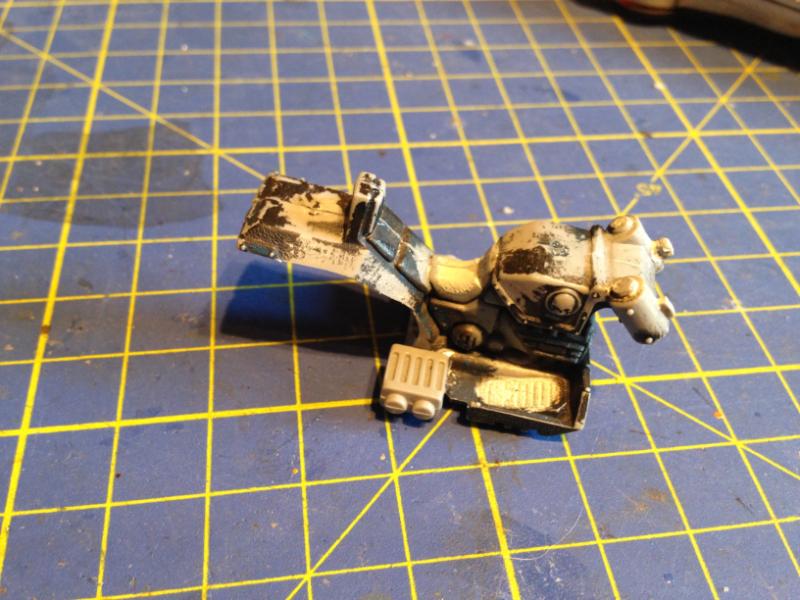
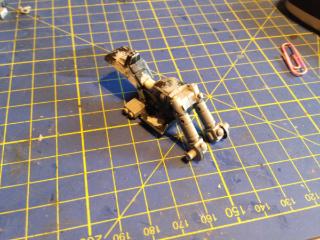
Finishing the Chassis
Add the handlebars, and then you will need to cut up, and then trim parts out of the front fairing before reassembling them to make a much smaller fairing than mounted on normal bikes. I think the untrimmed fairing looks a bit silly on the ATV.
Add a burst cannon barrel to each side to act as rear shocks
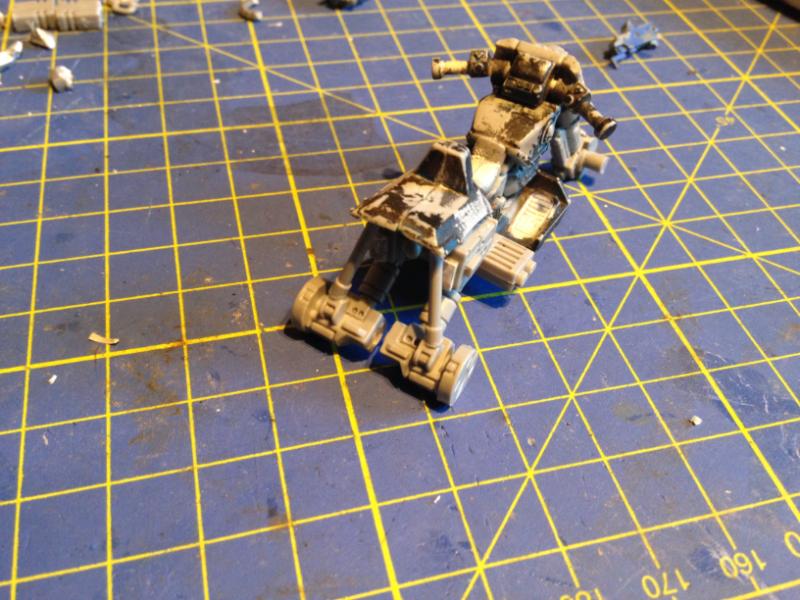
I decided against adding any bolters as I couldn’t decide where exactly they should go.
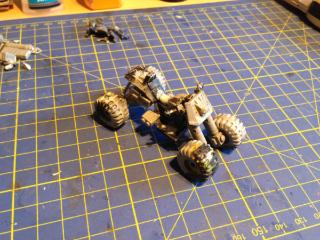
Add the 4 tyres and the base chassis is complete
Step 6
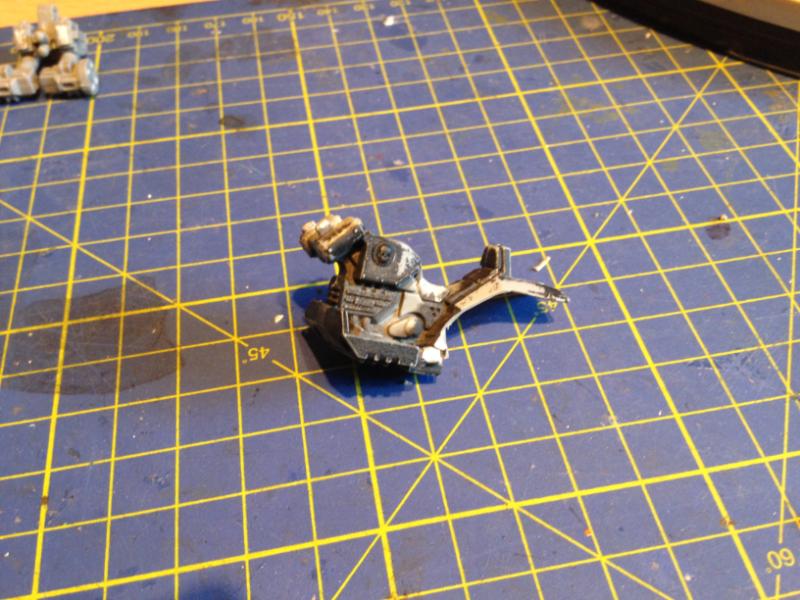
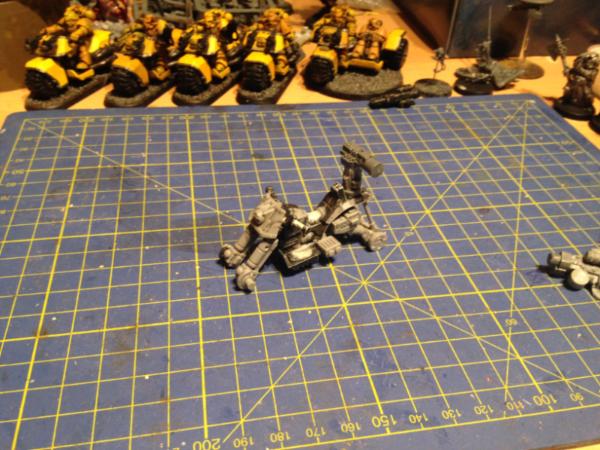
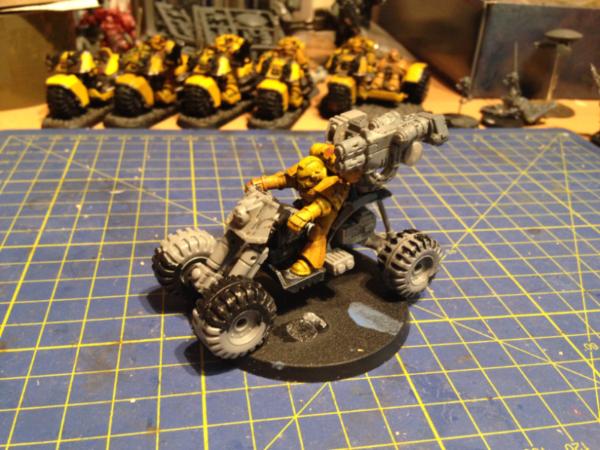
Multi Melta + Rider
For this you will need;
1x Plastic multi melta
1x Tau Burst cannon
1x
SM hunter killer missile launcher
1x Sm search light
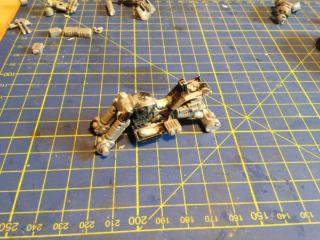
Cut the ammo hopper and gun barrels off the burst cannon. and glue onto rear of the bike. Glue the missile launcher section of the
HK onto the top of it as shown to act as a gun mount
Glue the ammo hopper and back of the search light to the Multi Melta
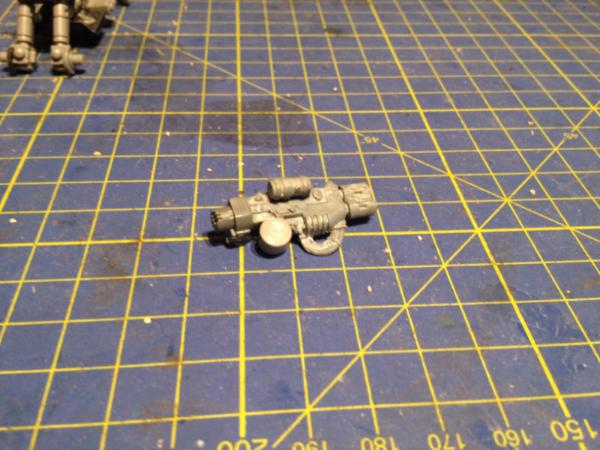
Once dry, glue this to the gun mount, and attach the targeter to the opposite side, use one of the burst cannon barrels to act as a supporting strut
Add a rider of your choice, and put the whole thing on a suitably sized base
 Step 7
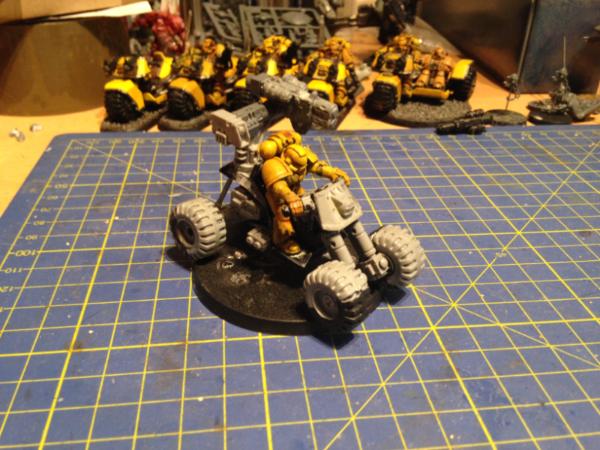
Painting
WIP
Coments, tips, critiques, please


