Switch Theme:

VIDEO W.I.P.: Tau Riptide converted into 1/144 mecha  [RSS] Share on facebook Share on Twitter Submit to Reddit
»
Author Message
Advert


Forum adverts like this one are shown to any user who is not logged in. Join us by filling out a tiny 3 field form and you will get your own, free, dakka user account which gives a good range of benefits to you:
  • No adverts like this in the forums anymore.
  • Times and dates in your local timezone.
  • Full tracking of what you have read so you can skip to your first unread post, easily see what has changed since you last logged in, and easily see what is new at a glance.
  • Email notifications for threads you want to watch closely.
  • Being a part of the oldest wargaming community on the net.
If you are already a member then feel free to login now.


Made in it
Fresh-Faced New User


Italy

hey all, this conversion is just for fun hope you like it

PART1


In this episode:
- Filling up the body with epoxy putty
- Self made Gatling guns
- Body magnets set up


PART 2


In this episode:
- Testing Mirco Liquitape for temporary assembling
- finding the correct pose for the mecha
- sculpting legs and magnets insertions


PART 3


In this episode:

- Completing legs magnetization
- Making of a scratch built rocket turret, shields and details.
- Making of antenna with wires and needles
- Deatailing with metallic net
- Creating a new head with riptides parts
- Dry assembly of the upper body


PART 4


In this episode:
Inner Fames
Pilot Cockpit
Removable Panels

This message was edited 7 times. Last update was at 2016/08/06 00:46:54


Made in us
Mysterious Techpriest


Interesting idea. I'm curious to see where this goes.
   
Made in de
Fresh-Faced New User


Great work

I hope you'll show us more soon

Remember Brimstone - Legends live forever !

Bolters don't lie http://boltersdontlie.blogspot.de/ 
   
Made in it
Fresh-Faced New User


Italy

here we go with a new episode hope you like it.
Will try to keep this blog updated weekly, but subs take a lot of time of editing.

Thanks for the kind words so far.
Any comment is appriciated.

Max
   
Made in it
Fresh-Faced New User


Italy

Hey all, here some tests for turrets.
I'd like more the upper pics solutions but If any rocket turret bite comes in your mind feel free to post, i still need inspiration or maybe some bites to modify

Max.
[Thumb - Schermata 2015-07-17 alle 01.24.45.png]

   
Made in it
Fresh-Faced New User


Italy

Hey folks i'm back with a new episode of my diary, posted also above with other episodes.


In this episode:

- Completing legs magnetization
- Making of a scratch built rocket turret, shields and details.
- Making of antenna with wires and needles
- Deatailing with metallic net
- Creating a new head with riptides parts
- Dry assembly of the upper body

below some pics i made during the assembly.
I liked the idea of making a kind of Zaku forebear for gorund purpses.
There is still a lot of work to do, i hope to post soon some update even if chemo
and model making aren't always good friends.
On next step will try to build an openable chest and some inner gears and stuff and completing the torso details.
Then will move to legs that actually have become too thin for a muscle mech like the one i have in mind.
Thats all folks, hope you enjoy the video.

Max.
[Thumb - IMG_6852.JPG]
detailing the launchers with antennas and metallic net

[Thumb - IMG_6882.JPG]
new head study... getting similar to a zaku

[Thumb - IMG_6883.JPG]
some test... not sure if add cannons there

[Thumb - IMG_6913.JPG]
new head using riptide arm and gun parts

   
Made in it
Fresh-Faced New User


Italy

hey all,
I'm back with some pics. Can't always show all the footage in my videos or they would be terribly boring
but sometimes to make a short and dinamic video i can loose some good takes showing intersting work.

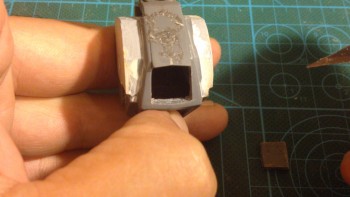
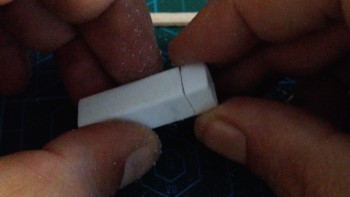
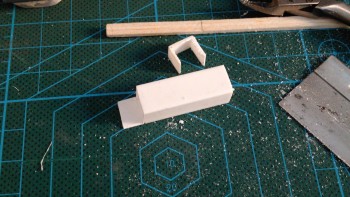
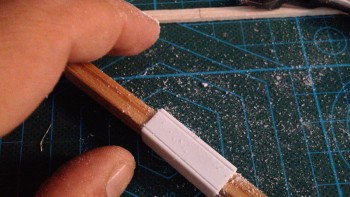
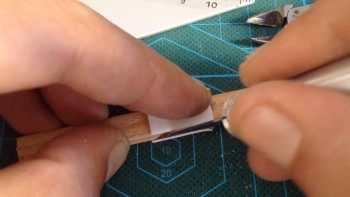
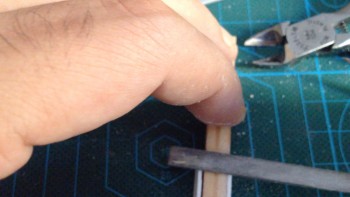
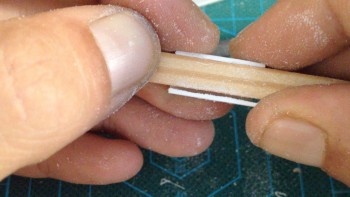
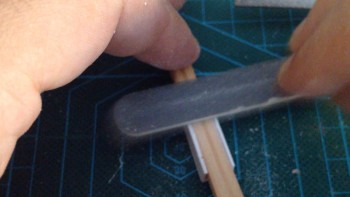
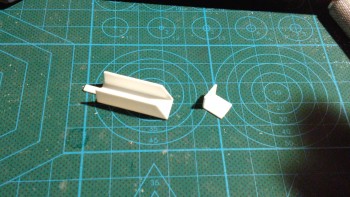
So, just beacuse i'm carzy, at this stage of the work I decided to build an inner frame of the mecha,
here some pics of the early stages. I wish this idea would came into my mind before i had assembled
the main body, cause wasn't an easy task to determine the correct size of inner pieces from the outside.
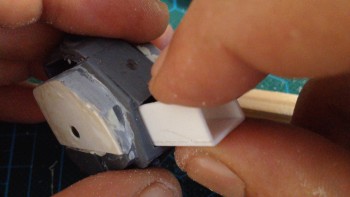
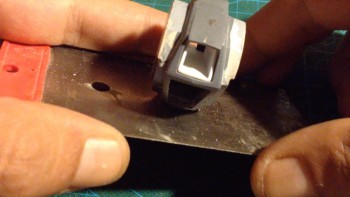
Anyway finally i made it up with some tricks that I will show you in my next video. Here the cockpit chassis
at his early stages and some tests to let it slide inside the chest of the mecha.


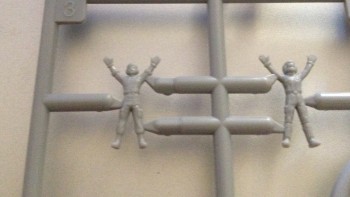
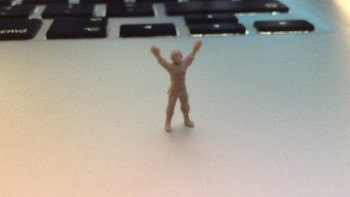
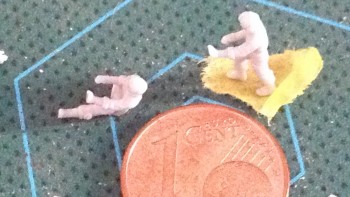
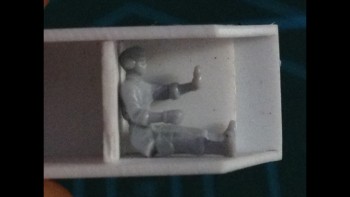
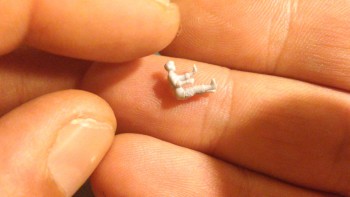
At this point i need a pilot to check the size i have left to detail the inside of the cockpit.
So first of all i need a seated pilot and because there is no one around (looks like Bandai
didn't produced seated pilots 
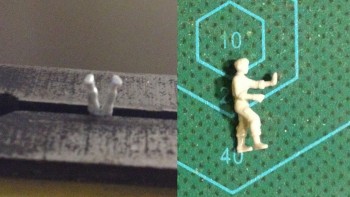
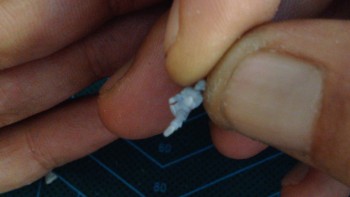
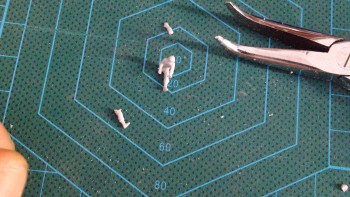
lol..) i gotta build it sticking the legs of a figure to another one.
This will cost me two figures but the little Frankenstain looks nice tho... Will try to use the
other cutted figure somwhere else.. nothing goes to the trash can here
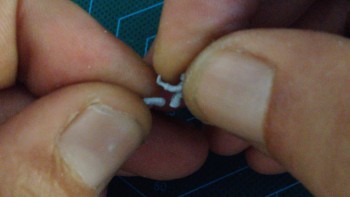
Some putty covered the missing parts you may notice and solded the legs nicely after some
plastic glue.


that is all for now, the next video will be out soon so stay in touch.
Thanks for watching and feel free to leave a comment.

Max
   
Made in it
Fresh-Faced New User


Italy

Hey all, here's another episode of my diary. Check above for other episode.
Cover says it all I guess. Hope you enjoy


here some pics.
Ciao.
[Thumb - 001_panels.jpg]

[Thumb - 002_frameinteriors.jpg]
pilot cockpit with some copter bites

[Thumb - 003_frameinteriors.jpg]

[Thumb - 004_core_det.jpg]
one of the details of inner core frame

[Thumb - 004b_core_det.jpg]
detailng core removable part

[Thumb - 005_store_pieces.jpg]
Here's a selection of the pieces done so far.


Forum Index » Dakka P&M Blogs
Go to: