by AesSedai
Hello Everyone!
I think everyone has asked themselves at one point or another, "how am I going to store/display all these models?" Storage and display needn't be mutually exclusive. Many people opt to toss their work into shoeboxes, cans, tupperware, etc., for ease or lack of a better option. This makes me cringe--all that hard work!
So, I set out to build the best display case I could without breaking the bank. People have any number of opinions on what the best display case is. However, Ikea's DETOLF is, without question, the best value of any display on the market. Prove me wrong if you can.
Prices vary by country, but let's say around $60 USD. (I live in Japan--everything is more expensive here). For that price you get: a heavy glass case (4 sides, glass), a metal frame, and 3 glass shelves. If you've owned ikea before, you'll know that their stuff is not constructed from the sturdiest of materials. However, as detolf is mostly glass and steel with only 2 flat wood pieces, the quality is somewhat higher than that associated with the brand.
The Problem
The deltof is great... but it's not ideal for our purposes for several reasons. First, it has only 3 shelves with 12 inches between and these are not adjustable. At this point most people would regrettably look for other options. Also, it doesn't come set up for lighting (well, not for efficient lighting). If lighting is to be included, cables can become an eyesore and need to be managed. Lastly, there are gaps around the front door, which could potentially result in dust getting in.
If I could compensate for these shortcomings, I was certain that this would the THE CASE for one and all. So, I tried my best and these are the results of that effort.
Materials
Materials you'll need:
- 1x Ikea Detolf
- 1x Ikea Dioder (4 strips)
- 4x Glass shelves (cut to size, exact specs to be posted later) EDIT: 383mm x 286mm
- 16x 5mm wire rope clips
- 1x package of spiral tubing
- 1x package of plastic cable ties
- 1x package of weather stripping (adhesive foam backing)
- Blue tack
- Tiny wrench
Assembly
First you need to assemble the detolf, get someone to help you. Pure comedy if you don't.
Adding shelves:
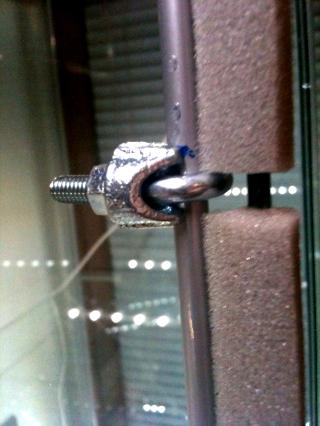
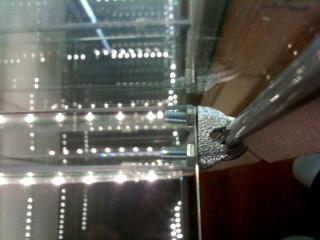
First, you need to attach your wire rope clips (seen here) to the metal frame. You can choose where you want the new shelves to be, based on what you are displaying.
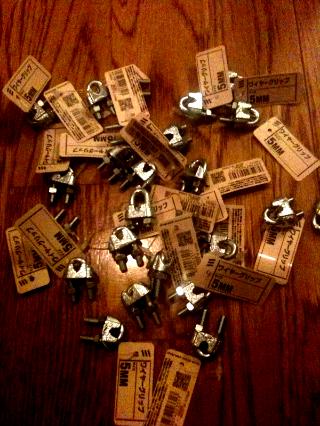
I would be a good idea to measure and mark of where you want the clips to be. Getting the clips eactly level is a tedious process. 19cm intervals is roughly where I spaced mine.
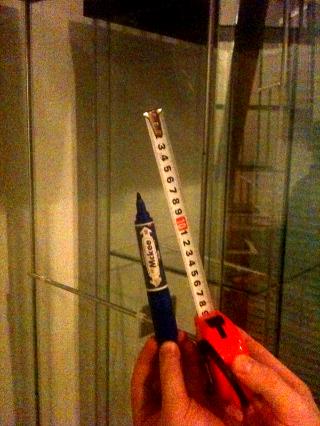

Some tips: You will have to make adjustments, so don't tighten the nuts all the way yet. The glass will be resting on the nuts, so make sure when you do tighten them fully the tops of the hexagon nuts are level. Measurements are crucial for getting the new-cut shelves right. Not a time to practice guessing ranges. I measured with 3 different tape measures to be as accurate as possible.
These clips grip very strongly, so have no fear of weight. Of course, you'll have to measure the dimensions yourself but I do recommend the following: safety glass, polished edges, 5-6mm thick (the stock shelves are 4mm, I think), otherwise the same length and width of the stock shelves to the mm.
Go to a glazier and get 4 shelves cut to these specs. Again, be careful to get the sizes right. I can give you the exact L and W in mm that I used, if you want. This is no substitute for measuring it yourself, however. I ordered the glass from a different city and it fit perfectly to the mm.
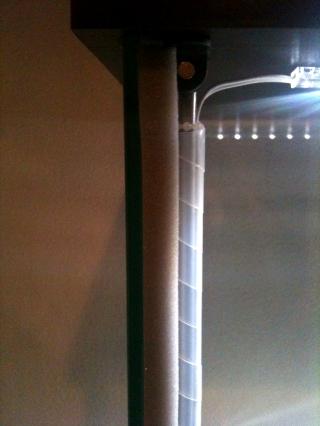
Adding Lighting
I wanted to to keep my lighting as unobtrusive as possible, which meant that I had to hide the lights and wires as much as possible. I decided to use the metal frame to conceal both. You could use the hole at the top of the deltof to mount a dome light, but that's inefficient as you'll be lucky to have any light reach the bottom half of the case. Also, you'll have wires sprouting from the top, or at the very least across the inside top.
Alternatively, you could mount a dome light to every other glass shelf in the center but it blocks the light from the shelf above and it looks kind of ugly (or at least ruins the all glass effect).
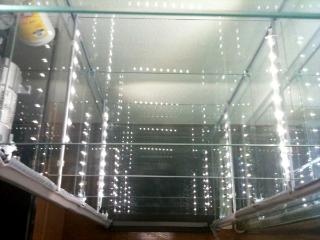
I took cable ties and attached a dioder LED strip (very bright, no heat, lasts 25000 hours, 4 pack) to alternating horizontal bars on the frame. I found this pattern gave the best light to all shelves. Another advantage is that they are held tight enough to remain in position, but they can be rotated to change the arc when it suits you to do so.
As for the top strip, simple poster tack or blue tack can easily support the weight of an LED strip on the inside top. Later, this strip too will be concealed. Once you have the strips fastened, clip off the excess plastic from the tie.

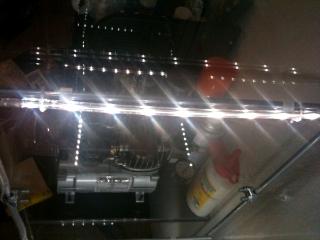
This one is after some cable management took place.
 great
great
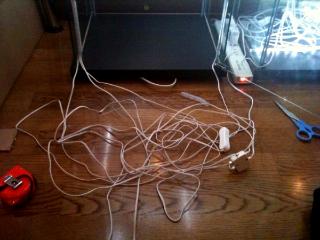
Cable Management
I used two products for this job: spiral tube and plastic cable ties, seen below.
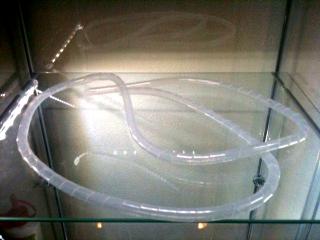
I choose translucent plastic so the grey metal would help the areas with tubing blend with the parts of the frame that did not. The lighting wires are white. A snazzy alternative would be to spray the frame black before assembly and use black tubing/ties.
Just run the wires along the frame, using the ties and tubing on the bars between the shelves.
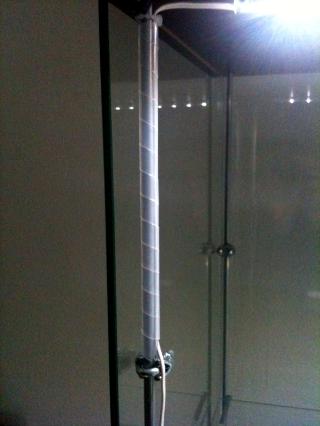
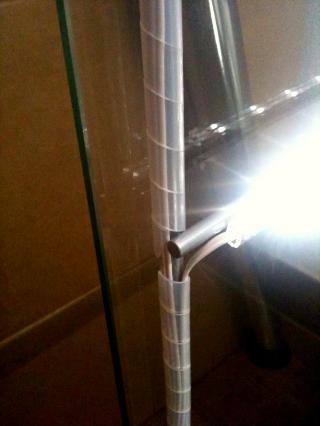
Also, use the ties to bundle the wires you'll have at the bottom before tucking them between the bottom and the floor. Clean and neat.
Dustproofing
Lastly, while it was not a huge concern for me, and I'll leave it for you to decide how you want to handle it, there is an issue of dust proofing the case. I don't want to go into installing fans for positive airflow or some similar scheme. It seems unlikely that you'll completely eliminate the issue of dust but you should be able to reduce the issue to like...once a year. I have an airbrush now so it'll take all of 2 minutes. I thought I would at least take some measure given the low cost and effort involved.
I used this stuff below.
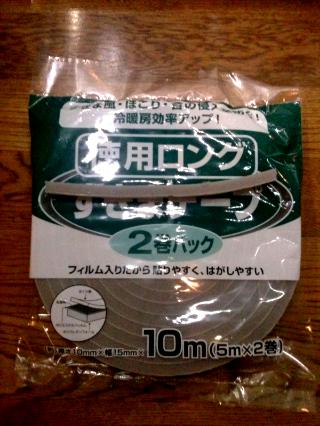
You may find a better way. As I said, I was not terribly bothered by the idea of occasional dusting.
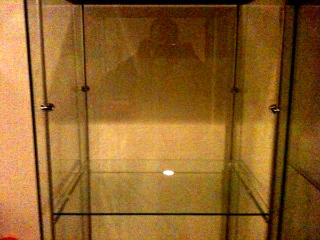
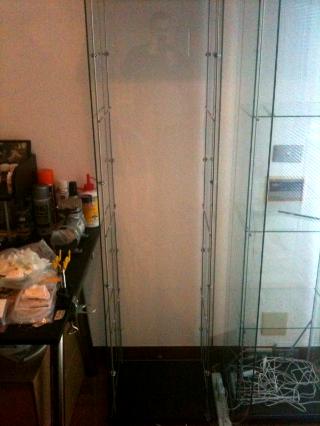
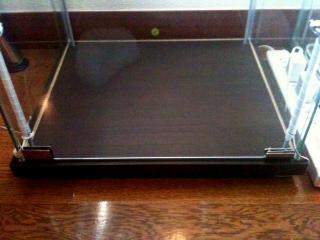
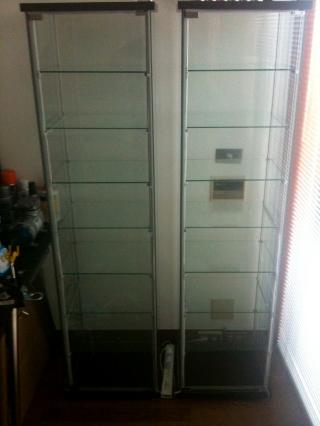
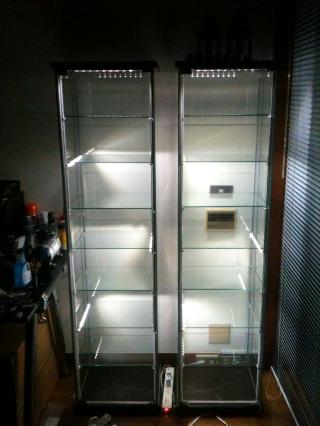
Finished Cases
Here are some pictures of the finished cases.
Conclusion
I really hope this is the push you need to go and undertake a similar project of your own. Feel free to ask questions, I'm here to help.
Good Luck!