This article is written with the intention of answering alot of the questions I had when I first started researching how to magnetize figures. I've decided to use a SM Terminator for demonstration purposes as it offers an opportunity for enough minor customization to get you used to using magnets.
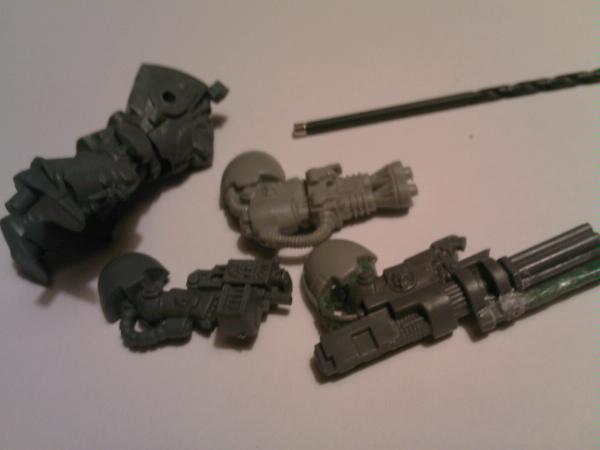
I'll be using a terminator from the Assault on Black Reach set along with some spare bits I had around (including an assault cannon from the Dark Angels upgrade sprue that I had to modify just a bit). I also used a 1/16" diameter drillbit and several 1/16" diameter Neodymium magnets, some 1/32" thick and some 1/16" thick. These magnets can be purchased from many online suppliers (personally, I buy from K&J magnetics, but many other reputable sellers can be found on the forums). When buying magnets, look for the highest N Grade you can find (a measurement of strength). Typically, you'll find N42 as the low end and N52 as the top.
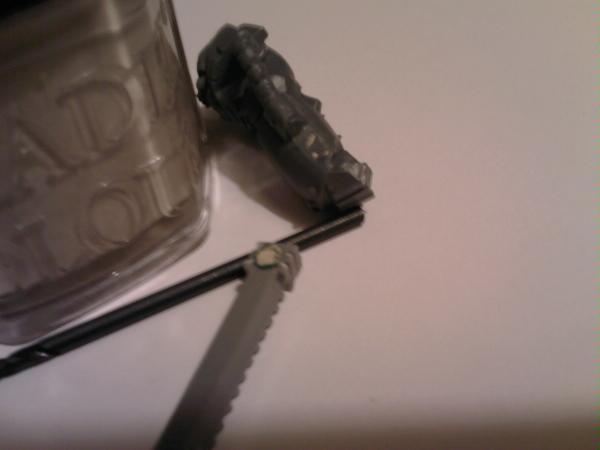
First step will be modding the powerfist to be upgradeable to a chainfist. I trimmed the handle from an old chainsword to get the chainfist blade. Then, using the 1/16" drillbit, drill a shallow hole into the chainsword blade. You can use a pin drill to do this, but I usually just spin the bit in my fingers (it doesn't take much to drill out of plastic). I used a 1/16" diameter by 1/32" thick magnet here- you won't need much of a magnet to hold the tiny chainsword in place.
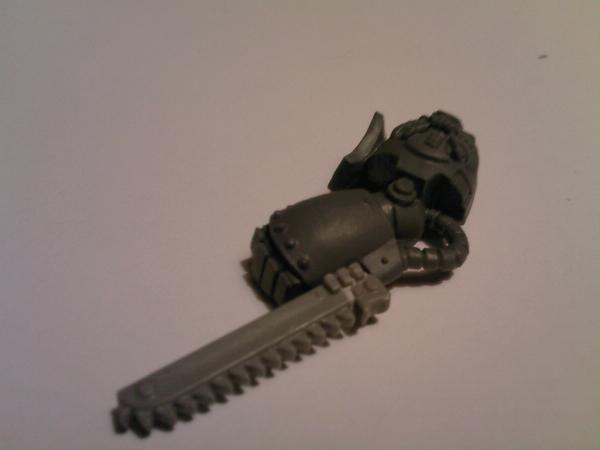
A drop of superglue gel in the hole will secure the magnet very well. To mark the location of the corresponding magnet on the powerfist, dab a bit of paint onto the magnet on the chainsword blade and press this against the bottom of the powerfist. If the chainsword blade doesn't fit well, you may have to shave the bottom of the powerfist slightly so it's a bit flatter. Once you've marked the spot, drill out a hole as above.
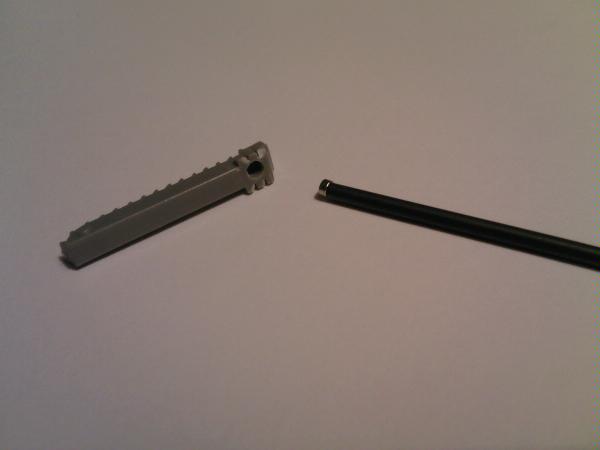
VERY IMPORTANT!! Before placing the opposing magnet into the powerfist, make sure you've got the polarity straight. The magnet you're using should fit very nicely on the end of the drillbit (as seen above). Gently put it near the magnet in the chainsword- if the two repel, that end will go in first into the powerfist (since the opposite side will be facing out). If they stick, flip it and try again. If you're doing multiple models with swappable options (like a whole unit of termies with chainfist option), make sure every weapon follows the same polarity scheme- it's very convenient if the plasma gun arm you magnetized for your SM tactical squad can be tossed on a biker on a whim.
Once you've got all that straight, glue in the powerfist's magnet and you're set.
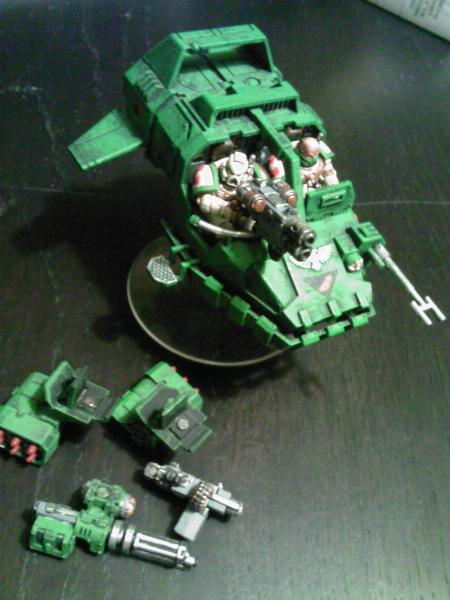
For the weapon arms, follow the same technique as above. Typically, though, you'll want a slightly stronger magnet- I'd got with 1/16" diameter by 1/16" thick in the body and weapons. For larger weapons (like the autocannon below), you might want to step up to 1/8"diameter by 1/16" thick. On smaller models, you may have trouble getting the larger magnets into the arms, so make sure you buy the most powerful magnets you can find of the smaller size (though, to be honest, I've very rarely had problems with 1/16"x1/16" magnets holding weapons on my marines). I also went with the 1/8" on the heavy flamer below, as the old plastic is a bit heavier than the new stuff.
And below, the final results


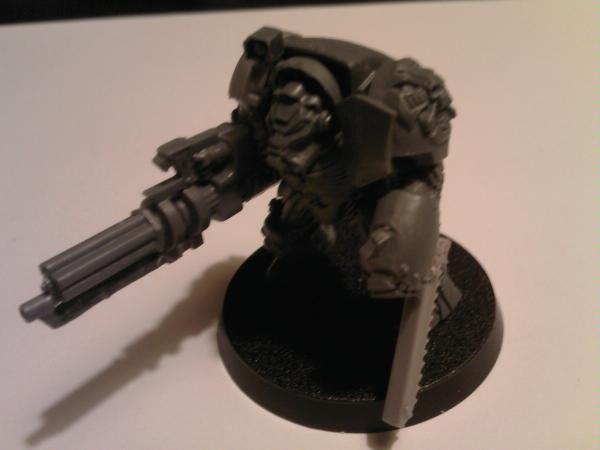
Using the above techniques, you can magnetize a wide variety of figures in your army