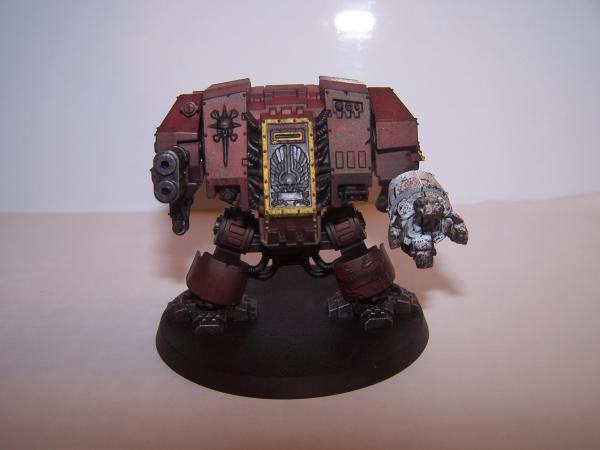
Hi guys and thank you for reading my article on painting my dreadnoughts. I am doing them in the colours of my new chapter inspired
from the front cover of a Black Library book Crucible of War. I decided to name my chapter the Emperor’s Wings chapter. So the two
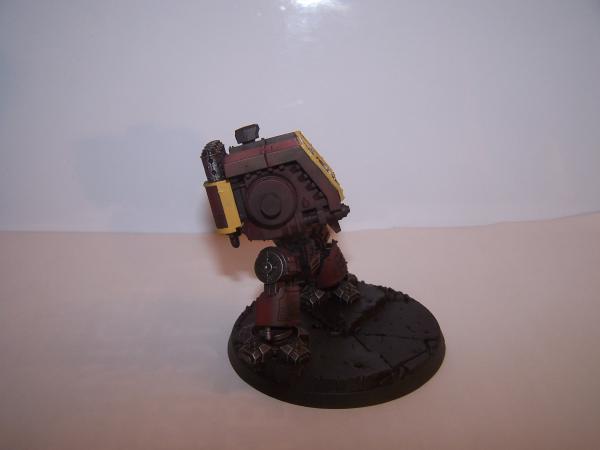
Dreadnoughts are a Black Reach Dread and a Venerable Dread. I’m going to use two slightly different painting styles on the two Dreads;
the Venerable will be painted in a clean style although it will be given battle damage and weathering. The Black Reach one will be done
in a heavy weathering style using MIG weathering powders, very similar to Forge World's weathering powders, both
are easily available on the internet.
Firstly preparation of your model is very important, make sure you trim it well and try and get rid of any mold lines or flash. I was annoyed
with myself for failing to trim the back of the lascannon, I just didn't spot it and I was quite away through the painting before I noticed.
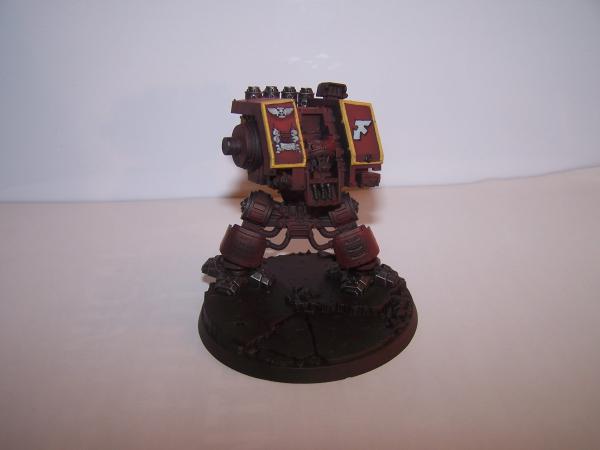
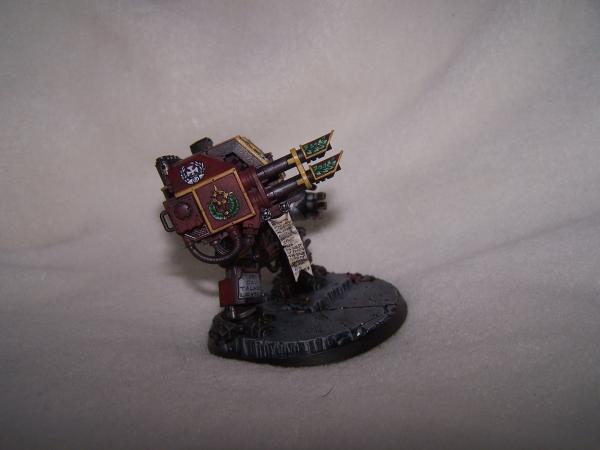
I will try and cover it up with battle damage but it would have been better had I trimmed it properly. I also tried to pose the Venerable
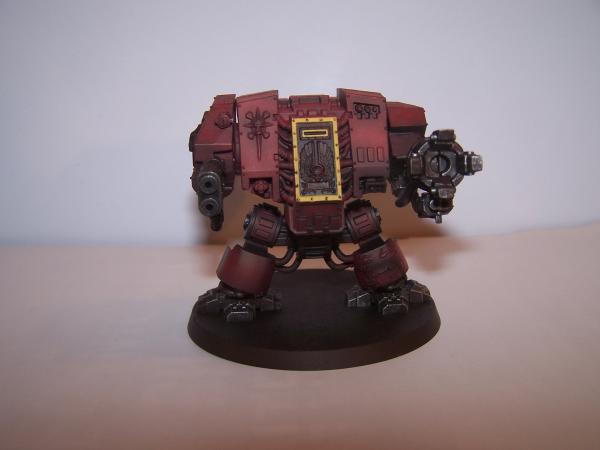
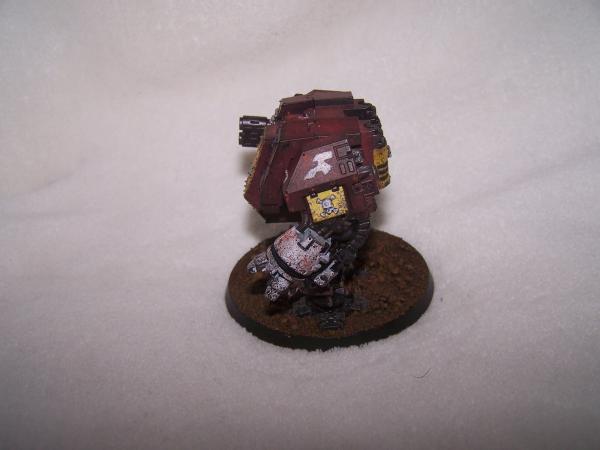
in a dynamic pose as if he is reaching up to shoot something down or up high in a building. There isn't much you can do with the Black
Reach Dread without chopping it up a bit and scratch sculpting sections, so I decided to just take the
planted look it has.

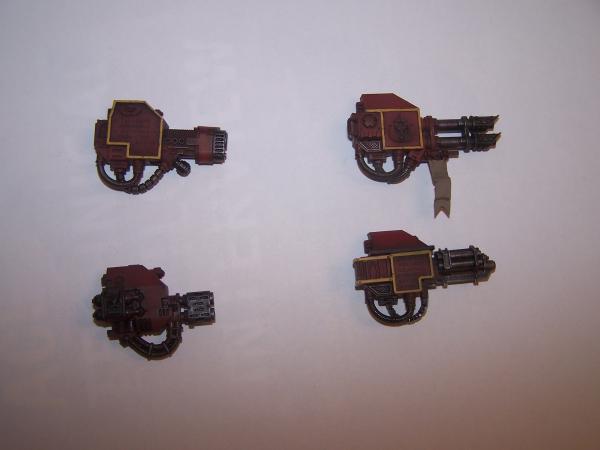
The Dreads were assembled and undercoated in black spray. I then used my dual action airbrush to apply a coat of Red Gore trying to
leave the recesses quite dark. I then added a base coat of Iyanden Darksun to the areas I wanted to pick out in yellow like the
surrounds of the chest armor and the edging of the weapons and arms. I also dry brushed the metallic areas with bolt gun metal.
The scrolls were initially painted Bestial Brown. A tip with painting a model is to be as neat as possible at this stage the fewer mistakes
you make now the crisper it will be later. Of course you can tidy up but sometimes corrections ruin the smoothness of the paint
especially when you have started off by using an airbrush. I added the chapter signs in a basic format, start with it in chaos black and
then keeping a bit of the chaos black visible as an outline I filled in with Skull white. It will get a lot neater on the chapter symbols
later.


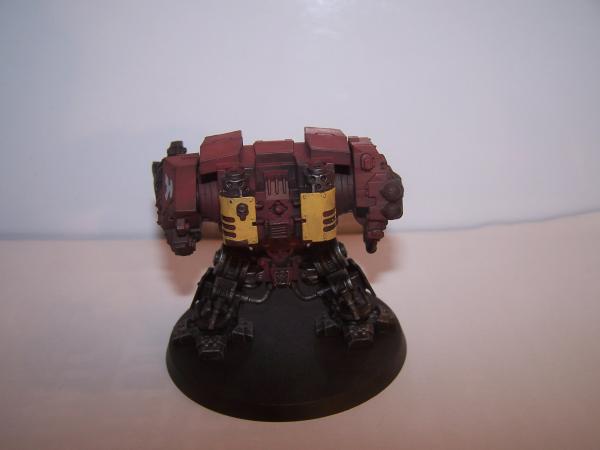

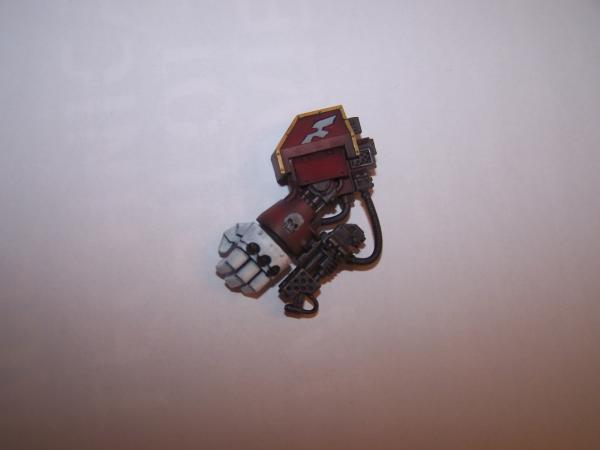
Next I started on the skulls and scroll work doing the base layer in Codex grey. I also base layered the power fists with codex grey.
The skulls and scroll work were then worked up to skull white fading and shading using washes of black to keep the recesses dark.
The fists were brought up to a flat skull white ready for weathering later as they should look like they have been bashing through
walls and crushing helmets and heads, ruining the paint work.
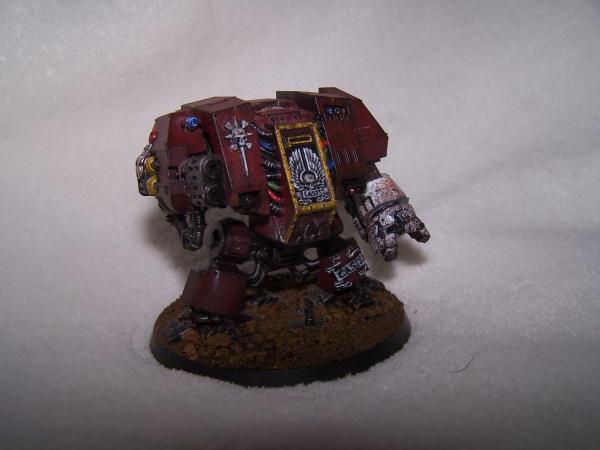
At this point my techniques diverge, for the Black Reach Dread I mix a color using Chaos Black and Scorched Brown and then use
a small piece of sponge to apply a chipped paint effect to the Dread. I tend to give one dab on a piece of kitchen roll first so too
much paint is not applied with the first dab. I pay particular attention to the power fist which as I said before would have become
very worn with all the smashing and bashing the Dread would have been up to! I also use the same technique on the fist of the
Venerable Dread.


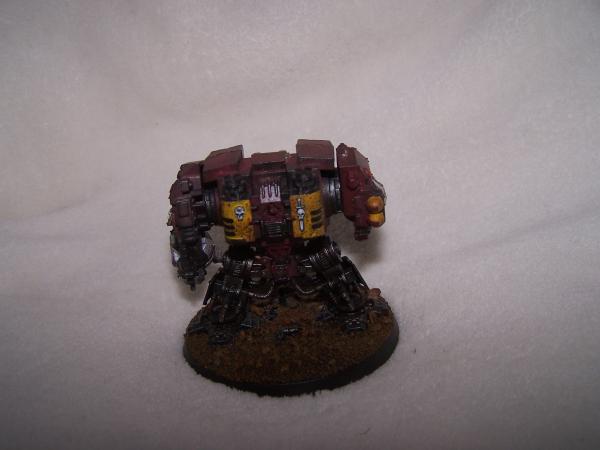
I then added two shades of rust colored MIG weathering powders with a bit of white spirit and dragged it down from rivets and
screws as if rain had washed it down. I also added industrial ash MIG weathering powder all over as if fires had been raging on the
battle field and he had received a coating of ash. Scroll work was then worked up to Bleached Bone with a top highlight of Skull
White. I also neatened up the chapter badge before weathering with the sponge technique. The wires into the sarcophagus were
then painted in various colors and given a one stage highlight. The lenses were painted various colors and given several highlights
working up to Skull White on the lower curve of the lens and then a small two stage highlighted dot put in the upper left quarter.
I then painted the name on the name plate in chaos black, try and add a little more depth to the characters by making the leading
edge of each character a double line. This is incredibly fiddly and will take a fair amount of time and patience and a bit of correction
too but the end results are worth your time. I kept the base pretty simple, pva glue with sand from Games Workshop and a few
bits of a plastic sprew. While the sand is still wet soak it in black or brown ink (quite hard to get hold of inks now as GW have
stopped making them but I’m sure you could source some from the internet.) Allow the base to dry and then wet brush with Bestial
Brown and Snakebite Leather. Pick out the bits of metal with Tin Bits and Bolt Gun Metal. Make sure you paint round the edge of the
base with Chaos Black to give a neat finish. Finally I sprayed the model with Matt Varnish/Hard Coat though you might not want to do
this as it has given a sheen to the model and it would be more convincing without the sheen but it does protect the paint work on
the model.


For the Venerable Dreadnought I painted the helmet mounted on a pin vice and worked up from the Chaos Black to Skull White.
The visor was done using a basecoat of Dark Angels Green worked up to Scorpion Green and then a top dot of Skull White. Finally
I black lined the seams of the helmet using a fine detail brush and a thinned Chaos Black. The skull on the Helmet was worked up
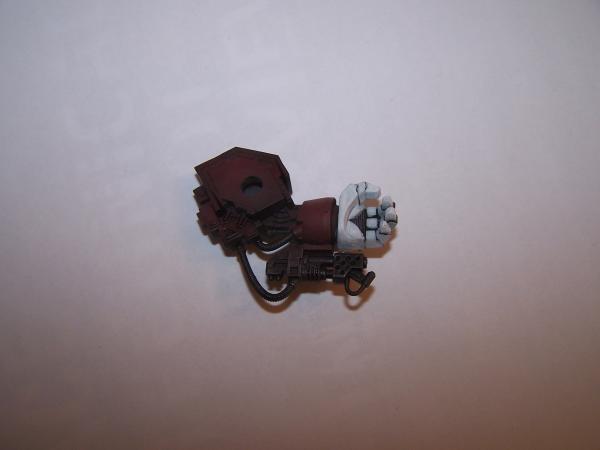
from Codex Grey to Skull White as the top highlight. I decided that the ring on the chest armor might have been used to pull a
vehicle out of being stuck in the mud or something and so was worn leading to rust which has then dripped down on to the
targeting lens case and the leg plate. For the laurels on the Lascannon I used Dark Angels Green and worked up to Snot Green.
For the halo on the lascannon I used Tin Bitz and Dwarf bronze, this was also used on the balustrade on the sarcophagus. A top
highlight of Mithril Silver was used to pick out the edges of the metal work.


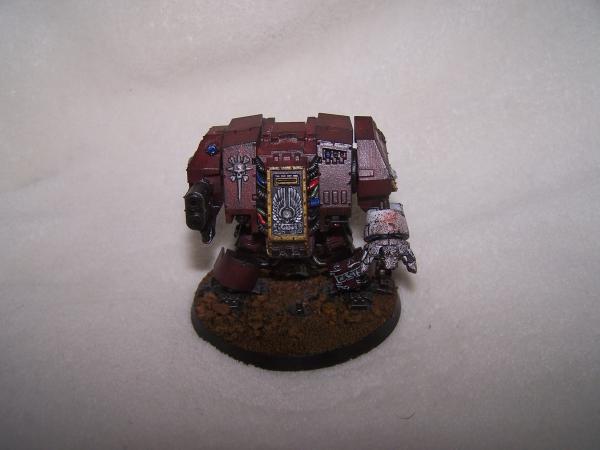
I decided that since it was a Venerable Dread then the marine originally came from the Veteran squad and then once entombed
he had seen service with the Company Command Squad. To show this I free handed the two laurels one with a skull and the
other with the crux terminates on each shoulder. Start with Chaos Black and then Codex Grey and finally Skull White. These
layers give a feeling of depth to the freehand work. I then went to work on the scroll and name plates again free hand painting
on the words, with the name plates again try to give the words some depth by using the double lining the leading edge letters.
For weathering I put some scratch lines on using Chaos Black and some Blazing Orange as a touch of rust. For the fresher scratch
I used Bolt Gun Metal making sure that an outline of the Chaos Black remains as though scratching through layers of the Dreads
paint. Finally I used Tamyia Clear Red to put blood splatters on the fist and a bit on the ground. I applied it with a brush for the
larger areas of blood and for the small points I used a dentist’s pick. For the flamer I washed some Leviathan Purple wash to show
heat discoloured metal. The pistons in the legs are painted with Mithril silver and then given a wash of brown ink and white spirit
for grease. For the base I wet brushed it using Codex Grey, working up to a dry brushed layer of Skull White. In the cracks I used
Games Workshop's Water effect to give the impression that it had rained in the past. The shell casings were done Tin Bitz up to
Shinning Gold.


Well that is how it was done, any questions just ask. I know that there are not pictures of every stage but hopefully it will show you
the progress well enough.
