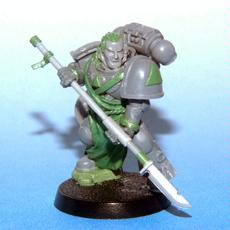
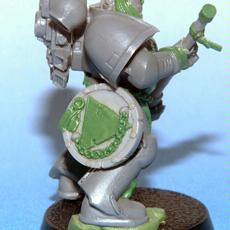
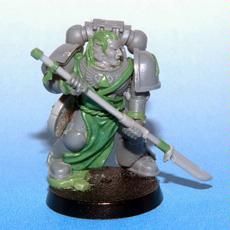
Ok, so in this tutorial I am going to show you some tips and tricks with green stuff to help you convert different models. In this example I am going to be building my company champion for a space marine chapter I am building.
Tools
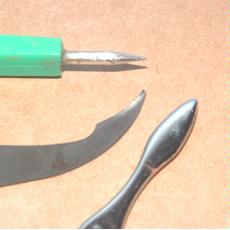
Ok So to start off with you’re going to need some tools. Firstly you need your sculpting tools, in my opinion you don’t need fancy specialist ones I just use and old compass and something from a women’s nail care kit I got hold of. Basically, something pointy and something to smooth. Together with that you will need some green stuff, some milliput (or other solid drying putty) a knife of some sort and some lubricant. I use some old massage oil but Vaseline or other oil would do.
Robes
Ok so firstly I am going to be making the robes for my model. What I have done firstly is create a base for me to sculpt on with miliput. This dries rock hard after a few days so I will be able to push and press as hard as I like with the greenstuff without having to control it from the back. When you’re doing this be carful not to cover any detail you want showing and to leave enough room for the green stuff to go on top.
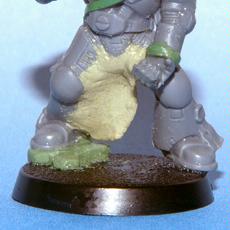
So after that is dry mix some green stuff and rol out a shape rougly the size you want one of the folds or creases on your model to be.
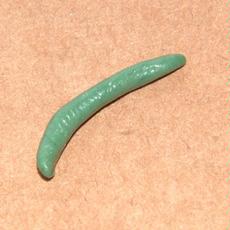
Now place that on your model in the position you want.
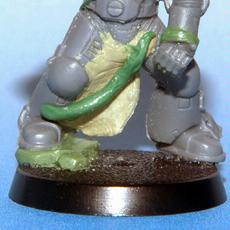
Start to build them up with a rough idea of how you want the fold to run.
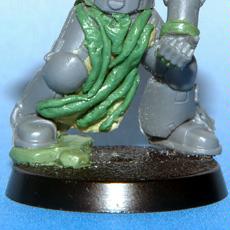
Ok now you have the base work done you need to start smoothing your folds to make them look more acceptable, for this we use our smoothing tool.
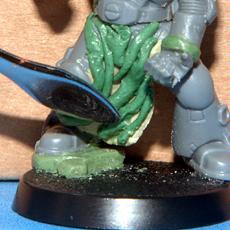
Remember not to push too hard or press against the putty and just to gently work it into place by multiple, gentle strokes against it.
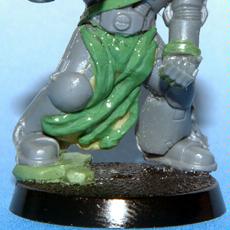
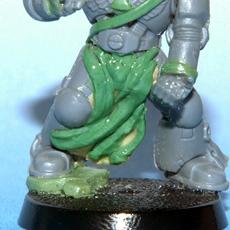
Hopefully it should start to come along a little something like this. You can always take some greenstuff away if you feel there is too much or add some if too little.
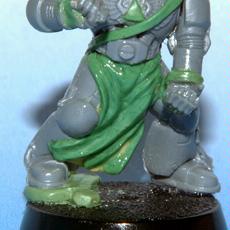
Take a look at how folds normally work on your clothes and on pictures to better get an idea of the realism. And keep a good thought on how easy it will be to paint also.
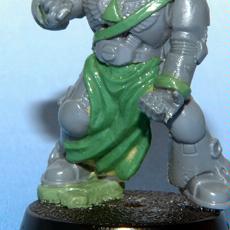
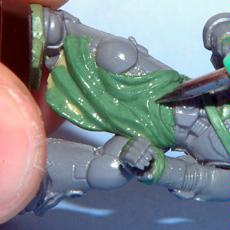
Once the mainstay of the smoothing work is over you can use your other tool to start sculpting smaller detail. In this case I have better defined one of the creases at the top.
 Rope
Rope
Ok now I’m going to add some rope as a belt, this is fairly easy.
First of all roll out a length of greenstuff half the thickness you want your rope to be.
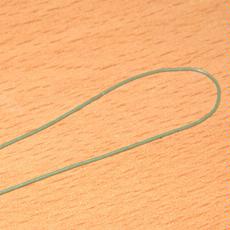
Now wait until that is slightly dry (the importance of which comes later one) and fold it against itself.
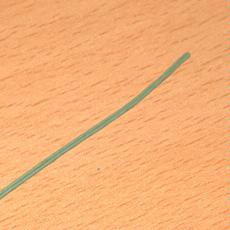
Now you want to twist it to make a rope like texture. Be carefull not to stretch it (this is why we let it dry a bit as it is harder to stretch), stretching it will make it uneven and look off. Twist it in different areas to get it looking even.
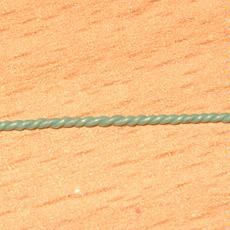
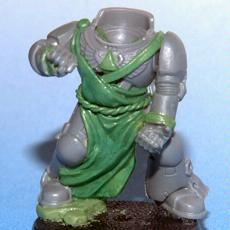
All you have to do now is put it in place like I have done here. Notice I have also extended the robes and added the bit to the torso, this has been done using the same method as before.
 Chains
Ok so now I need to decorate my champion’s shield so I am making a small chain, my example is going to be very small but you can make your chain as big as you like with the same method.
Firstly rollout a bit of greenstuff to the thickness you want the chain to be and cut it to size.
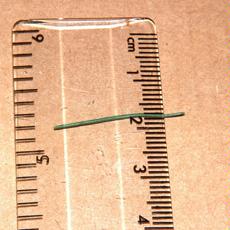
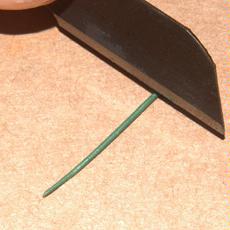
Next, put it in place where you want it on the model.
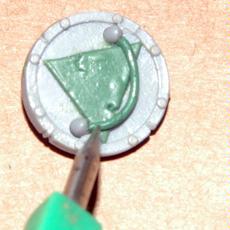
Now you want to got your sculpting tool and poke holes along the length of the chain…

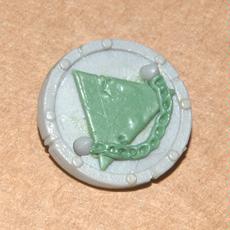
Again once that is done, use your tool to poke and pull at the sides and inside the holes to give them more of a rounded shape.
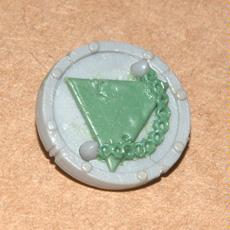
Once you have that you want let it set hard for the next step.
After it is dry roll out another length of green stuff slightly smaller in thick ness. Now carefully press that into the holes on your chain so far.

Once you have run along the length of your chain you can cut off the ends and you should end up with something like this…
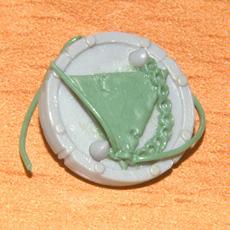
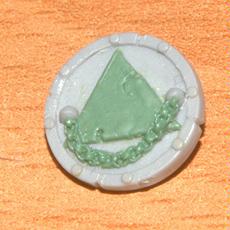 Purity Seals
I also want to add a purity seal to the shield. To do that firstly I flatten out a bit of greenstuff then let it dry slightly, this mean you can be more brutal with it later on, which is handy when your making it off model. Make sure your surface has a bit of lubricant on it so you can pull it off cleanly.
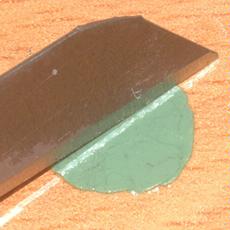
Next, take a knife and slice into the greenstuff. Cutting two rectangular shapes which will be the parchment part of your seal. Once you have done that pull the unwanted greenstuff away.
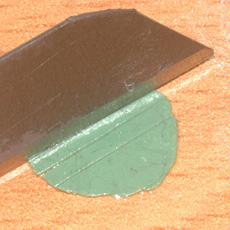
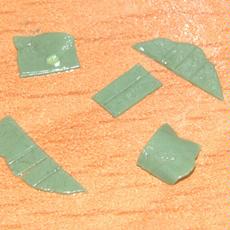
Push that into place on wherever you want it to go, remember you don’t need to wrry about messing up the end as the seal will cover this part. So if you want to spike it in order to pick it up do so. Once that is done get your other piece and place it on top.
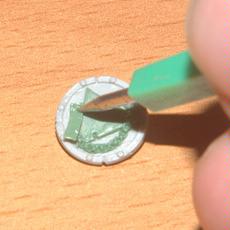
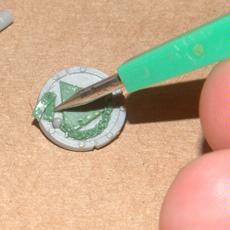
I leave that to dry completely then so I can play a bit more with the seal without messing it up. So get a small ball of greenstuff which you can press down as your seal.
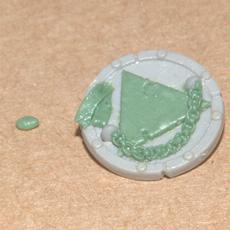
Use something of suitable size to make a hole in it, as you can see I’m just using my same tool as this is the size I need.
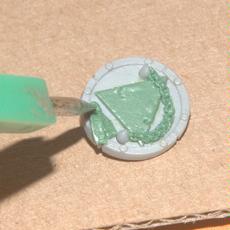
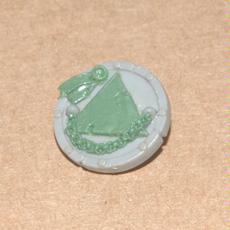
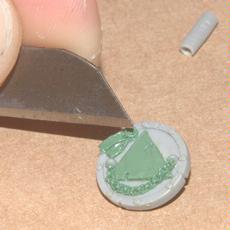
If you want to create the small cuts and roughness on the seal like you see with
GW’s versions I use a knife and cut gently around the seal.
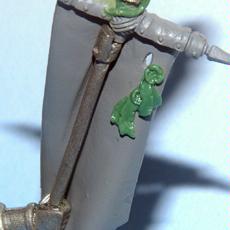
Purity seals are great for all sorts of things, you can use them to add more decoration, cover up things you don’t want people to see or just to add more to a blank space, like my example I made bellow.
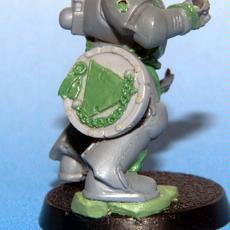
Ok that’s my shield done…
 Hair
Hair
Hair is a fairly difficult thing to get right and is also an important part of the model, most people will look to the facial first as it is a natural mechanism being human.
So to start with I have added a head, in this case it happens to be bald but you can shave another head with exiting hair down if you need to.
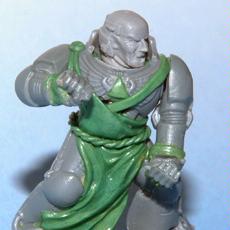
Ok so firstly apply rough amounts of greenstuff to the area where you want the hair.
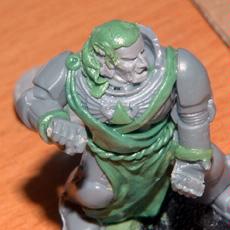
Now use your smoother to smooth it more towards the end result, then take or add any bits you may need. The second picture shows me pulling away some unwanted greenstuff.
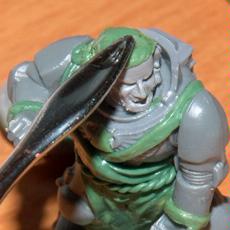
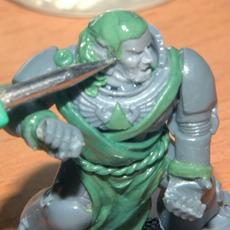
Now, with some lubricant to aid, you want to stroke your geenstuff to get the wanted texture. Here, I’m going for a half slicked back look with hair falling other the back of the implants.
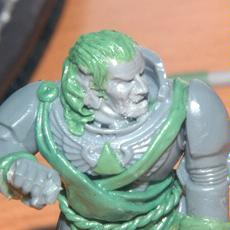
Keep working the greenstuff using whichever tools give you your wanted effect. For example here I wanted the hair falling over the back to look smoother and less messier than the hair on top so I have used a different tool.
The main thing to worry about is the amount of greenstuff you have on your model. Keep looking at it form different angles to make sure yur not over compensating on one side.
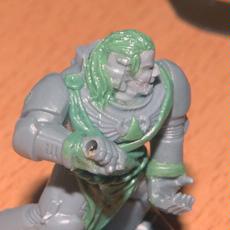
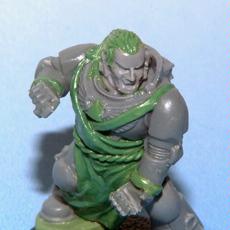
The same technique can be used for facial hair. Here I have stroked the greenstuff into different curves and to create the ends of the hair I have pulled away greenstuff to leave points.
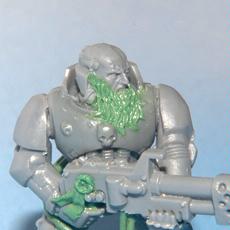
I’ts always worth going back to your model when it’s half dry as you will be able to apply more pressure when the putty has hardened and do things you weren’t able to before. Sometimes you might find it advantageous to do one part of the hair after the first part is done and set.
Pole Detail
One fairly simple trick I am using here is one I thought up to better aid the creation of pole based weapons like halberds and such.
To start off with bet your pole then a bit of greenstuff.
Roll that greenstuff out so it covers the pole evenly. Now wait for that to set.
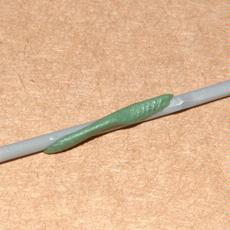
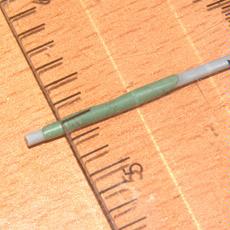
Once it has set, slide it off. Now you can cut whatever length of it you want and place it back on the pole to whatever effect you want. You can vary the thickness by rolling more greenstuff over it in the first stage.
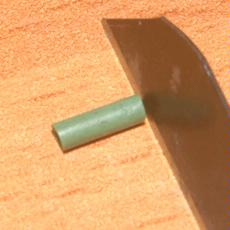
Here I have used this technique to add detail to my champion’s halberd.
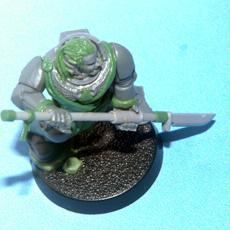
End Result
So I have now finished and am fairly happy with the results. I hope at least some of that may be useful to you. Thank you for reading.
