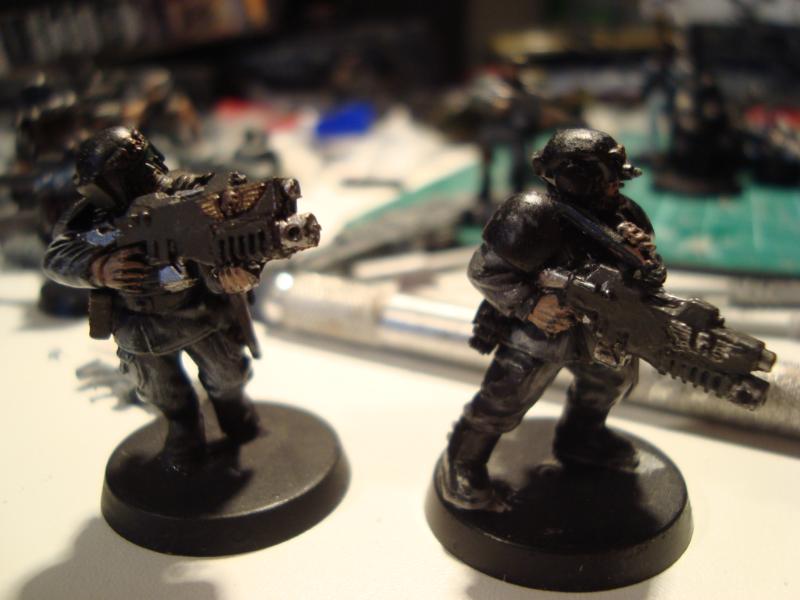
Here are two simple tutorials for converting the humble lasgun into either a sniper rifle, or so that is has an underslung grenade launcher (aka noob tube). Both require the use of a blade to cut, greenstuff and a file.
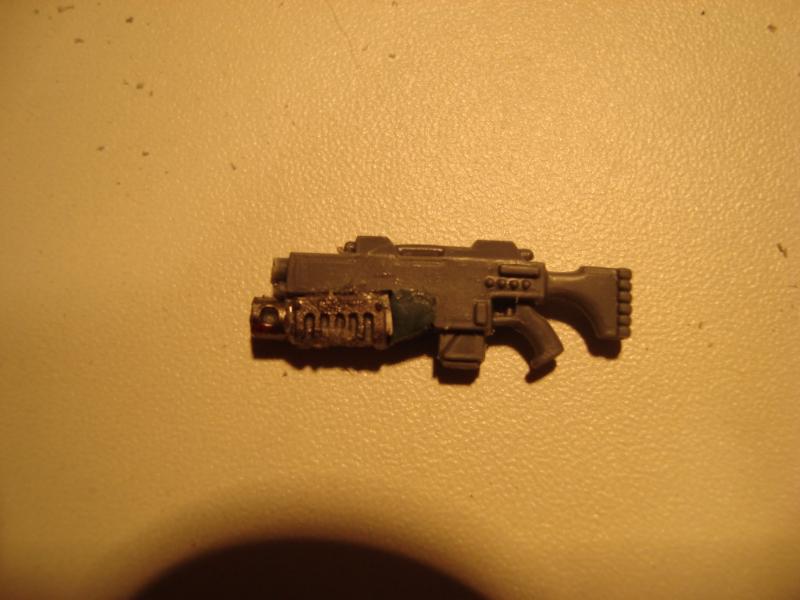
Here is the grenade launcher:
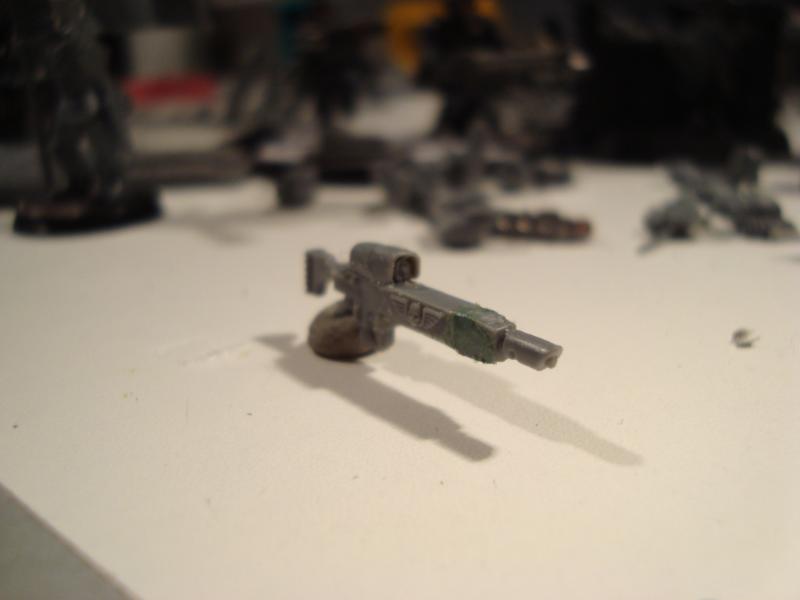
And here is the sniper rifle:
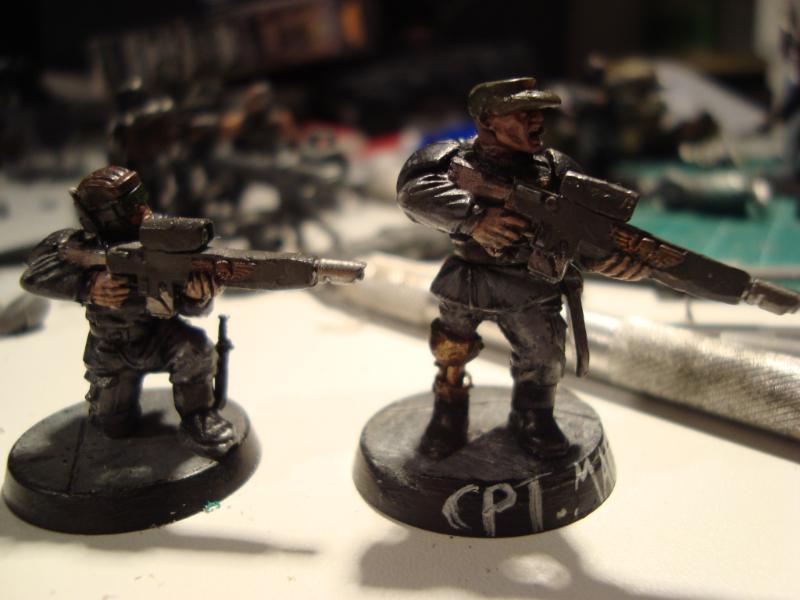
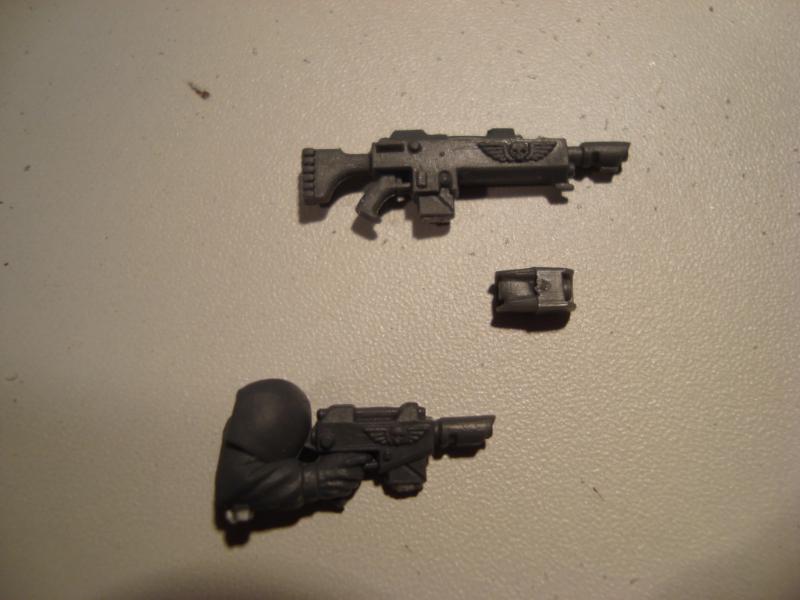
In this tutorial, I will be operating on the detached lasguns, but this works just as well for lasguns attached to the models' arms.
First off, the Grenade launcher.
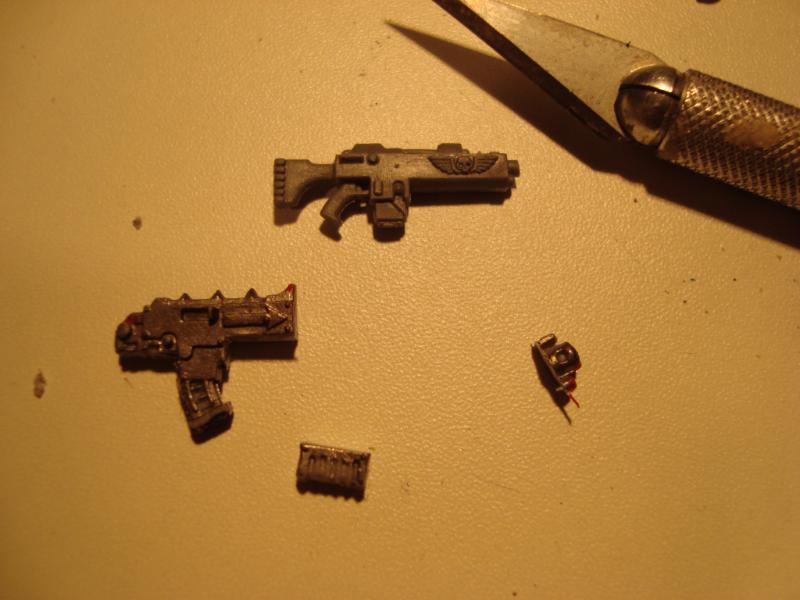
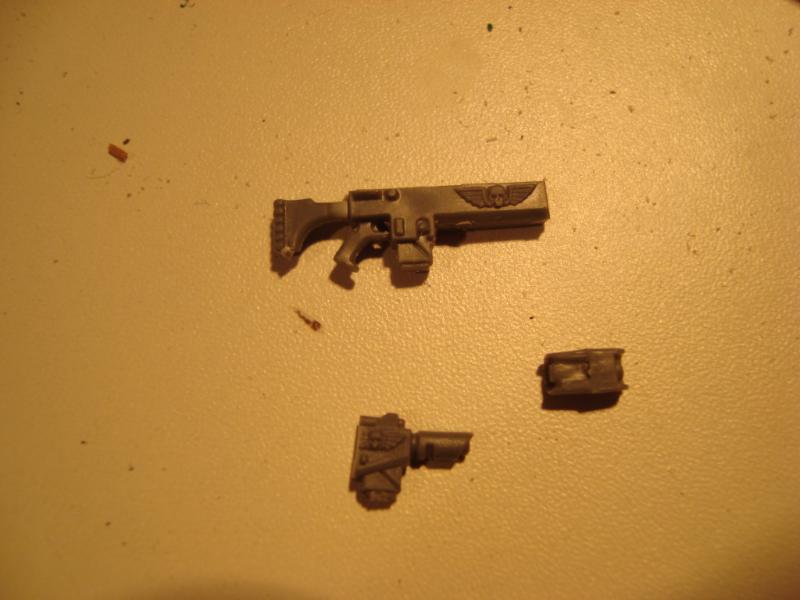
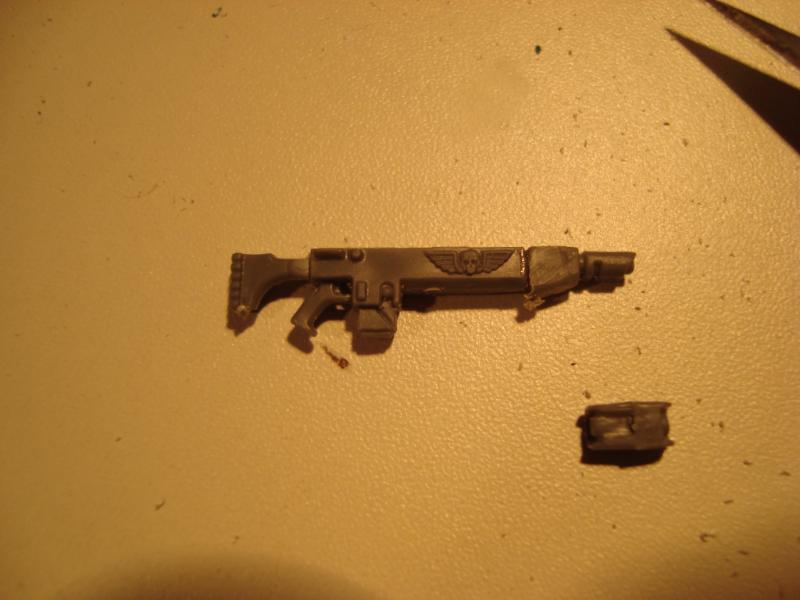
Here are the pieces that you will require: A lasgun and a bolter (either
CSM or normal
SM)
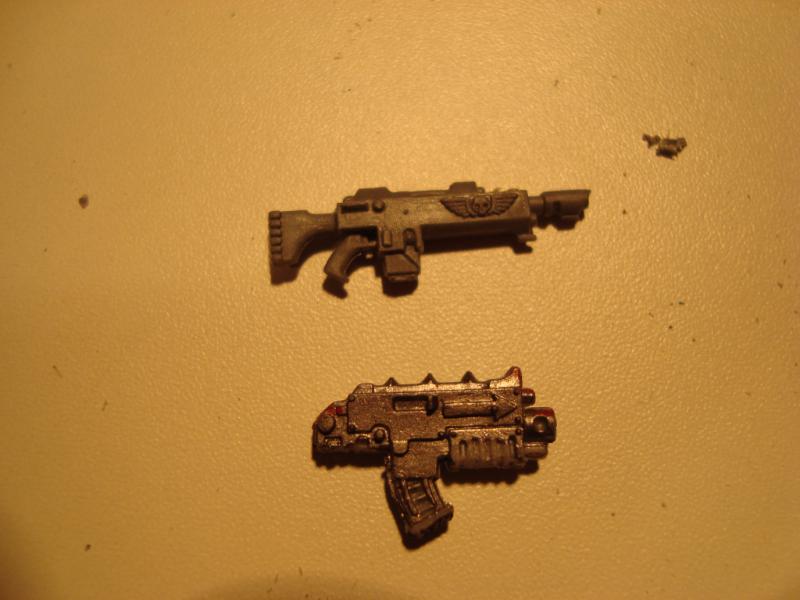
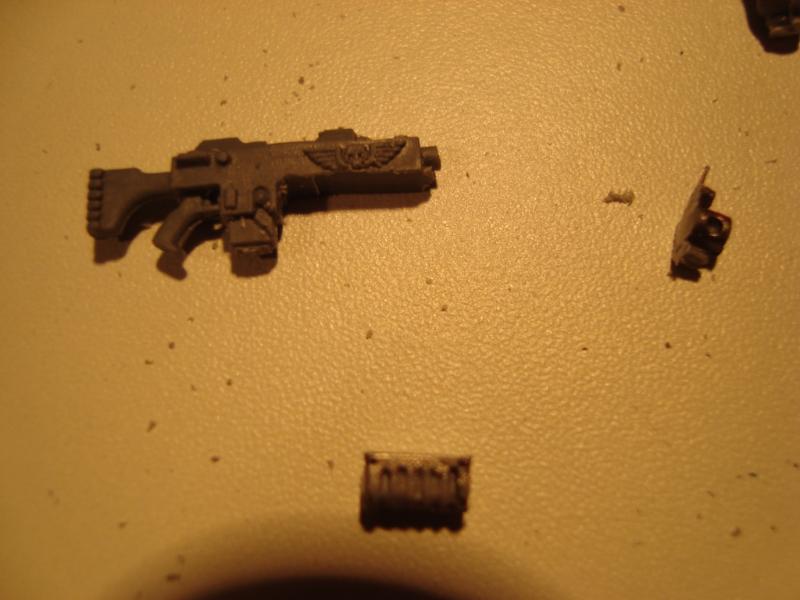
Clean the guns, remove mold-lines, etc. Then, remove the barrel from the bolter, and remove the small hook (what would be the bayonet holder) on the underside of the lasgun. Also, I tend to remove the barrel from the lasgun on all my models (since he's started posting on here, it was inspired by Tael's human Auxiliaries published in a White Dwarf). It works out fine either way.
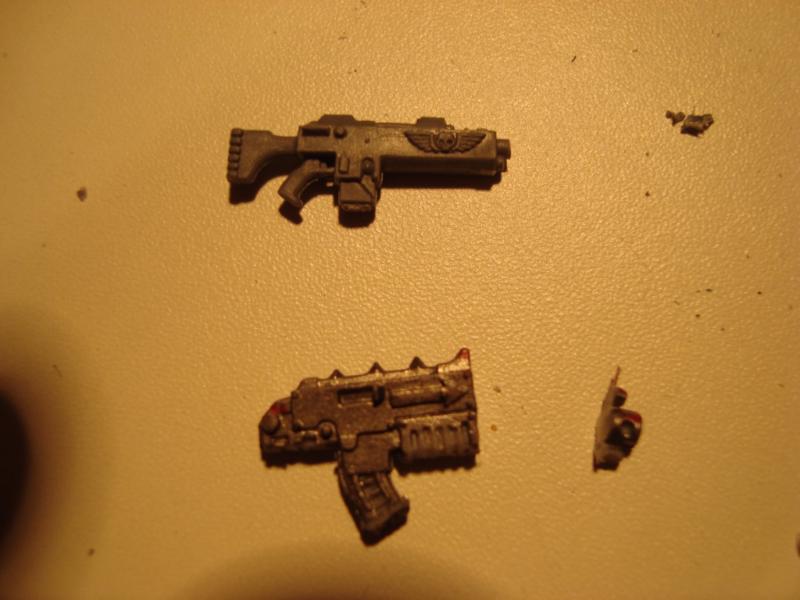
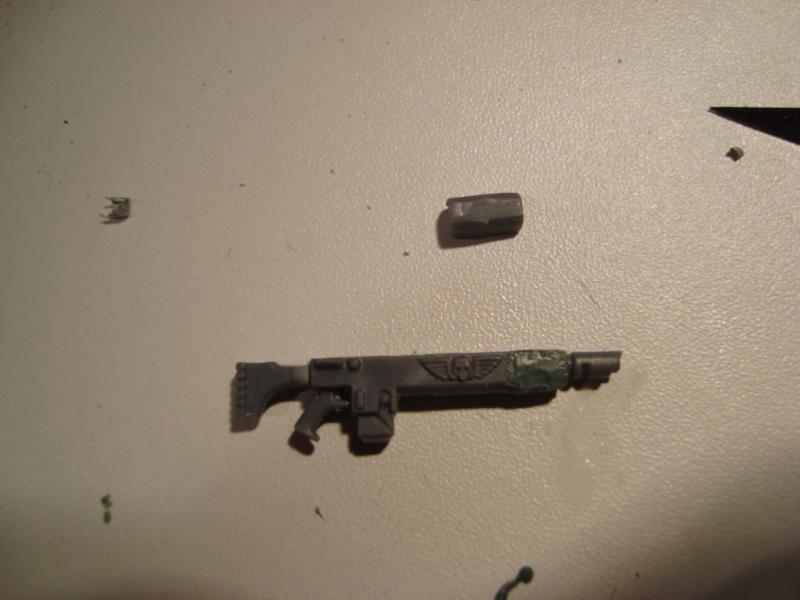
Then, using a scalpel or a stanley knife, remove the grip of the bolter. There is a slight groove that shows where to cut. Be careful that when you cut, you cut at the right angle, so that the blade comes out of the groove on the other side.
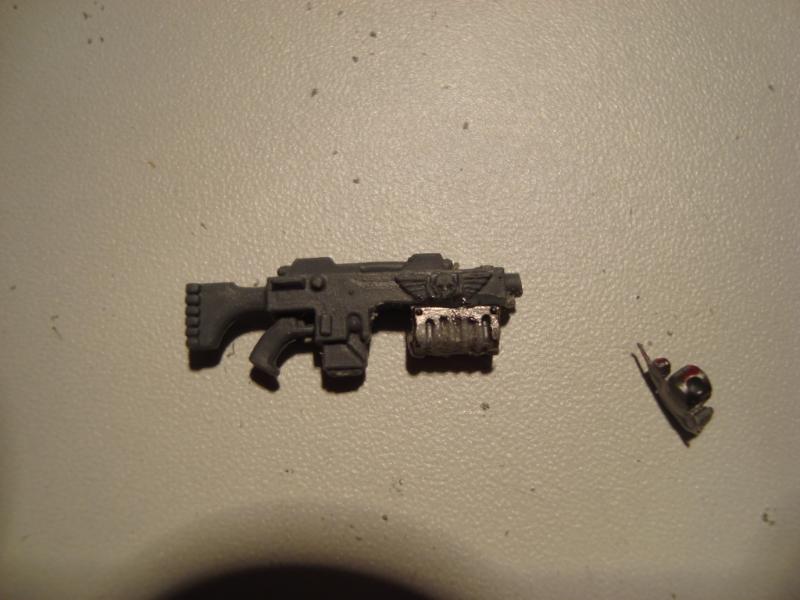
Next, file away the underside of the lasgun grip, so that it removes the slightly sloped sides on the grip. It should come up to just below the Aquila.
Next, glue the bolter grip onto the underside of the lasgun, in about the same place as in the picture. You can fiddle around with the exact location, but this one works pretty well.
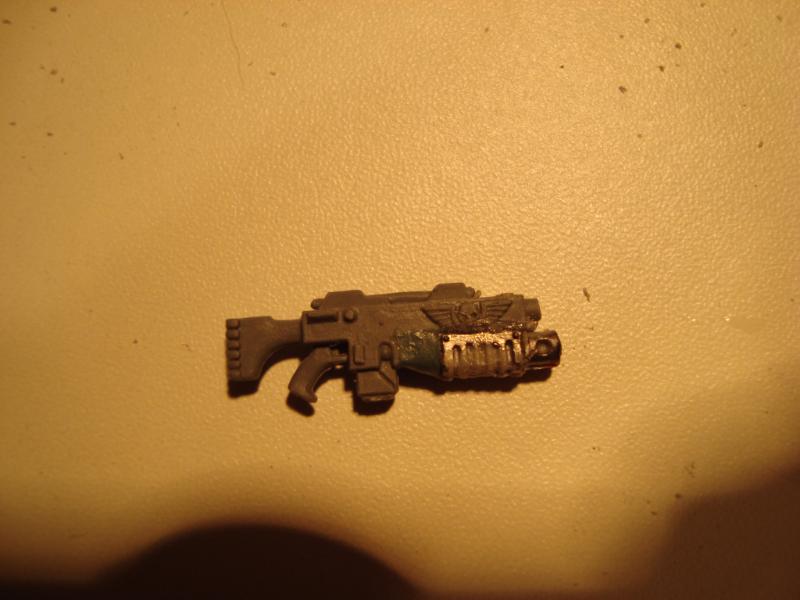
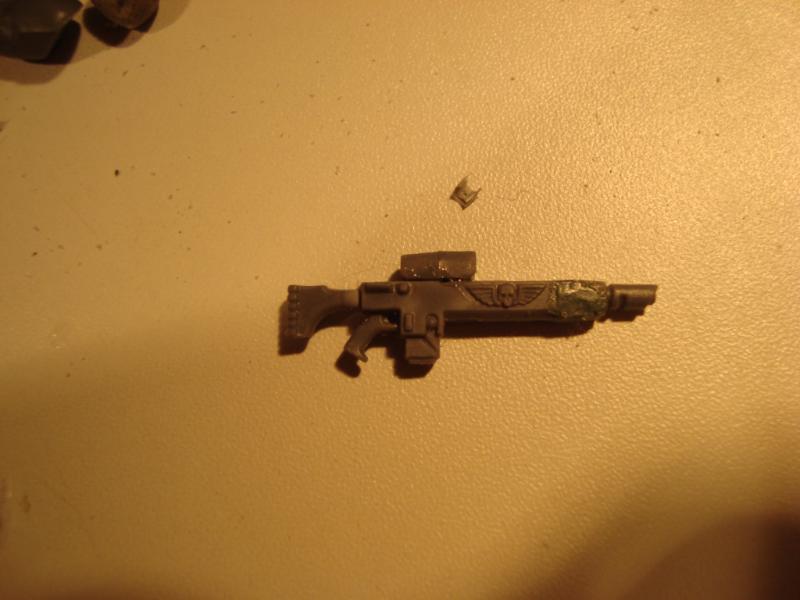
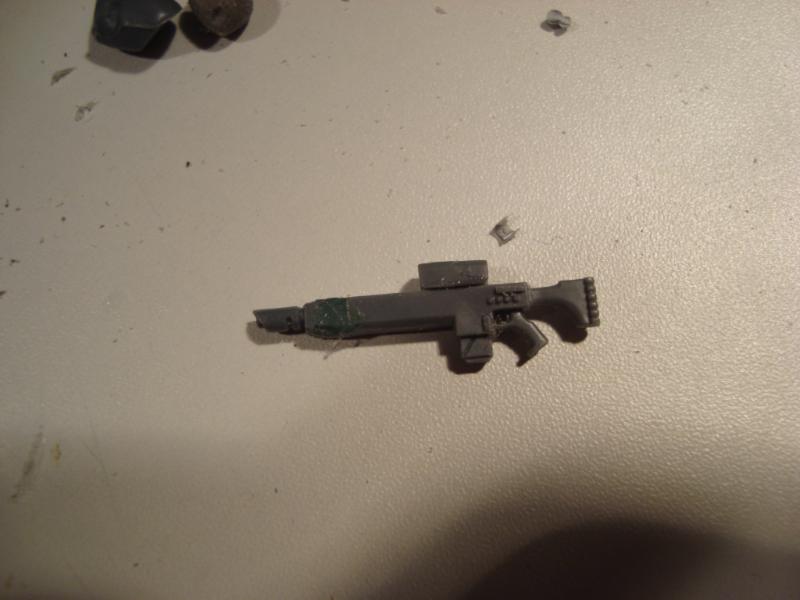
Use greenstuff to fill in the gaps and glue on the barrel of the bolter. Voila! You have your lasgun with underslung grenade launcher. You are now ready to noob tube people into oblivion.
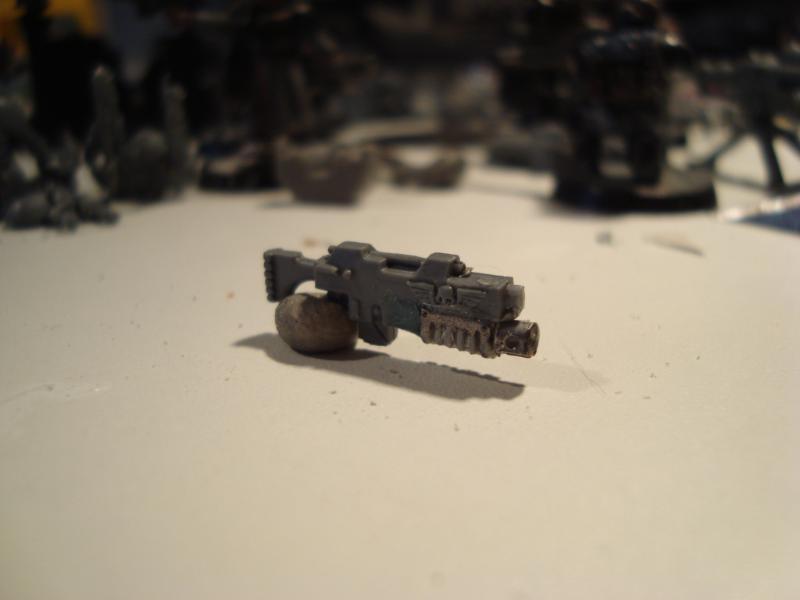
Next up, the long-las sniper rifle.
Here are the pieces that you need: a lasgun, a laspisol, the scope piece off a
hw crew (you can also use the
SM bolter scope, but I think this one works better)
Once again, clean the models. After that, you should remove the gunsights, the bayonet hook and the barrel off the lasgun, and cut the front end off the pistol (be careful with this. The first time I did it, it went flying off to the other side of the room after I cut it)
Remove the gunsights, clip and Aquila off the pistol and glue it to the end of the lasgun.
Use a file to smooth the end of the lasgun, and use greenstuff to fill any gaps.
Finally, glue on the scope. Behold! A sniper rifle has now miraculously appeared in front of you!
Well, I hope this has helped you convert your troops, or it has inspired you to make your own conversions. Partial credit should go to dysartes.com for the grenade launcher conversion, as I was inspired by one of the
WiP shots of a shotgun conversion.
Enjoy.

